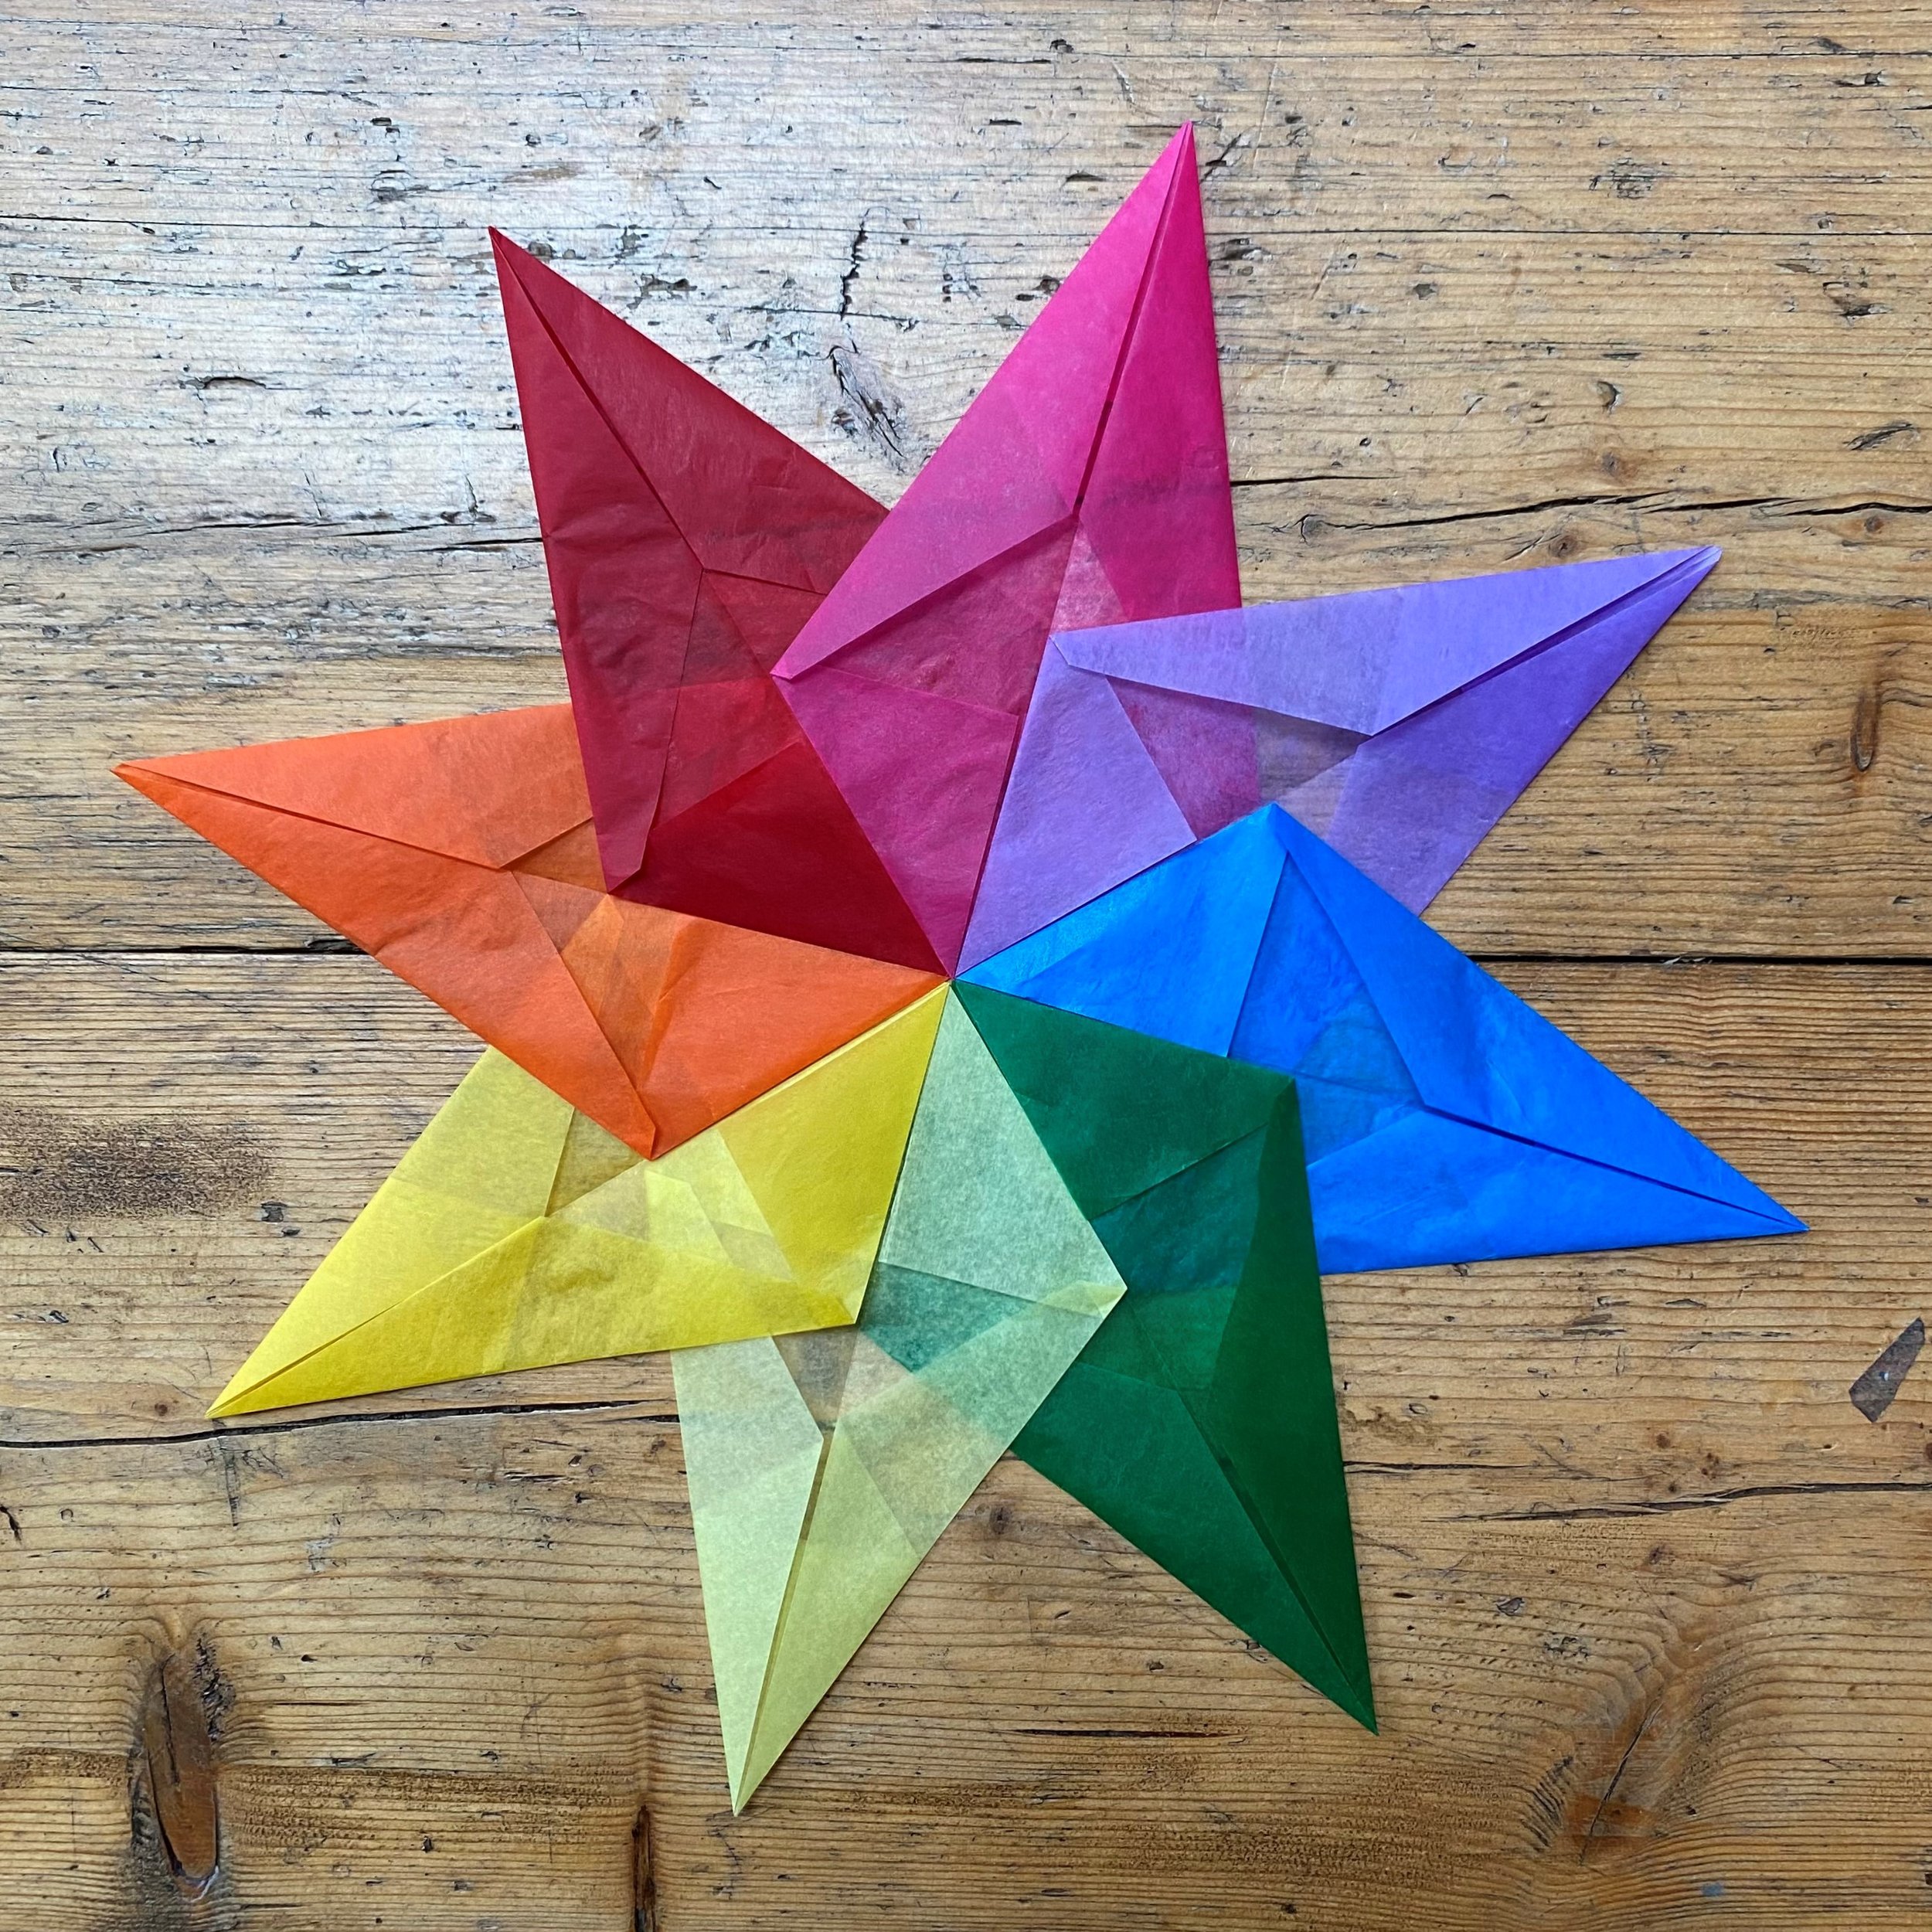
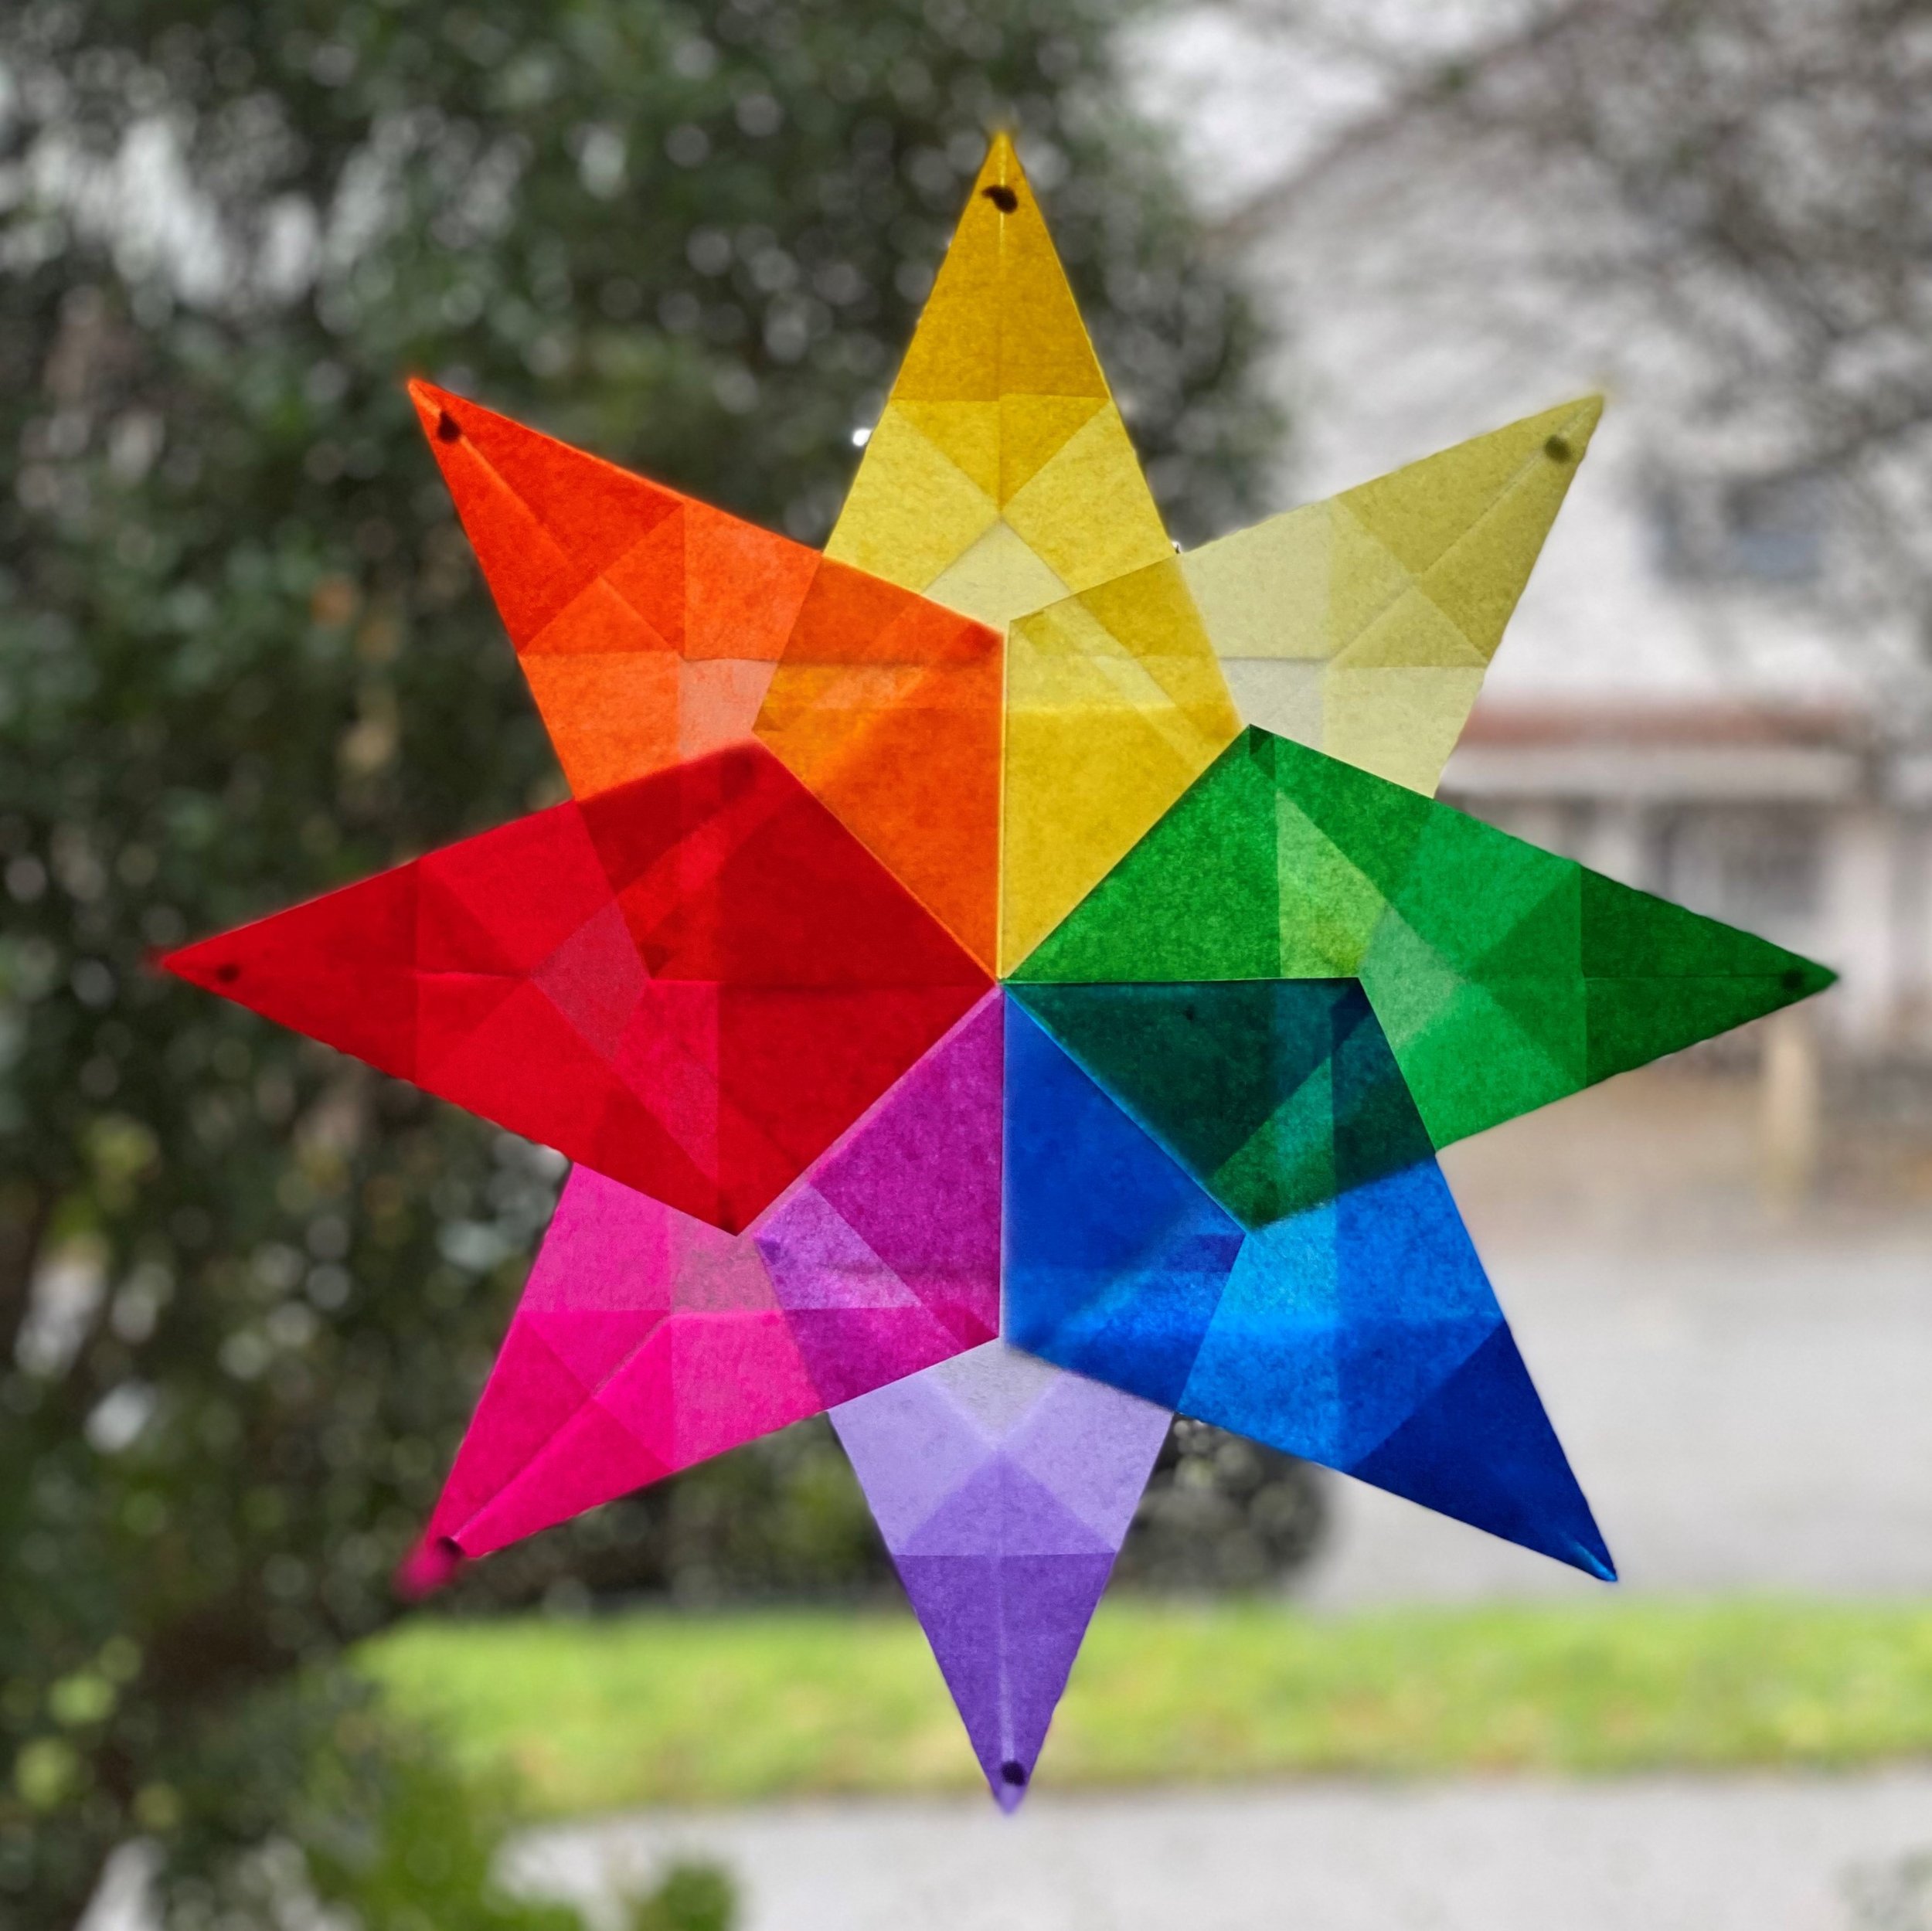
Make window stars
What you will need:
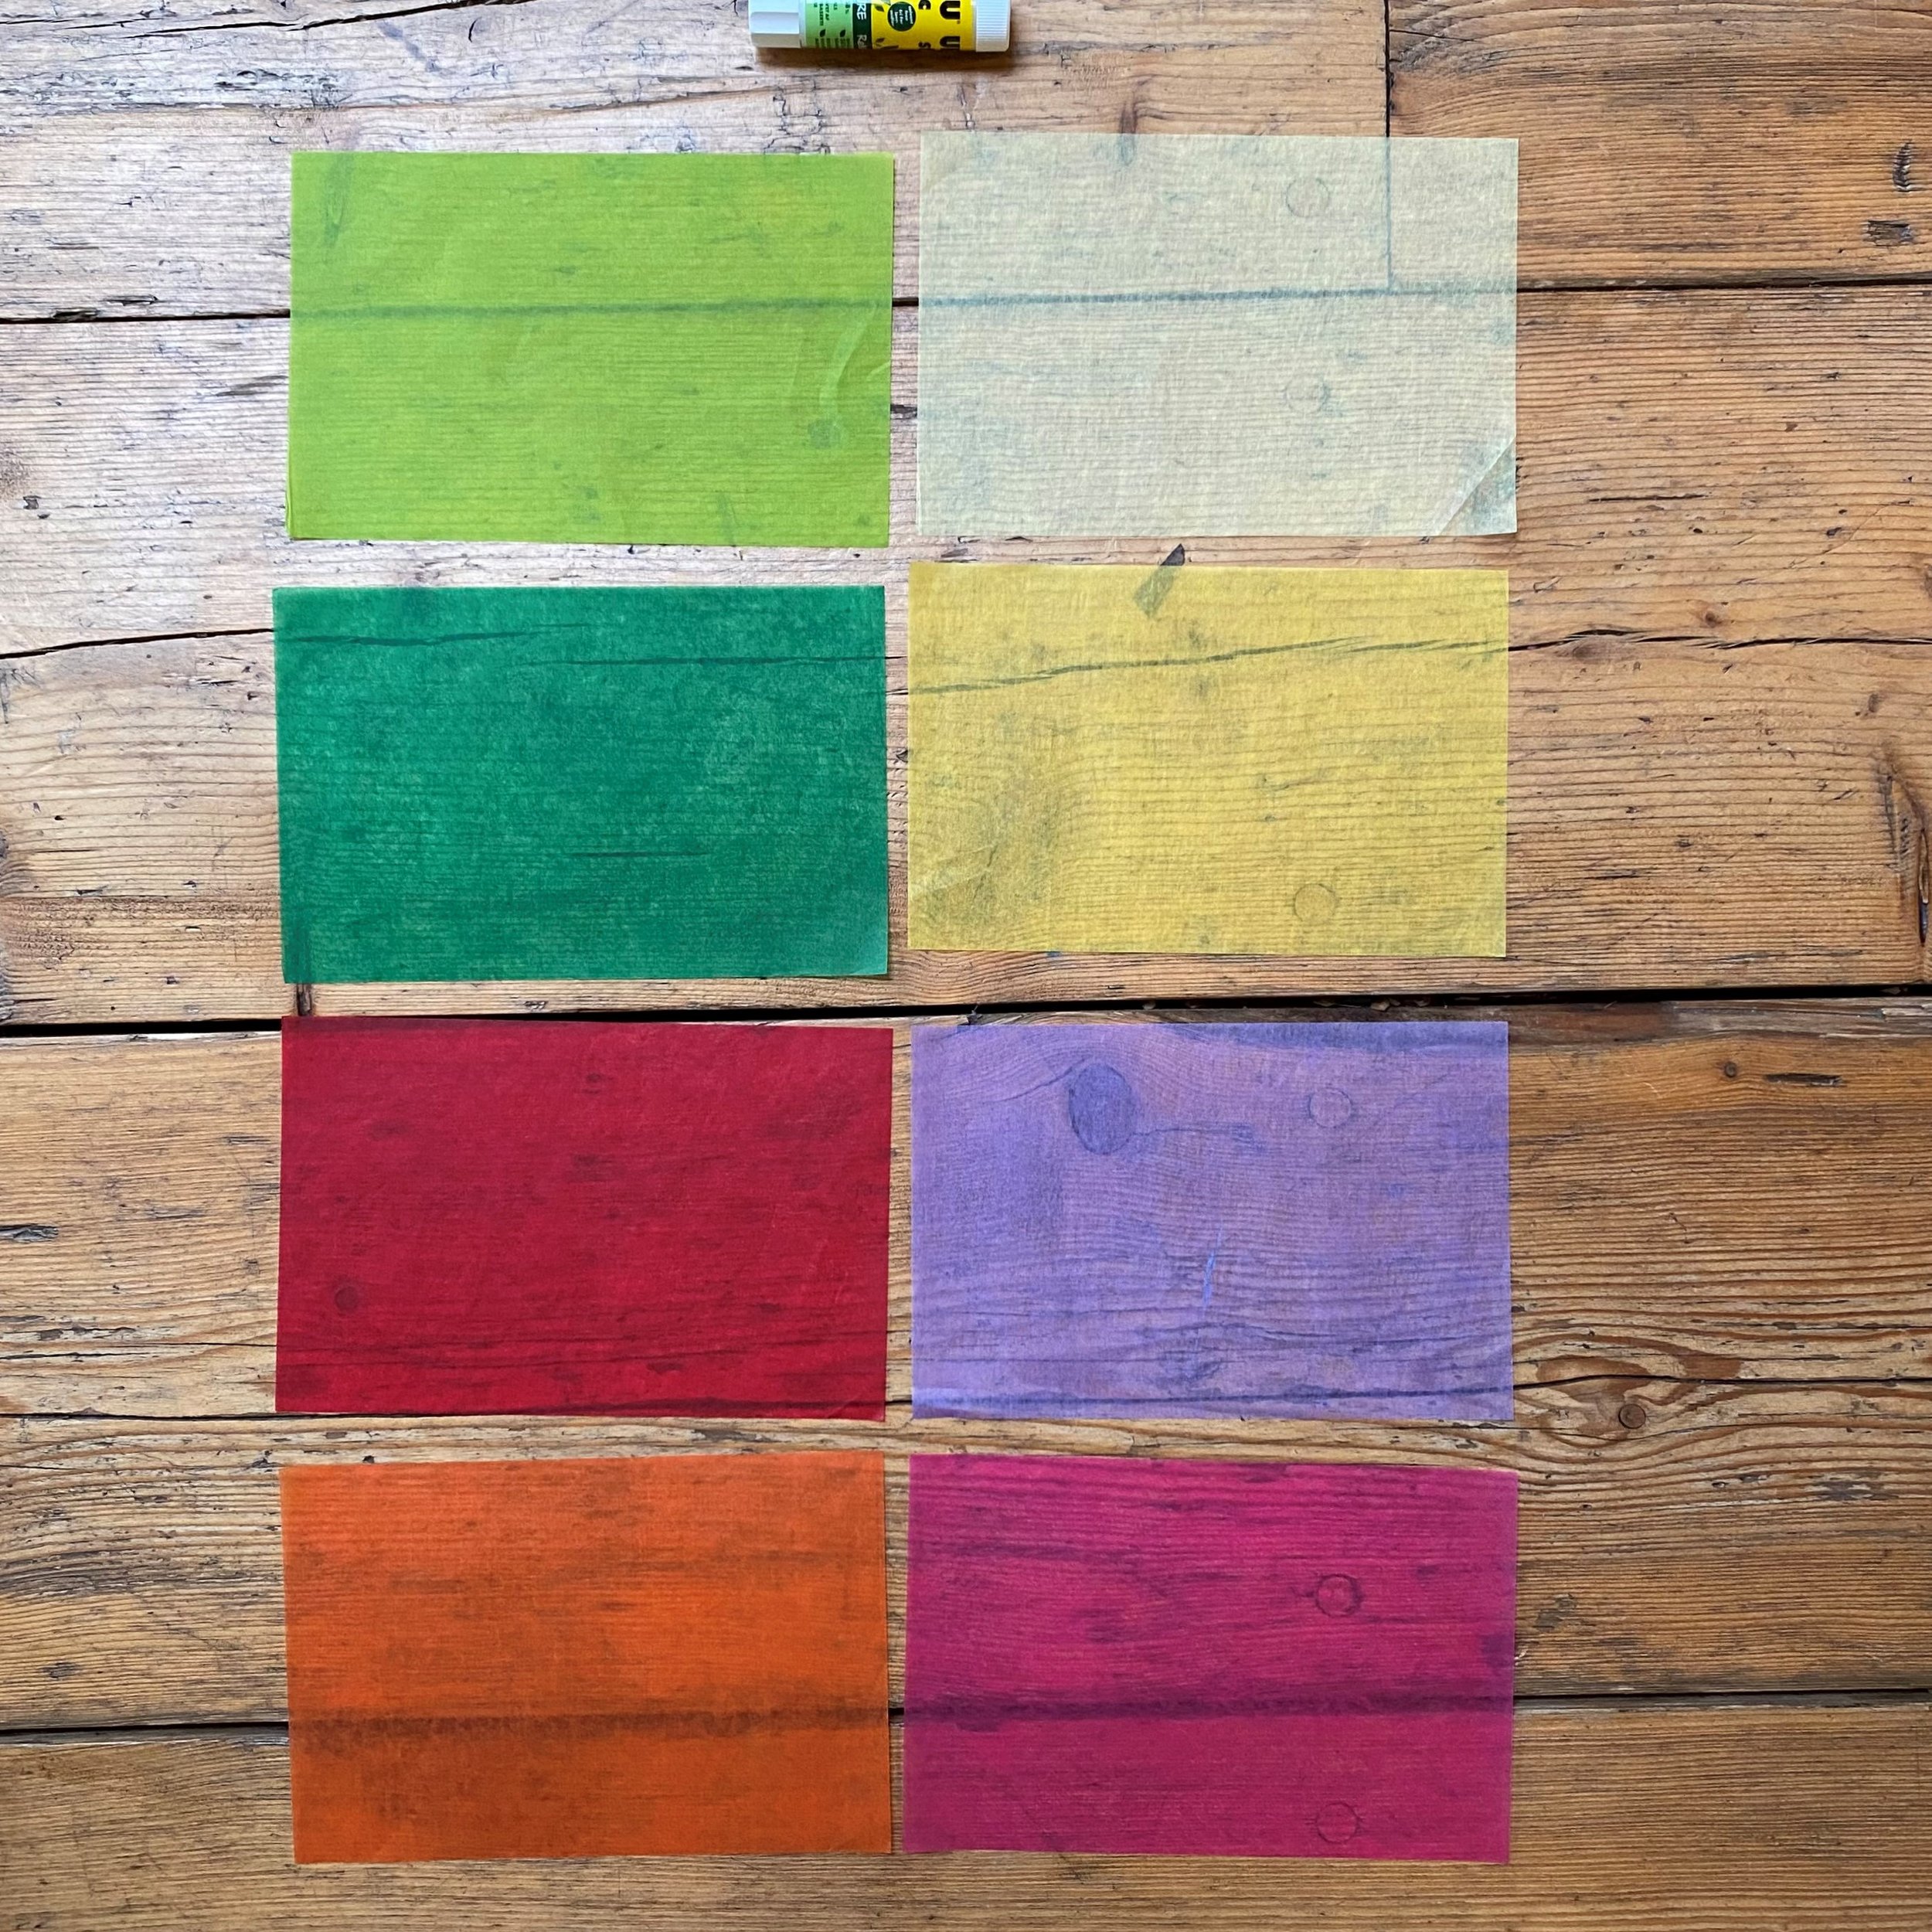
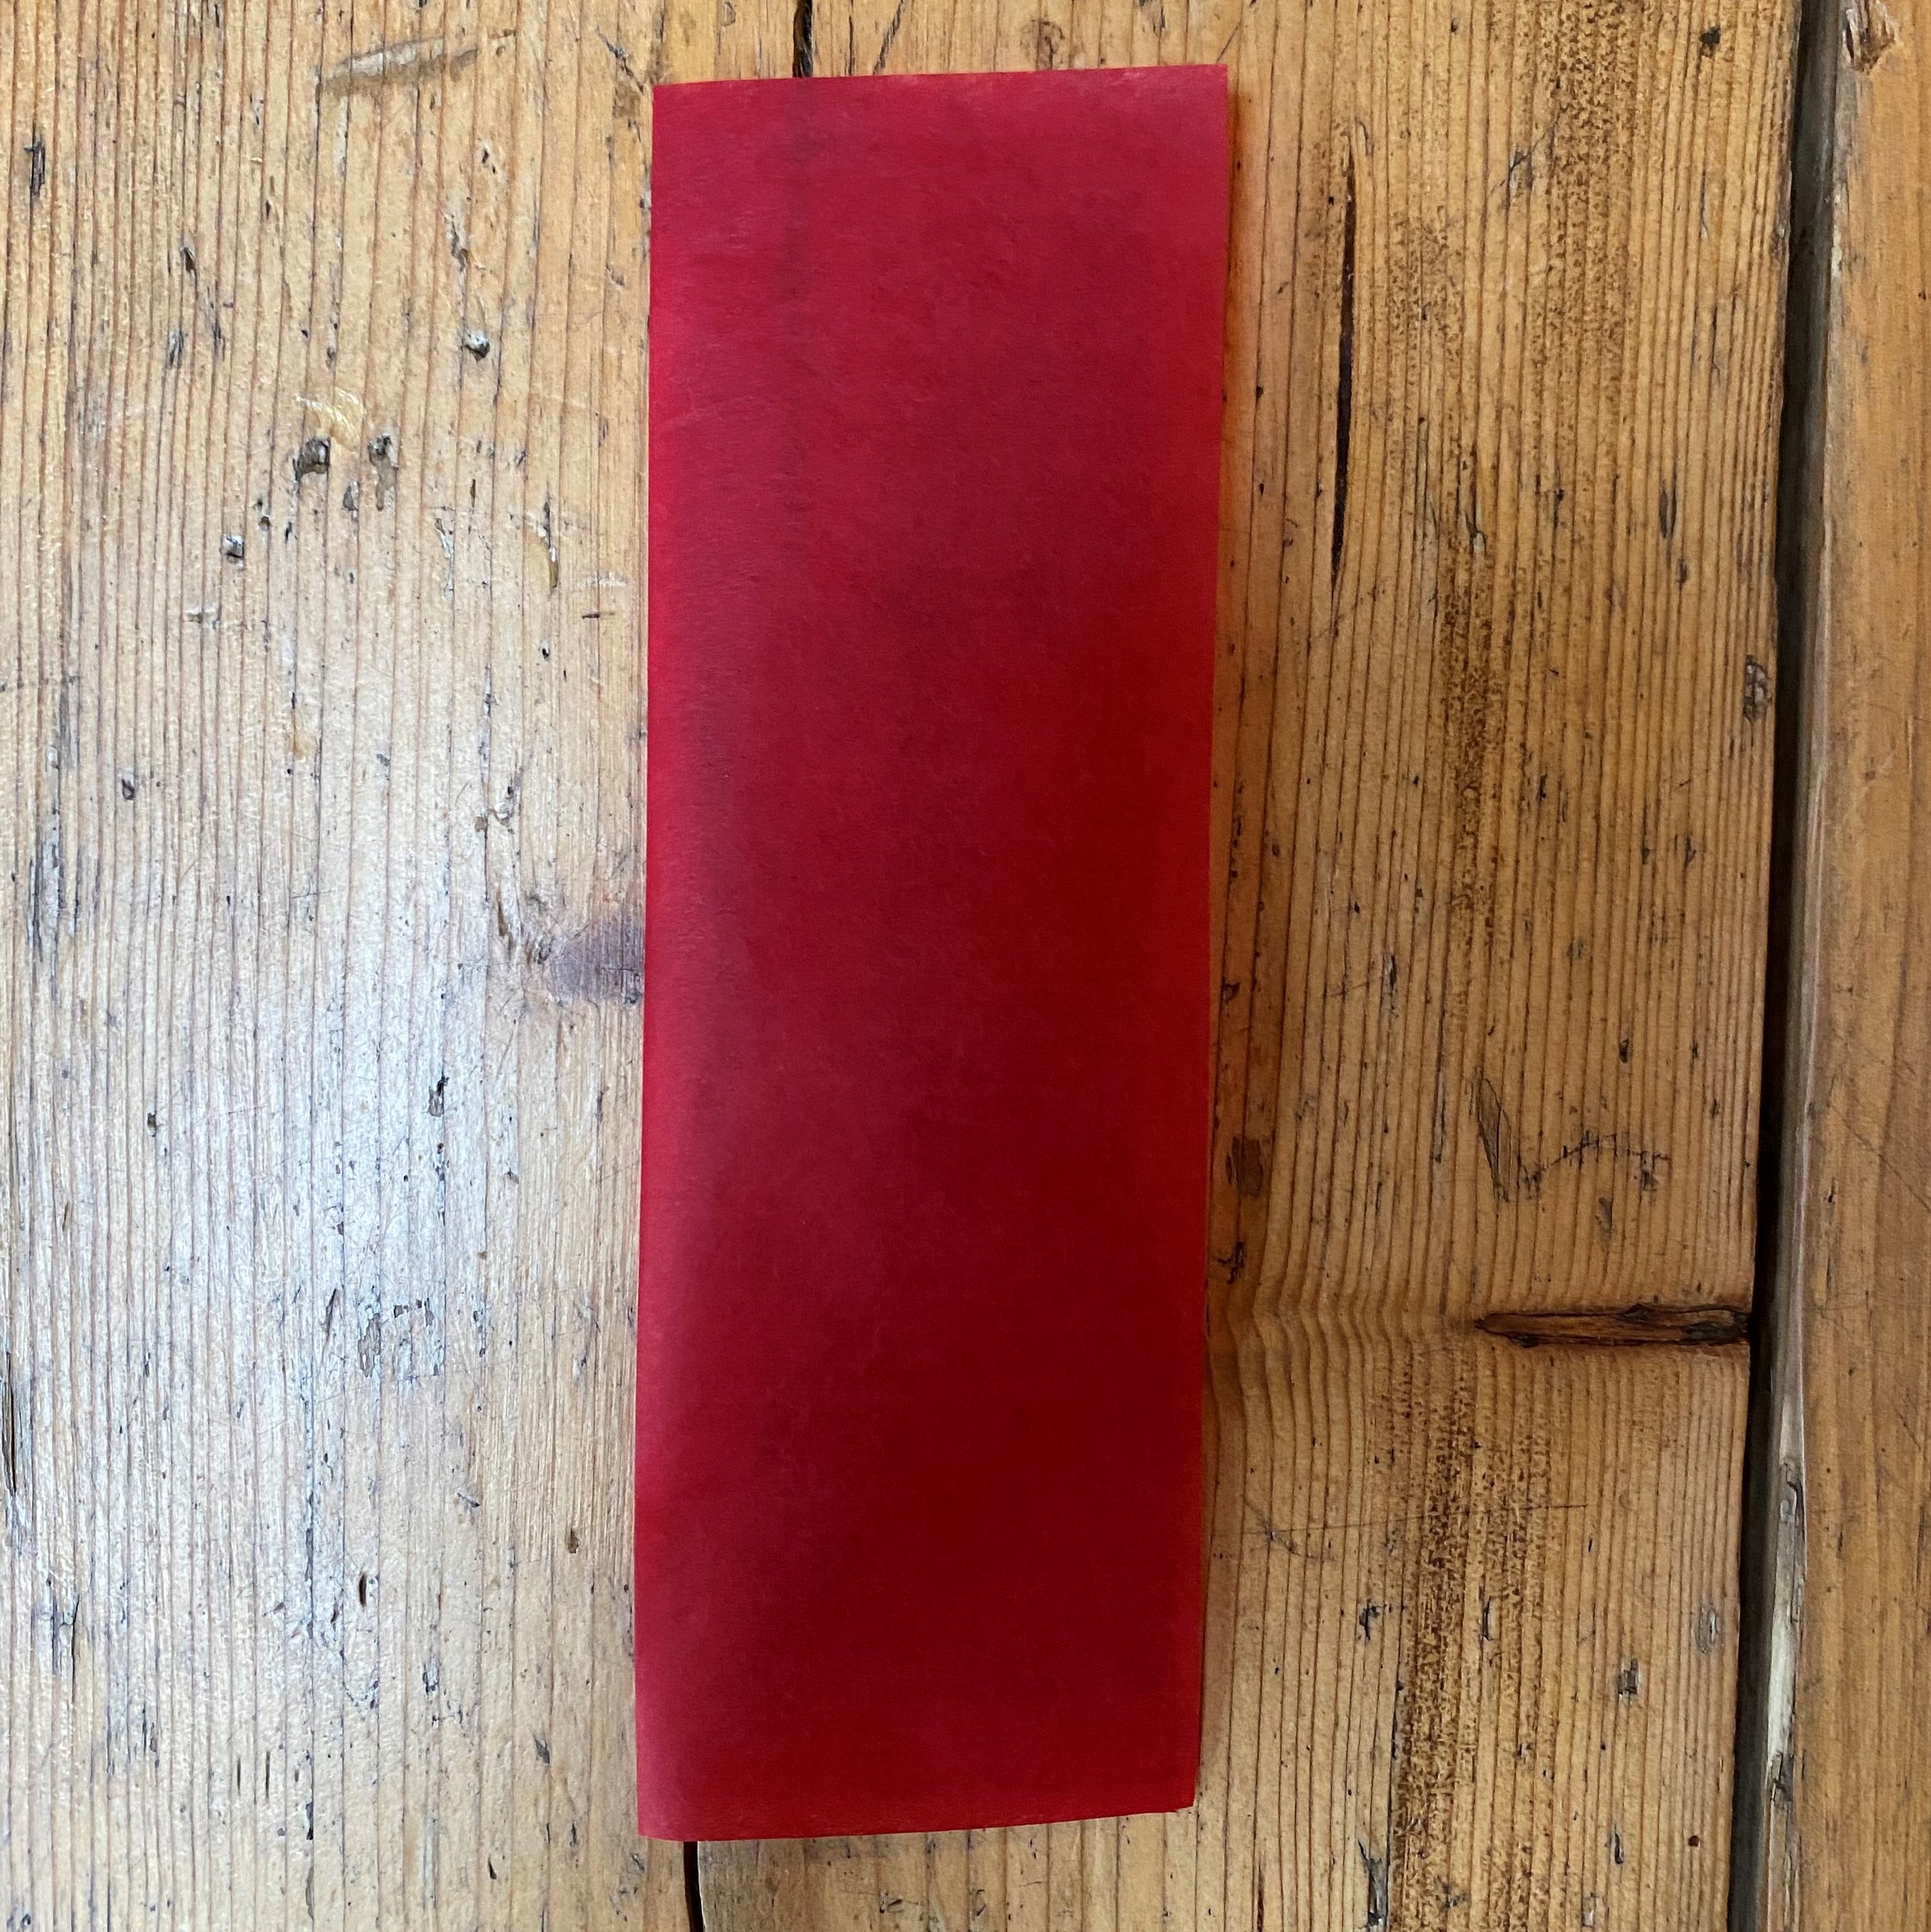
8 rectangles of tissue or wax paper
1 stick of glue
What you need to do:
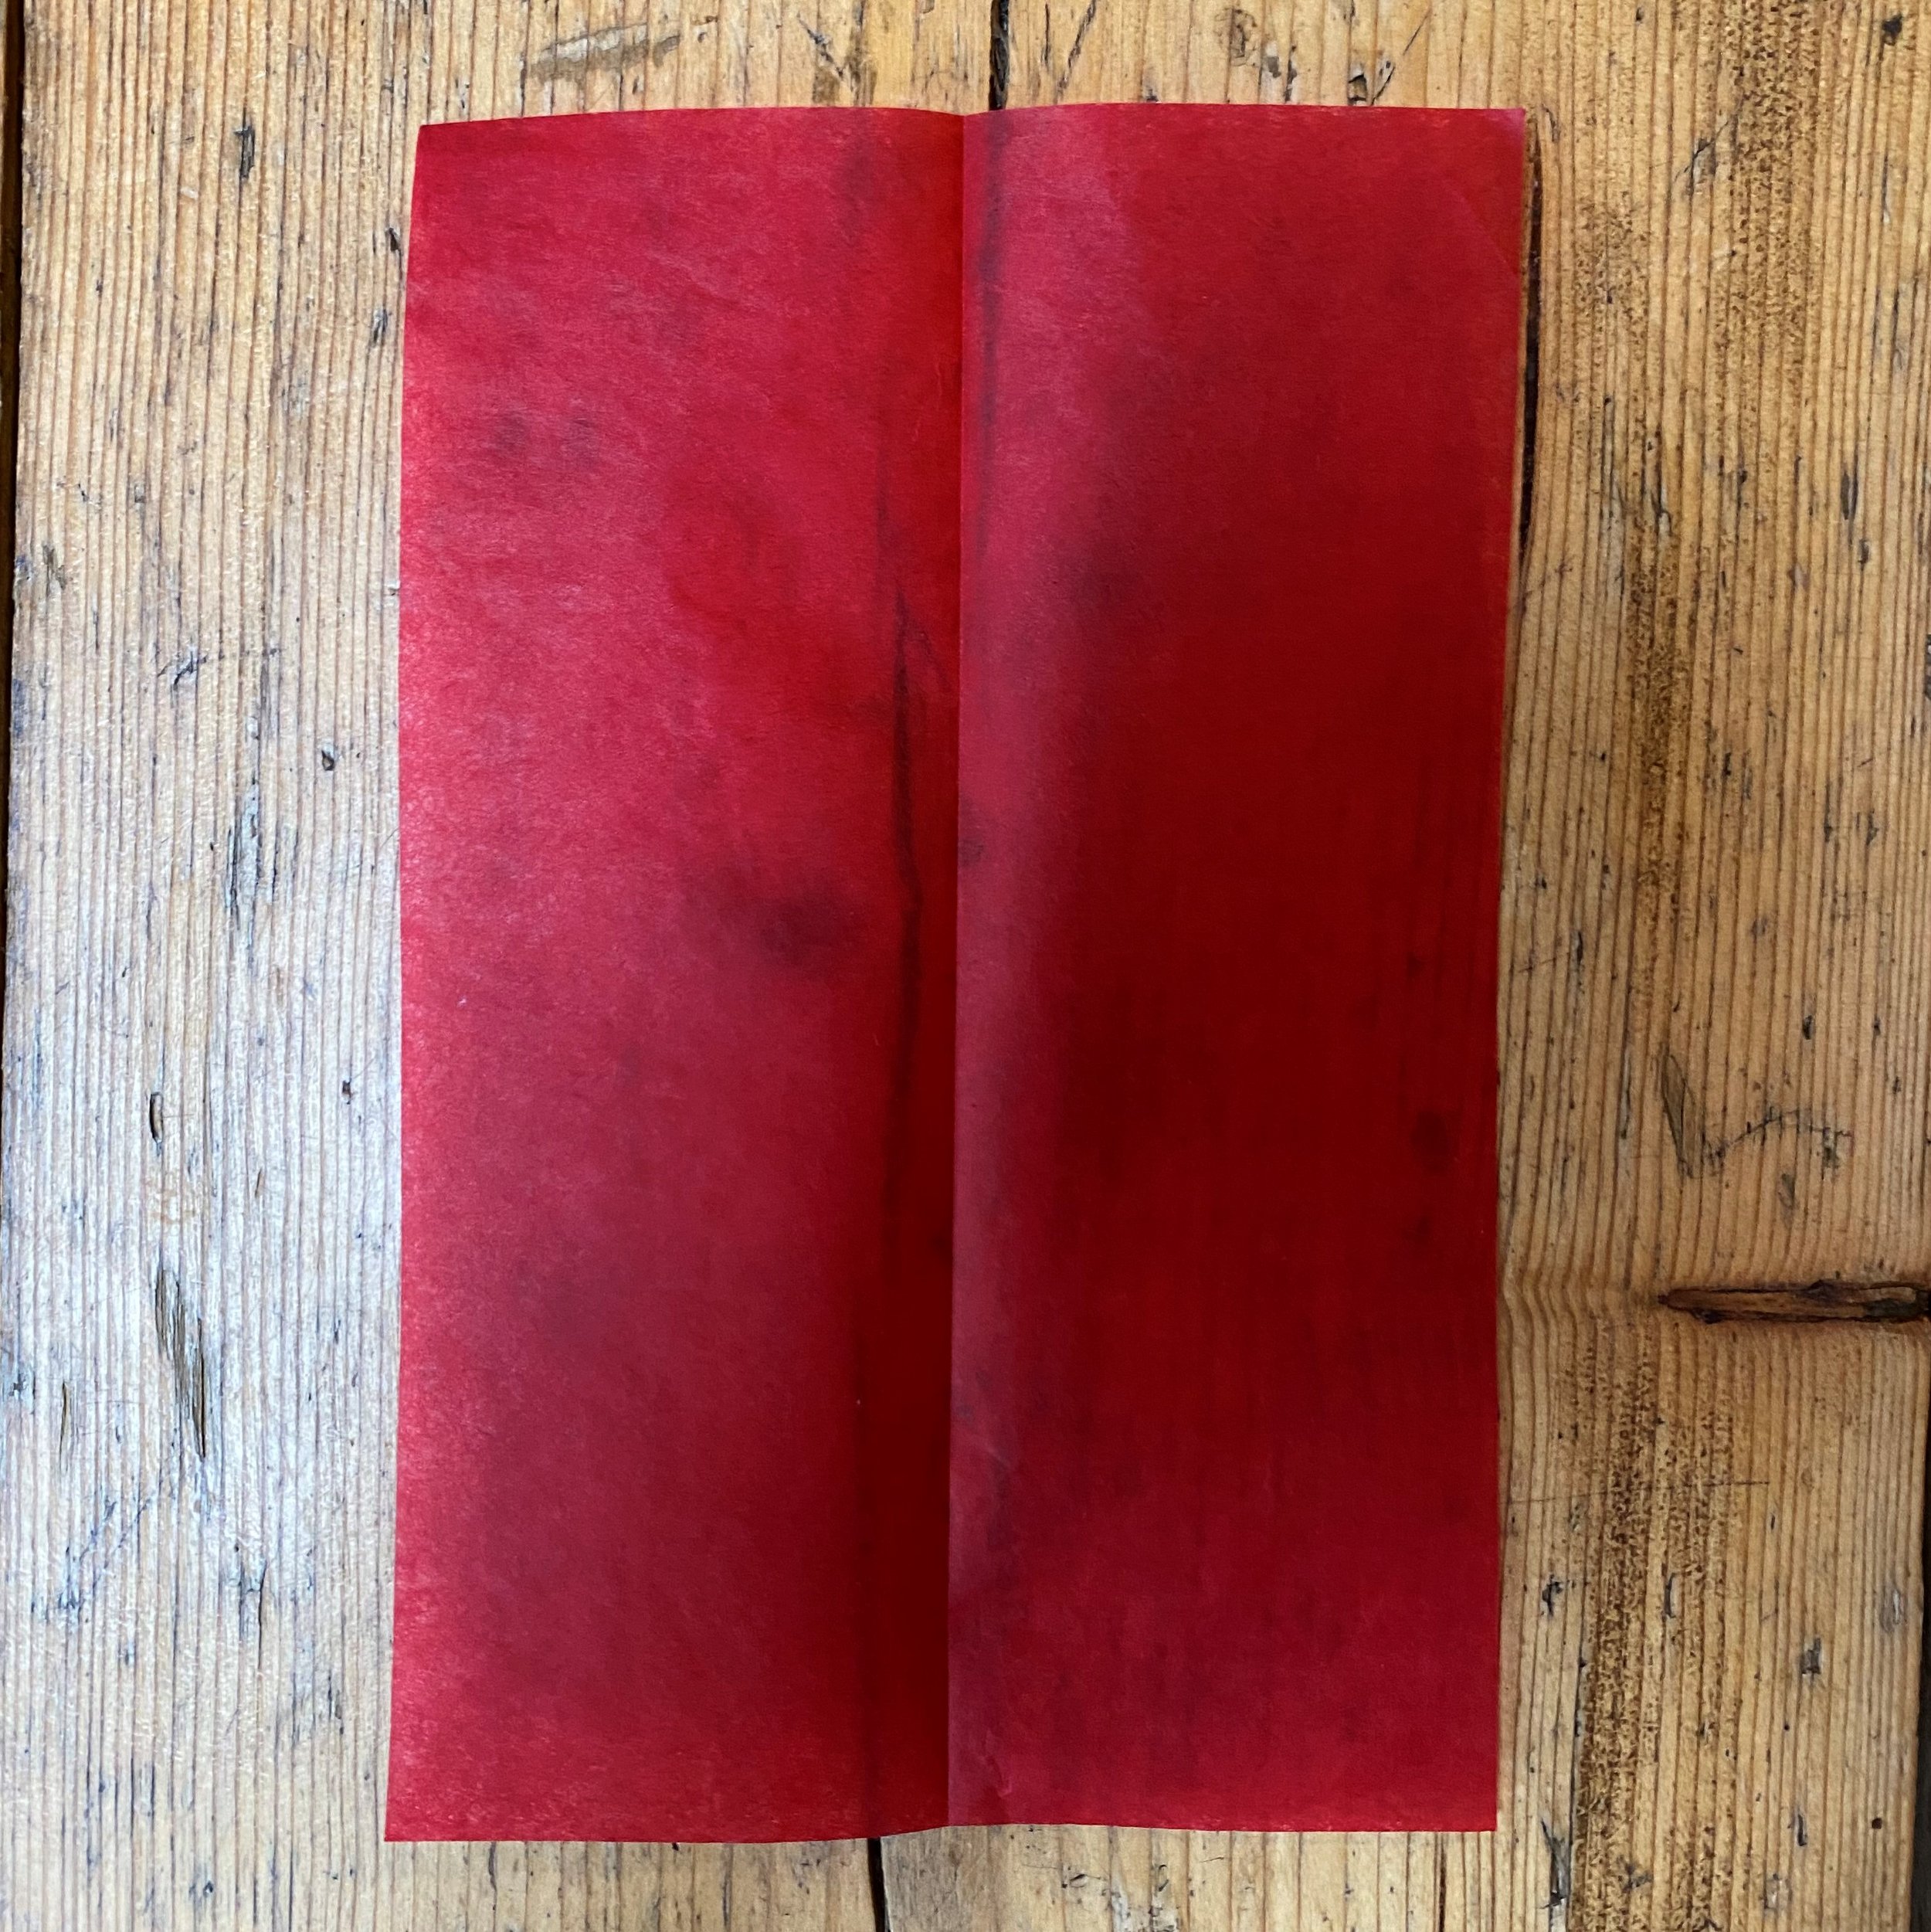
1. Lay a piece of your coloured tissue paper on the table in front of you. Fold it in half to make a crease lengthways. As shown in photo 2, below.
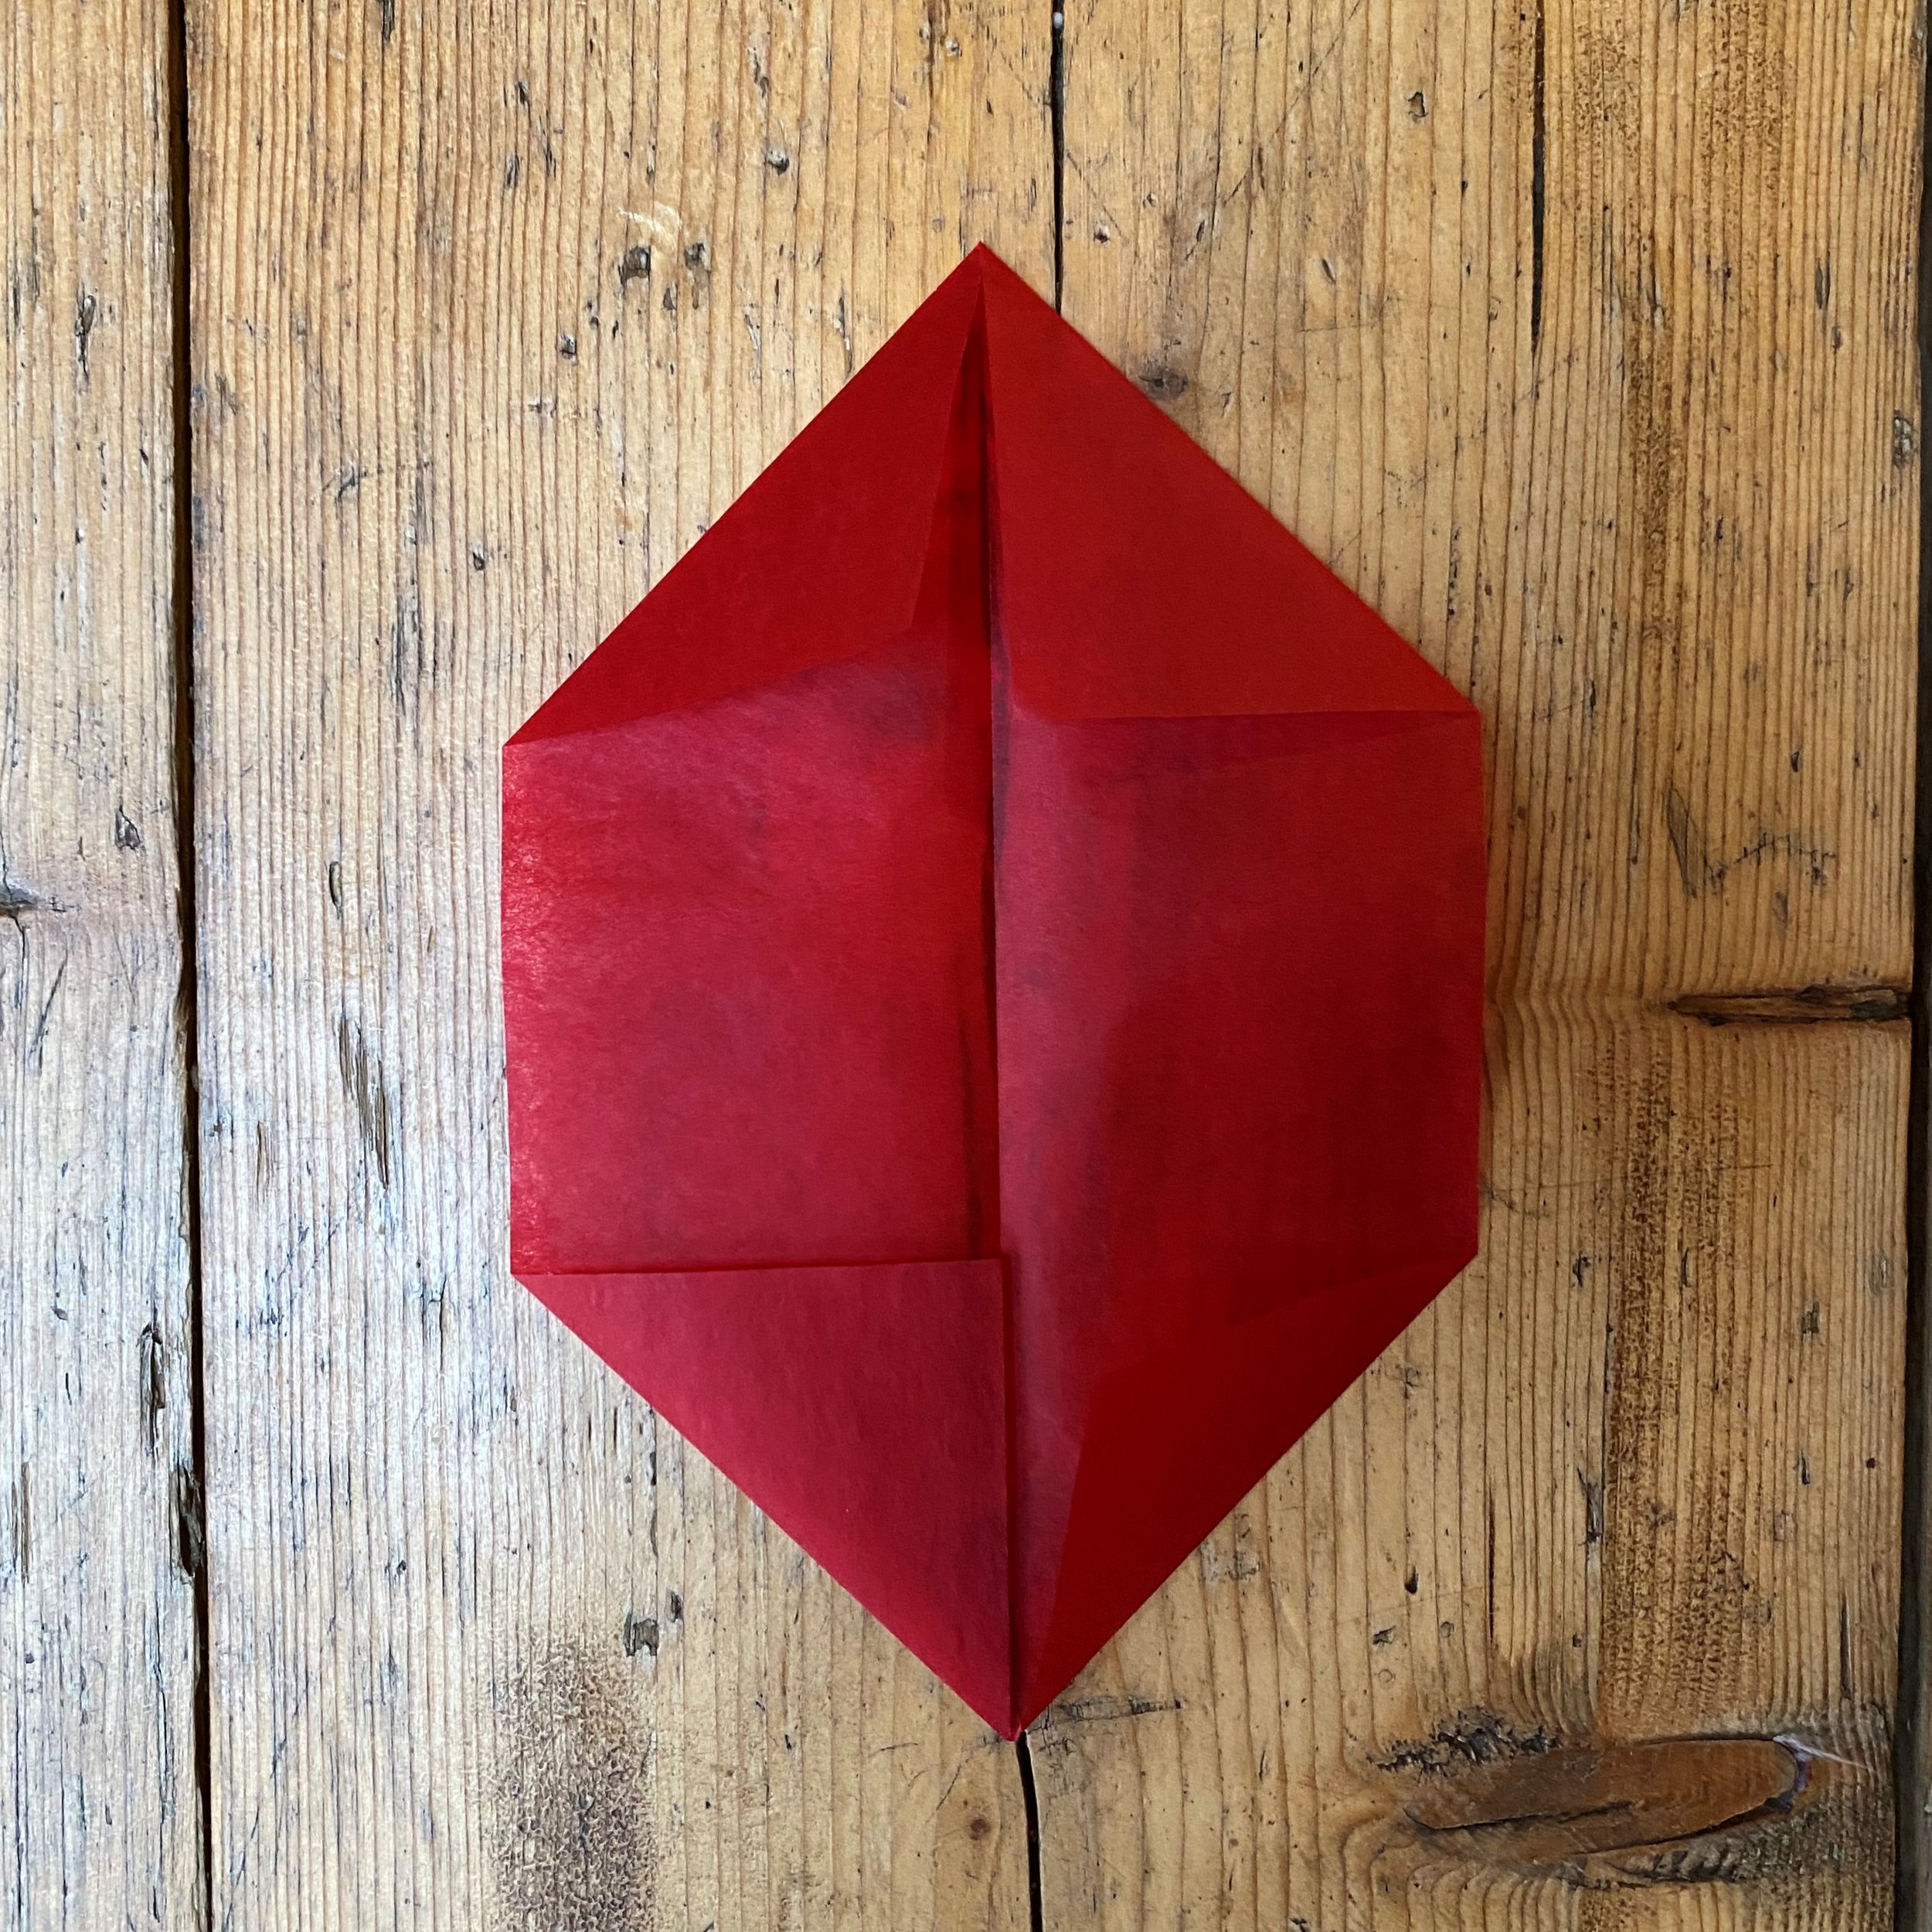
2. Open your tissue out again and fold in the corners to the middle crease, as shown in photo 3. Leave the corners folded in.
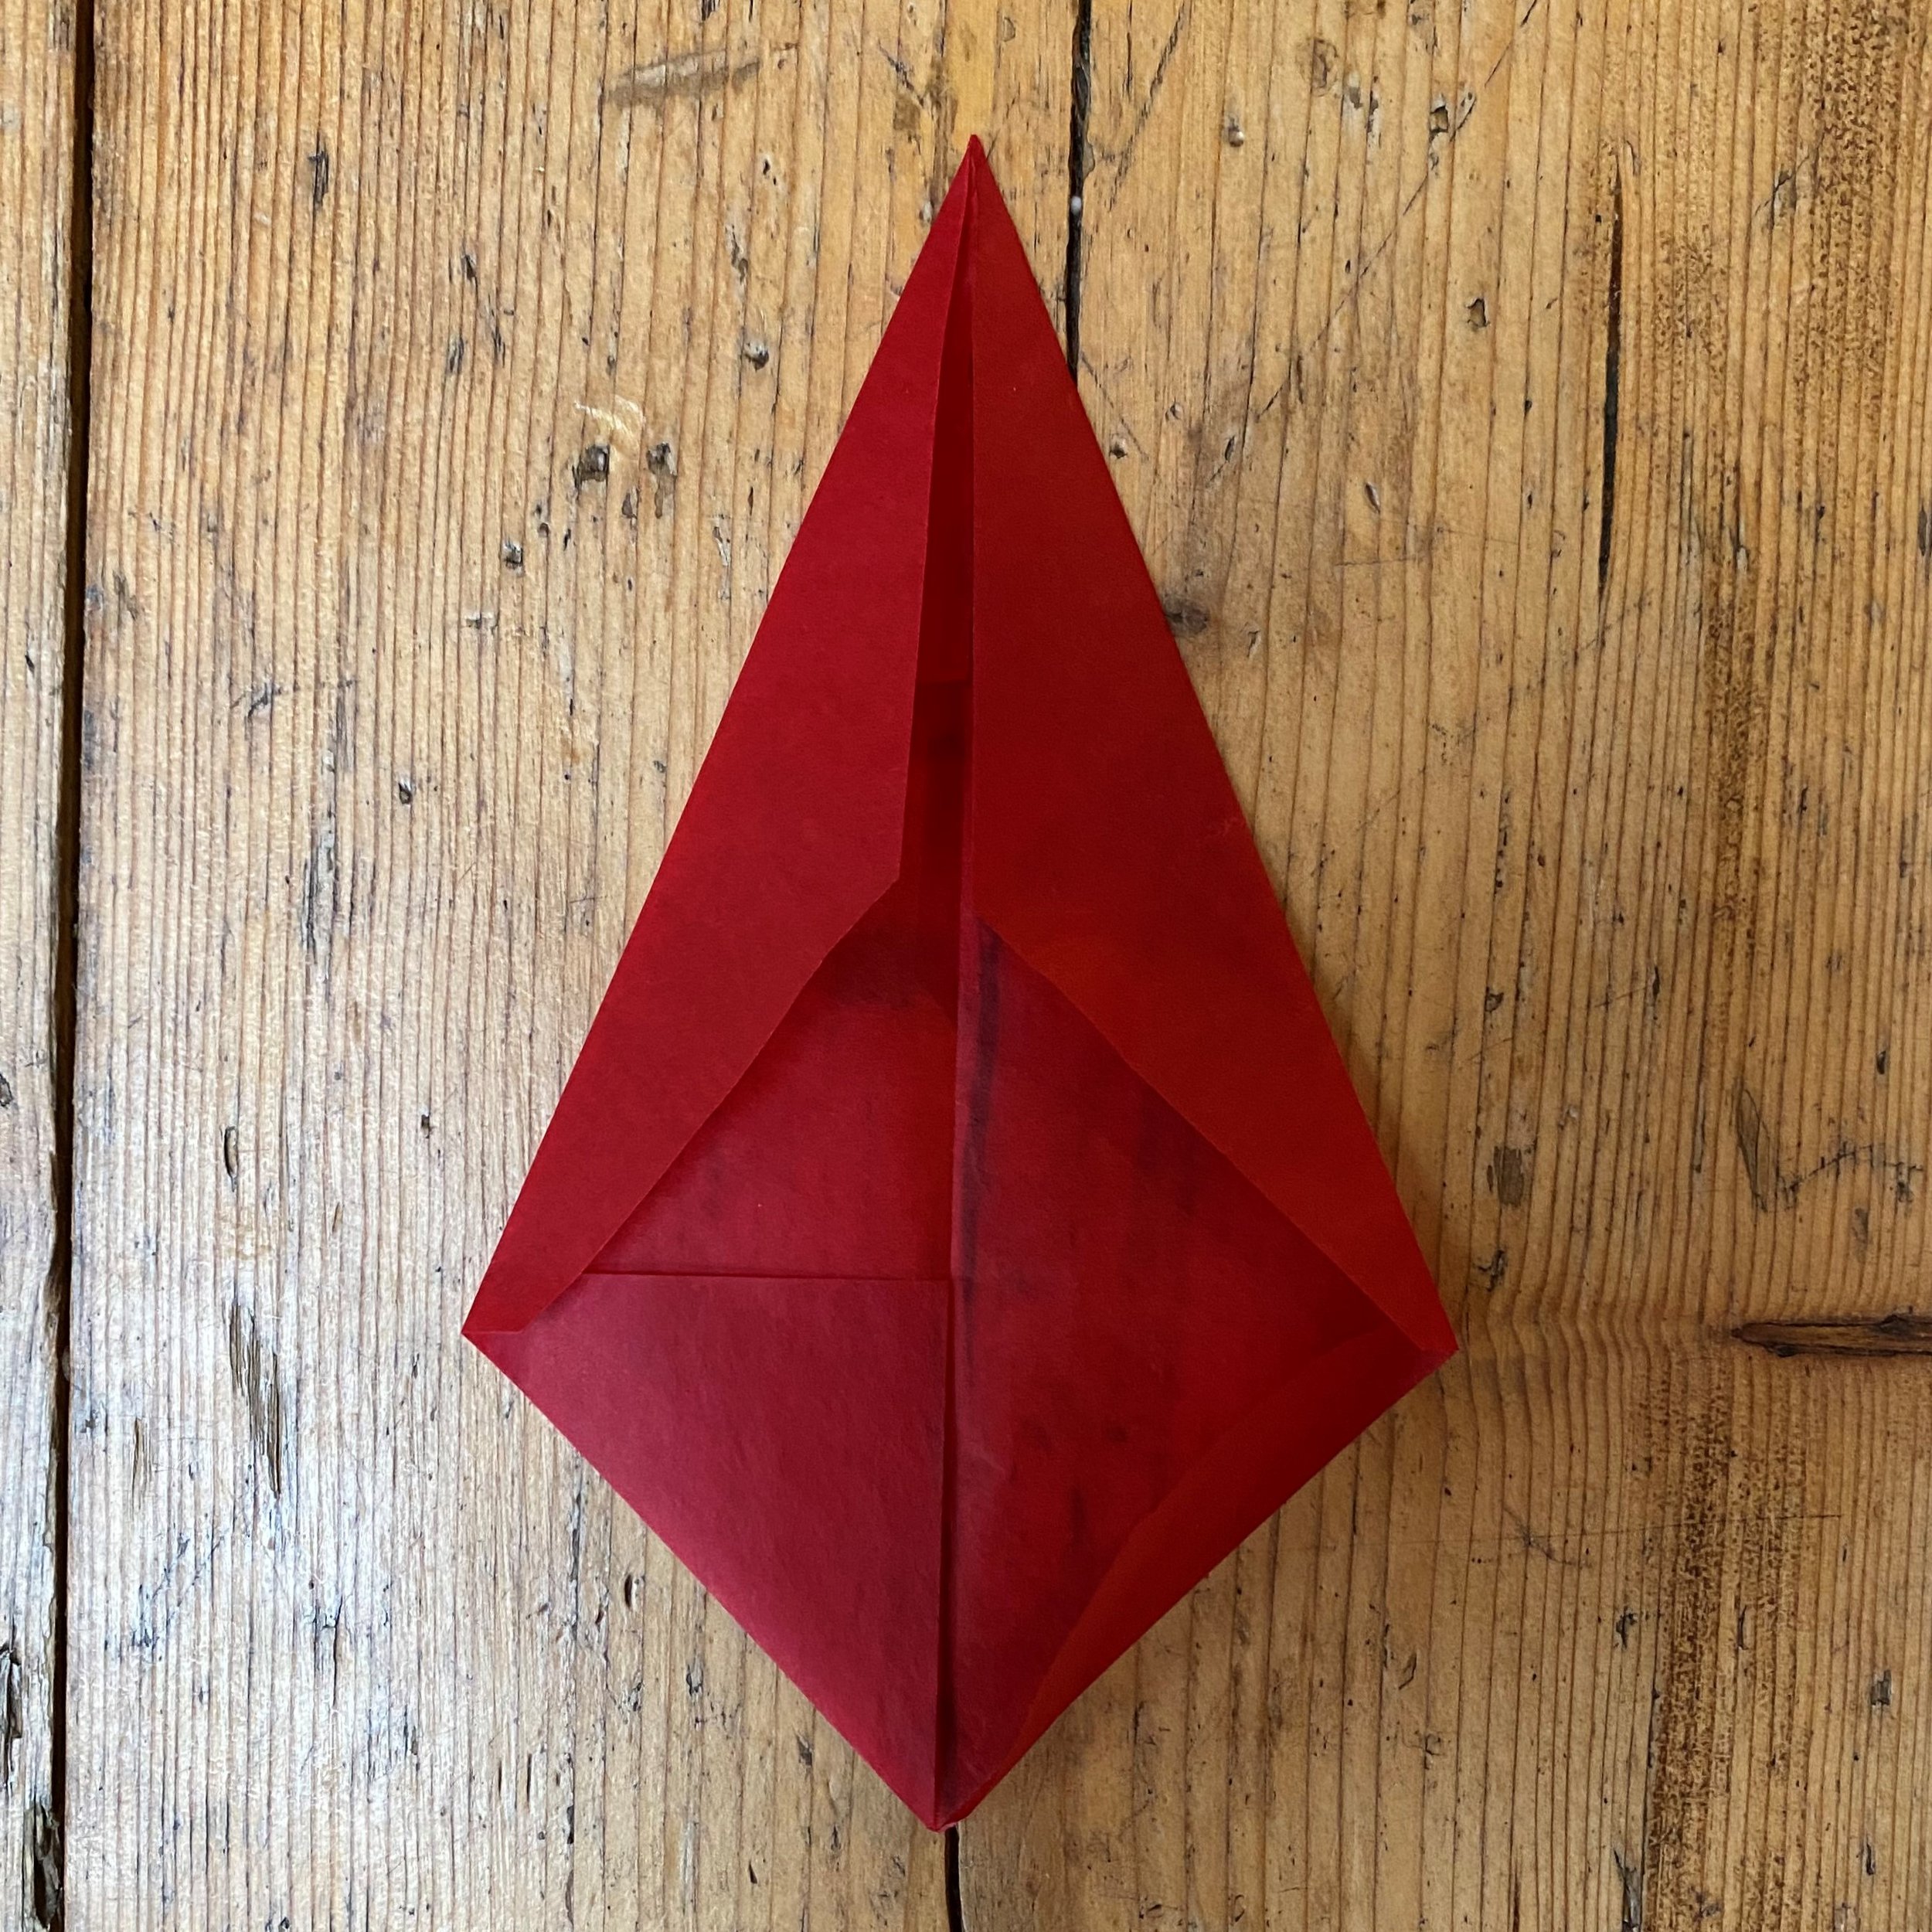
3. Then, on just one of the sides, fold the edges over to the middle crease. As shown in photo 4.
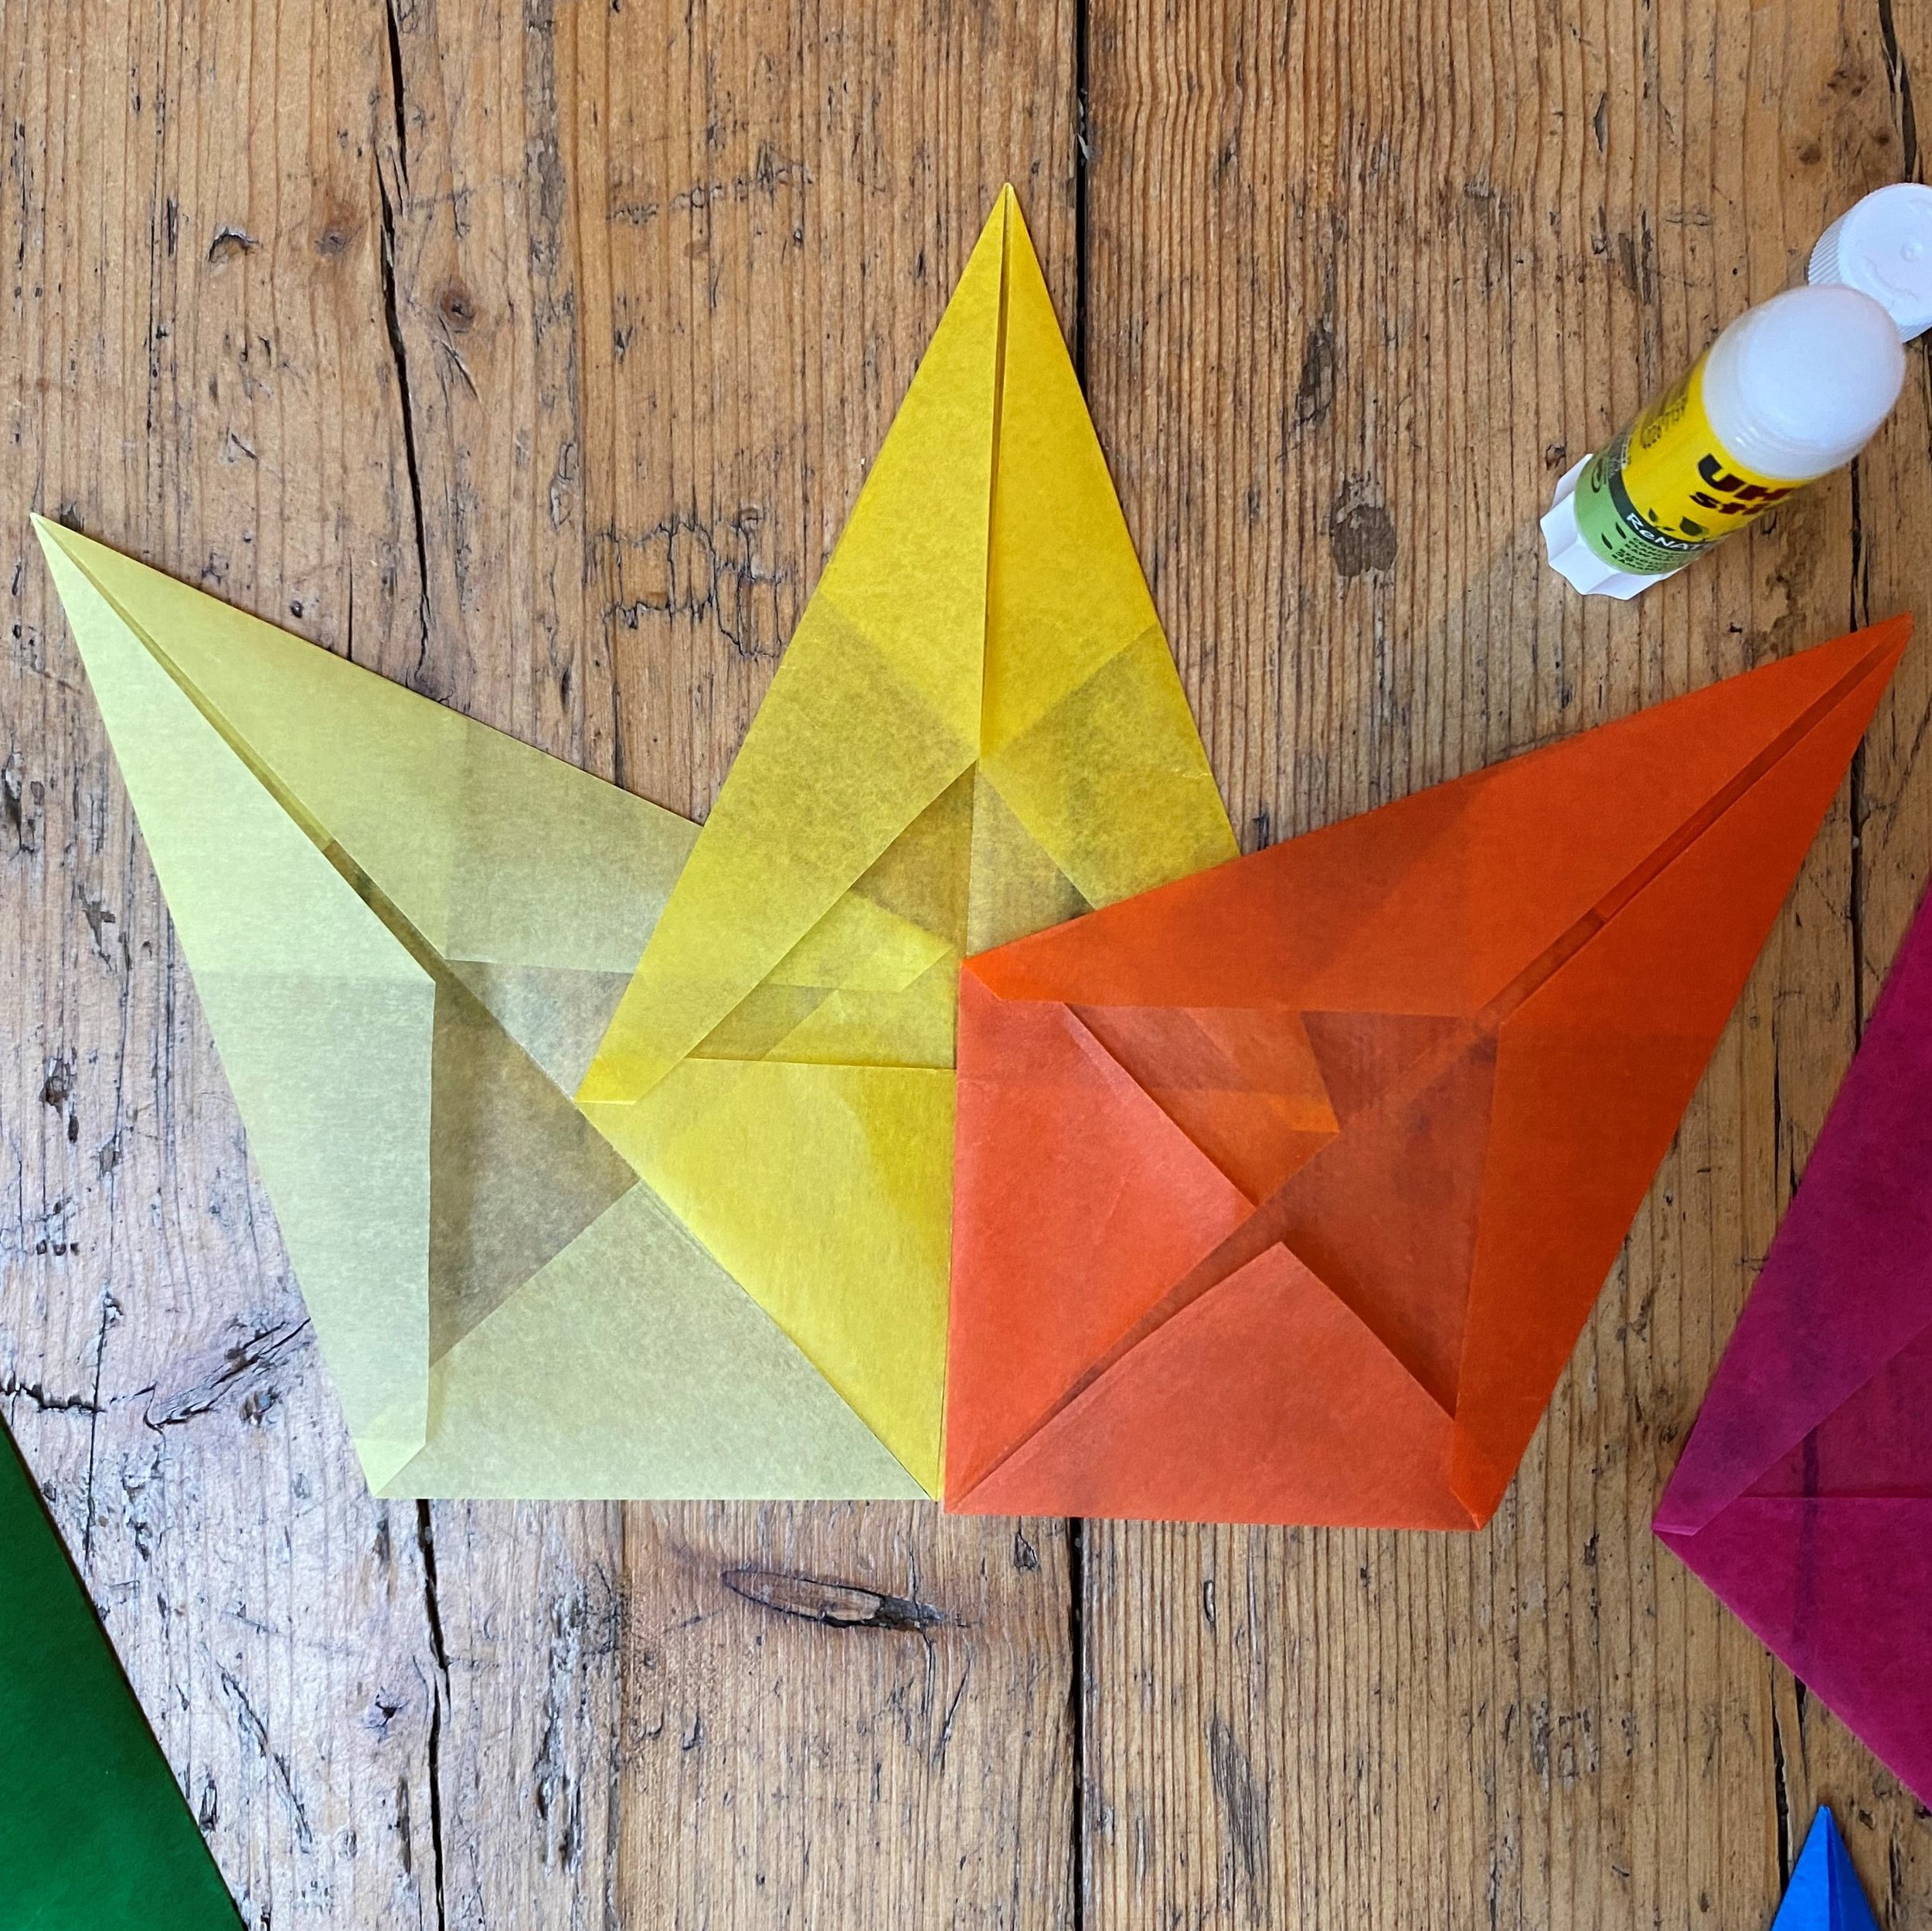
4. You have finished one section of your star! The long edge will form a point of your star and the short end will form the centre.
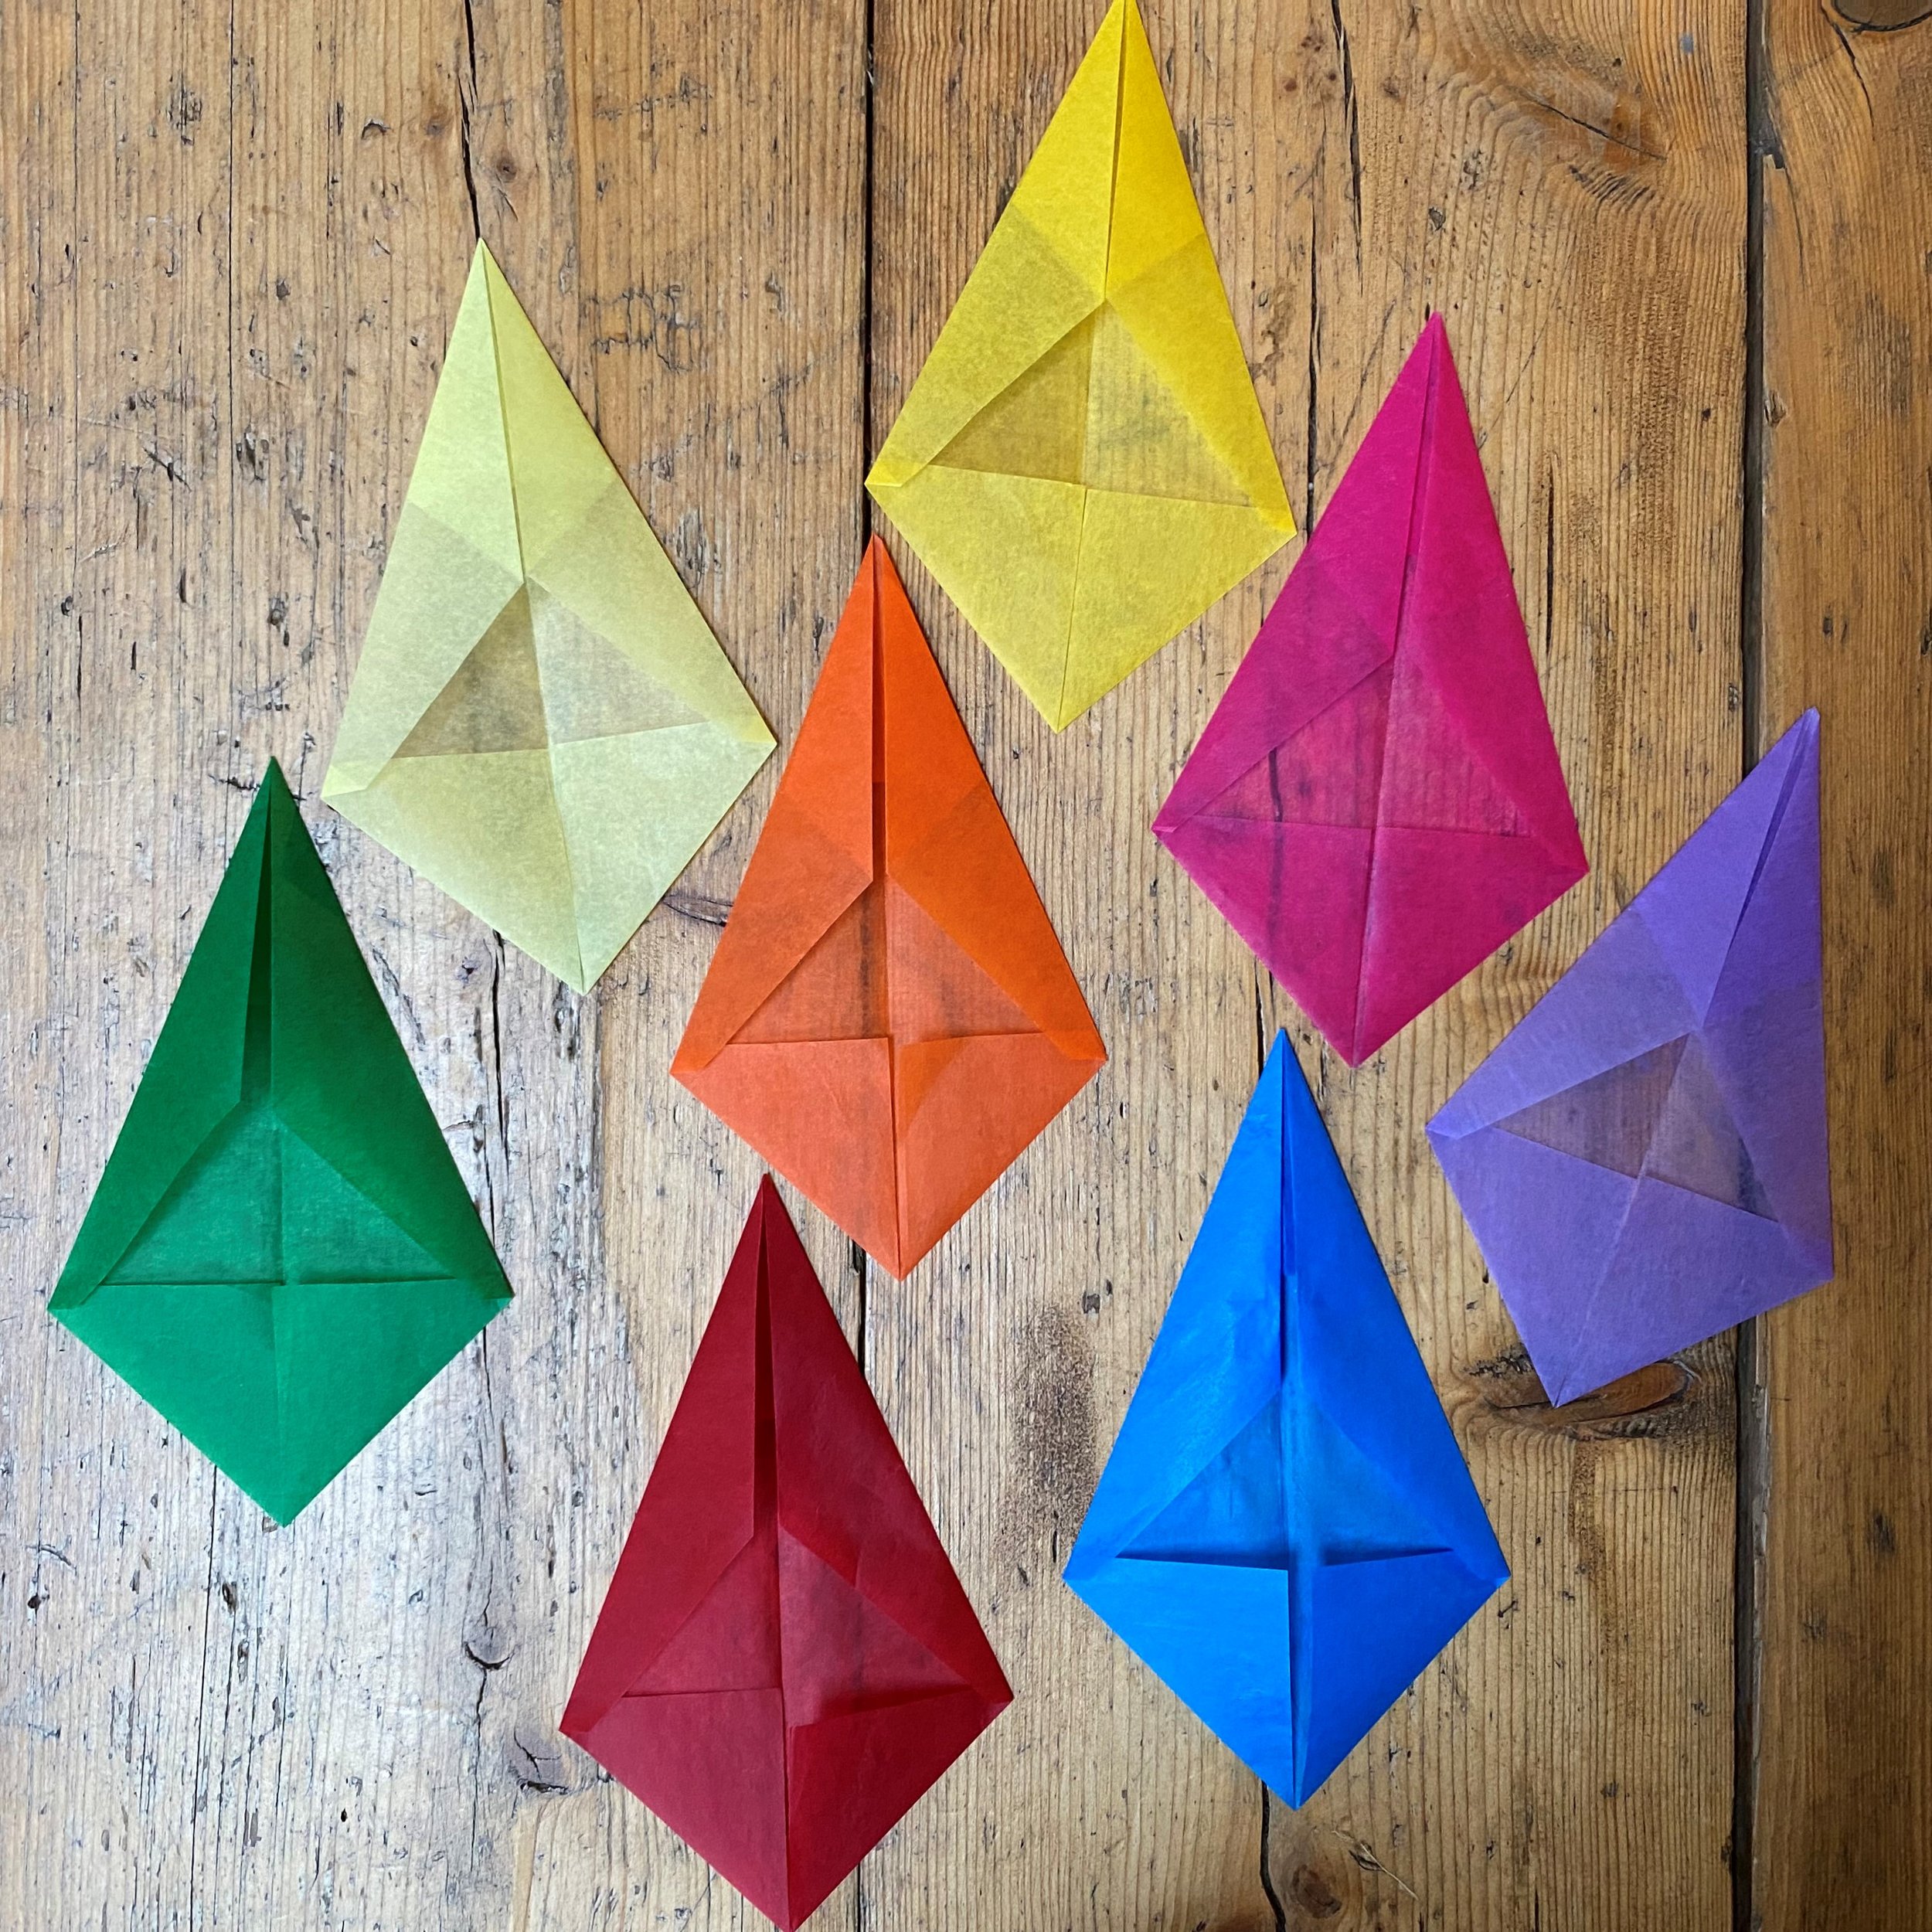
5. Do the same with all eight of your pieces of paper.
6. When all eight pieces are folded, as seen in photo 4 above, put them in a line with the long points at the top and the short points at the bottom.
7. Take two of your star sections. Put some glue carefully onto the short end of one of your sections. Stick another star section carefully on top of it, making sure it sticks to the middle folded line, as in photo 6 below.
8. Put more glue on your second section and attach the next one – making sure, again, that the side of your short end goes along the middle fold of the section it is being glued to, see photo 6.
9. Continue until seven of your pieces are glued together. To attach your final section, lift the first section and slide half of the short end of your last one under it.
10. Using a bit of blue tack or sellotape, stick your star up on a window. A south-facing window will catch the most light.