Make a giant 3D Paper snowflake
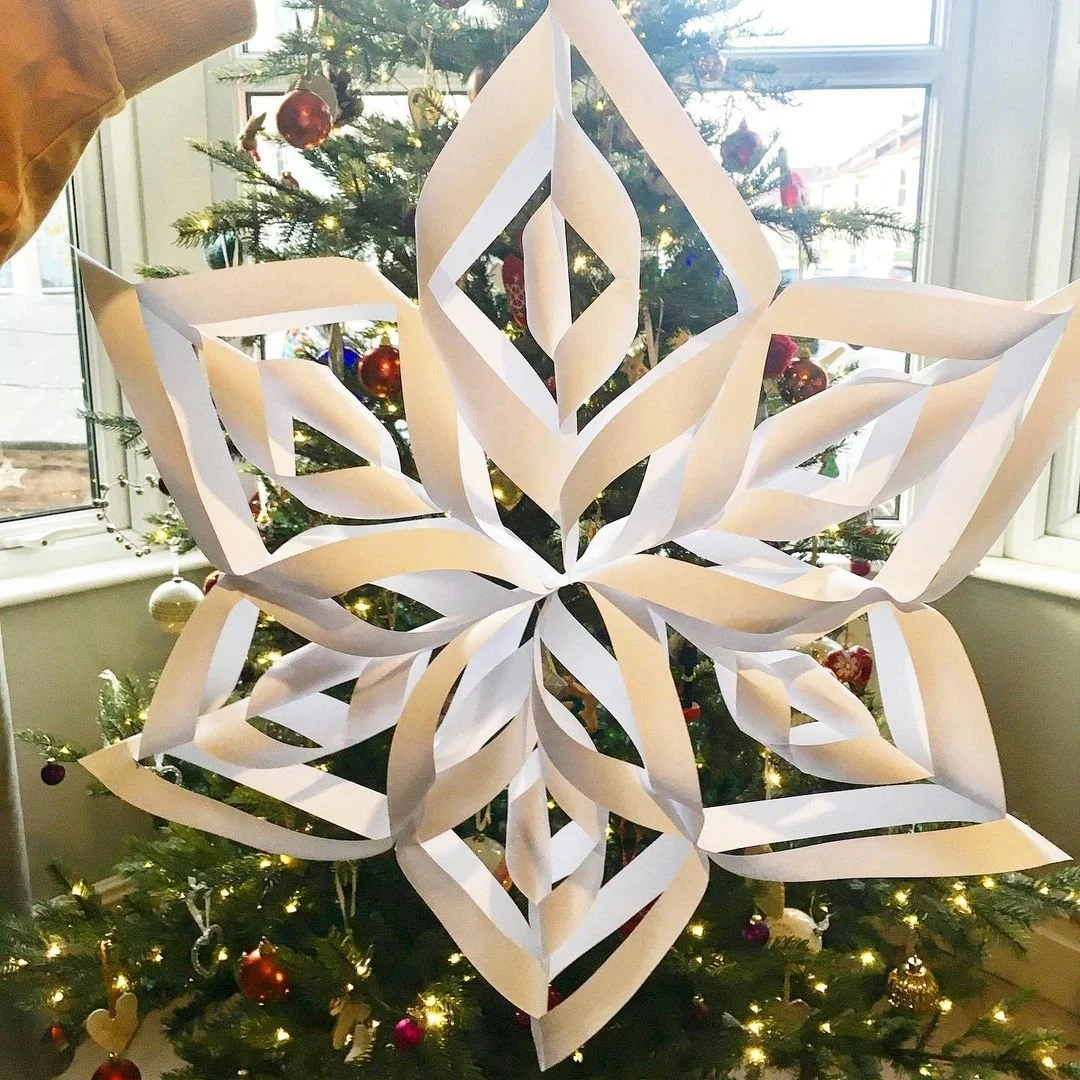
These 3D snowflakes look really impressive hanging from a ceiling but are so simple to make! They look great made from plain white paper but you could also try using patterned paper. We made a plain white one and one from patterned origami paper. We also made two smaller ones from the left over bits of paper and they look wonderful all hanging together!
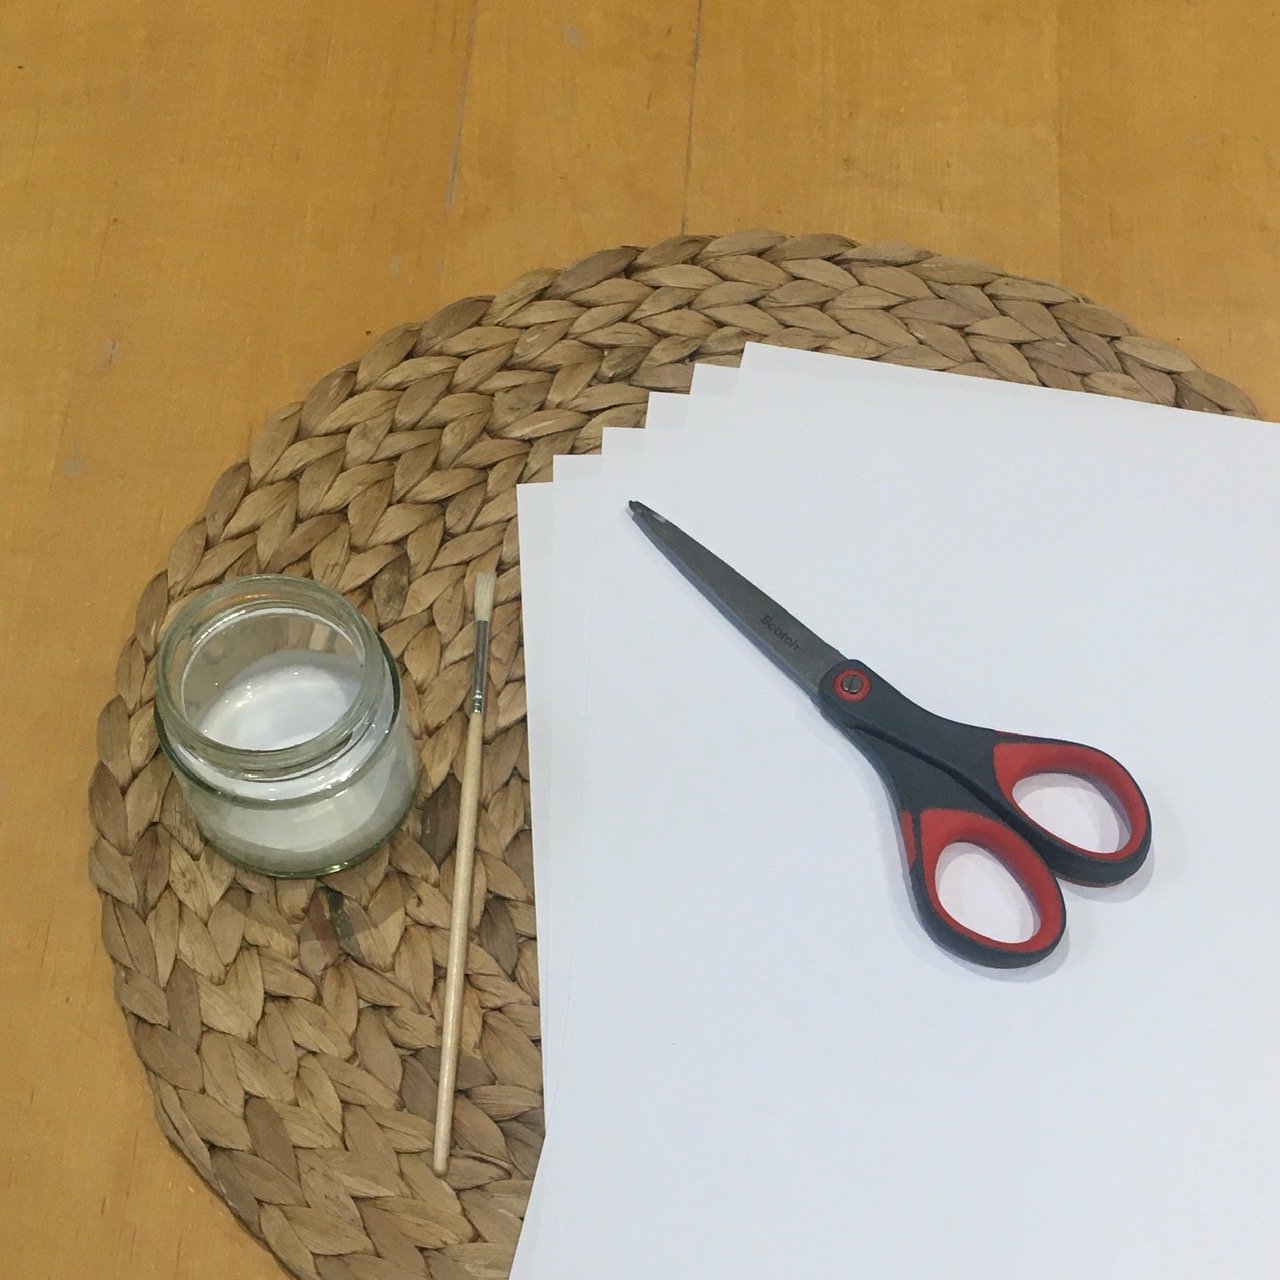
What you will need:
6 sheets of plain white paper
Scissors
Glue
Clear thread
What you need to do:
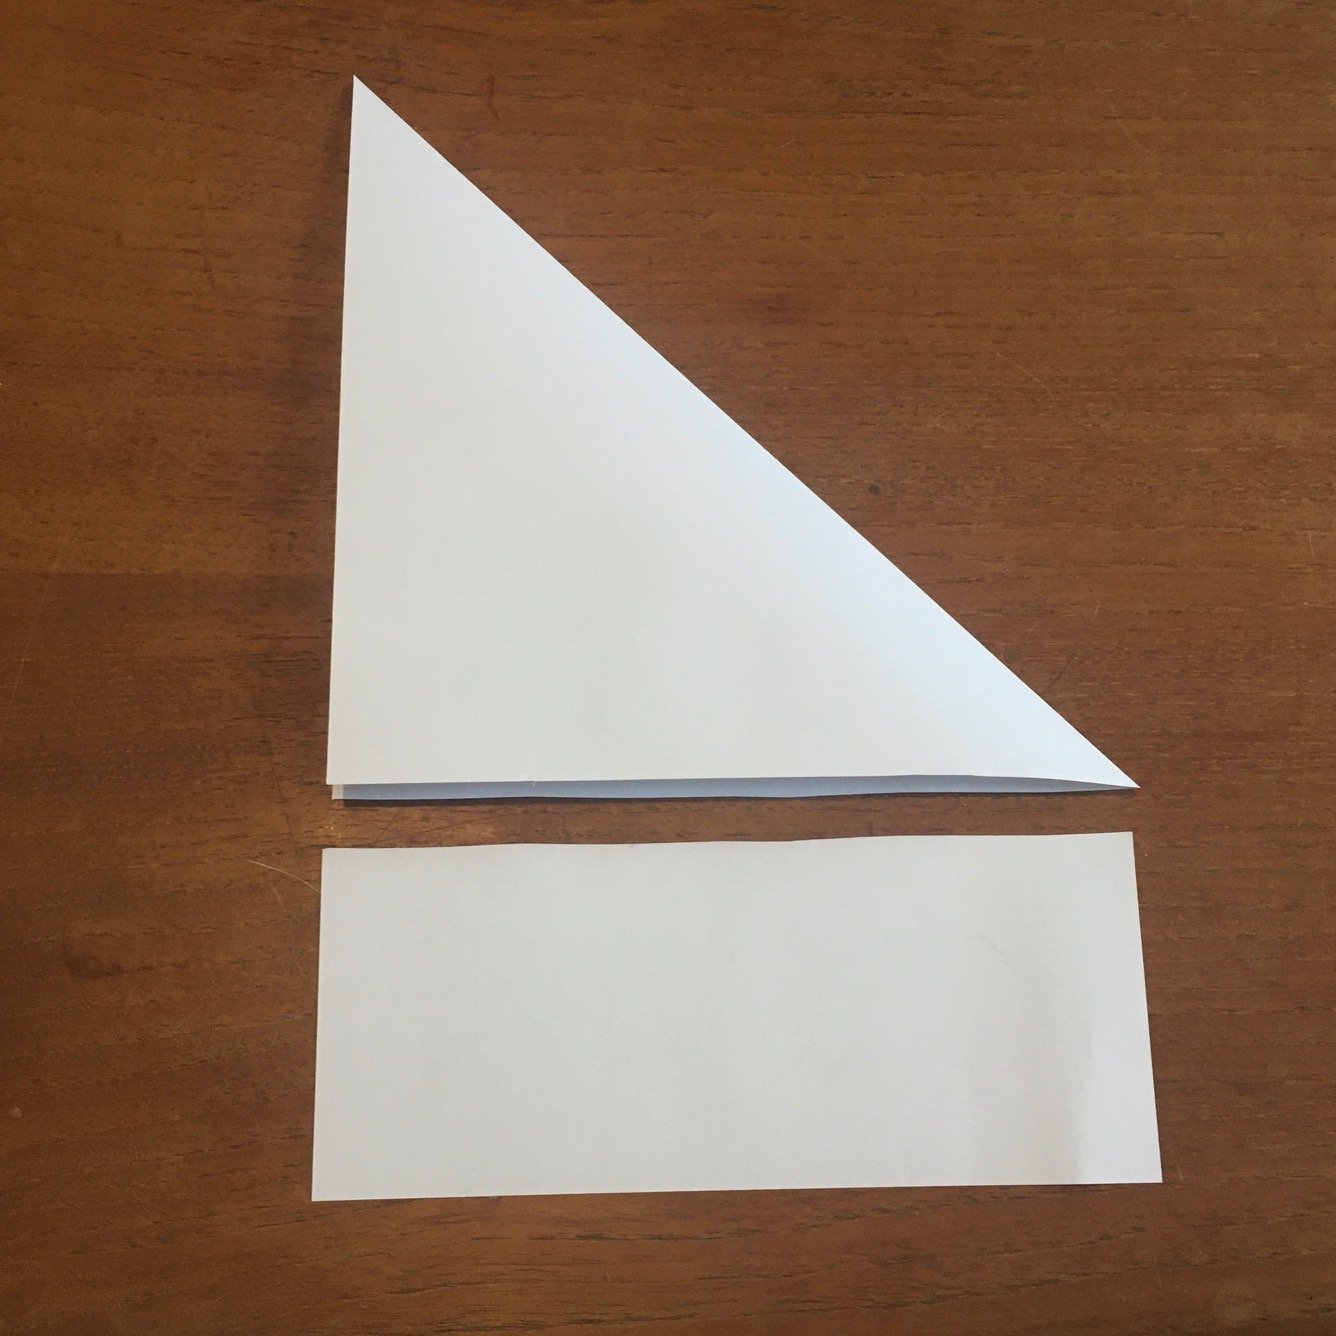
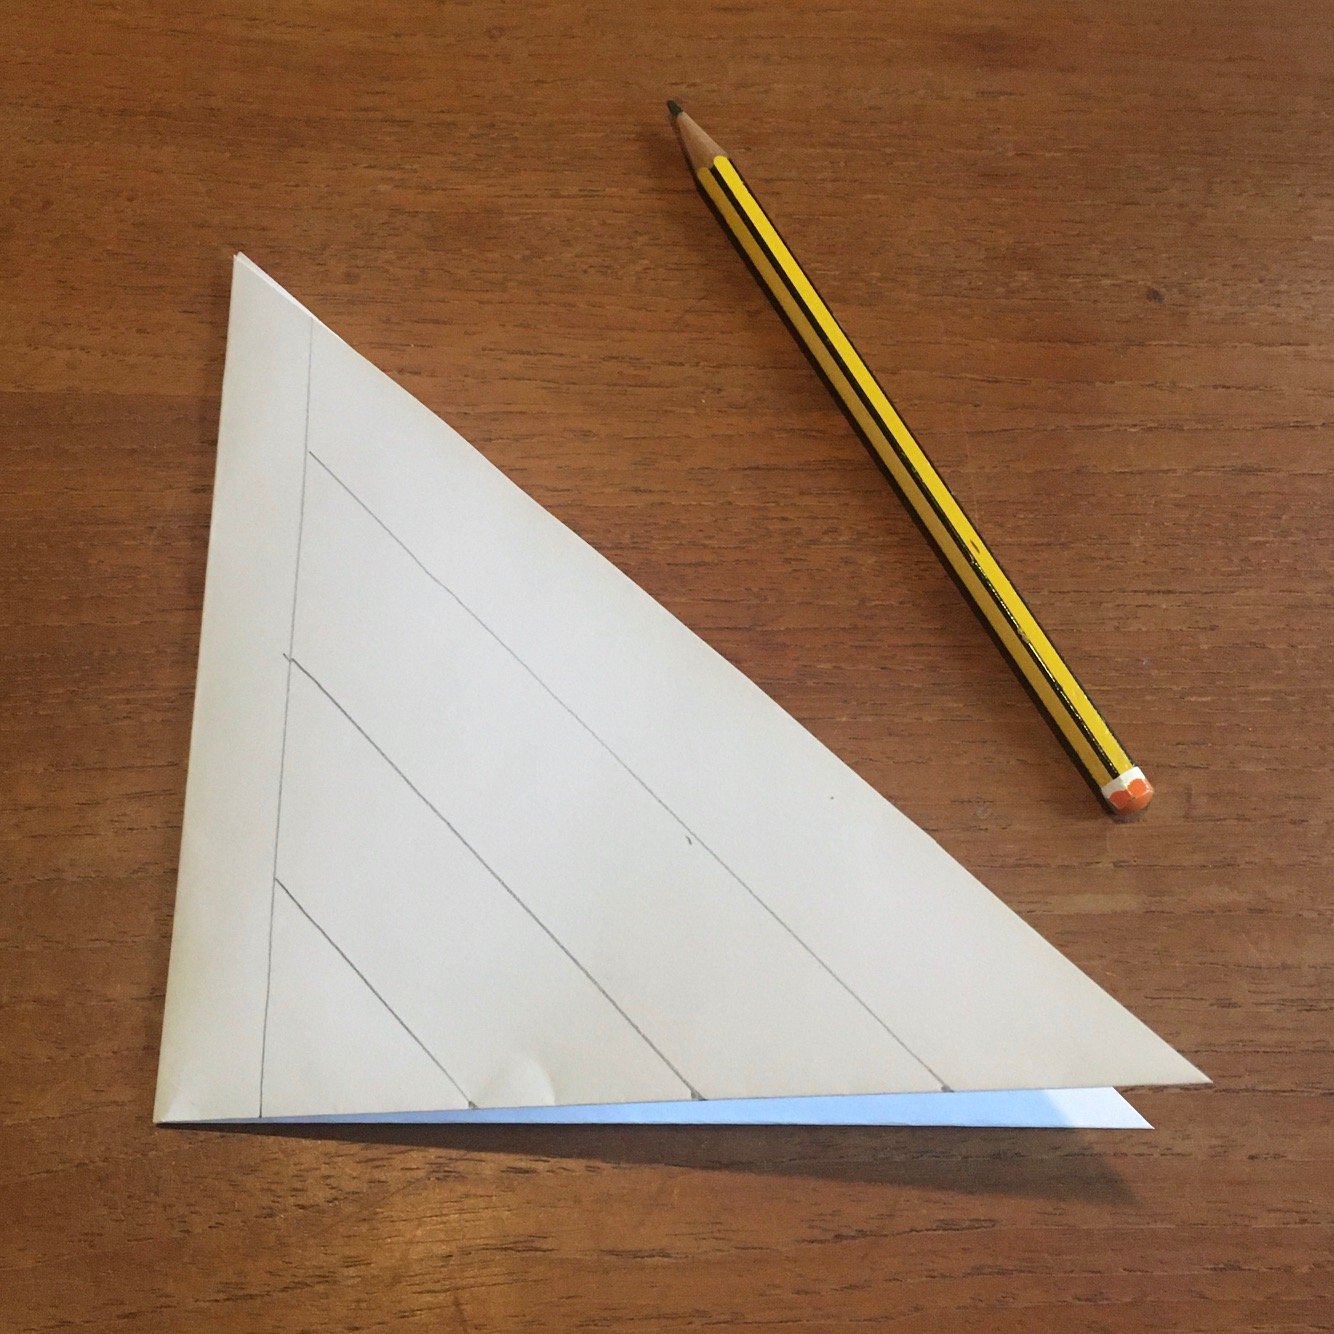
1. The first thing you need to do is make a square out of your paper. To do this, you can simply fold over the short edge to meet the longer edge making a triangle. Then snip off the excess paper. You can keep the excess paper to make smaller snowflakes.
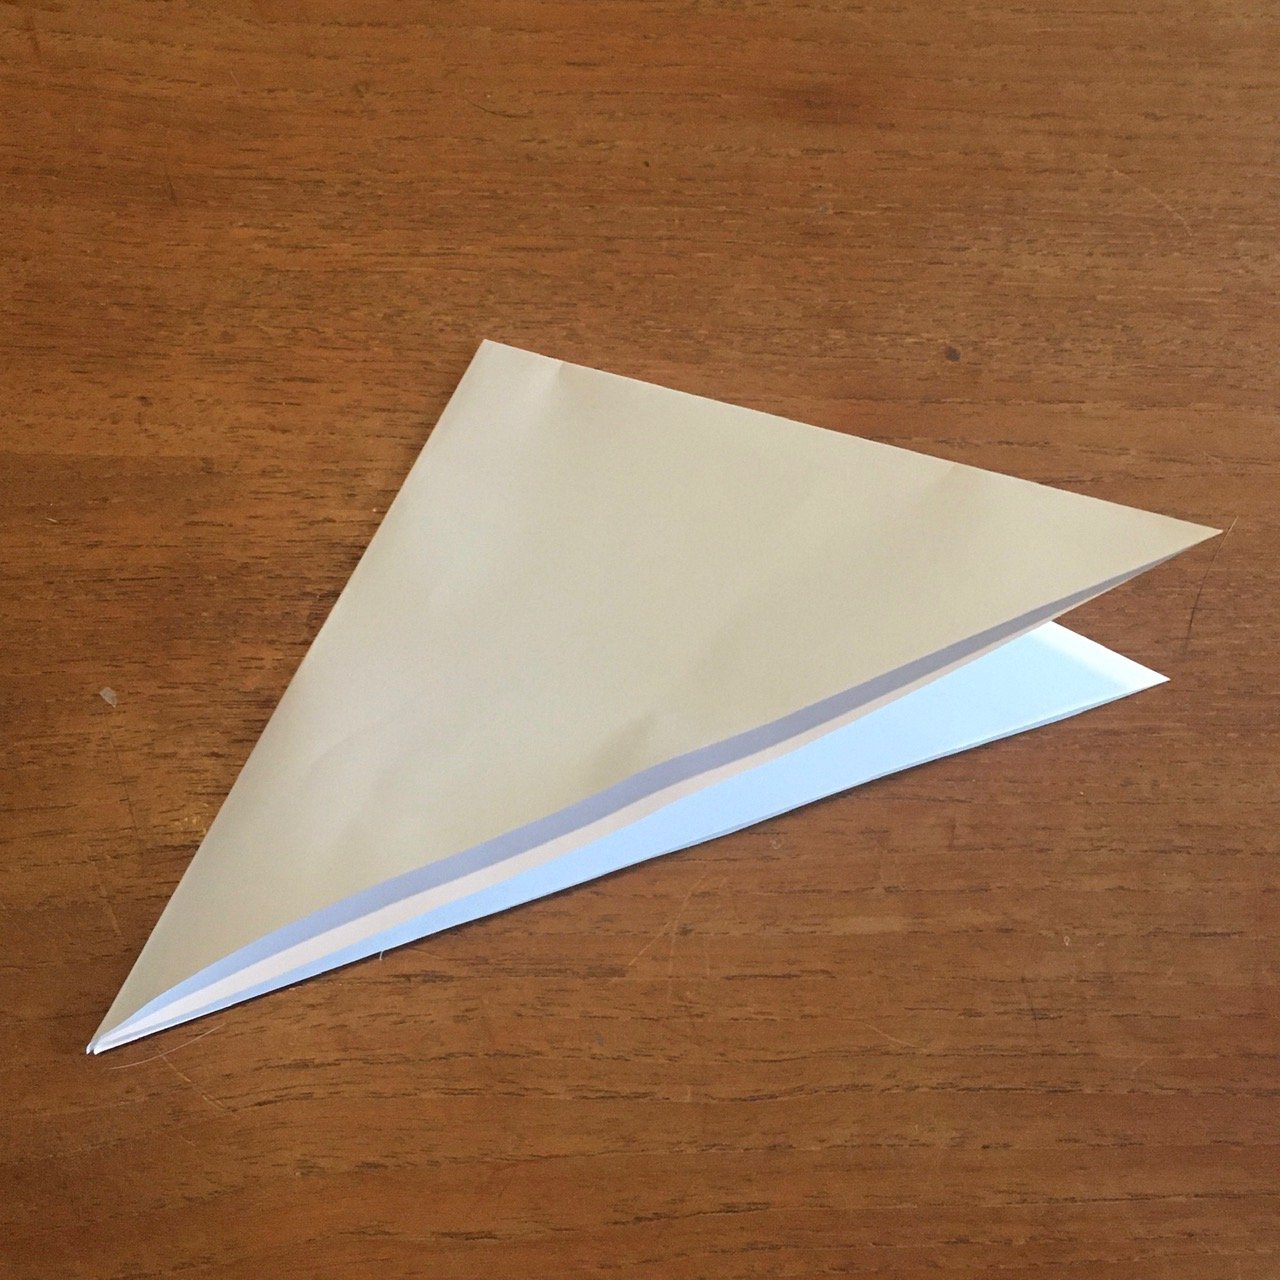
2. Fold the paper in half again to make a smaller triangle.
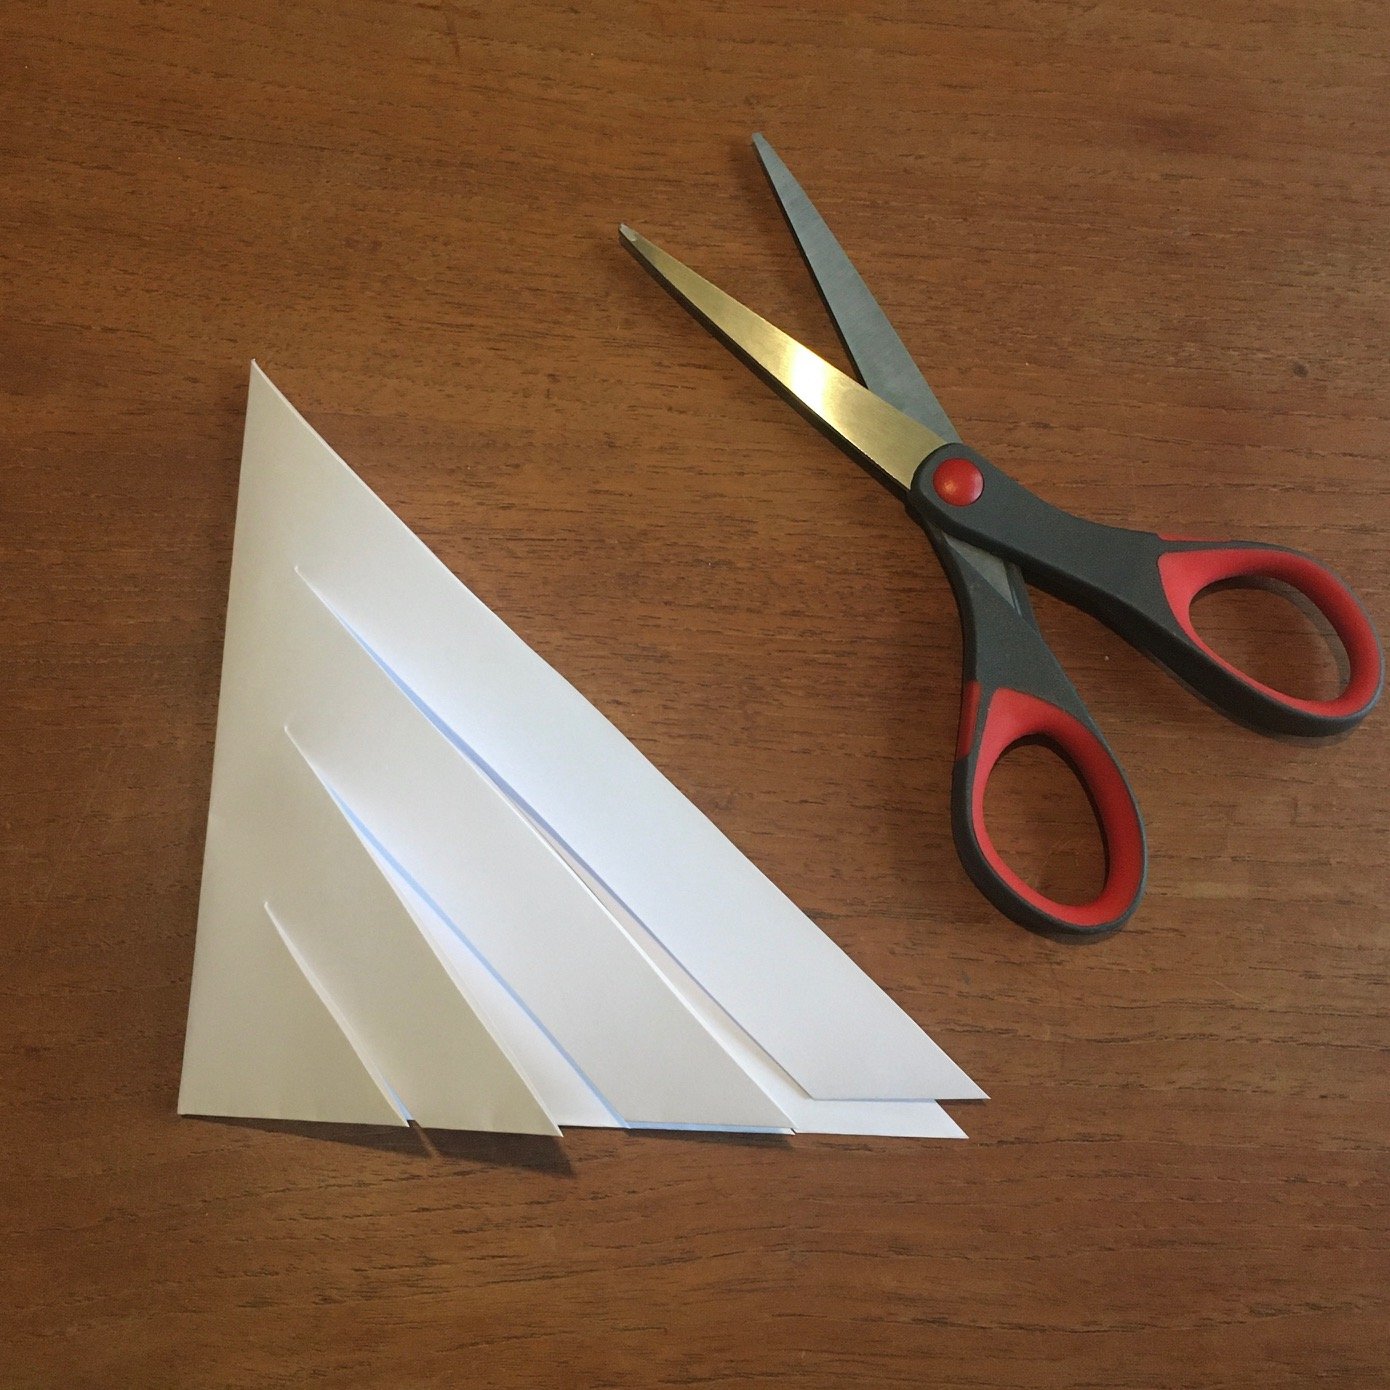
3. On the non-folded shorter edge, make three, evenly-spaced parallel cuts but stopping a couple of cm short of the folded edge. We do this by eye, but if you are doing this activity with a younger child, you could use a ruler to mark a line 1-2 cm away from the folded edge and to mark the parallel cuts.
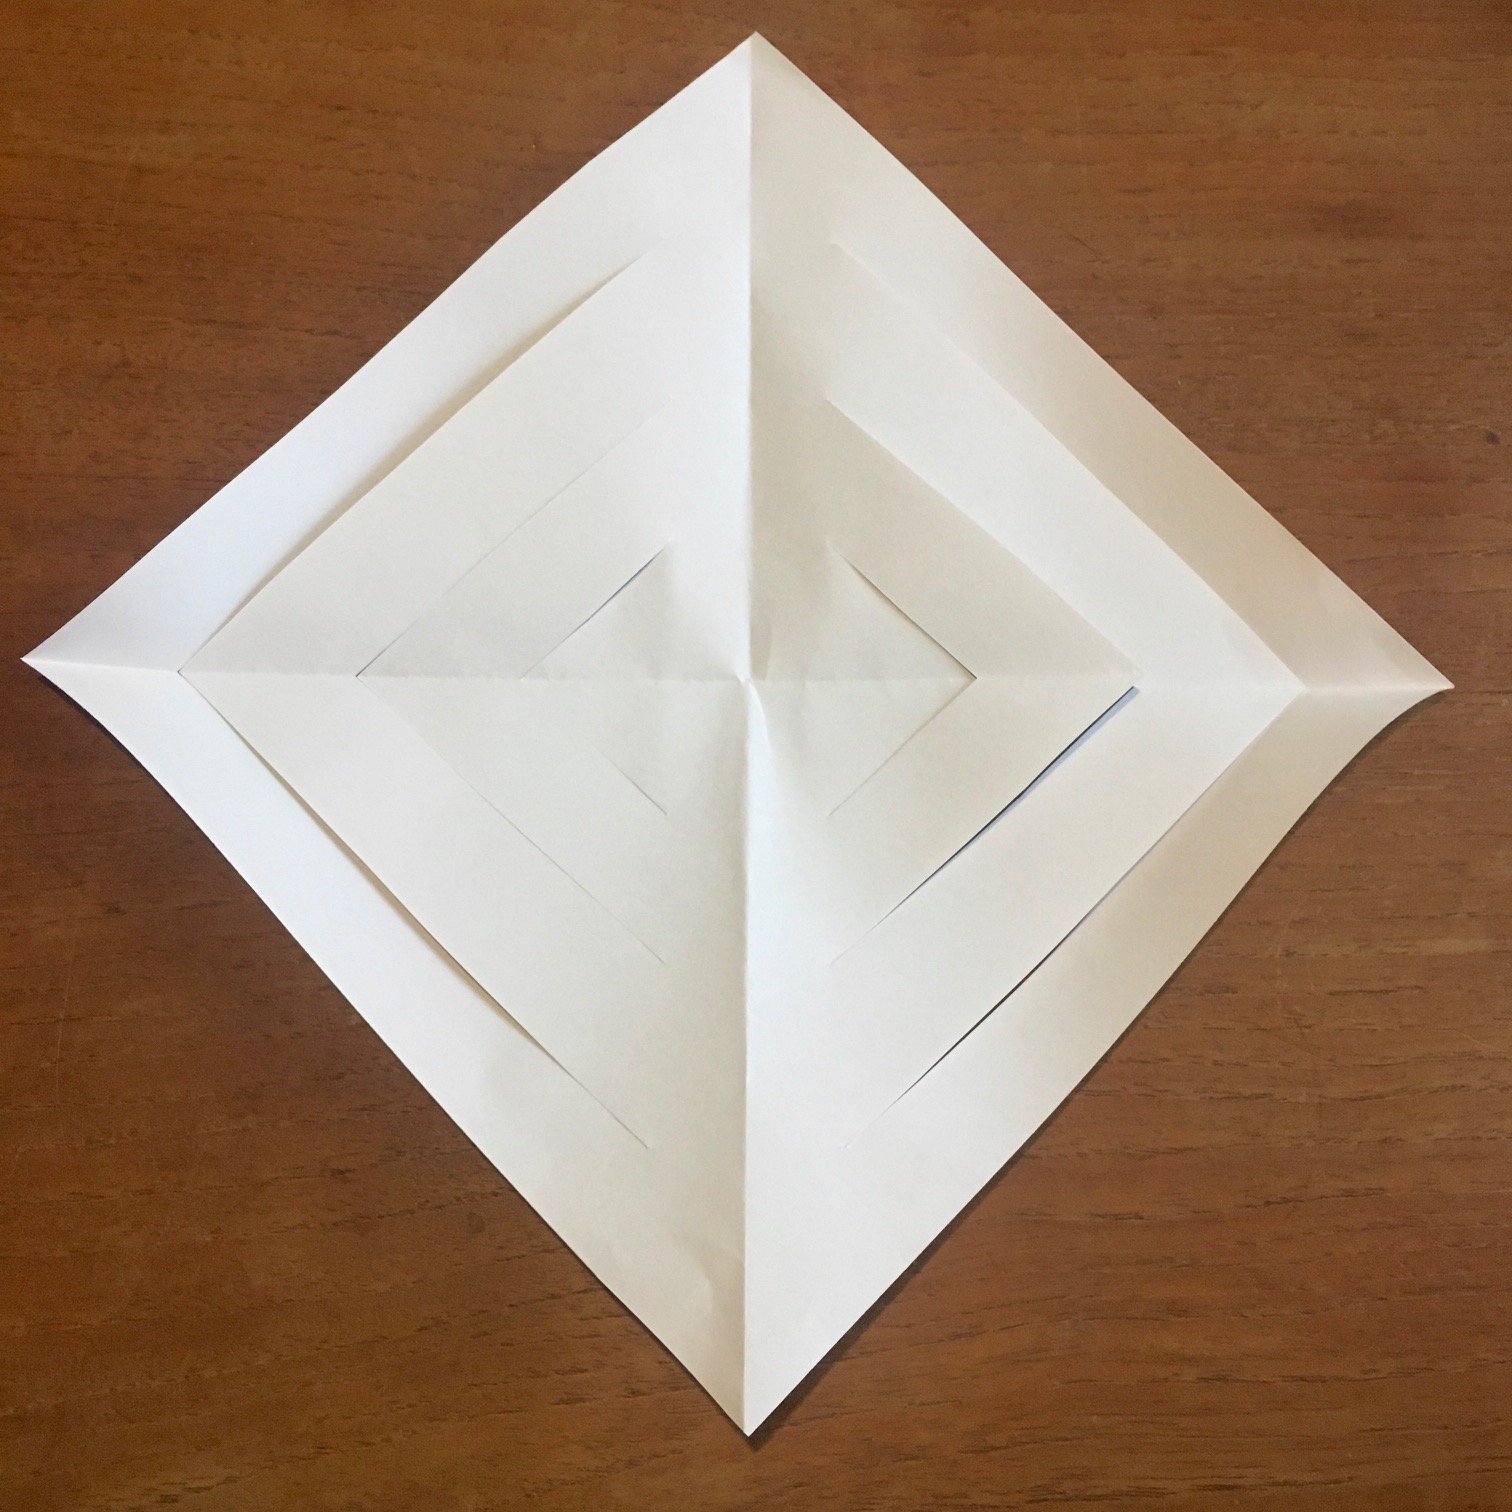
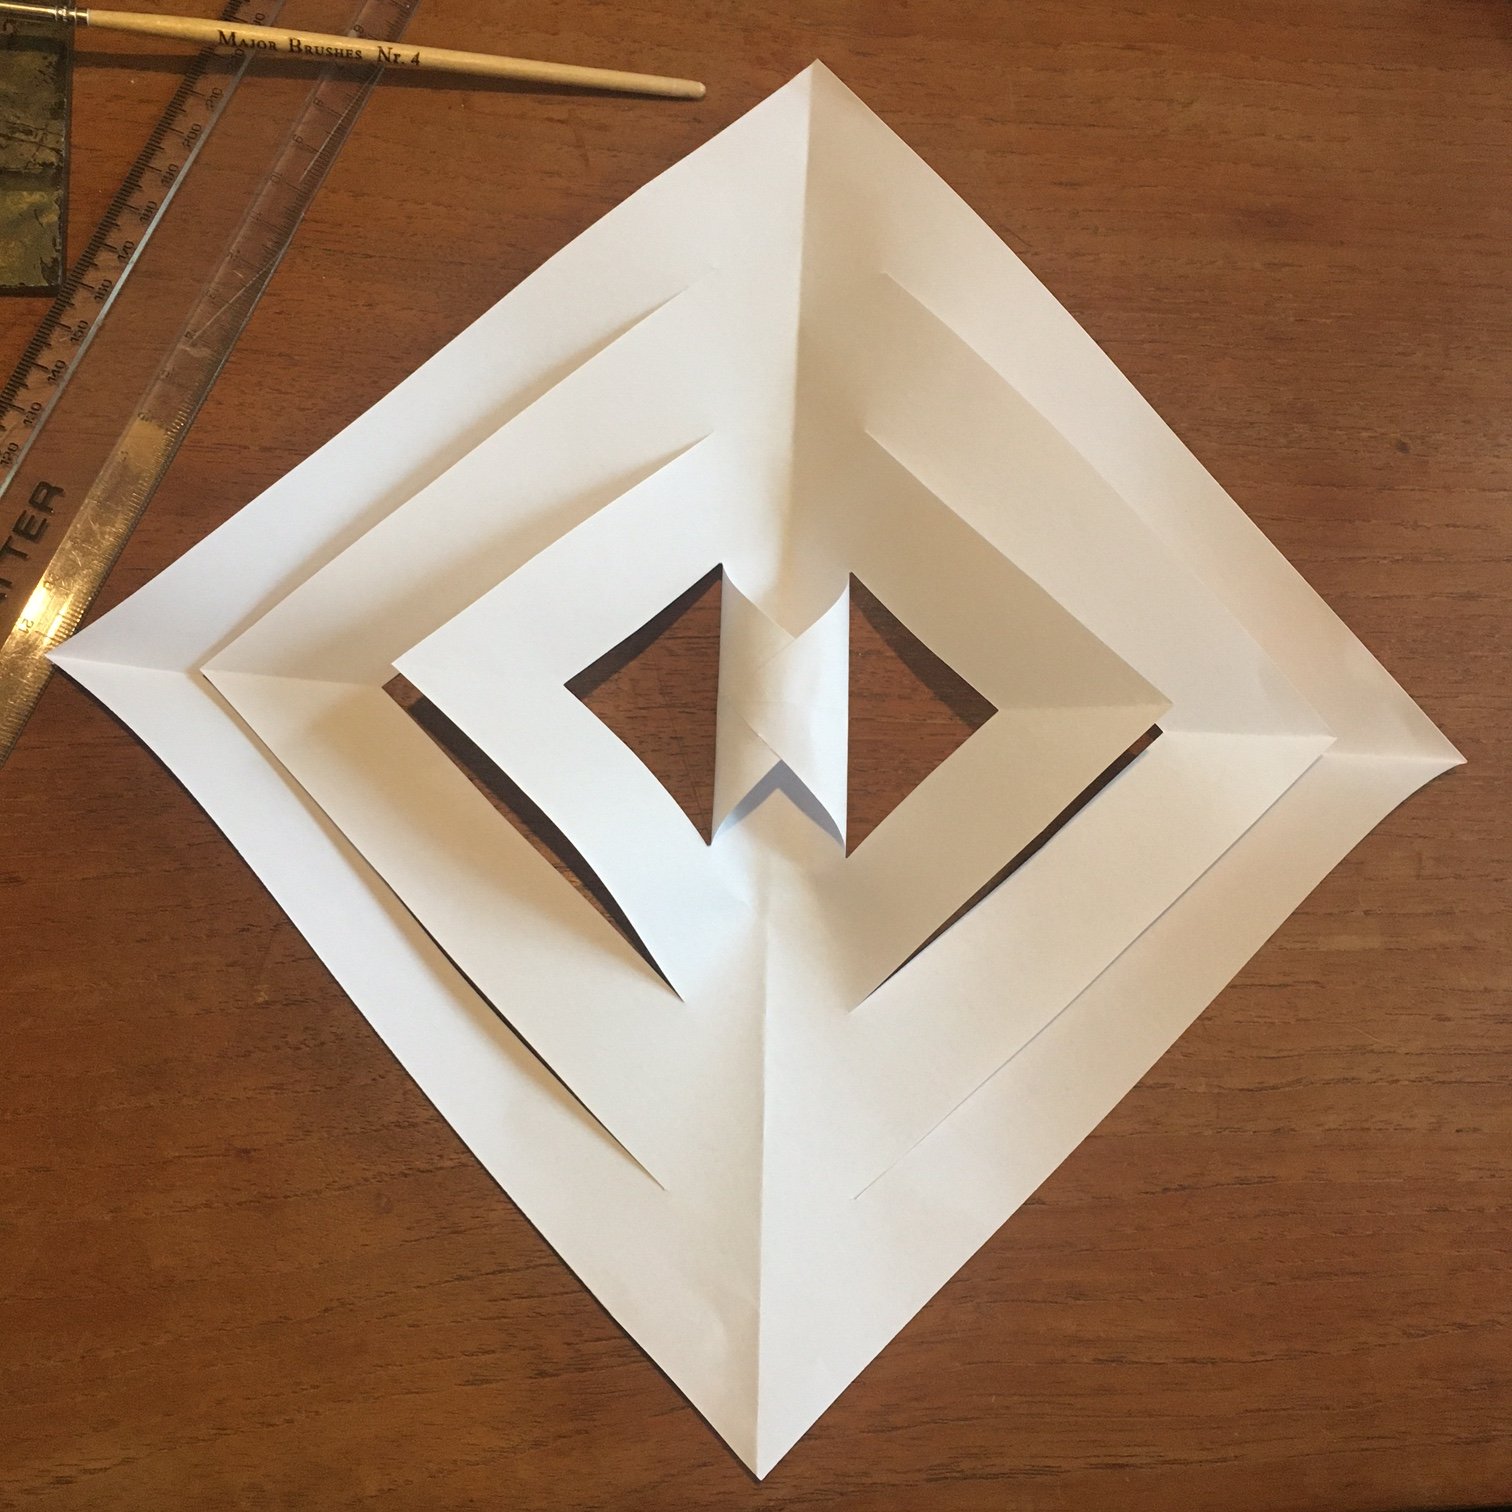
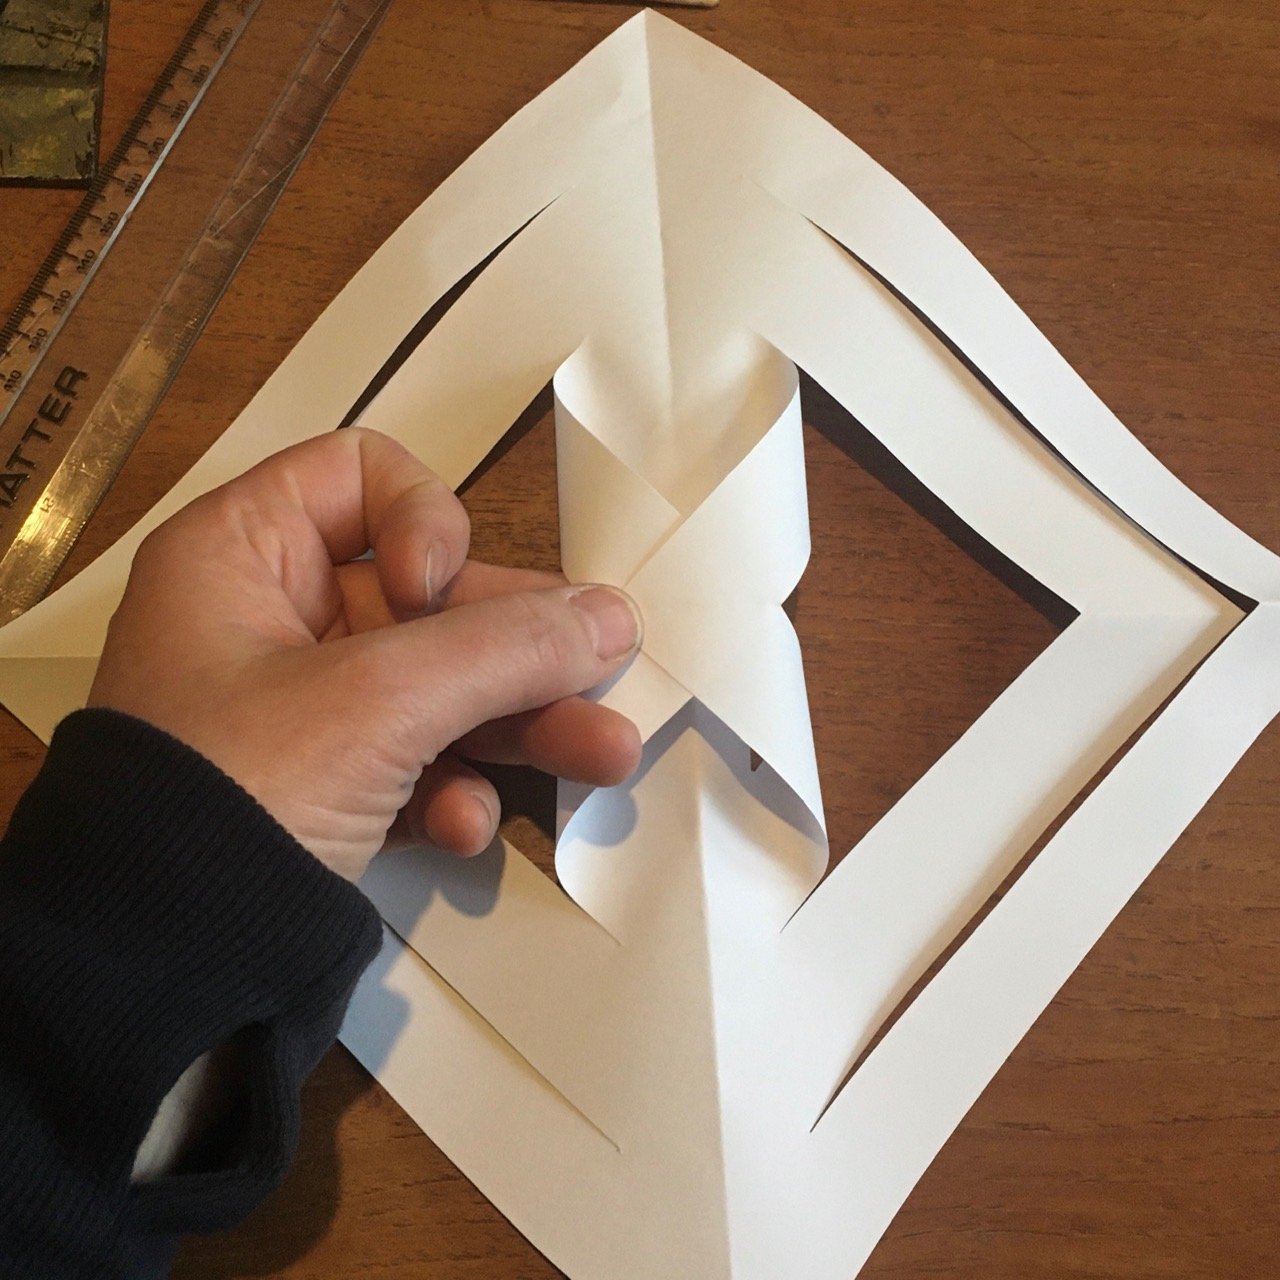
4. Unfold your paper and you will see that you have three pairs of concentric slits. Roll the two innermost cut sections together to make a small tube with the points overlapping fully. Then secure with glue at the tips, pressing the tips for a few seconds to make sure that the glue sticks the paper in place.
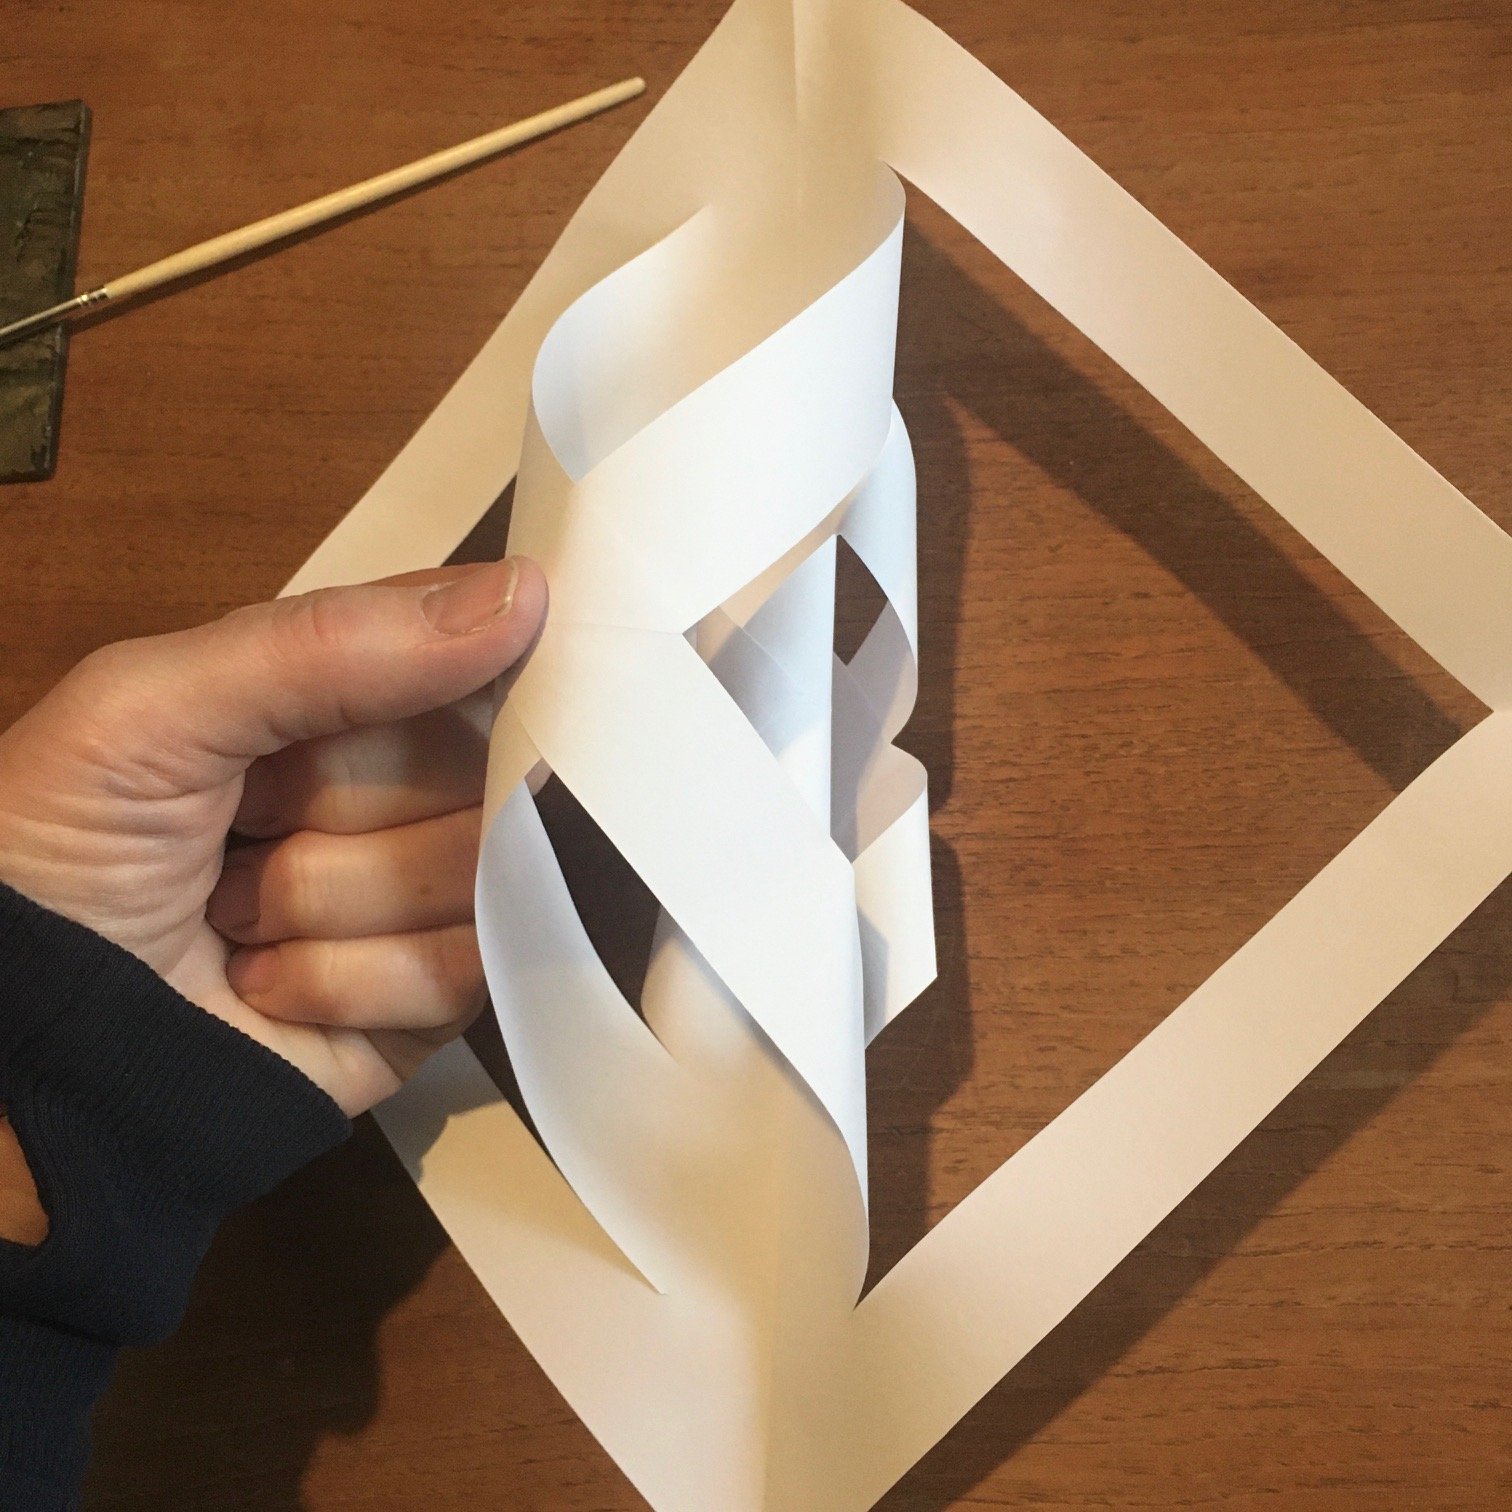
5. Flip over your paper placing your newly made roll facing down, being careful not to squash it. Then take the next cut sections and pull them together on the opposite side of the tube and glue them together as before.
6. Flip your paper one more time, so that the original roll is facing up again and join the final two sections together. You now have one of the six points of your snowflake!
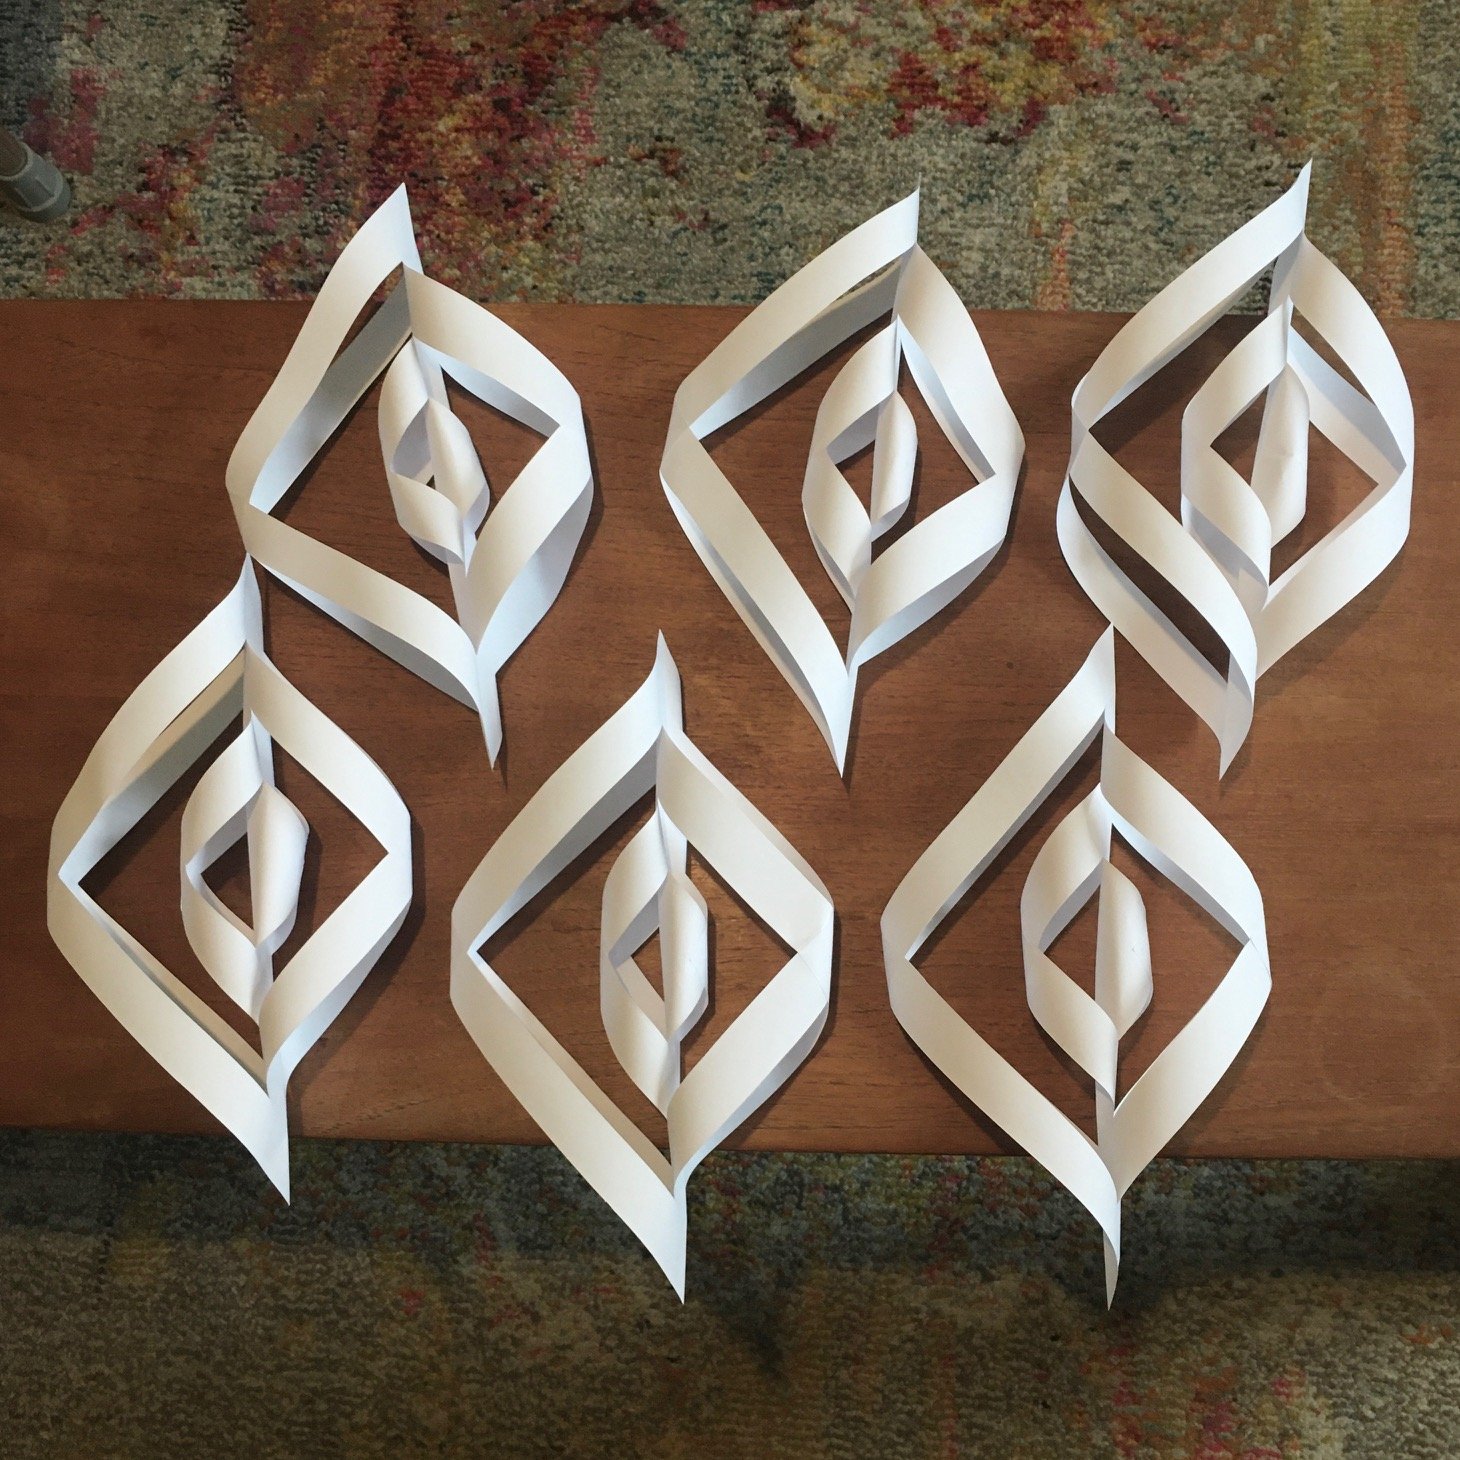
7. Repeat these steps with the remaining five sheets of paper.
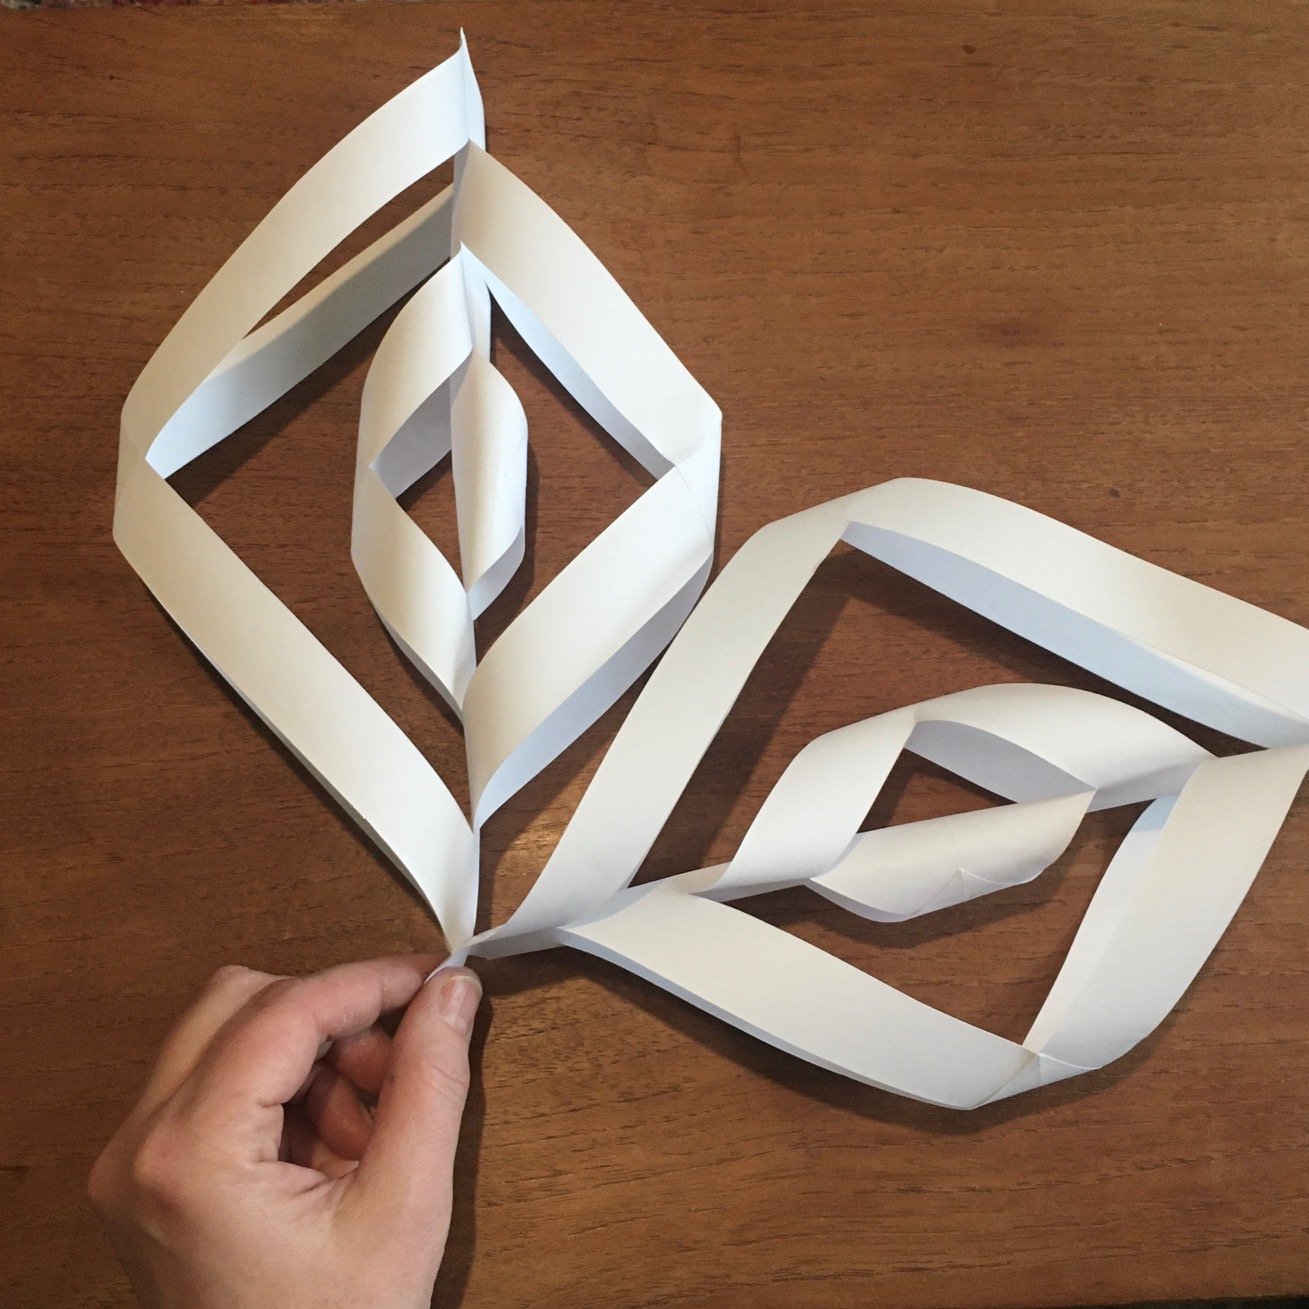
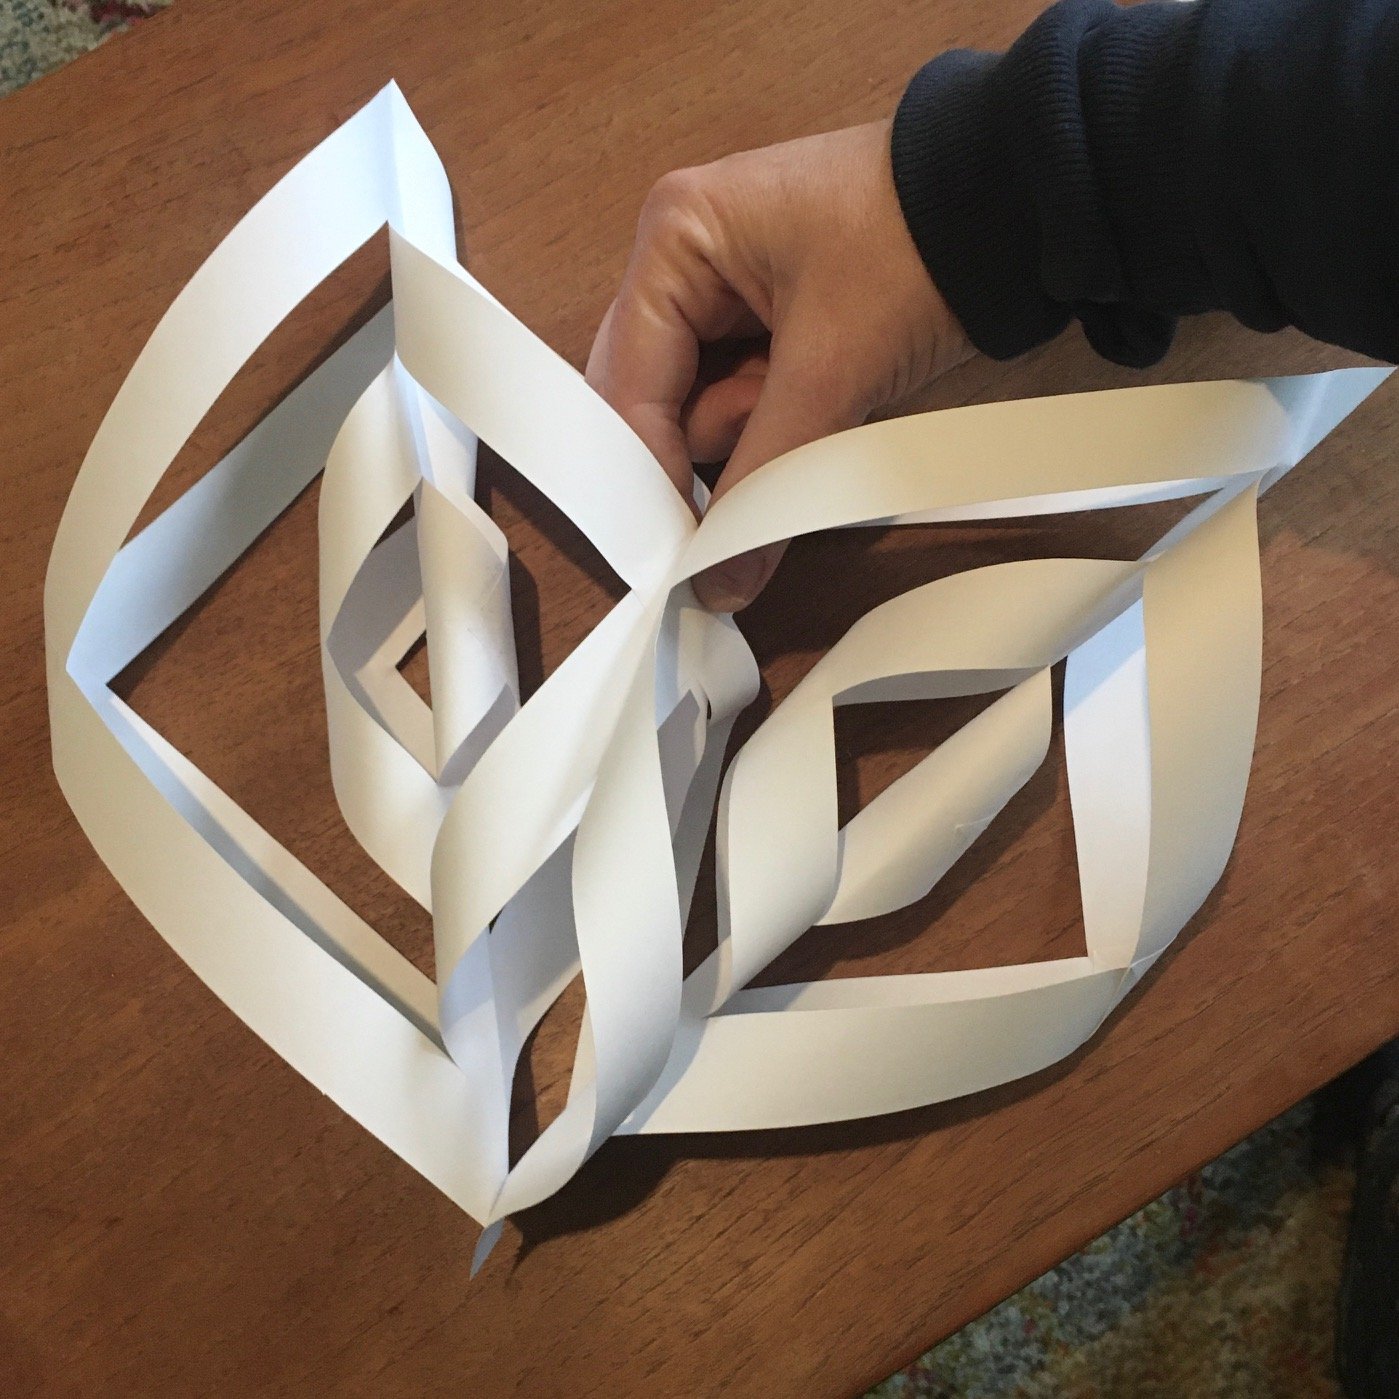
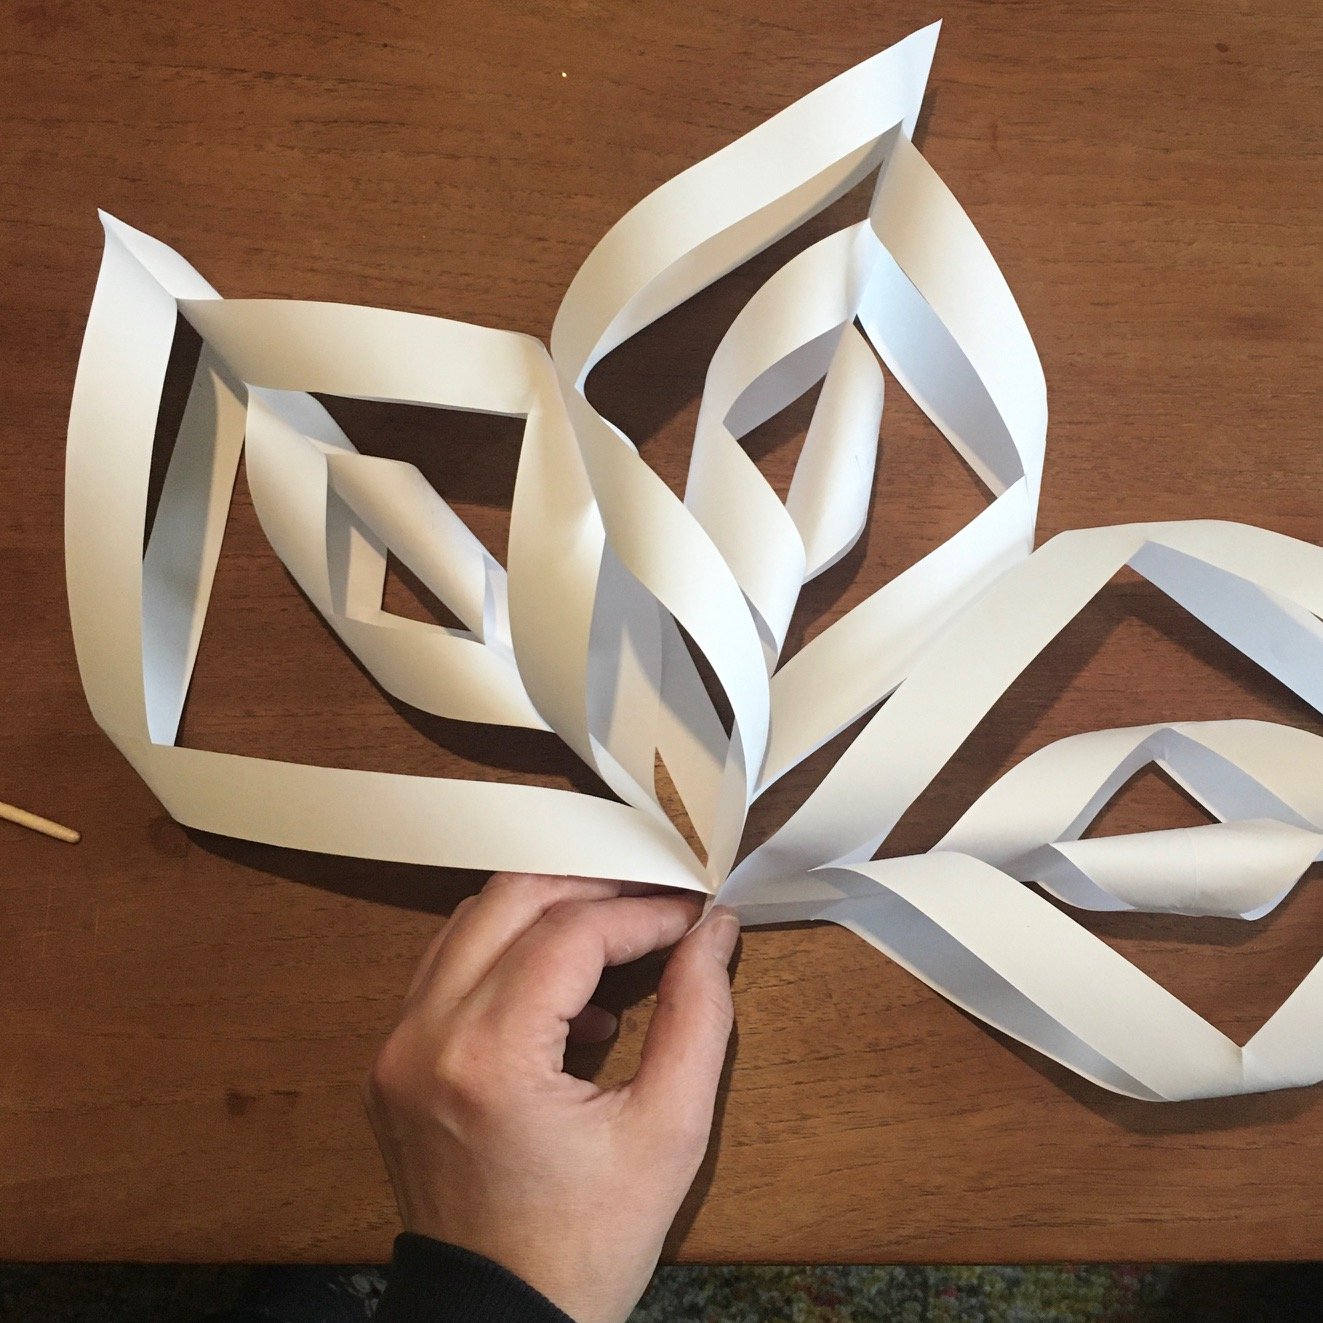
8. Now it’s time to start assembling the snowflake! Lay down your six snowflake segments so they are all facing the same direction. Secure two of the segments together at one end with some glue. Then glue them at the middle where the two points touch. Add a third segment in the same way.
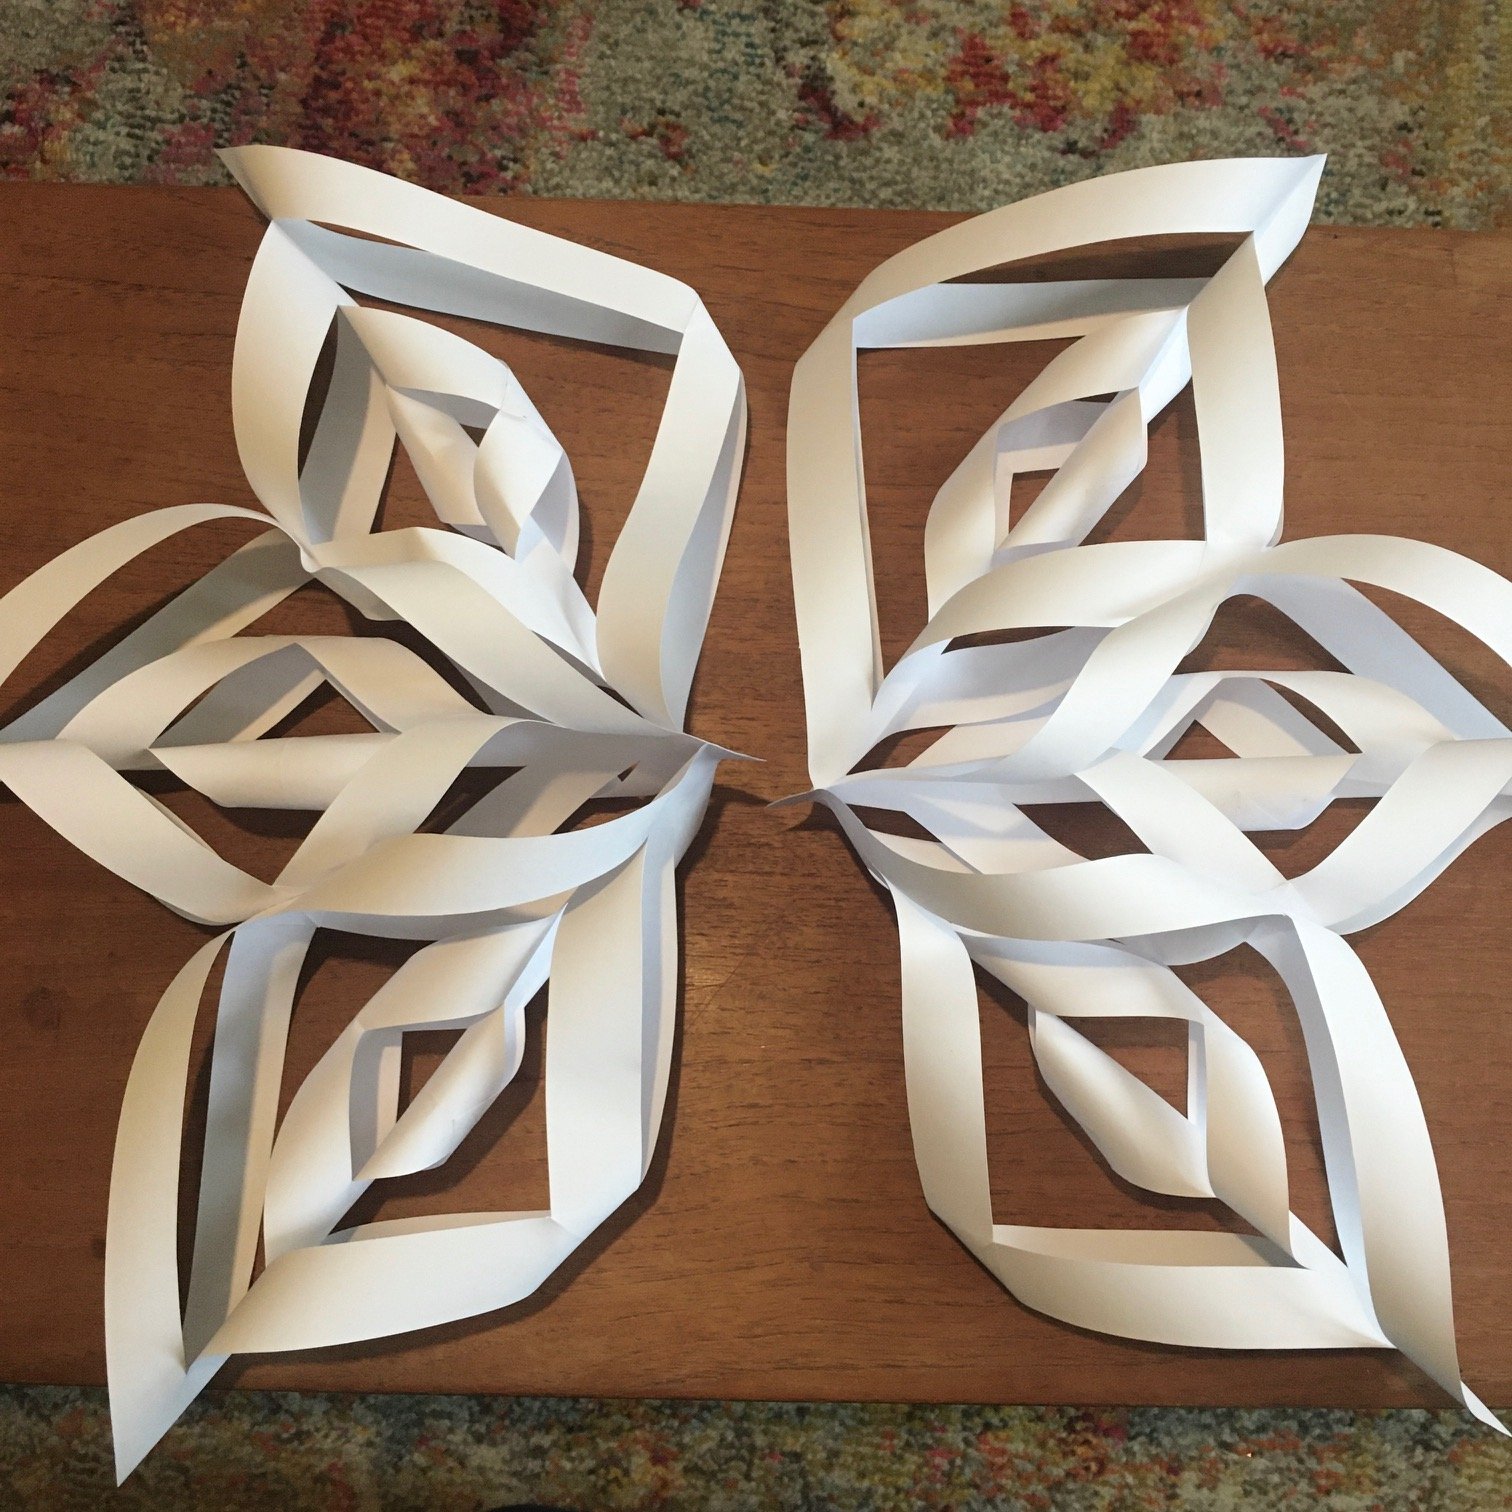
9. Repeat the step above so that you have two sets of three snowflake segments. Then secure the two sets together, glueing them at the ends and where the sides of the segments meet.
10. You can now hang your snowflake by one of the tips with some clear thread.
Author: Denise Hope, home educating mum of two boys


