Make coffee filter snowflakes


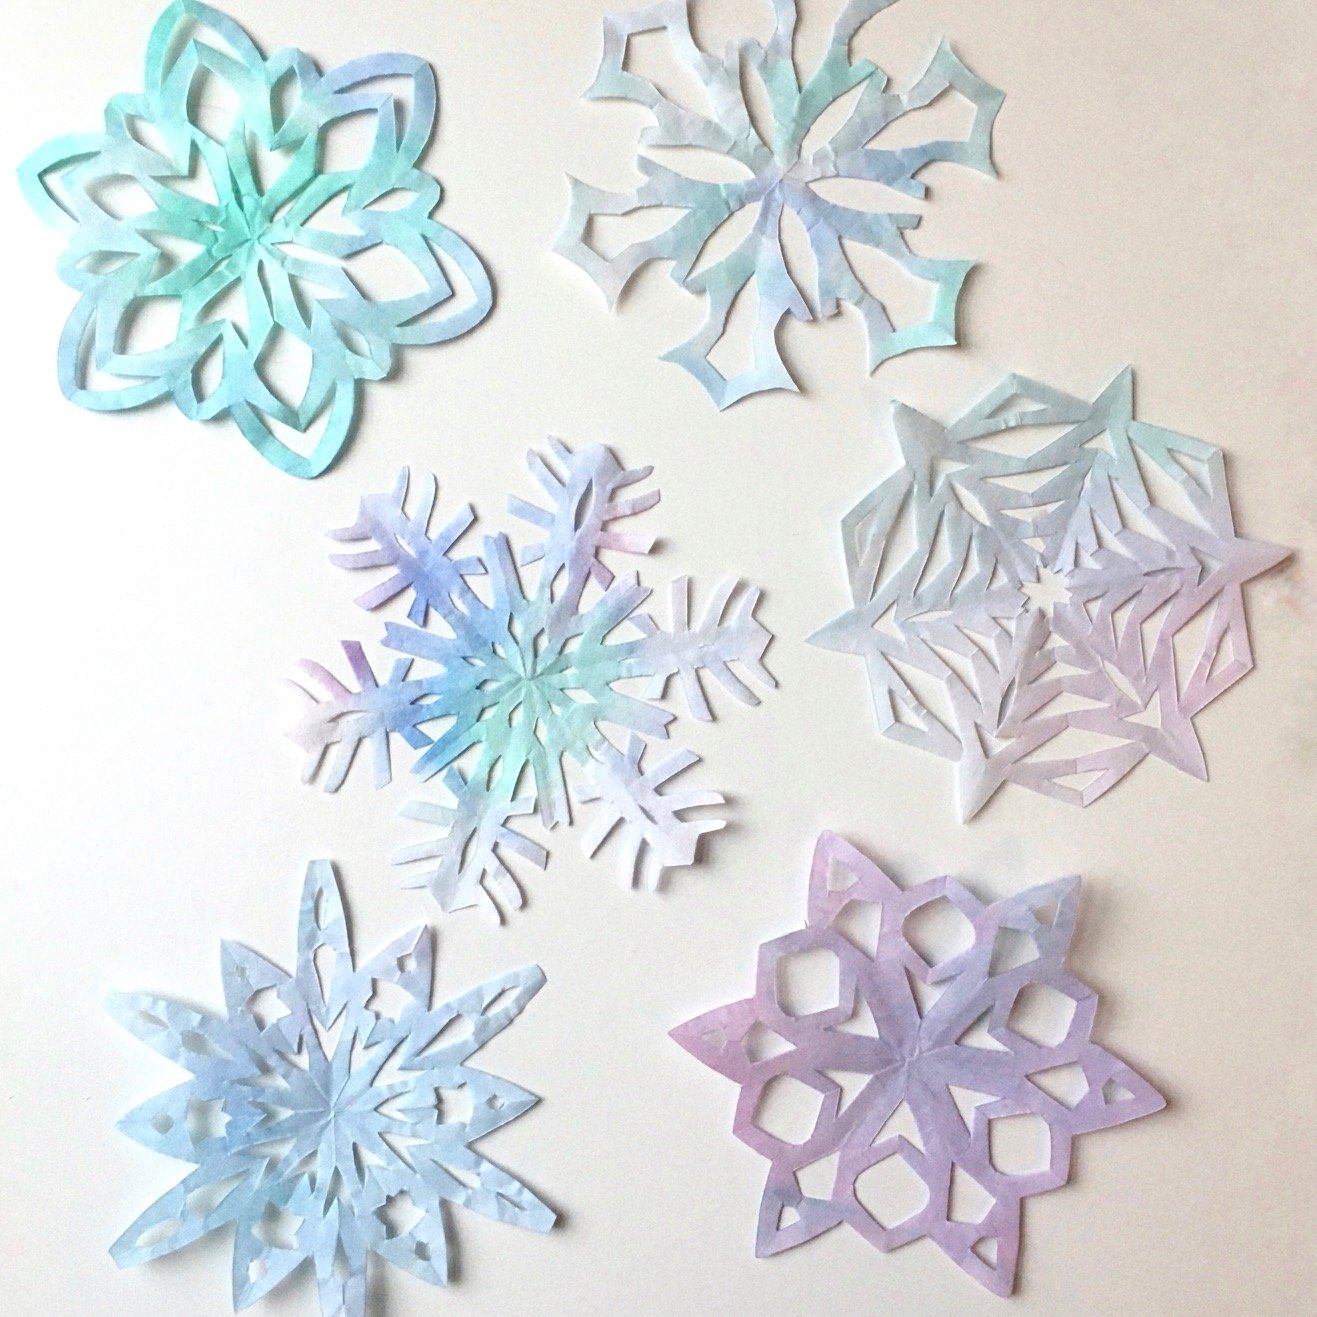
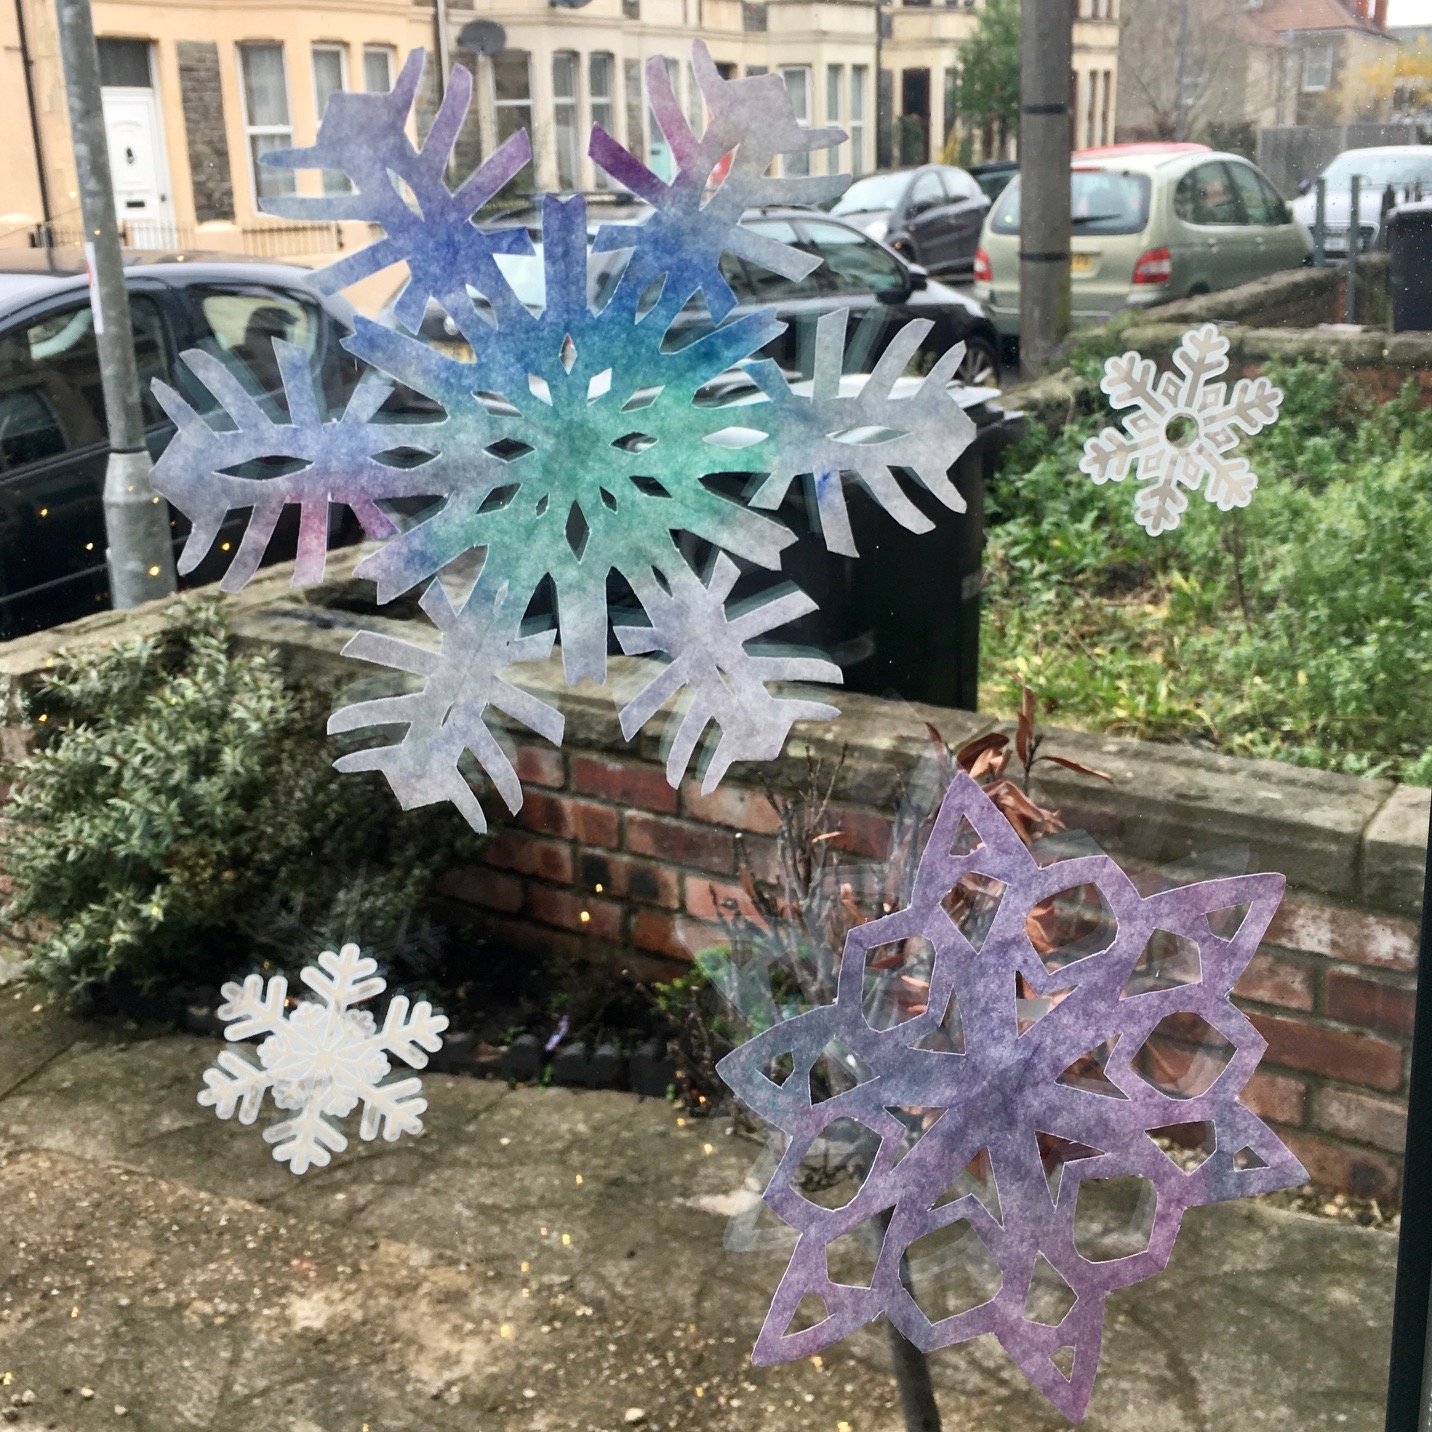
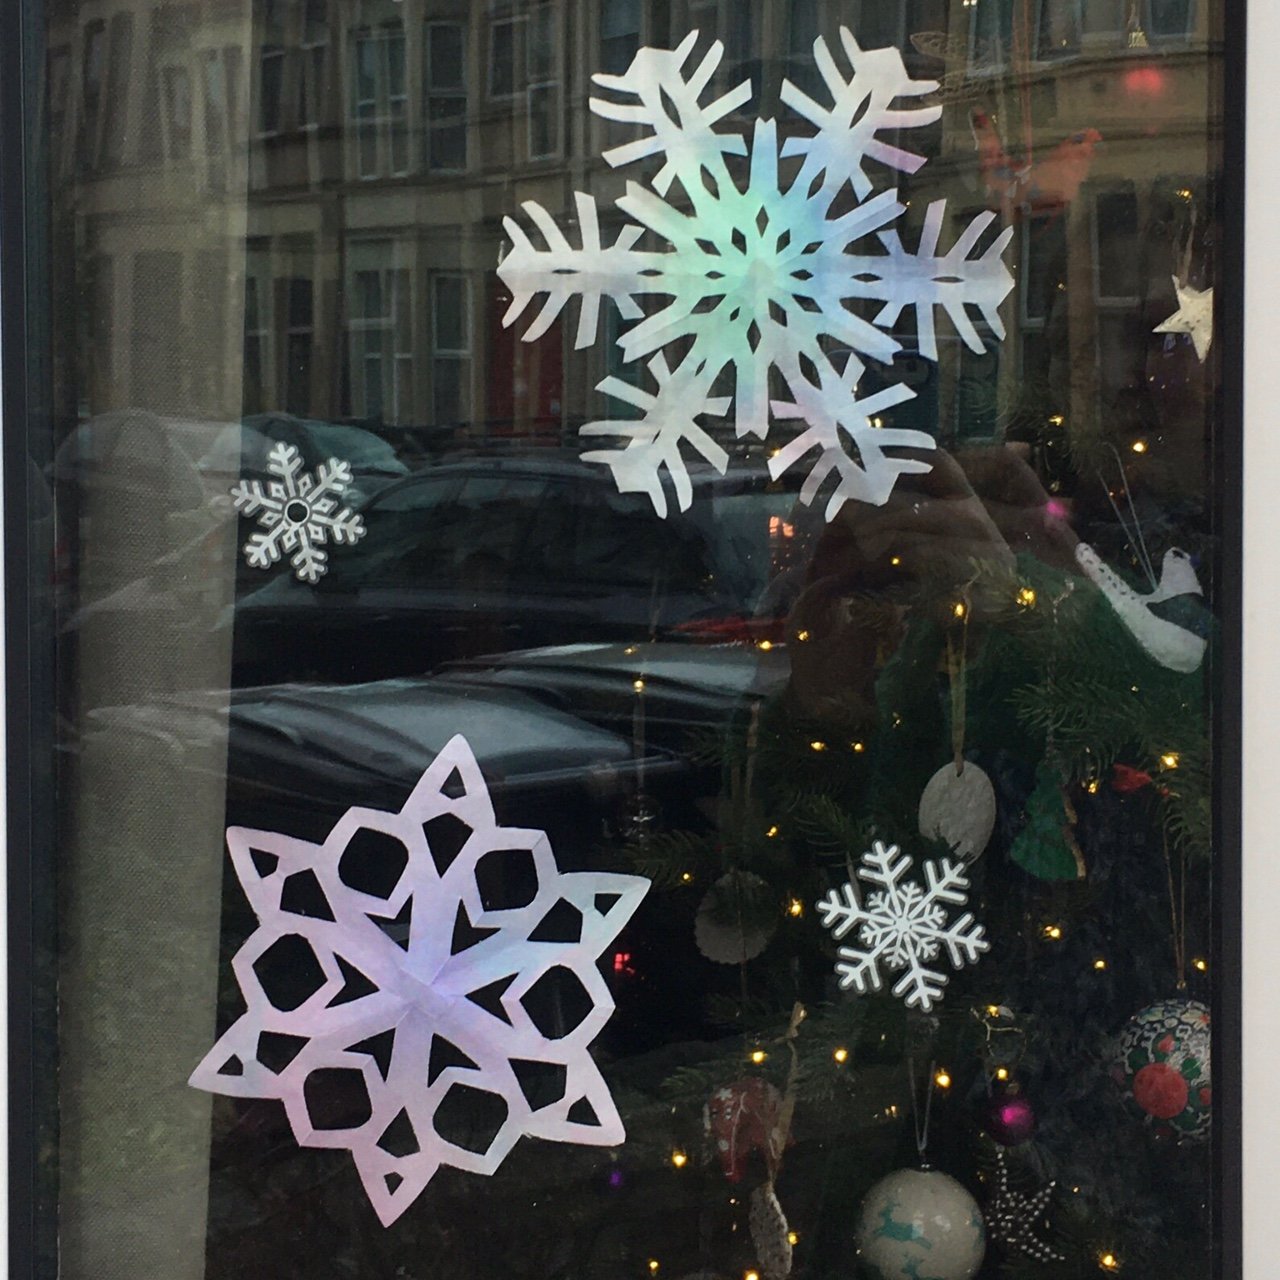
When we made our coffee filter leaf garland, we really enjoyed watching the paint blend together and we loved the way the leaves caught the light hanging in our living room window, so when we took the leaf garland down, I thought it would be lovely to repeat the activity but making some coffee filter paper snowflakes instead! Making paper snowflakes is really simple to do and it is so much fun unfolding your snowflakes to reveal their patterns. Best of all, every snowflake will be unique! These snowflakes make beautiful sun catchers and are a great Christmas decoration that can stay up all winter long!
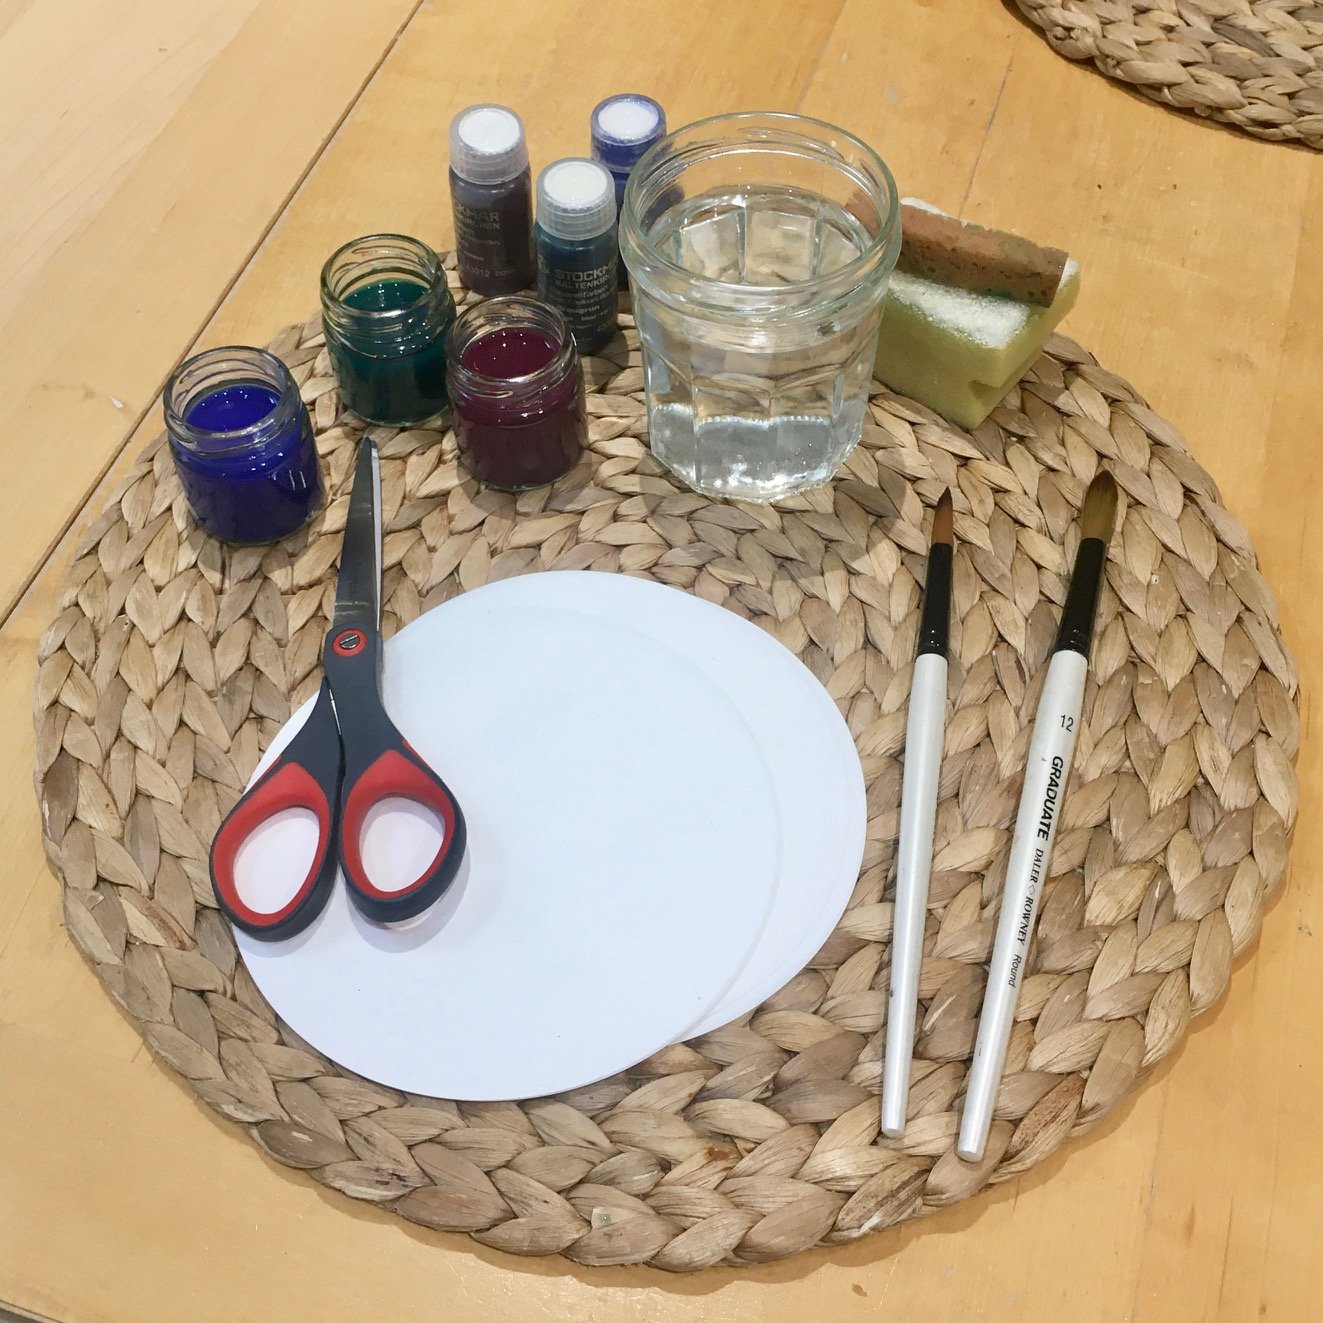
What you will need:
White round coffee filters
Scissors
Liquid watercolour paint
Sponge
Dish or jar of water
Paintbrush

What you need to do:
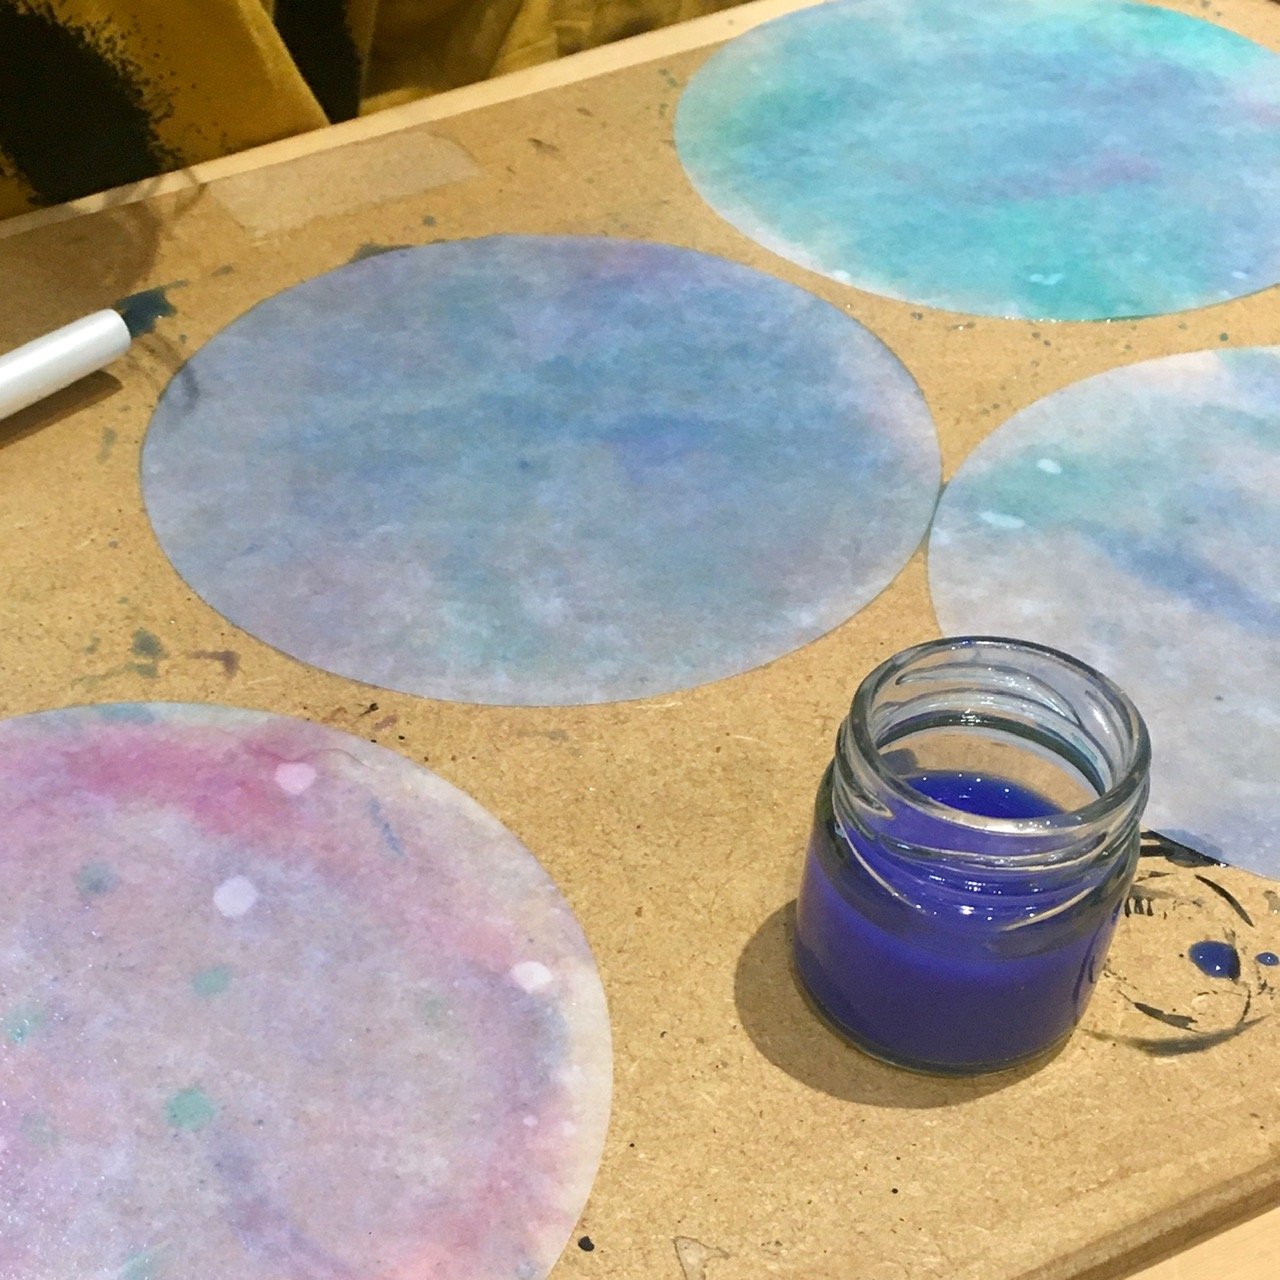
1. Before painting your coffee filter circles, dip your sponge into the jar or dish of water and carefully sponge your coffee filters so that they are damp. Try not to make them too wet! This step is optional but I like the way it makes the finished snowflakes beautifully translucent.
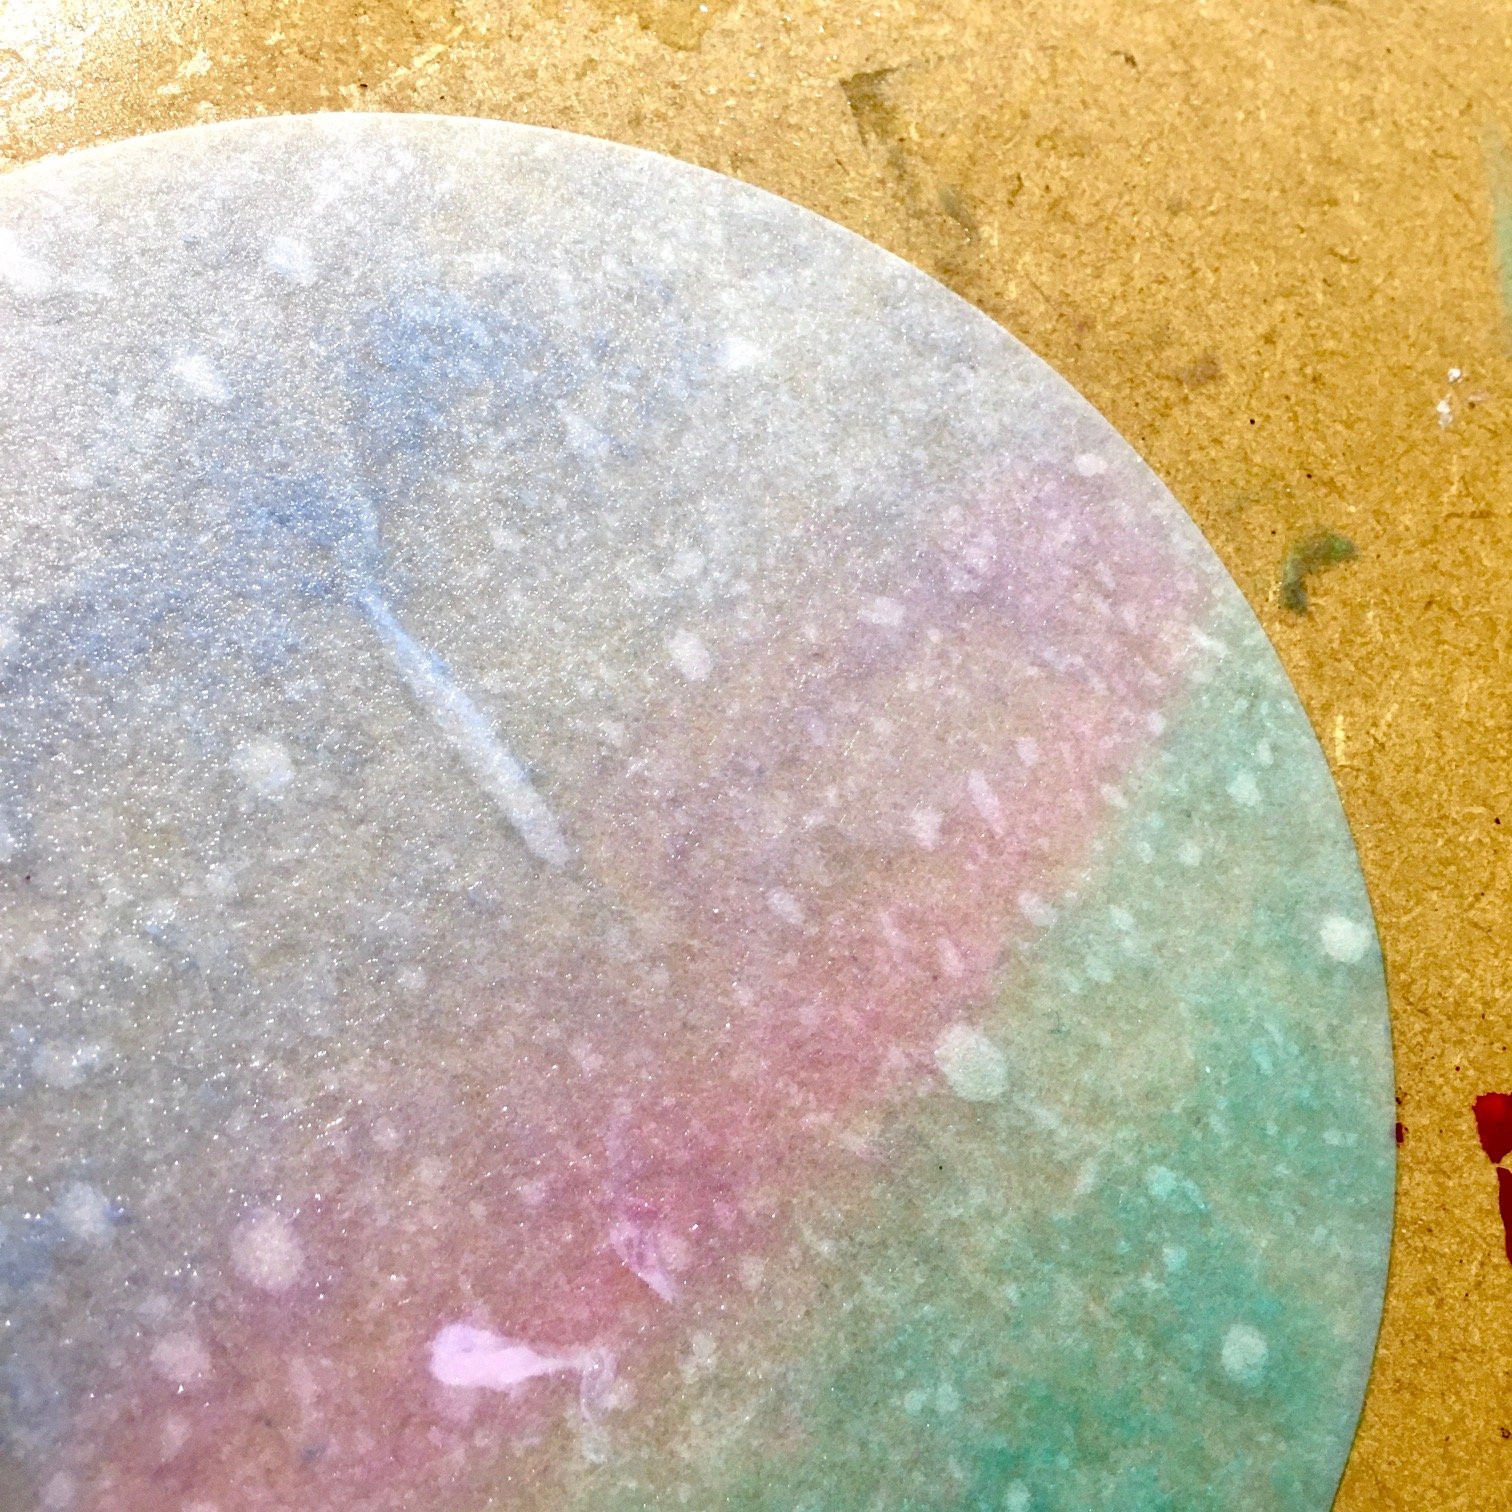
2. Now you can paint your coffee filter circles! We used watered down blue, green and purple watercolours to paint our snowflakes. As the coffee filters are damp, the colours will blend together easily.
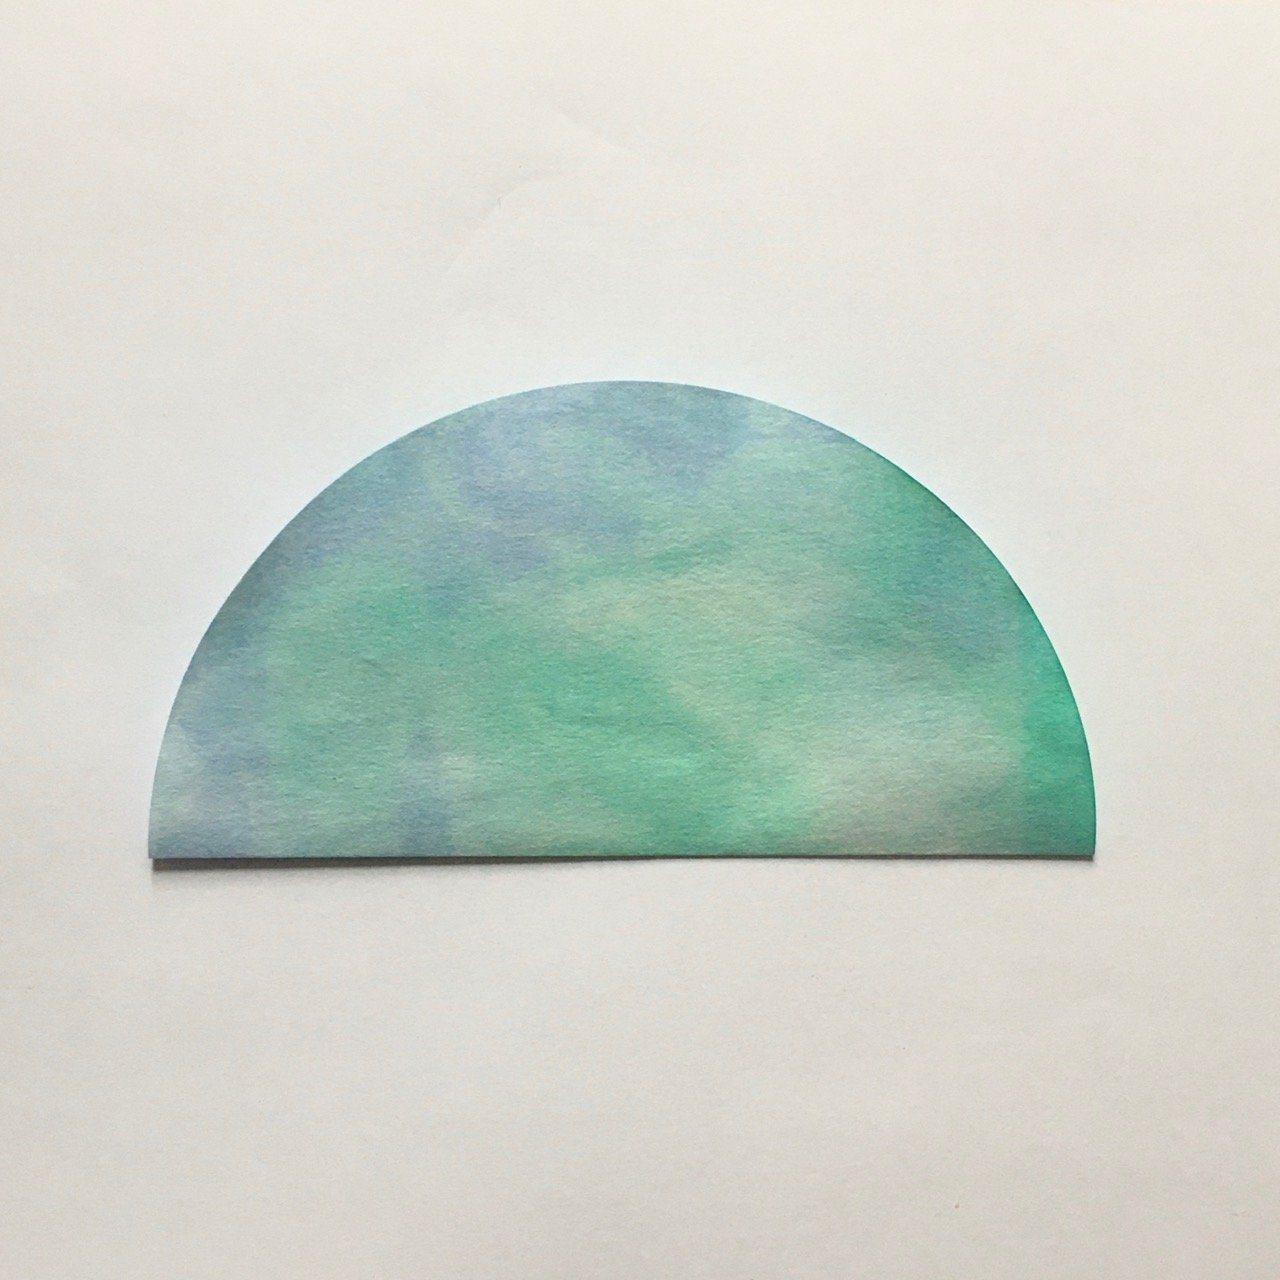
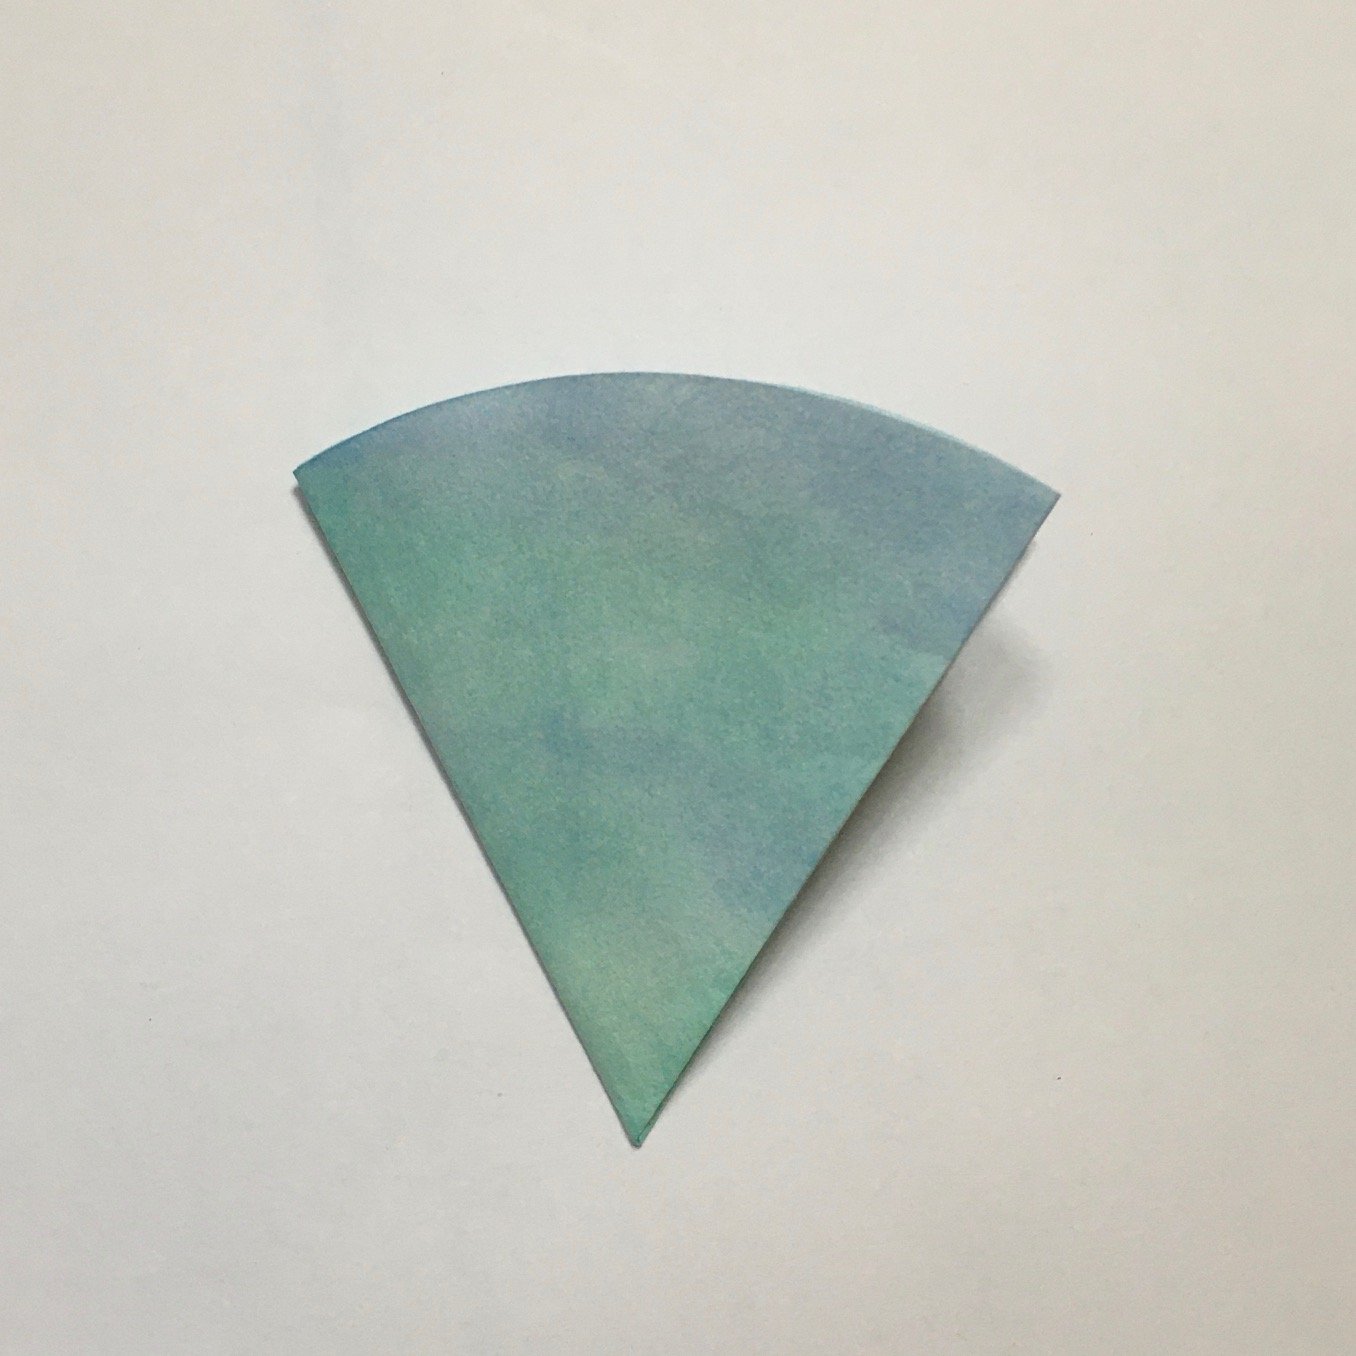
3. Once your painted your snowflakes are dry, you can make your snowflakes! To do this, start by folding a coffee filter circle in half.
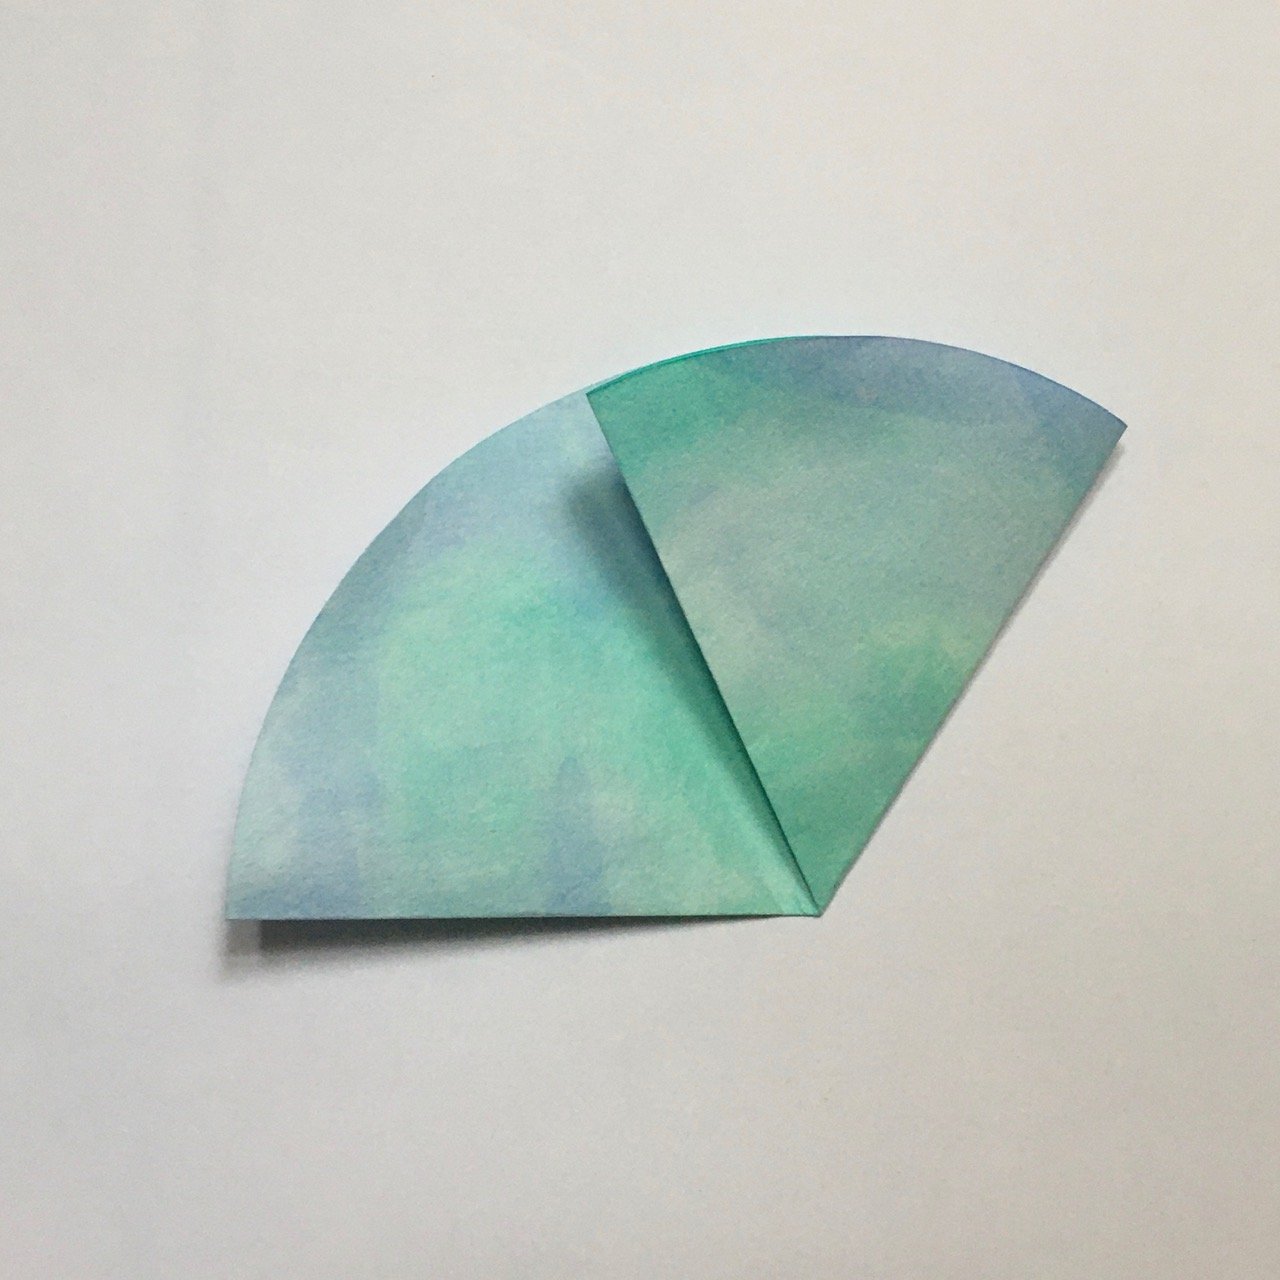
4. Then imagine this semi-circle in thirds and then fold the right third over, and then the left third over. Try to get all of the folds to line up as close as possible for the most symmetrical snowflake.
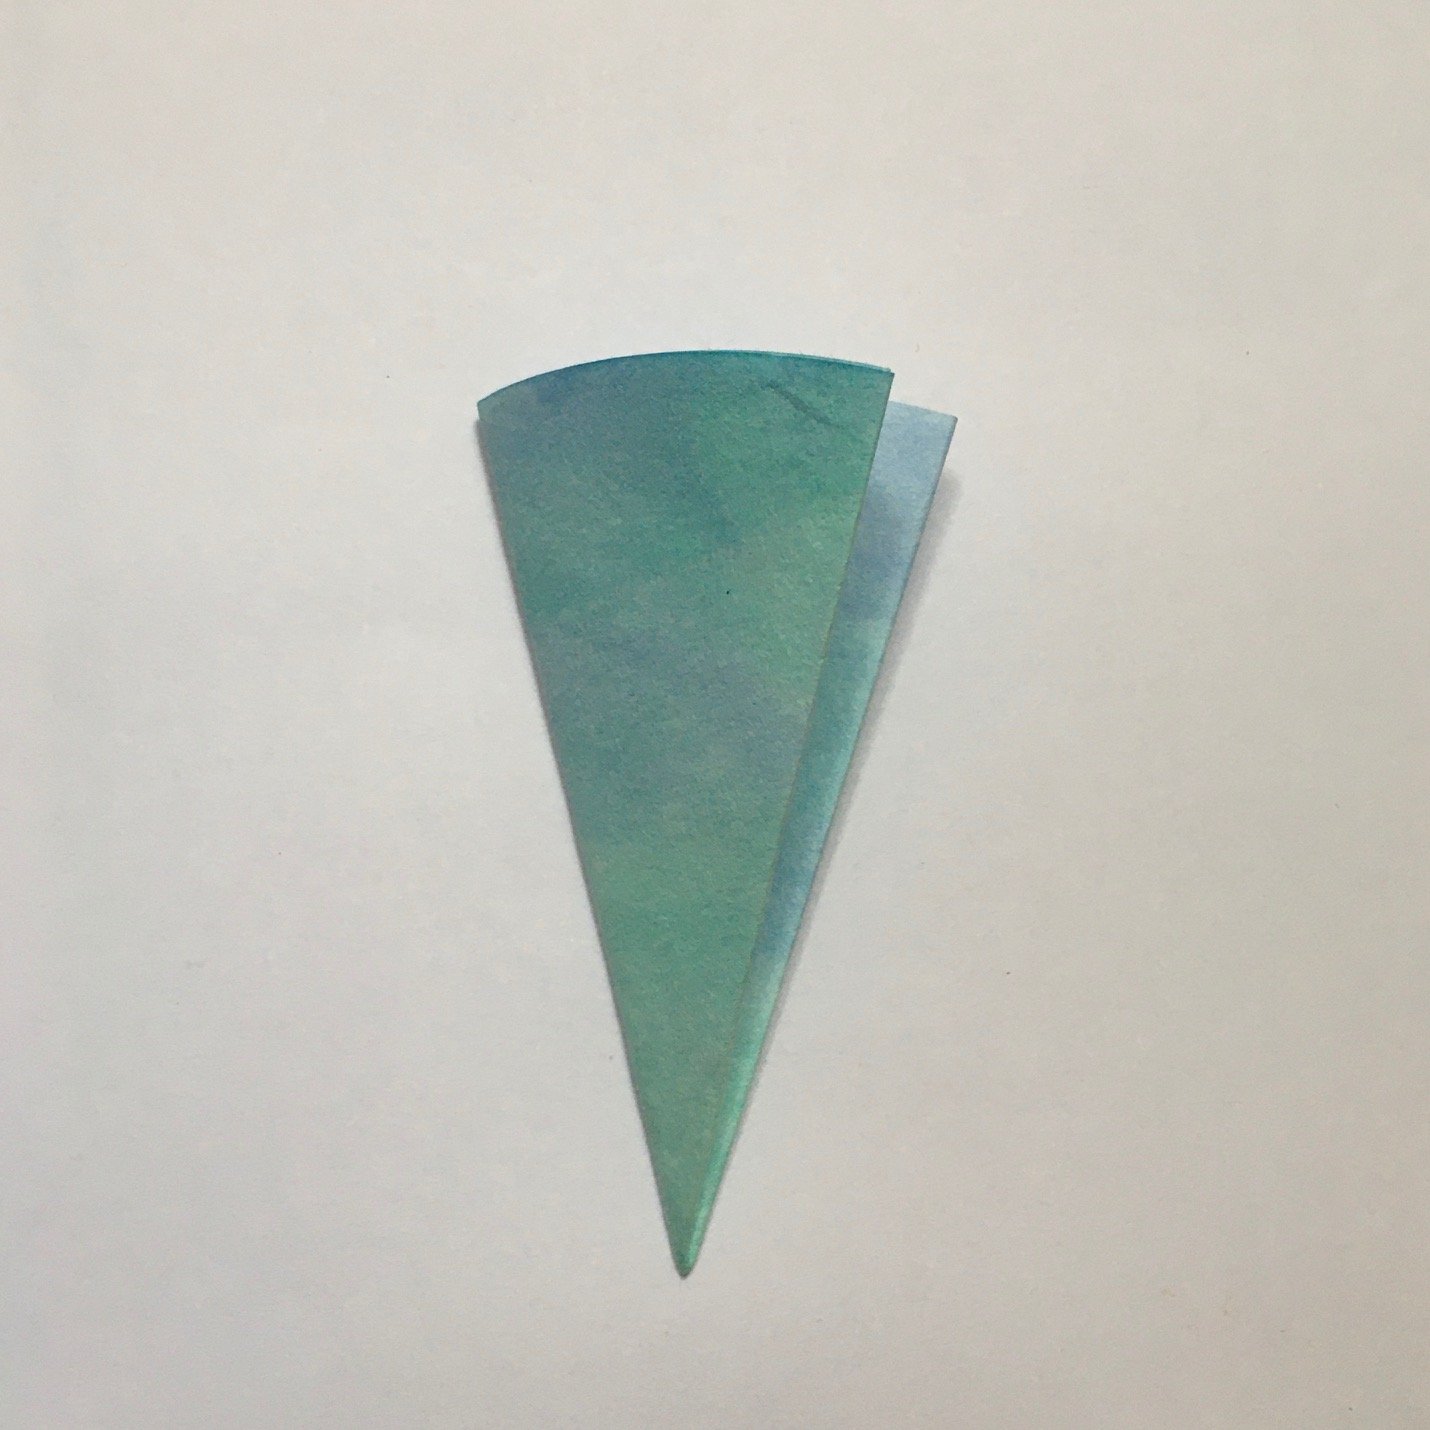
5. Fold the coffee filter in half one last time. You will then have a ‘cone’ shape with one curved edge.
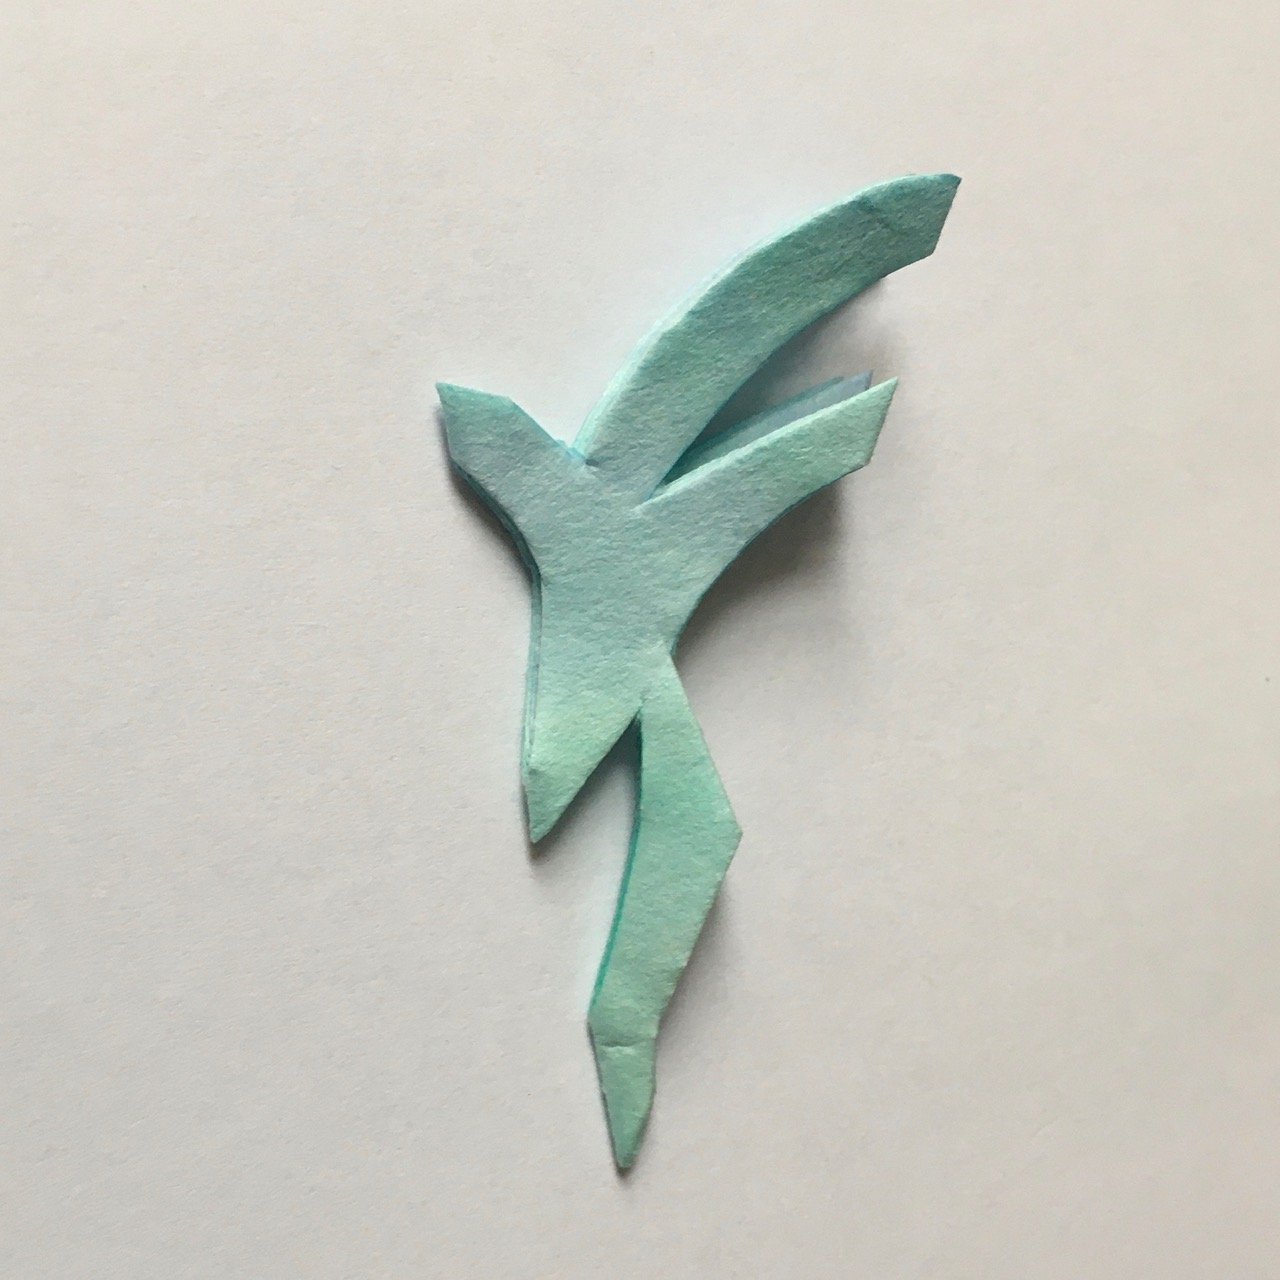
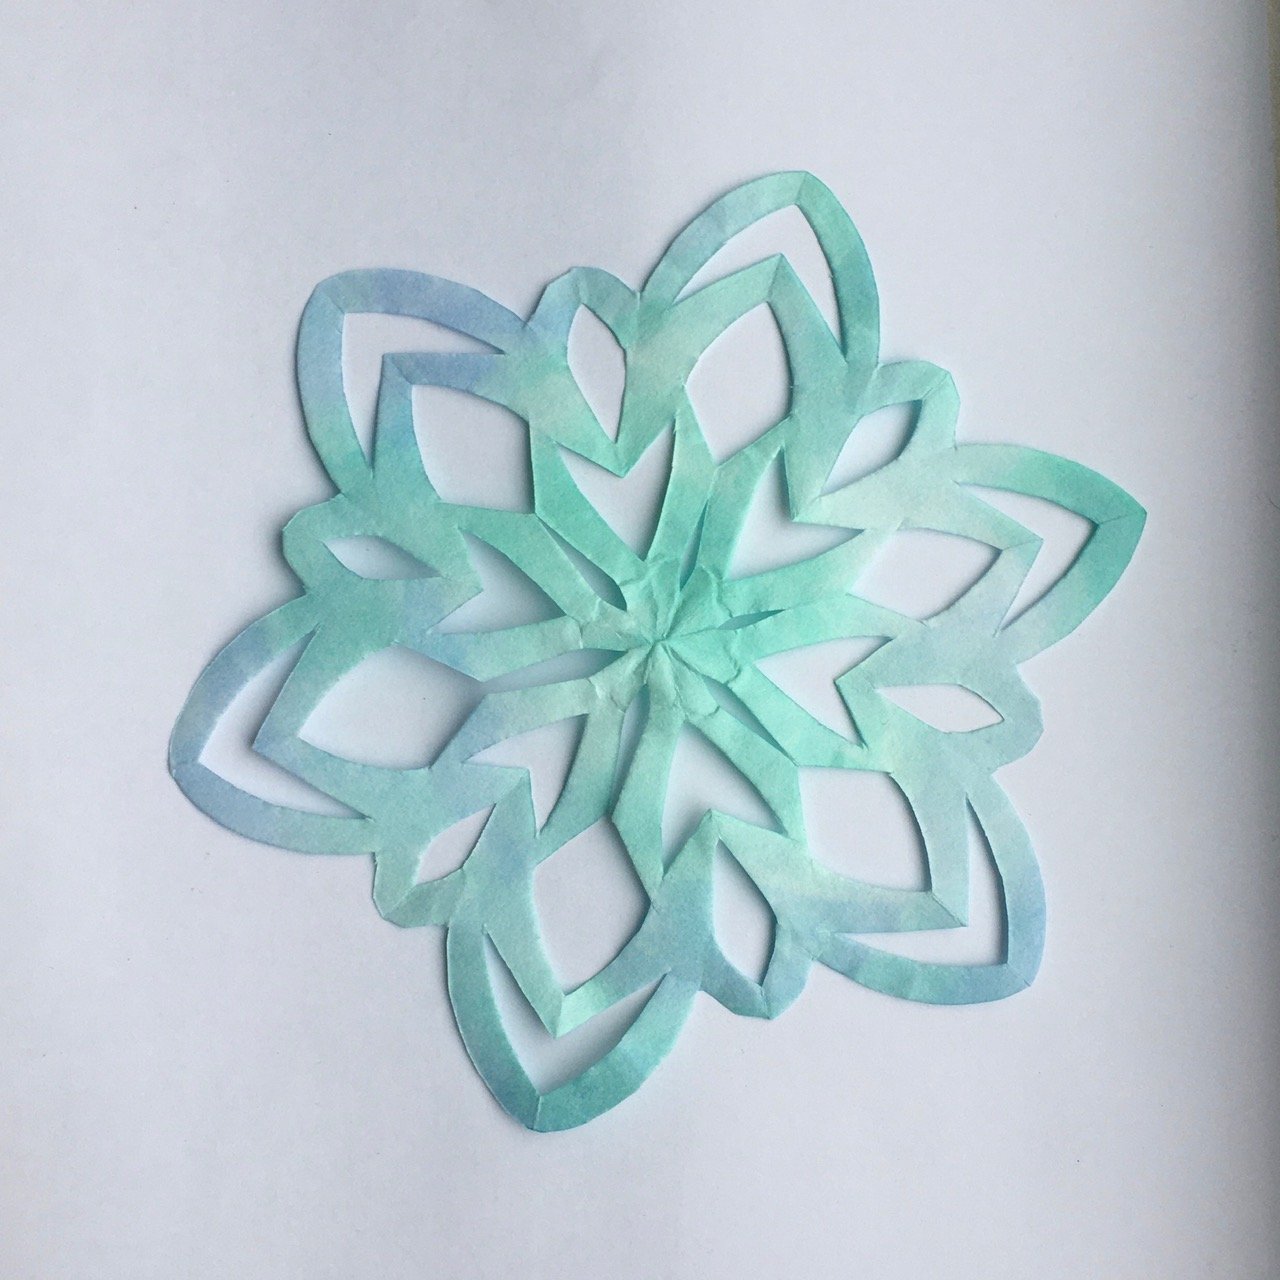
6. Now you can create your snowflake pattern! Start by cutting away from the edges of your folded paper but be careful not to cut all the way across. You can cut some straight or curvy lines but straight lines are generally easier. If you cut off the tip, you’ll have a snowflake with a hole in the middle. You will find that the more you cut away, the more delicate you snowflake will look.
7. Carefully unfold your cut shape to reveal a snowflake! Like real snowflakes, your paper snowflake will have a six-point or six-sided symmetry and will be unique!
8. You can now stick your beautiful snowflakes on your windows with a little bit of glue or sticky tape.
Author: Denise Hope, home educating mum of two boys