Fairy notebooks

Making your own miniature notebooks is a great way to use up scrap bits of paper. These little notebooks have been bound with a twig and some twine and the covers decorated with pressed flowers and they look just like they would belong to a fairy!
What you will need:
Scrap paper
Thin card or heavyweight paper
Twigs
Twine
Embroidery needle (not necessary but does make it a little easier!)
Secateurs
Scissors
Hole punch
Pencil
Watered down PVA glue
An old paintbrush
Small pressed flowers or leaves

What you need to do:
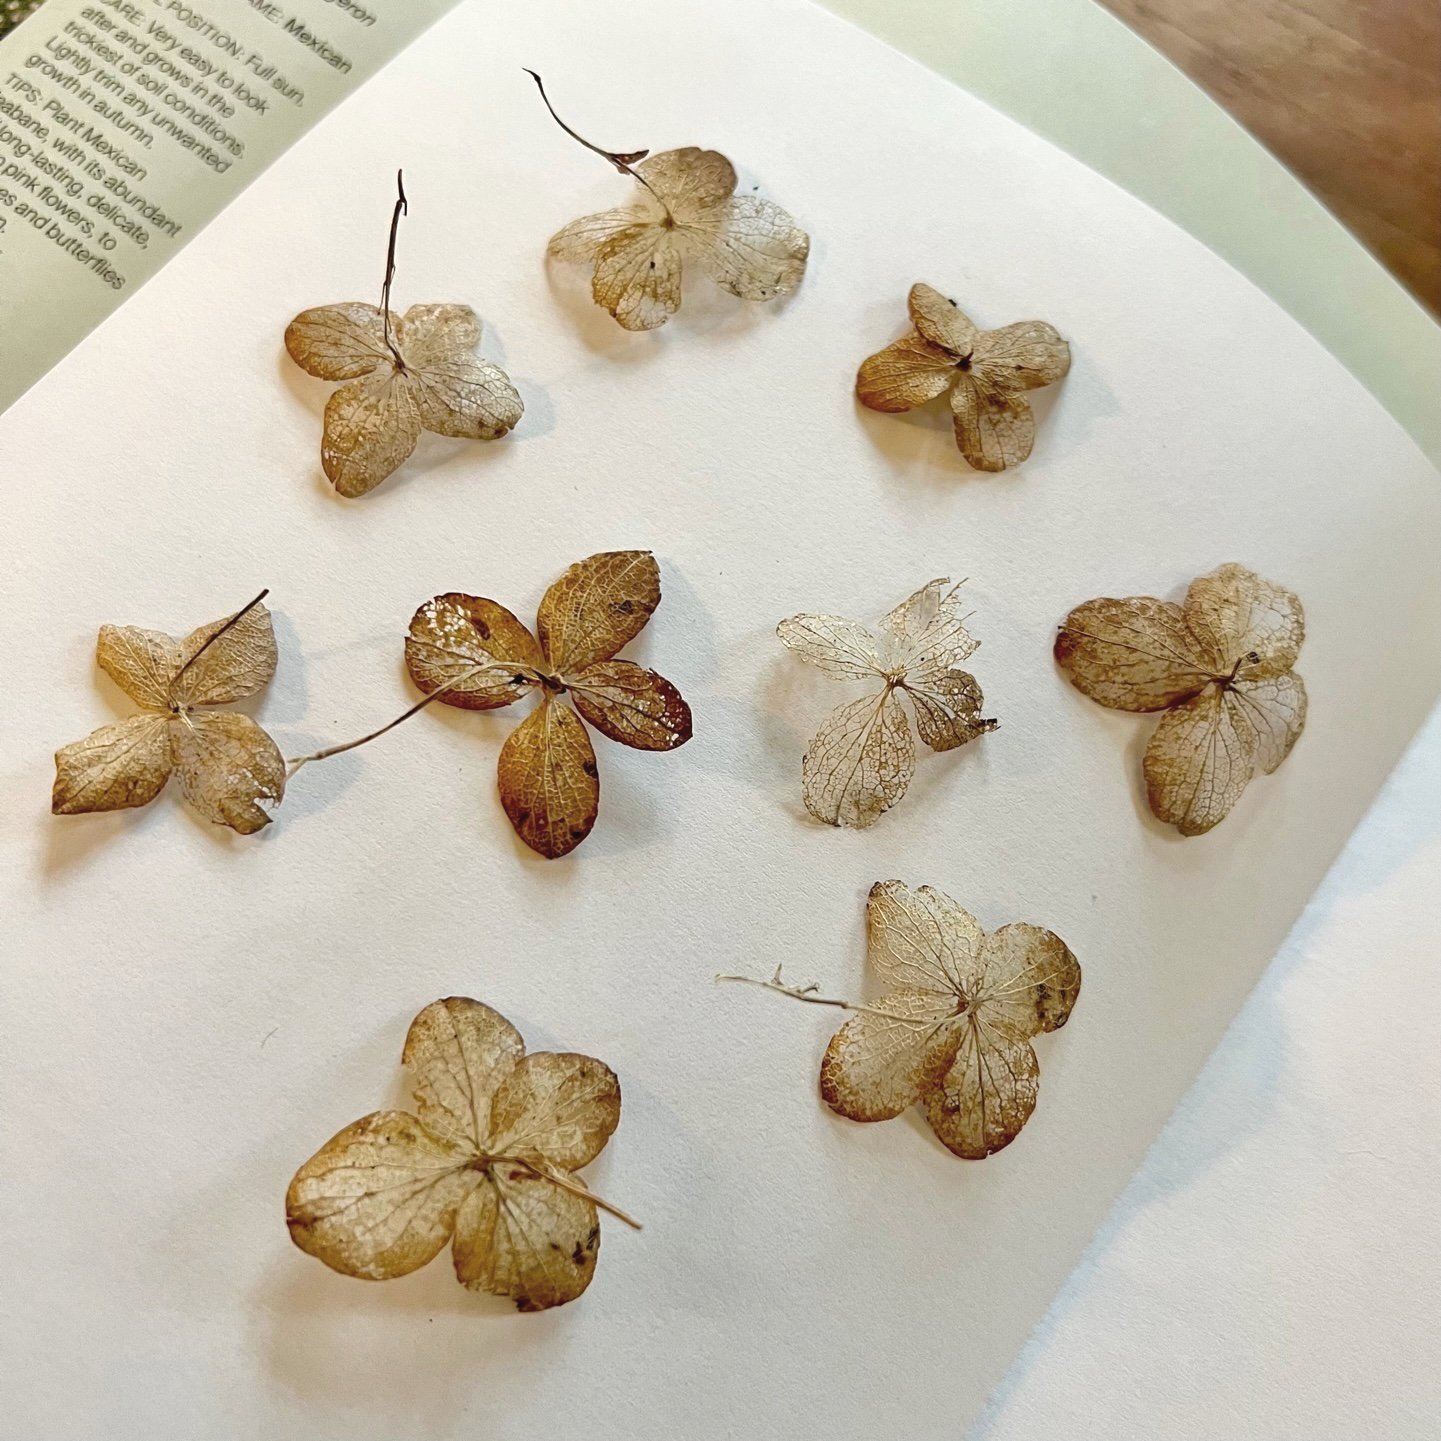
First you’ll need to go for a walk to collect some twigs and small flowers or leaves. The twigs will need to be straight and not very knobbly. It’s still winter right now for me (only just, spring is almost here!) so there weren’t a lot of flowers to choose from but there was plenty of tree blossom and I also found these lovely dried hydrangea petals still clinging on to the plant in my garden.
Once you are home, you can press your flowers in between sheets of paper with a couple of heavy books on top. There are some tips on how to do this and also how to press flowers in a microwave in our suncatcher blog post.
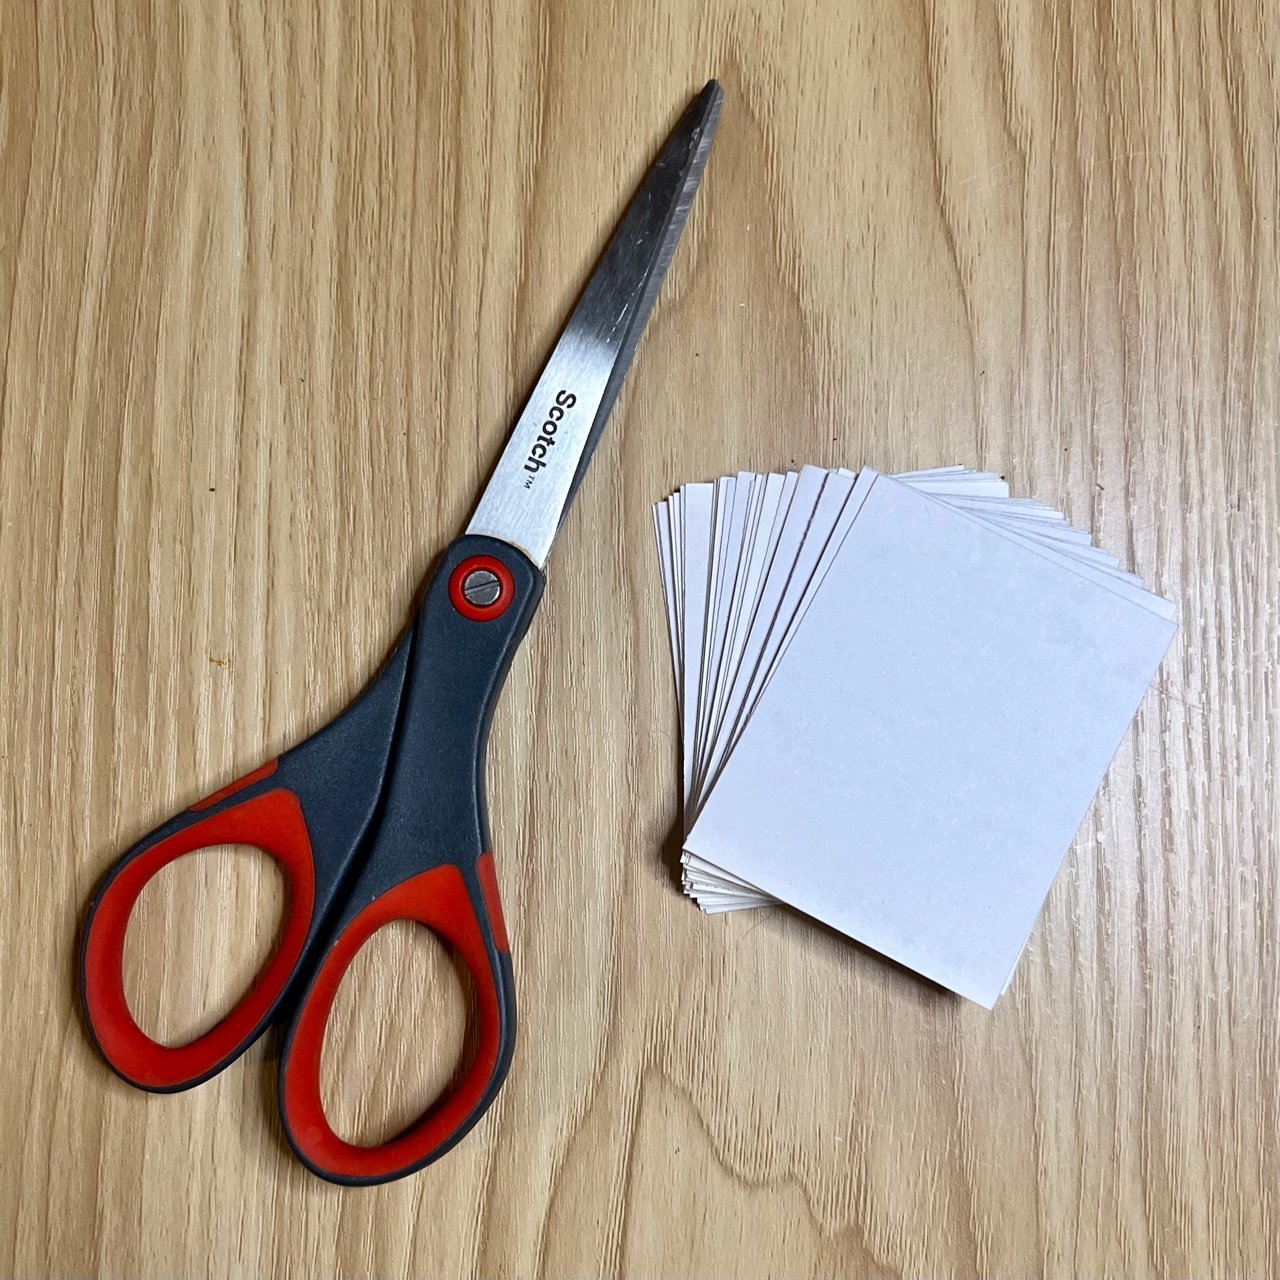
Gather some scrap bits of paper. You can use anything that you have to hand such as old sketch paper, lined paper, wrapping paper or envelopes. I took apart an old sketchbook which had lots of unfinished drawings so there was plenty of unused bits of paper.
Decide how big you’d like your notebook to be and then cut your scrap bits of paper to size. The notebook below is roughly 5 cm x 6.5 cm. I didn’t measure the paper but cut one piece to a size I liked and then used it as a template. You don’t need to worry about it being exact as part of the charm of these little notebooks is their handmade nature! You can also tear your paper down to size, for a more rustic look.
The number of pages that you’ll use will depend on the thickness of your papers and also the thickness of the twig you use to bind it - you don’t want the stack of papers to be thicker than the twig.
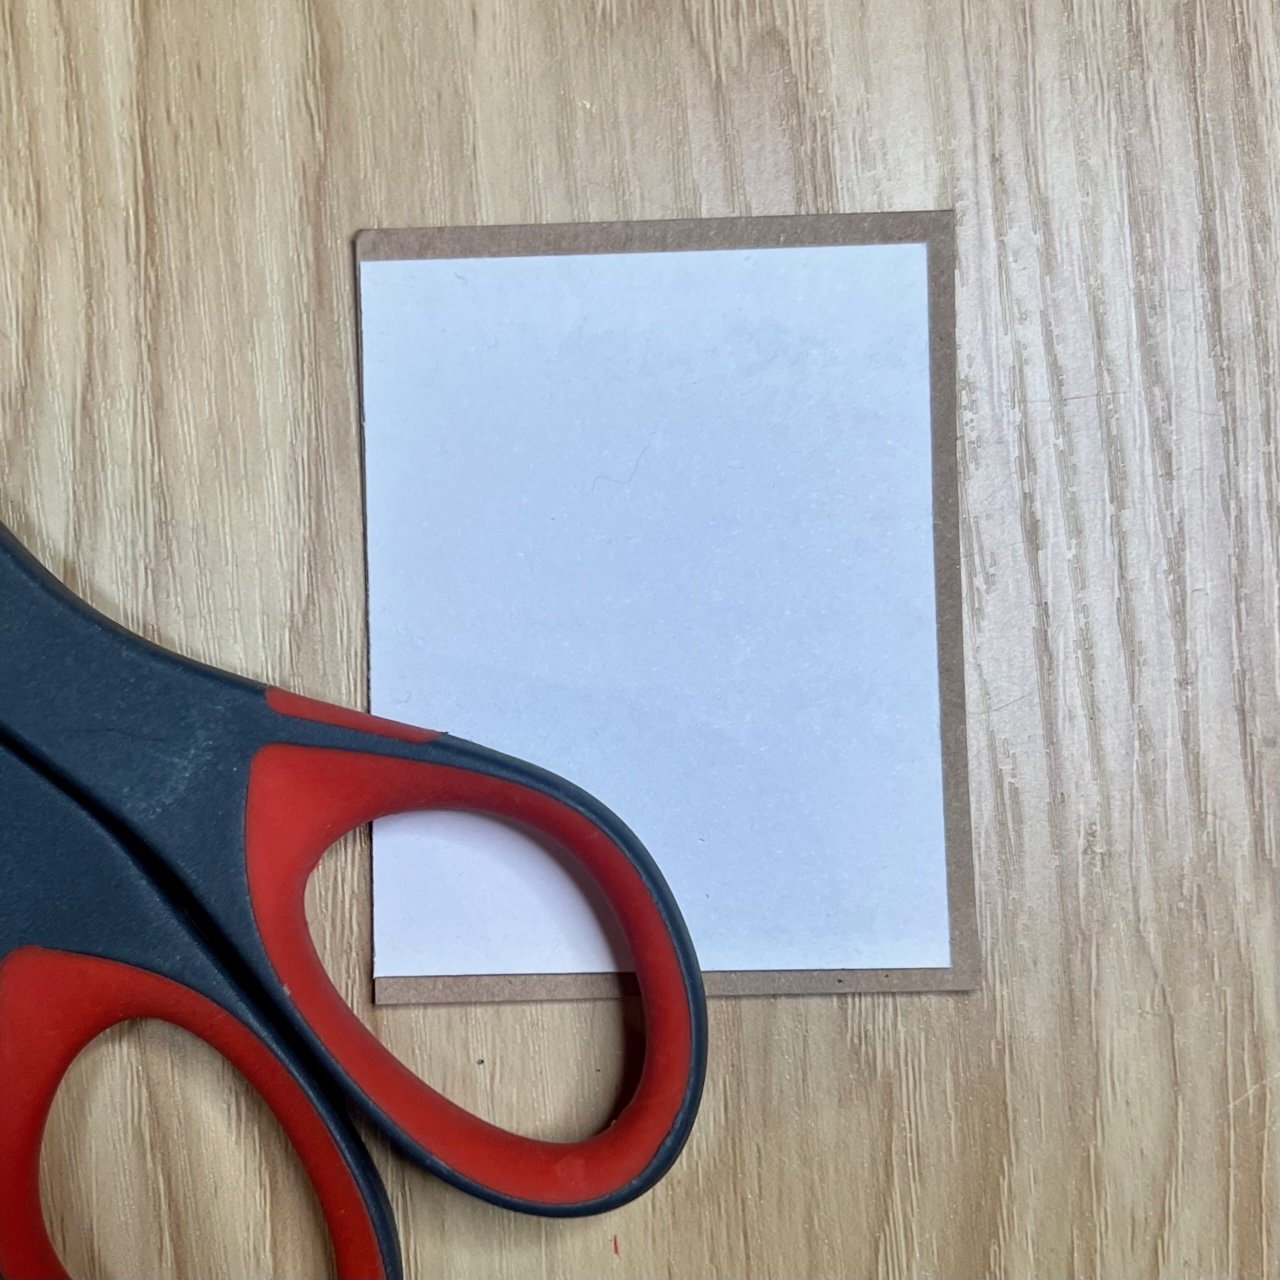
Now you can make front and back covers for your notebook from some lightweight card. If you have some heavier weight paper, you could use this instead. Cut or tear two pieces of card so they are just a little bit bigger than your stack of paper on all sides except for the edge that will be bound.
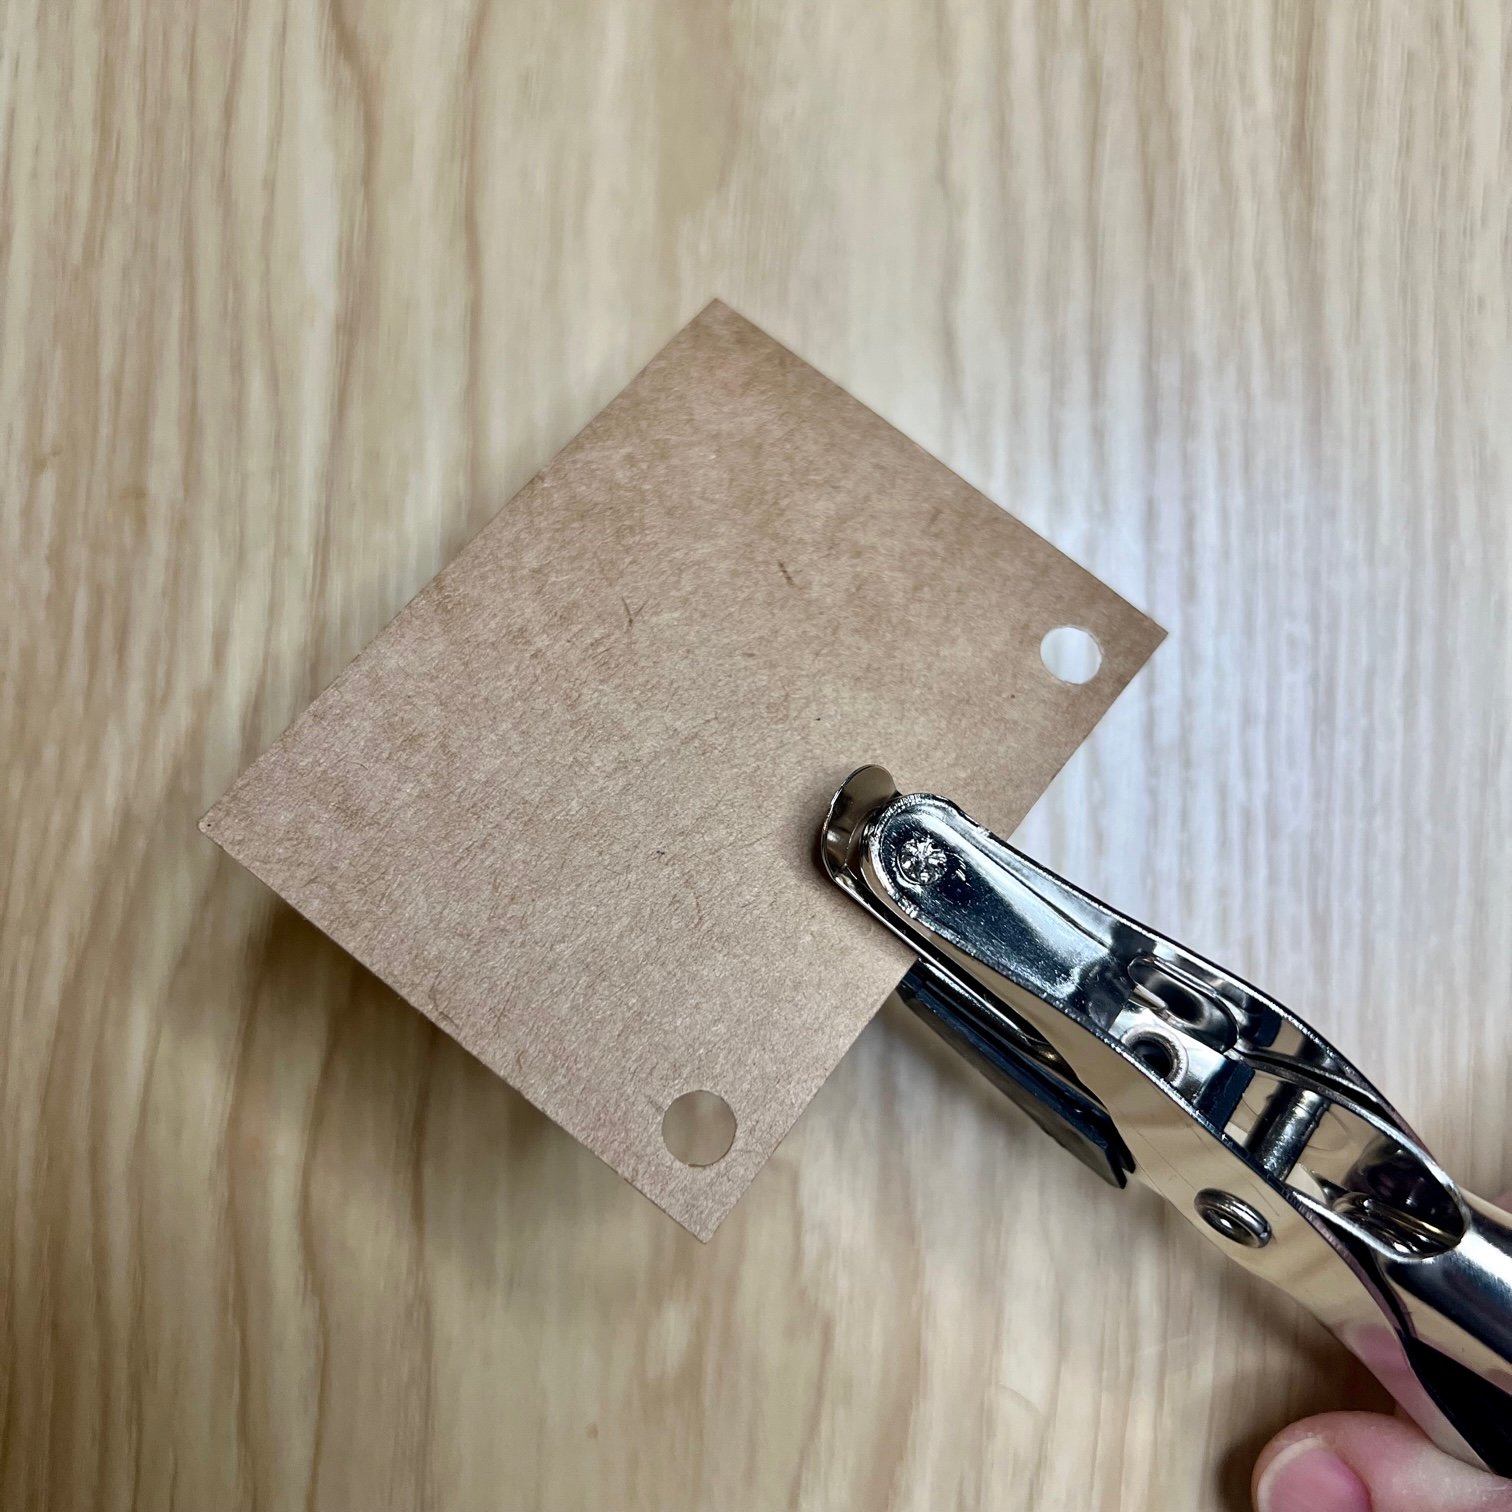
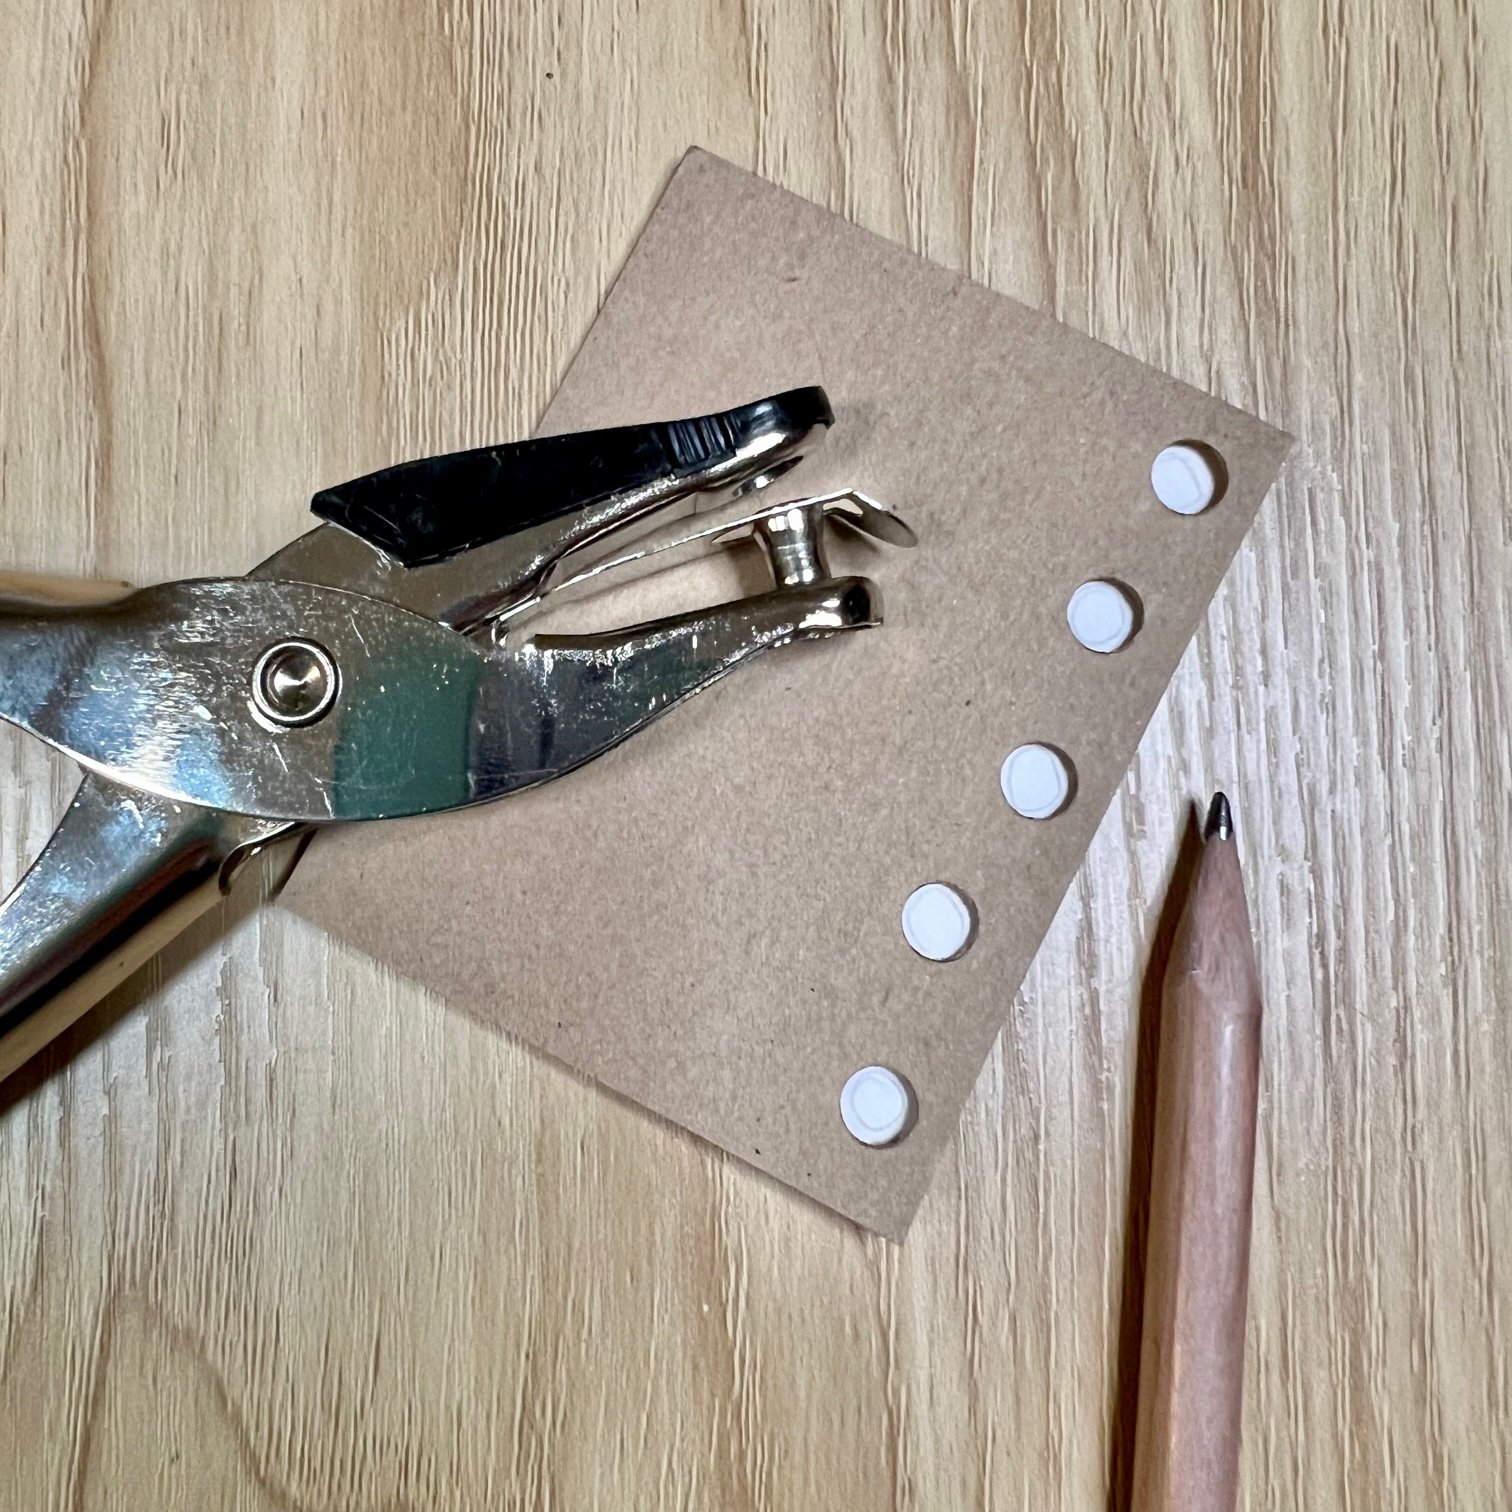
Using your hole punch make a series of holes along the left edge of your front cover. Then place the cover on your stack of pages and, with a pencil, mark on the top page where the holes are. Take a few pages from the stack and punch holes where the marks are. Repeat this process a few times until you’ve punched holes in all the pages and the back cover. (Or you can eyeball it!)
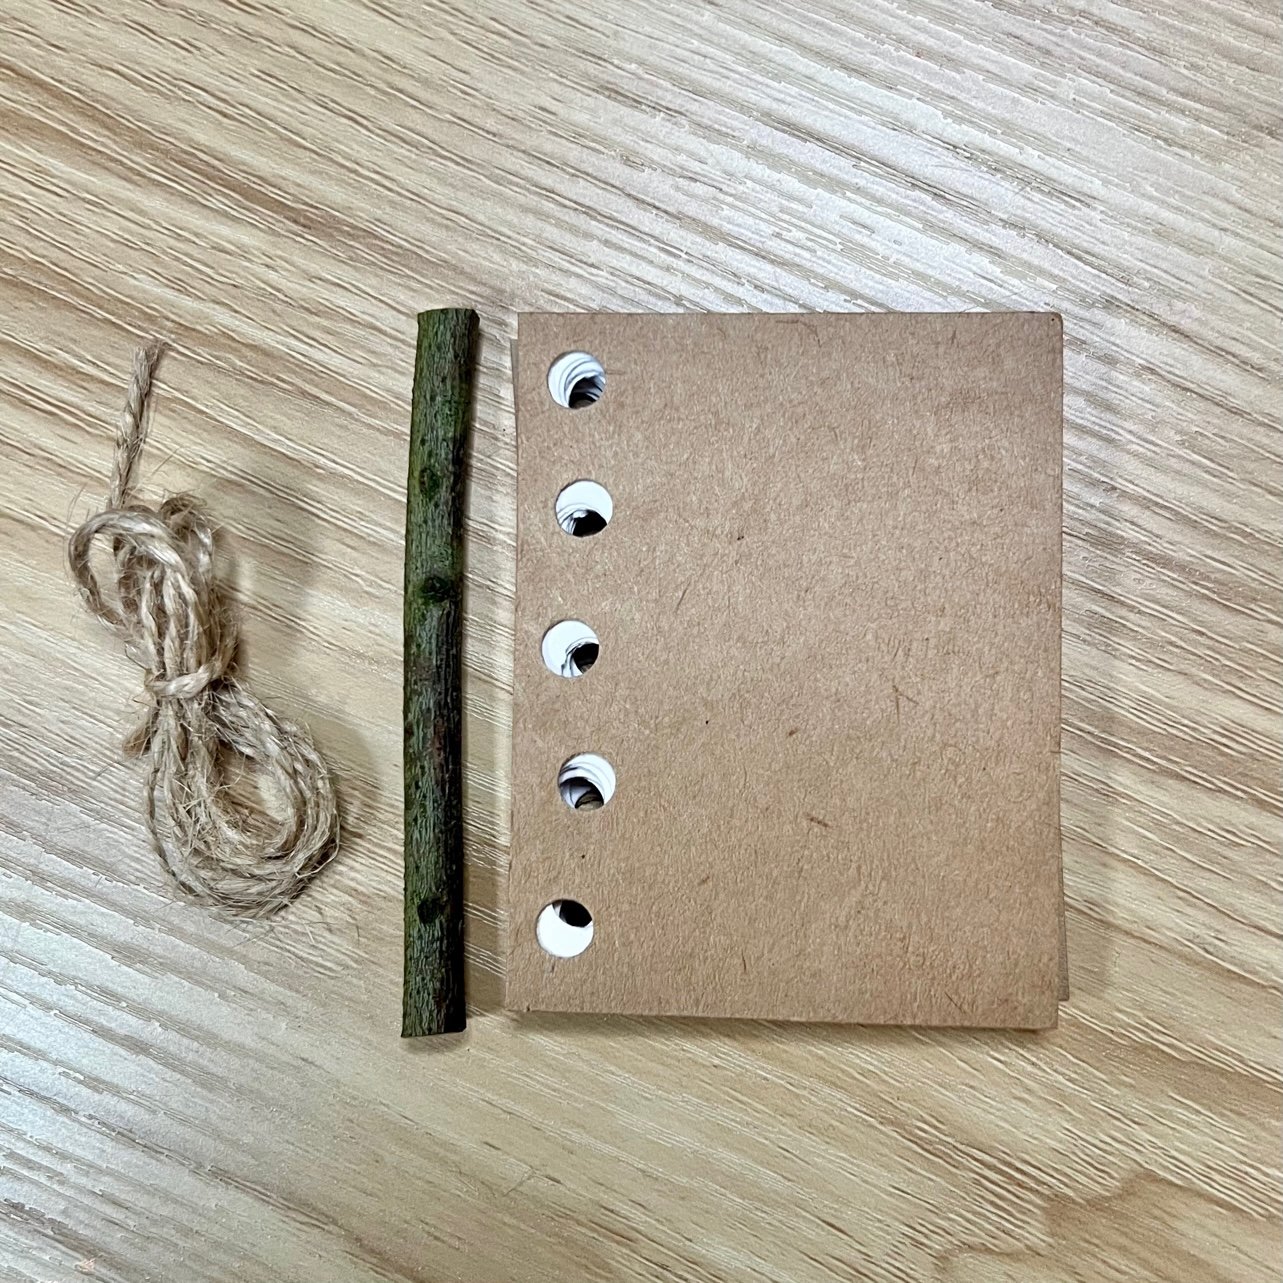
Select one of your twigs and cut it to the same length as the hole-punched edge of your cover.
Now you can bind your pages and cover together!
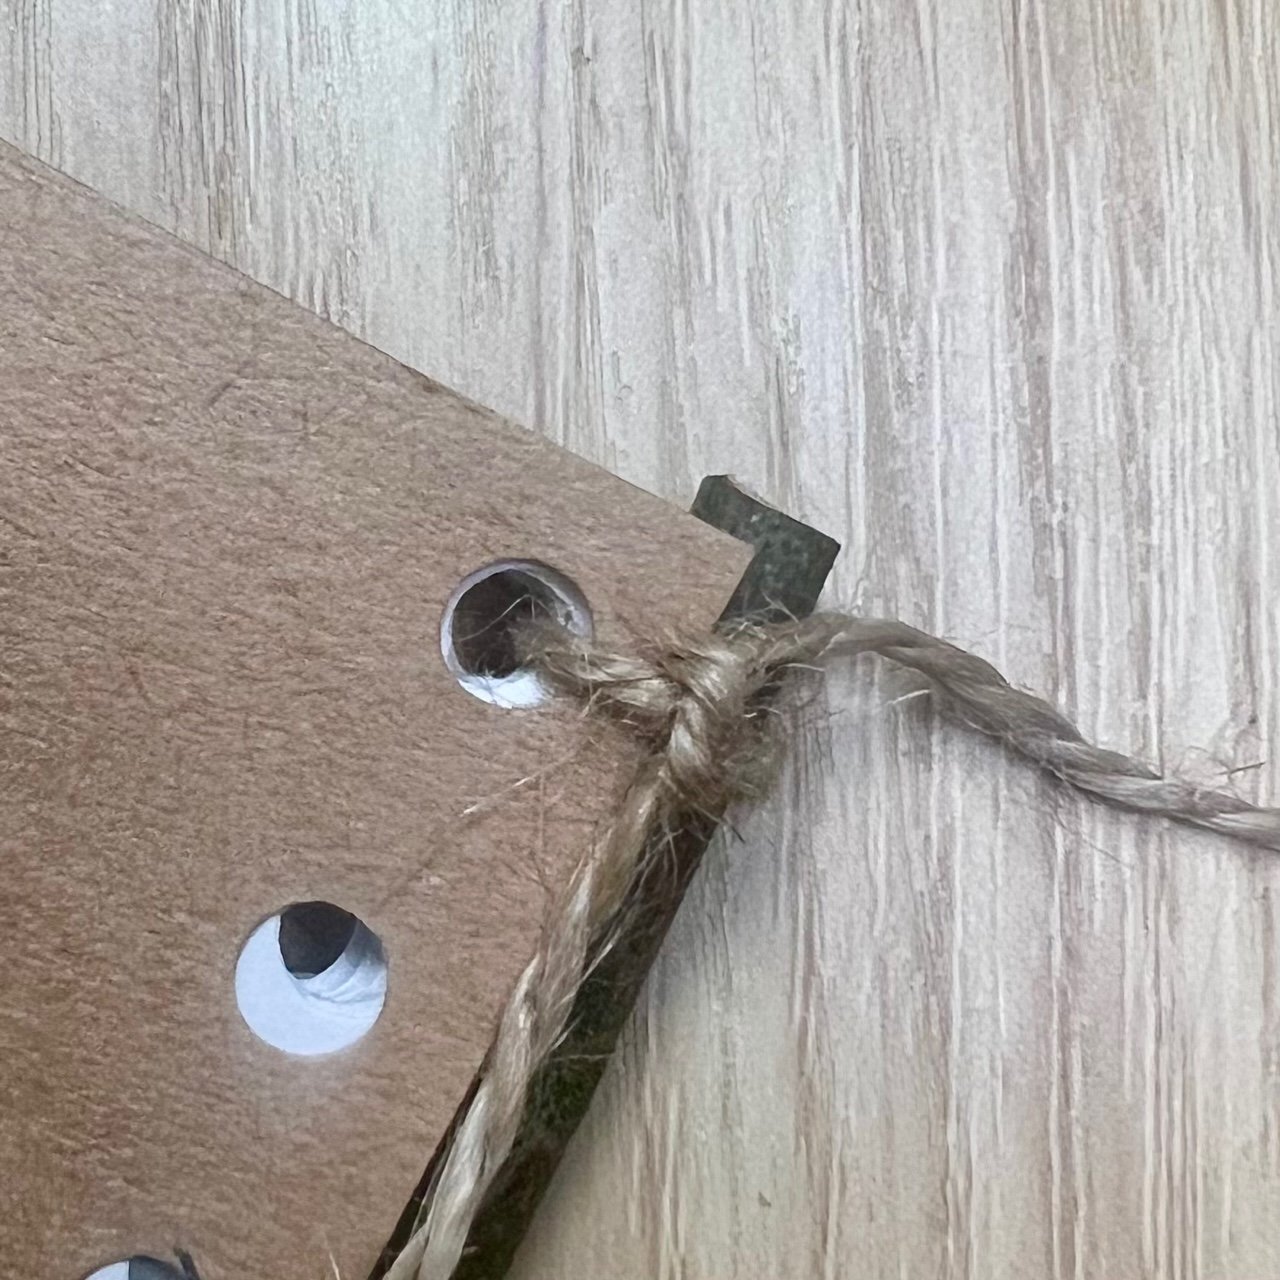
Stack your pages and covers and then thread your twine through the top hole and around your twig and then tie in a knot. You might find it easier to use an embroidery needle. Trim the excess twine.
Bring the twine through the same hole from the bottom to the top of the stack.
Then thread the twine through the second hole from top to bottom. You will now have a stitch between the two holes.
Bring the twine around the twig and then through the stitch that you had just made.
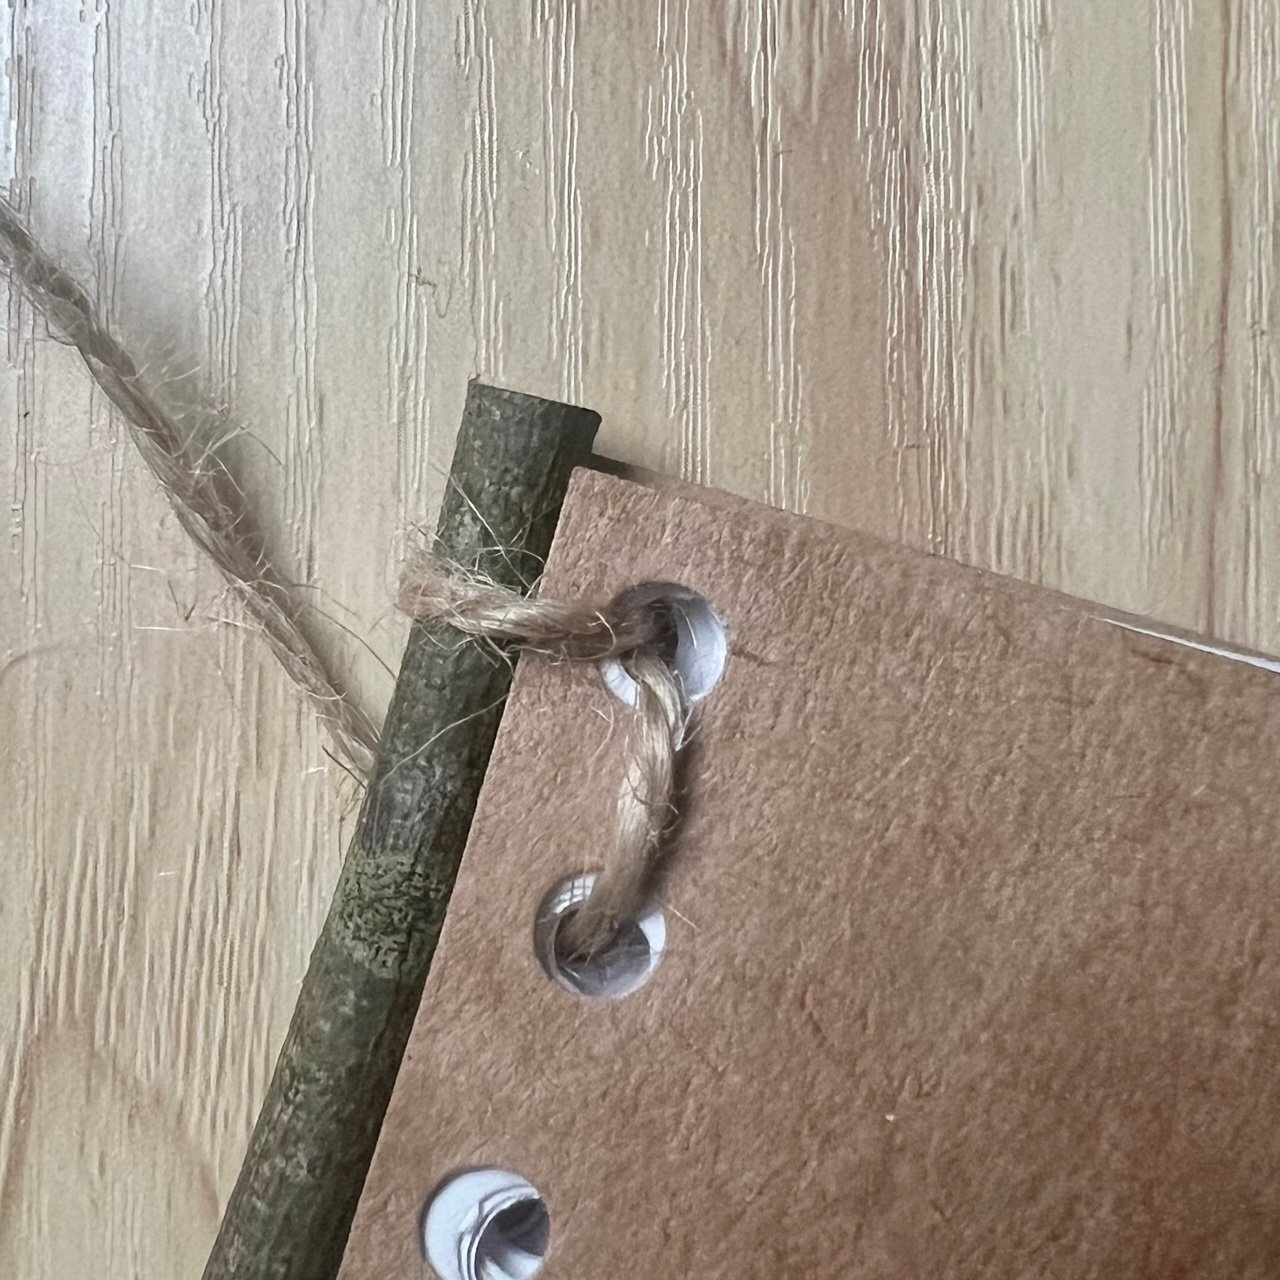

Now thread the twine through the third hole to make another stitch and then repeat the previous steps until you reach the last hole.
Thread the twine under the stitch and through the last hole and then tie it off round the back. Trim off the excess twine.
Now you can decorate your notebook with your pressed flowers! Water down your PVA glue a little bit - this is so it is easier to spread without damaging the delicate pressed flowers.
Using an old paintbrush, spread the glue over the cover of your notebook. Arrange one of your pressed flowers on the glue and then paint more glue on top to seal it.

Once the glue is dry, your fairy notebook is ready!

Author: Denise Hope, home educating mum of two boys
If you’d like to receive regular nature craft activities like this alongside gardening activities for children, subscribe below to receive a monthly Mud & Bloom box! Each monthly Mud & Bloom box contains at least two craft activities for children as well as two growing activities.