Make an upcycled watering can

It’s so easy to make your own watering cans by repurposing containers you already have at home. It’s also great to have extra for children who love to help out watering the plants!
What you will need:
An empty bottle or two
A push pin
A nail
A hammer
Some stickers or sharpies to decorate your watering can with (optional)
Some plants to water!

What you need to do:
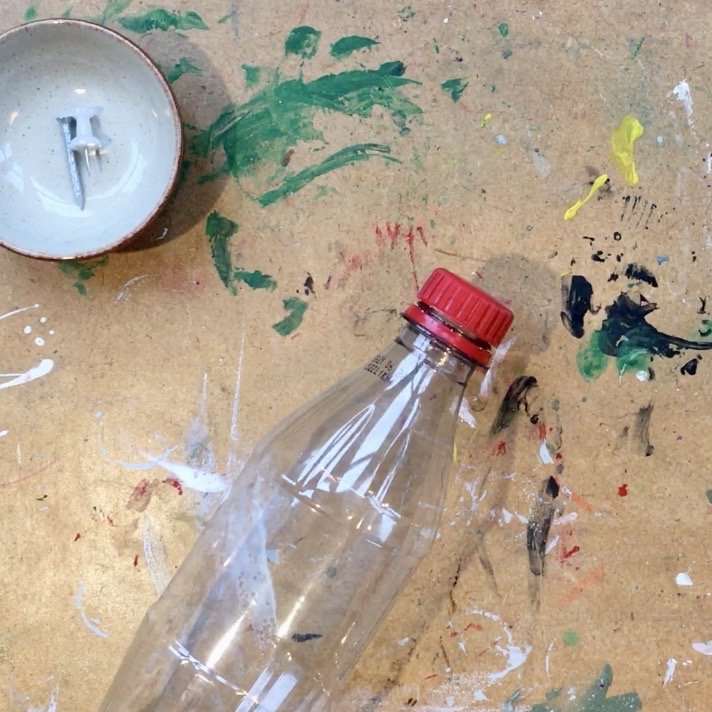
Find an empty bottle or two to use - I used a drinks bottle and a fabric conditioner bottle but milk bottles with handles are also great to use.
Remove the labels and rinse your bottle well. The easiest way to clean your bottle is to fill it with water, put the lid on and shake it, then pour the water out. Do this a few times until the bottle is clean inside.
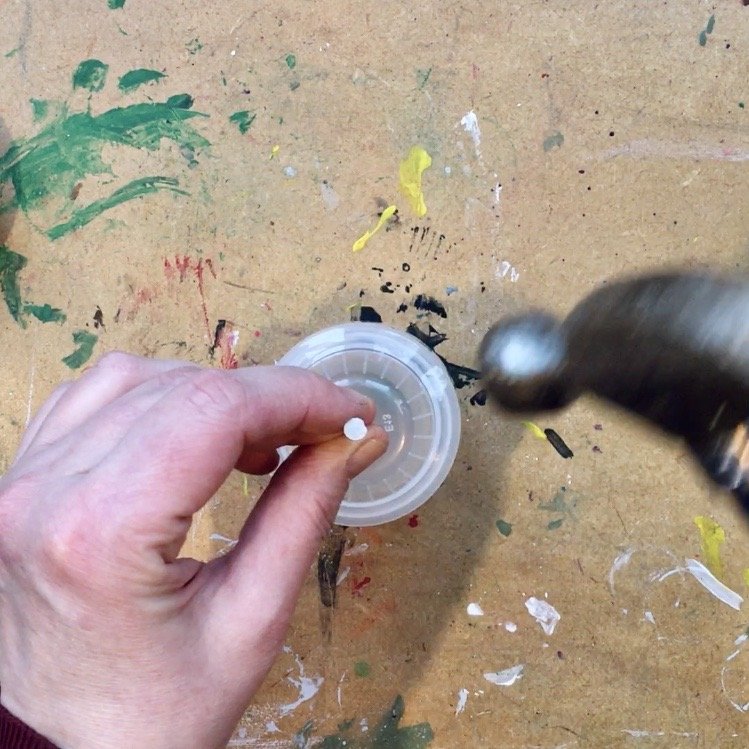
Place the lid onto a wooden board and use a hammer and nail to make holes into the lid (adult help may be required). If your lid is tall like the one from my fabric conditioner bottle, it is best to place it with the top of the lid facing down (I didn’t) otherwise it might crack when you hammer your nail in (oops! It still works though!).
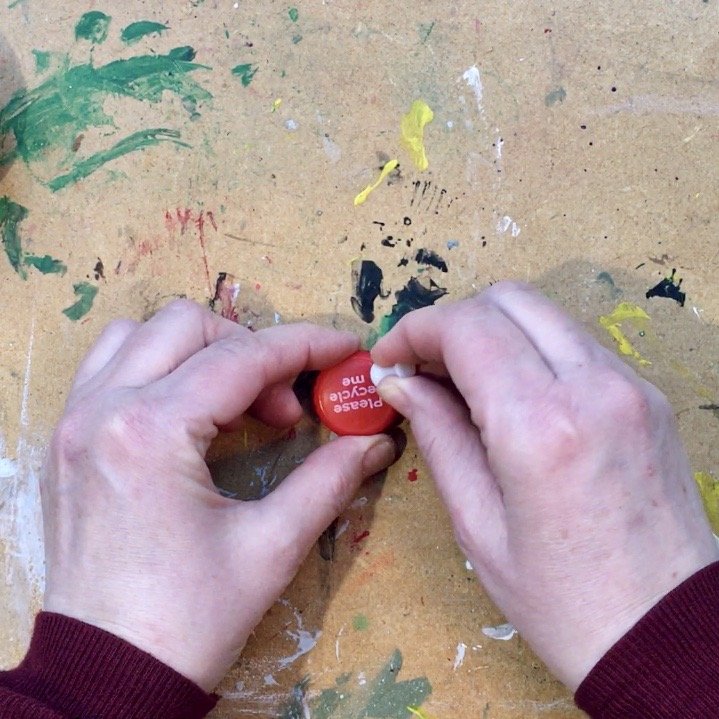
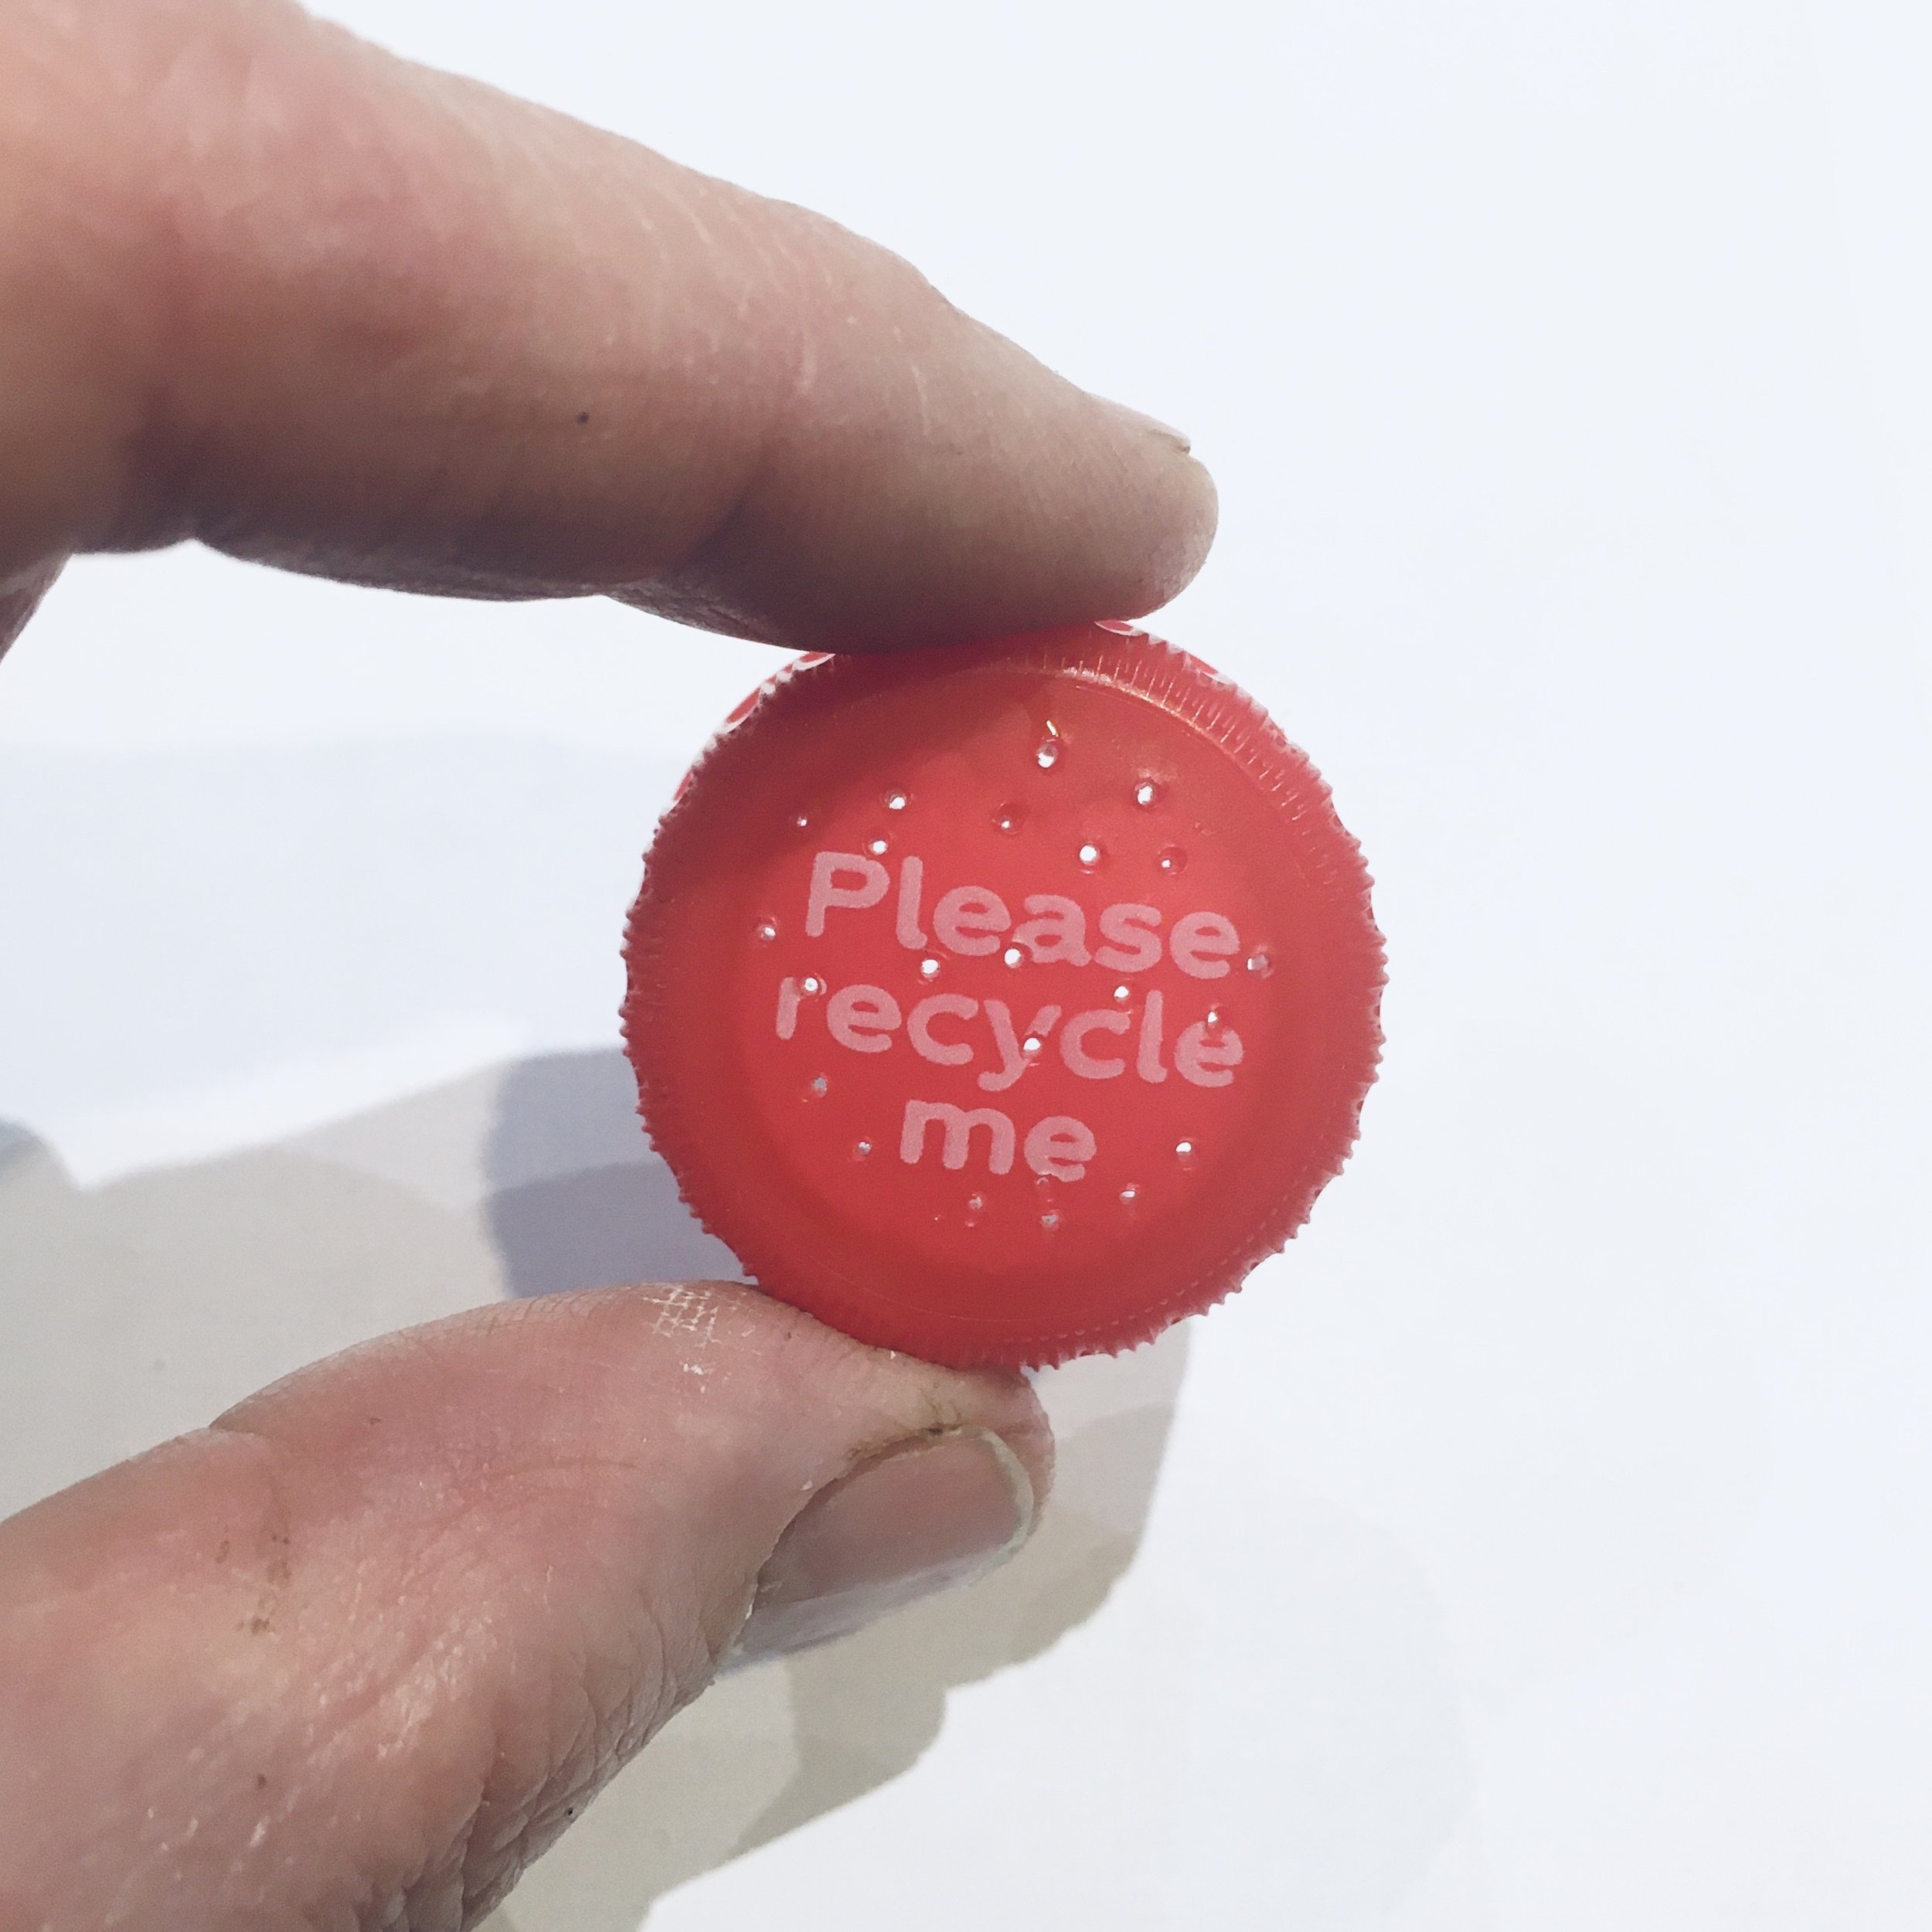
For a finer spray, use a push pin to make smaller holes in the lid. The more holes you make, the faster the water will come out.
If you want to, you can decorate your bottle with stickers or sharpies.
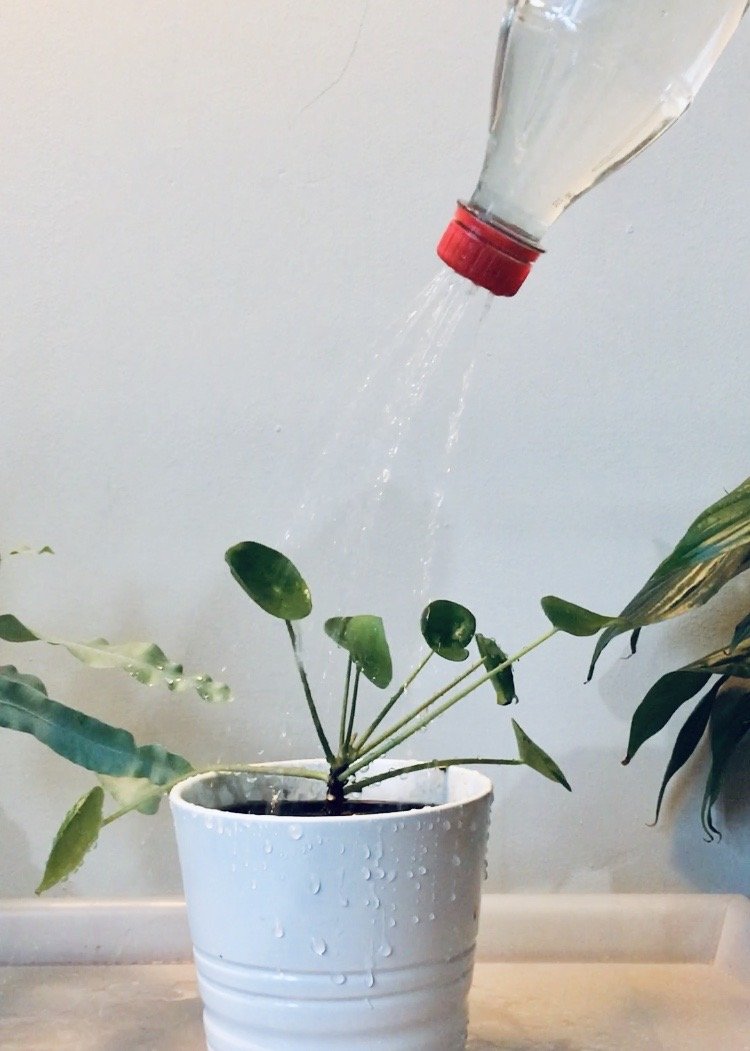
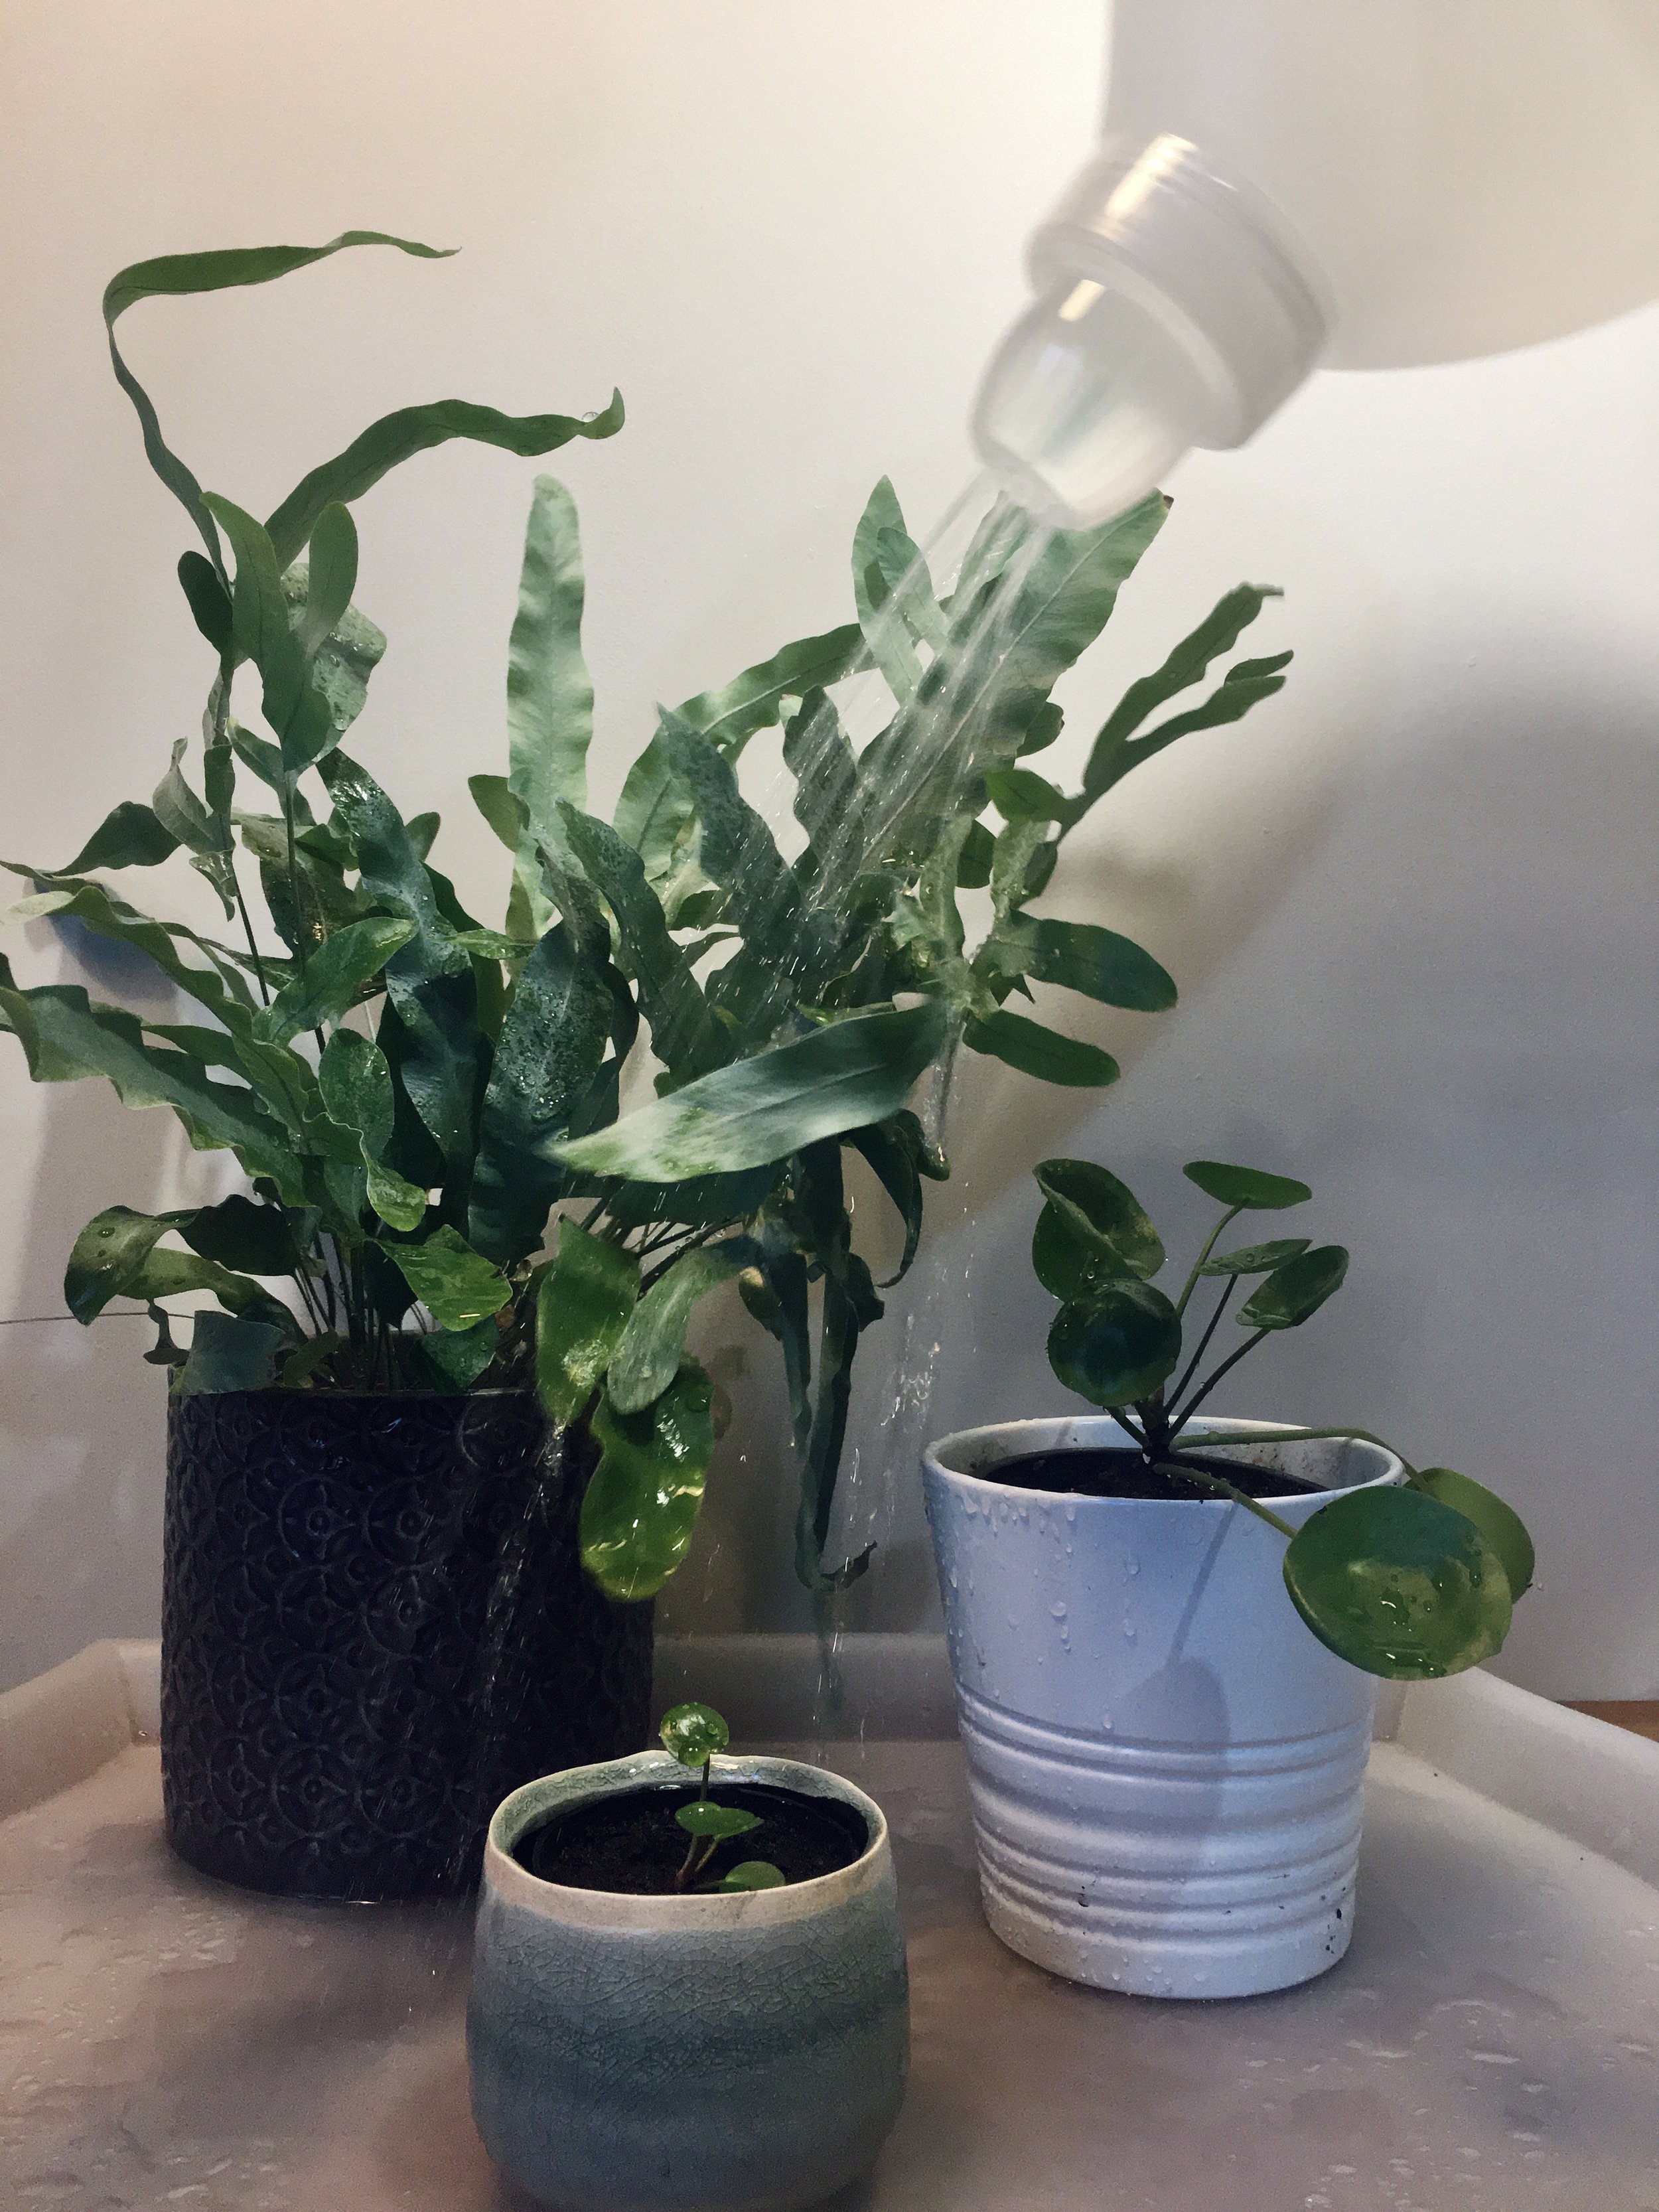
Now you can fill up your bottle, replace the lid, and start watering your plants! If you have used a large bottle, make sure you only fill it with enough water that you can carry.
If you find that the water comes out too slowly, take off the lid and make more holes in it.
Author: Denise Hope, home educating mum of two boys