Make a constellation projector
Looking up at the stars and spotting different constellations on a clear night is such a lovely thing to do with children. Humans have been fascinated with the stars for thousands of years across many different cultures, connecting them into the patterns that we know as constellations. These patterns of stars have long been used to tell stories and to help navigate land and sea.
In this activity, children can create a projector of their favourite constellation and then cast its stars onto walls. They can even design their own constellation and make up a story about their constellation!
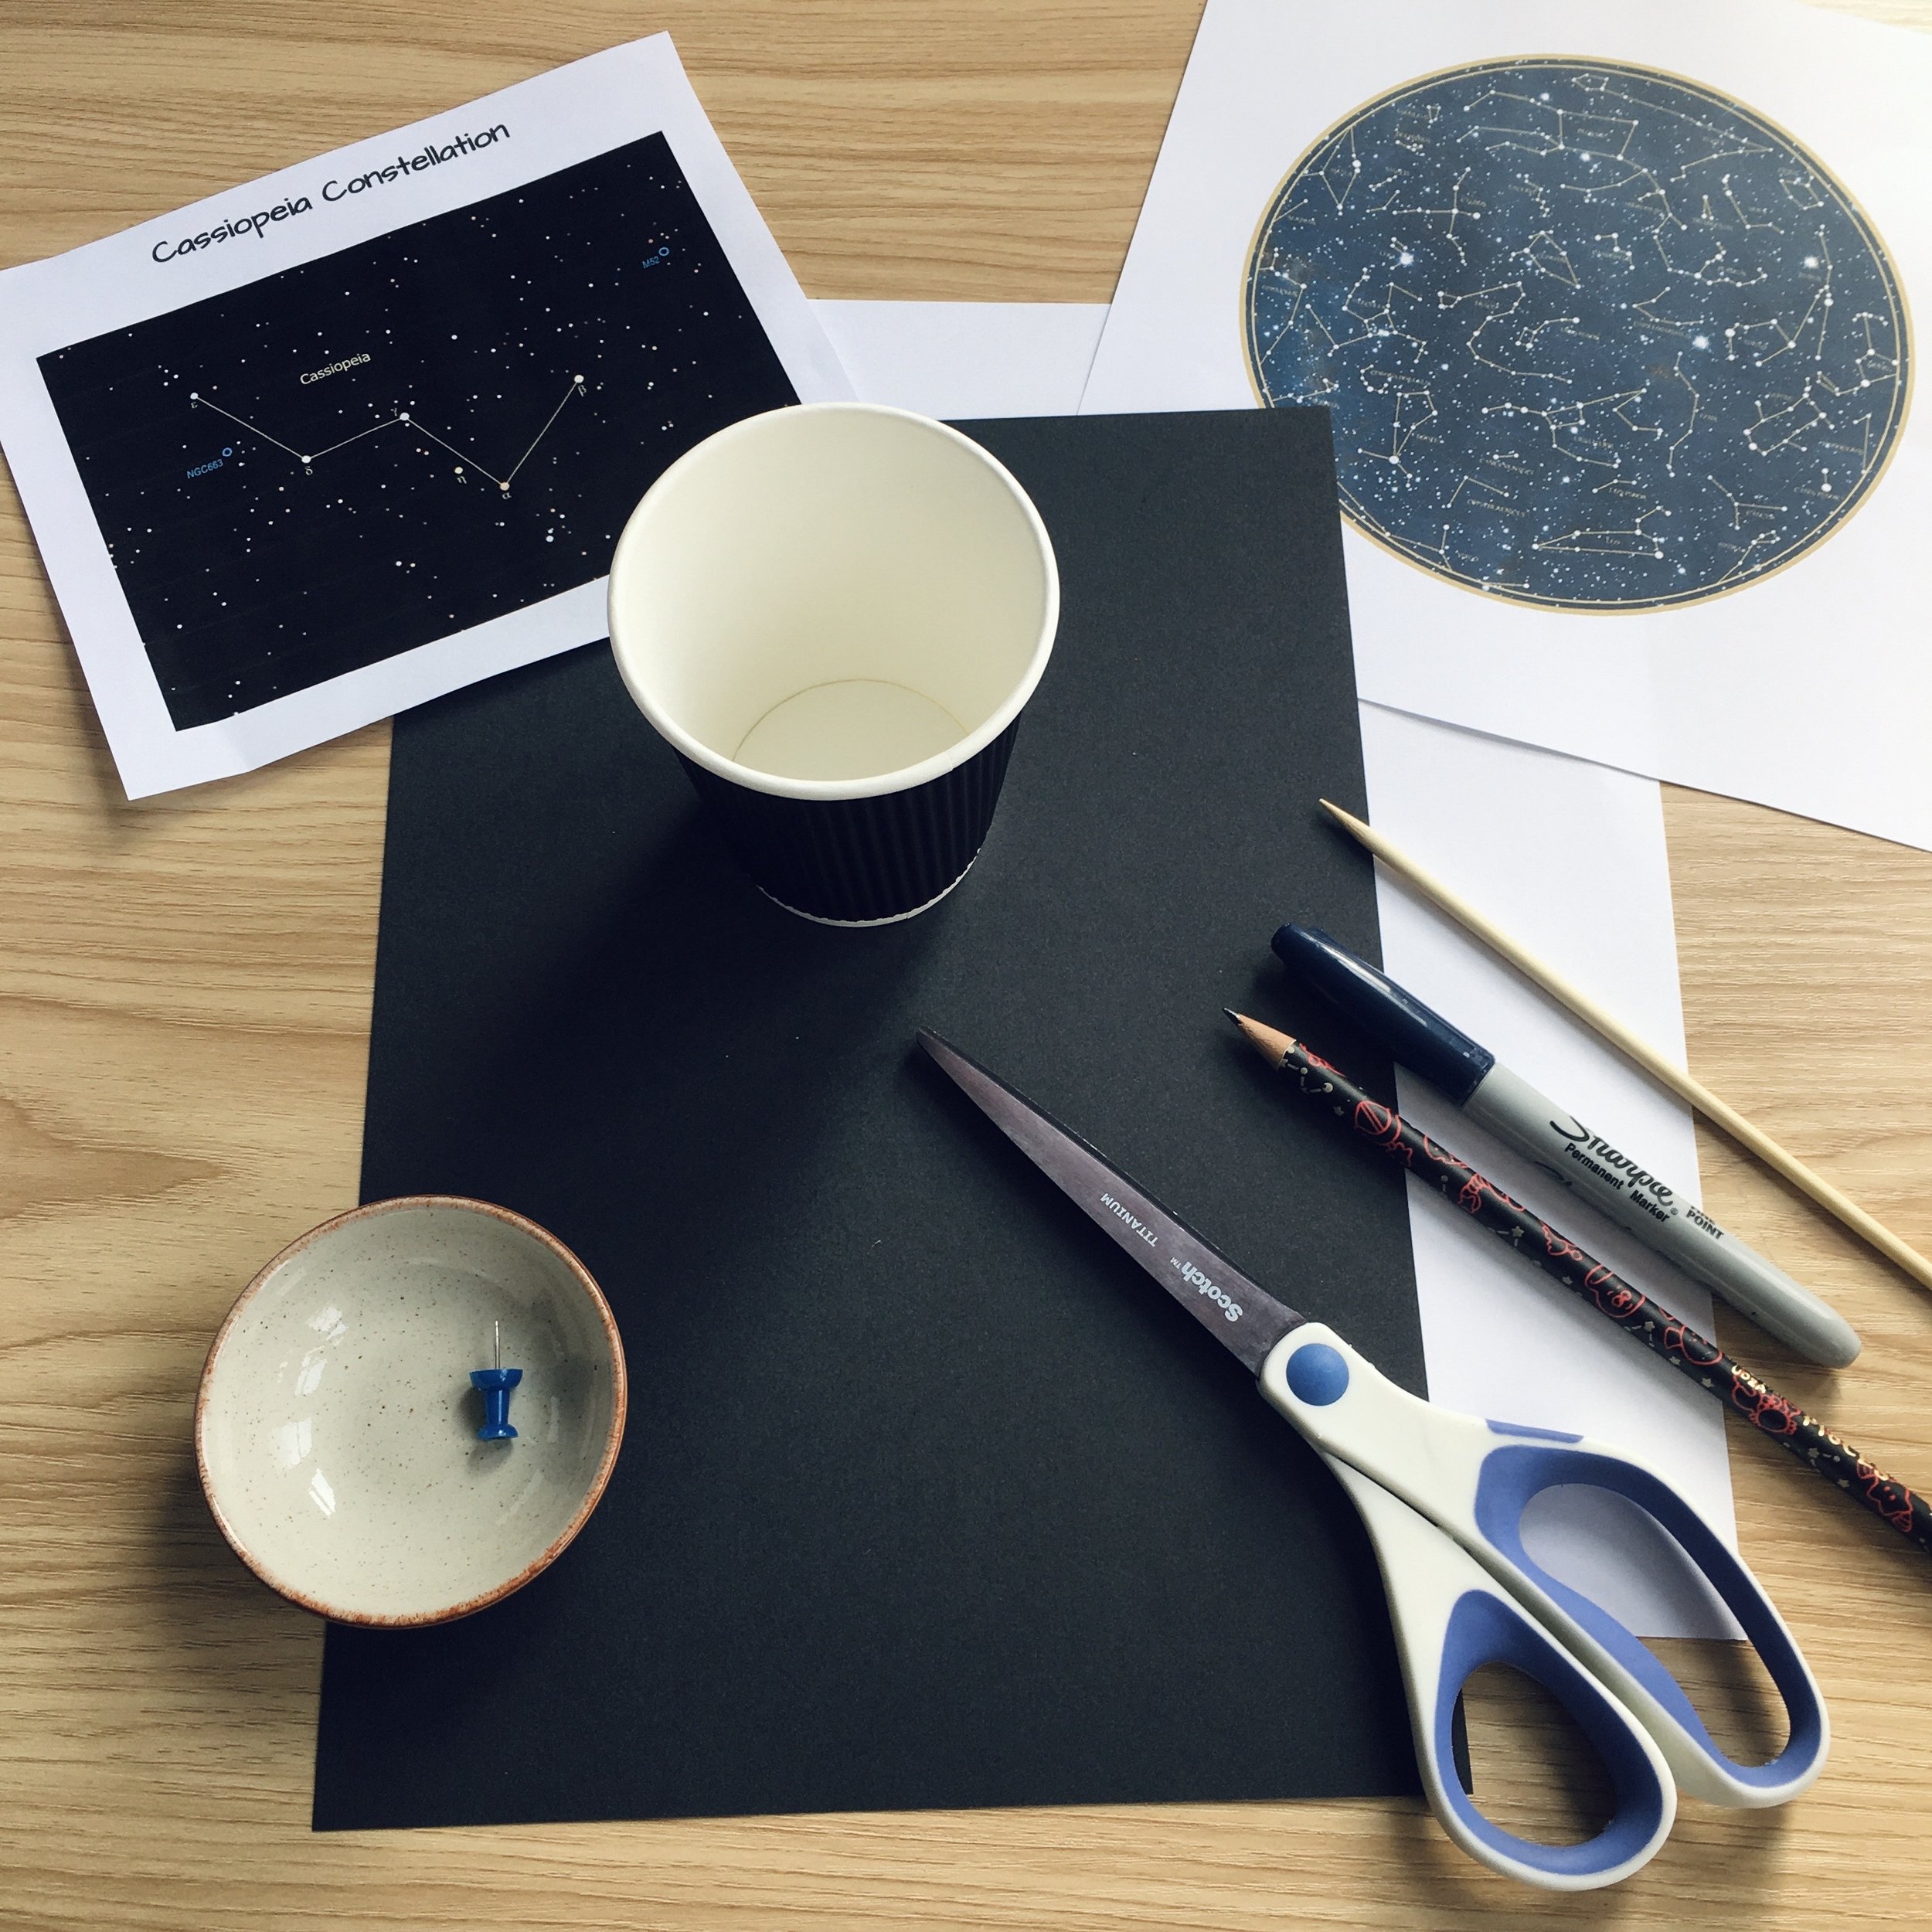
What you will need:
Paper cup
Pushpin or wooden skewer
Paper
Pen or pencil
Scissors
Glue stick
A torch or mobile phone light
What you need to do:
If you would like to use an existing constellation design in your projector, first find a picture of the constellation that shows its main stars nice and clearly. We chose Cassiopeia as it is one of the easiest constellations to spot in the night sky because of its distinctive ‘W’ or ‘M’ shape (depending on the time of night and time of year) and it is visible all year round from the UK.
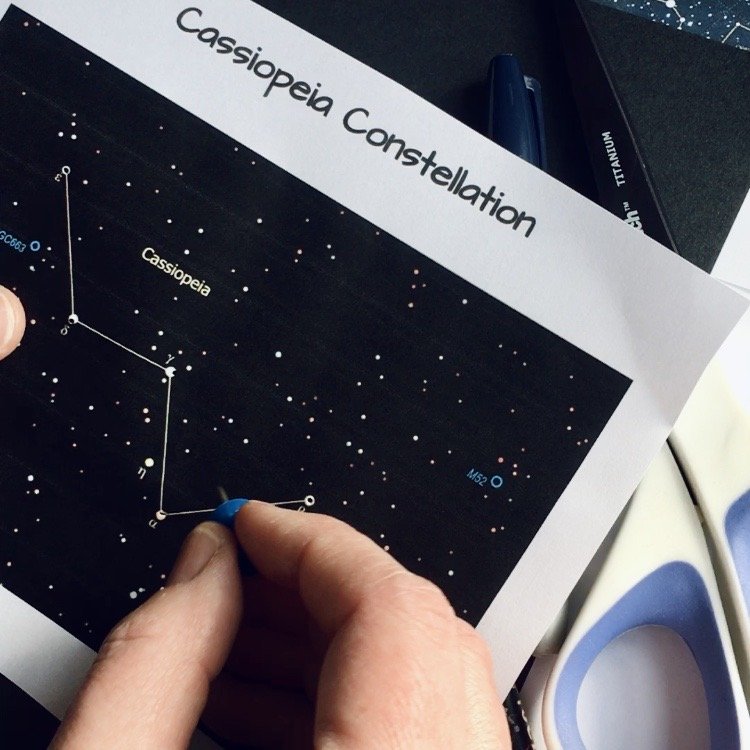
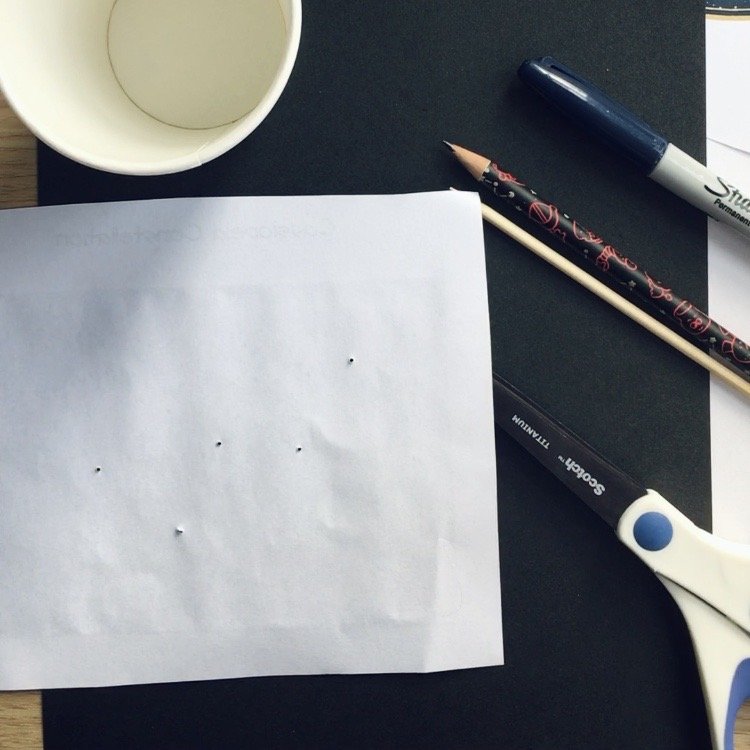
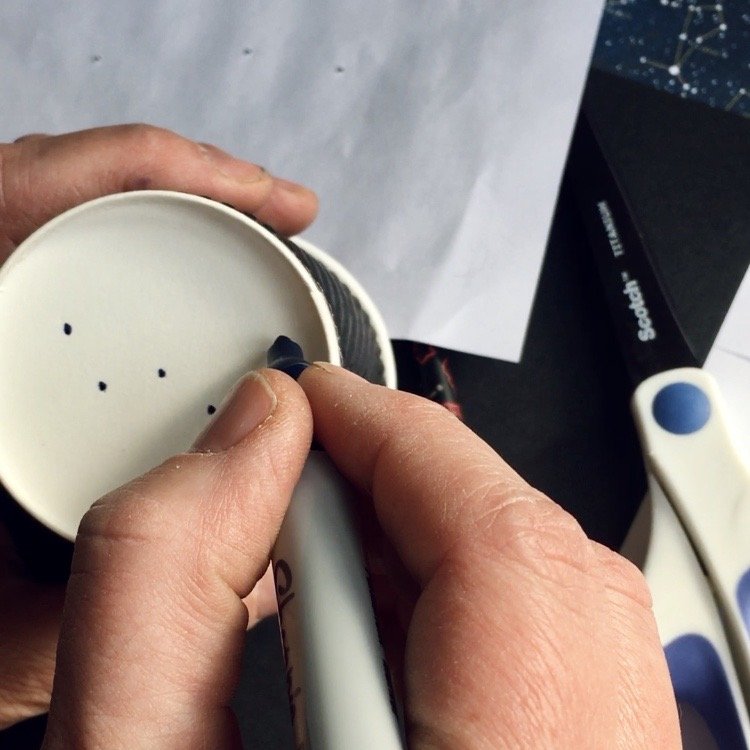
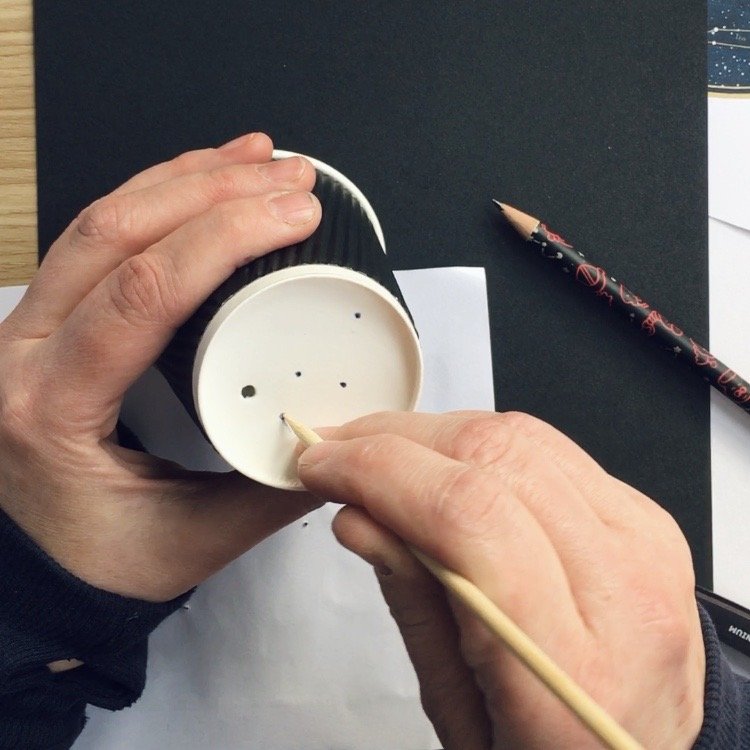
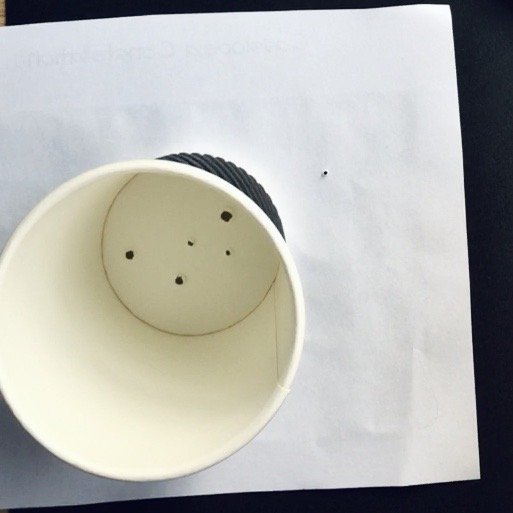
Print the picture and then use a pushpin to make holes in the paper where the stars are. Place the paper face down on a dark surface such as a black piece of paper so that you can see the reverse image of the constellation. Now, copy this reverse constellation onto the bottom of your cup using a pen.
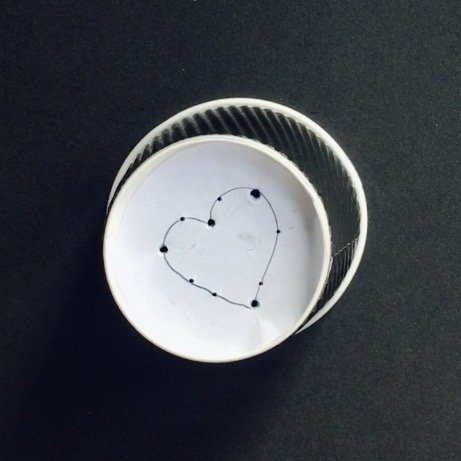
Once you are happy with the placement of the dots, you can use your pushpin to make holes in the bottom of the cup where your dots are. You can also use something like a wooden skewer or a pencil to make some of the stars bigger than others. If you look inside your cup, you’ll see that your constellation is showing the right way as it would look in the night sky.
If you want, you can just copy the constellation without reversing the image, it just means that the constellation that is projected will be facing the other way.
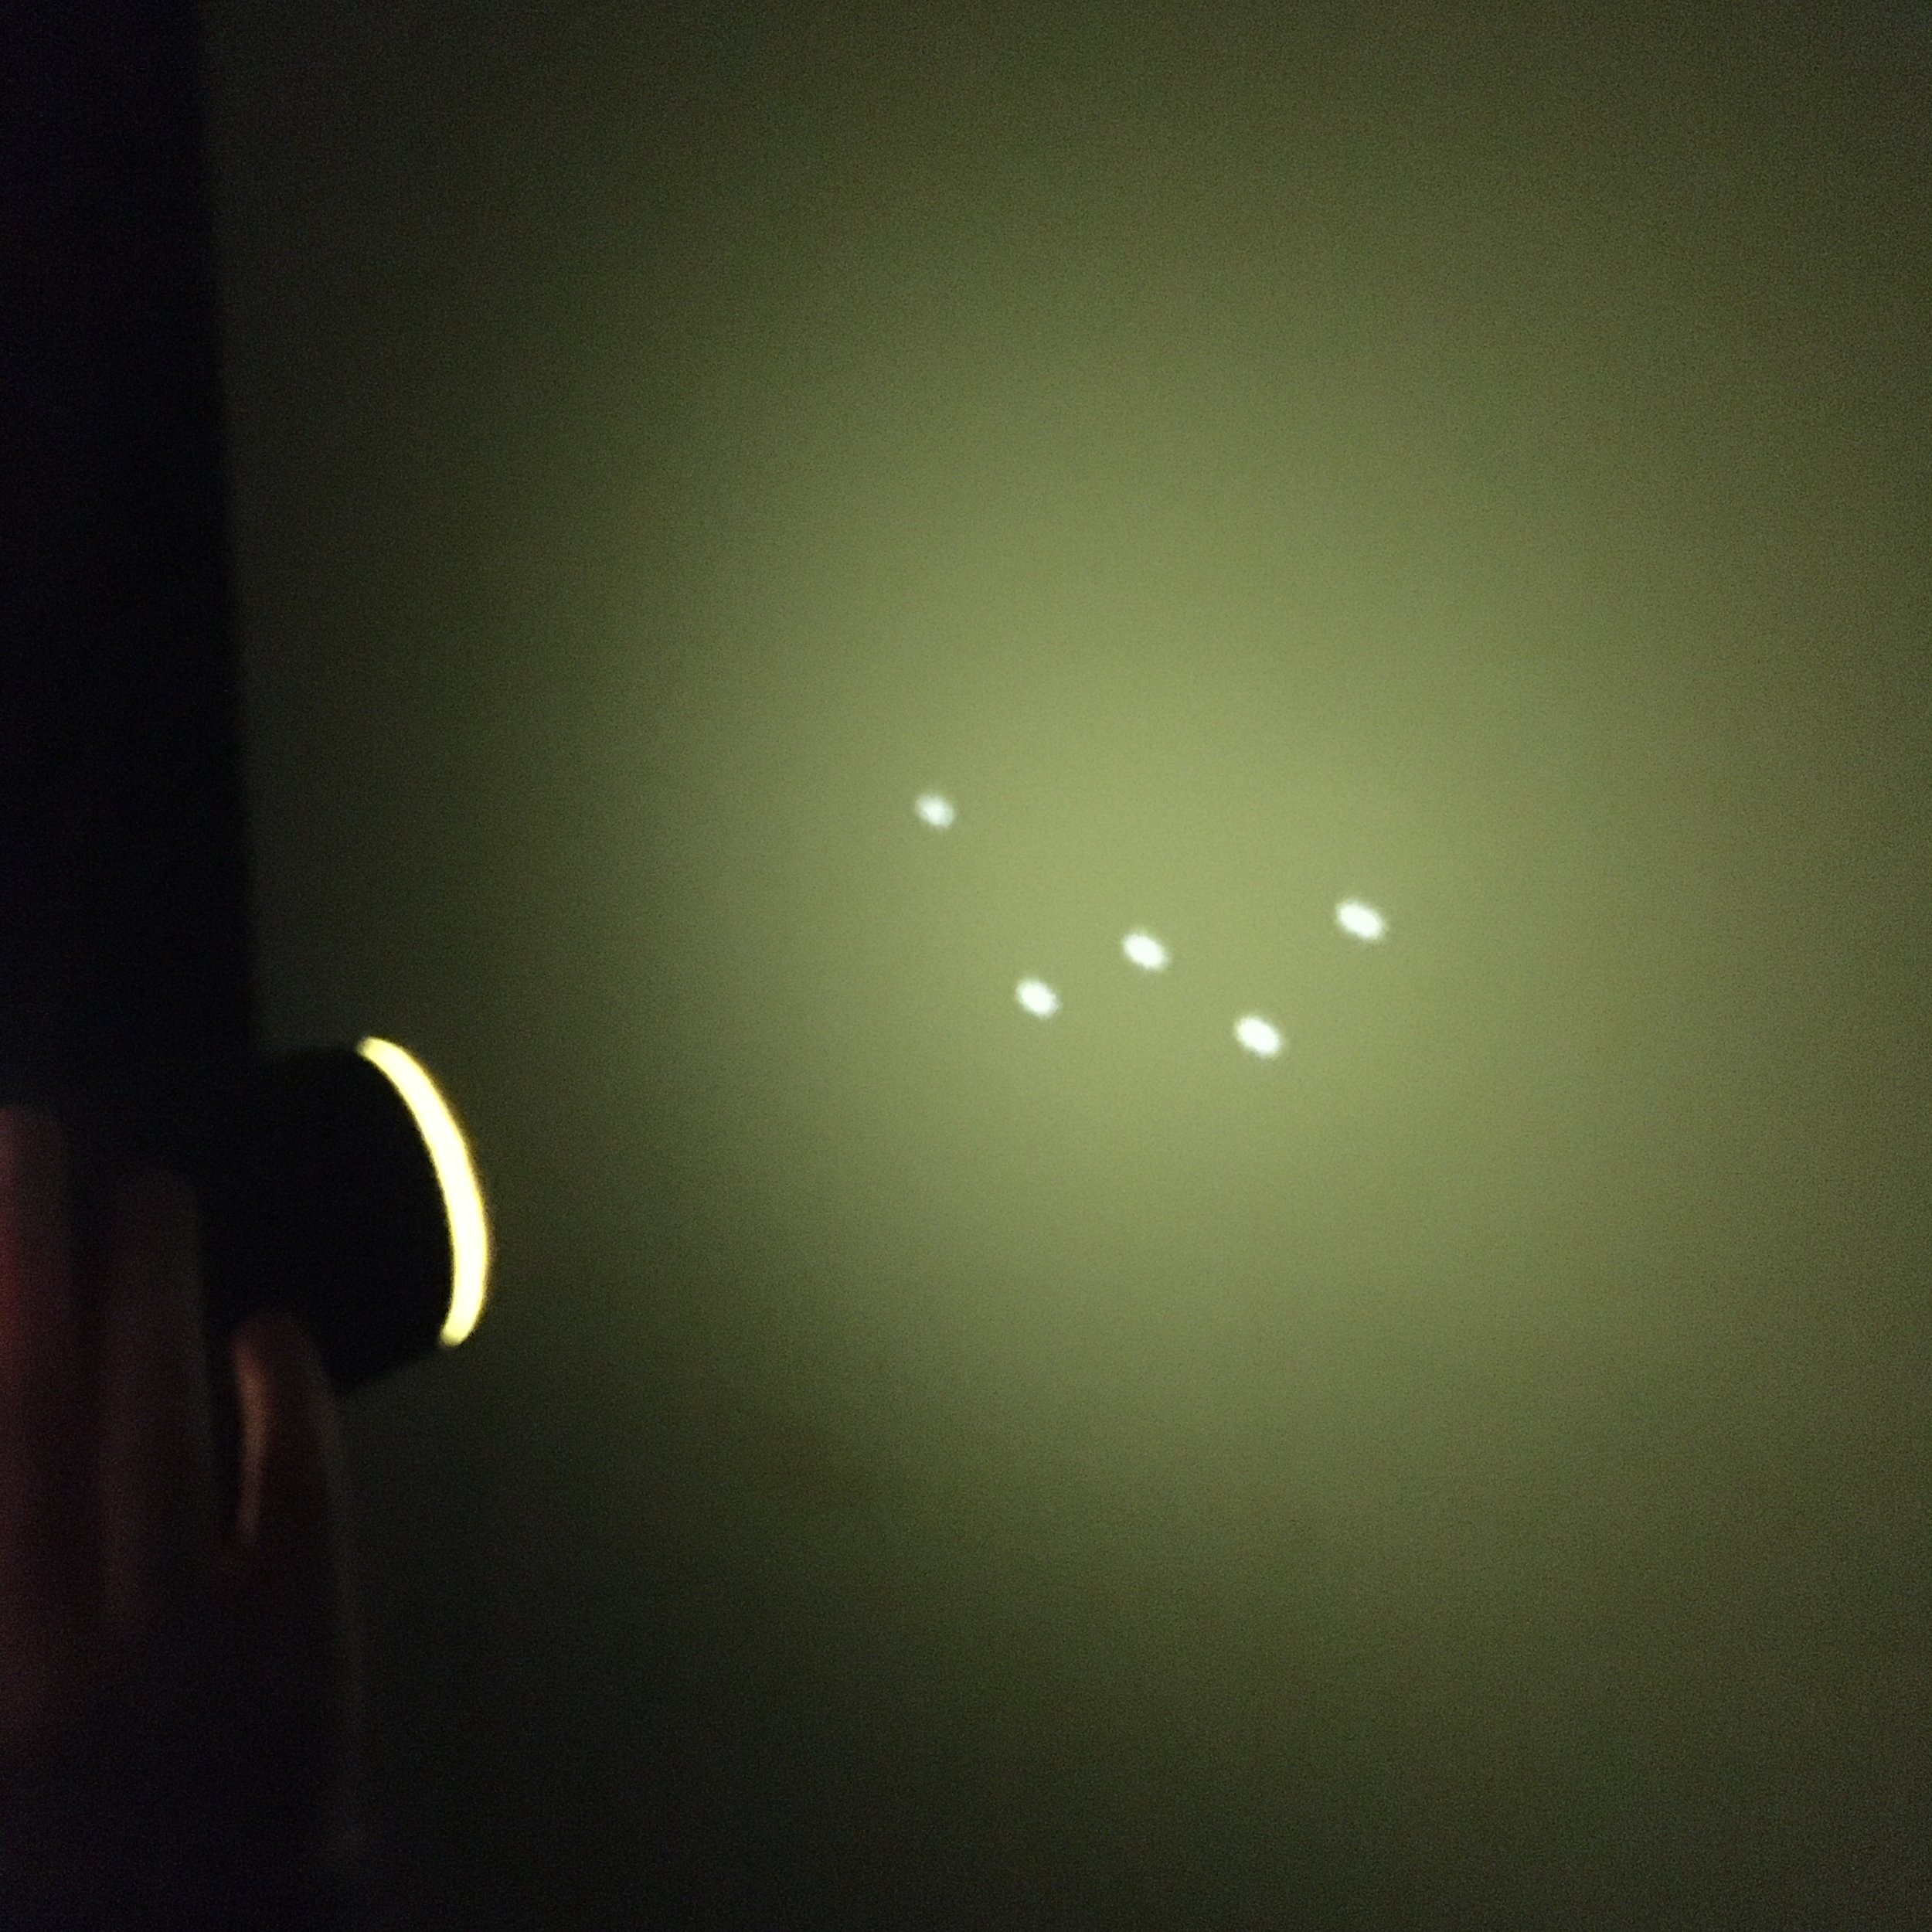
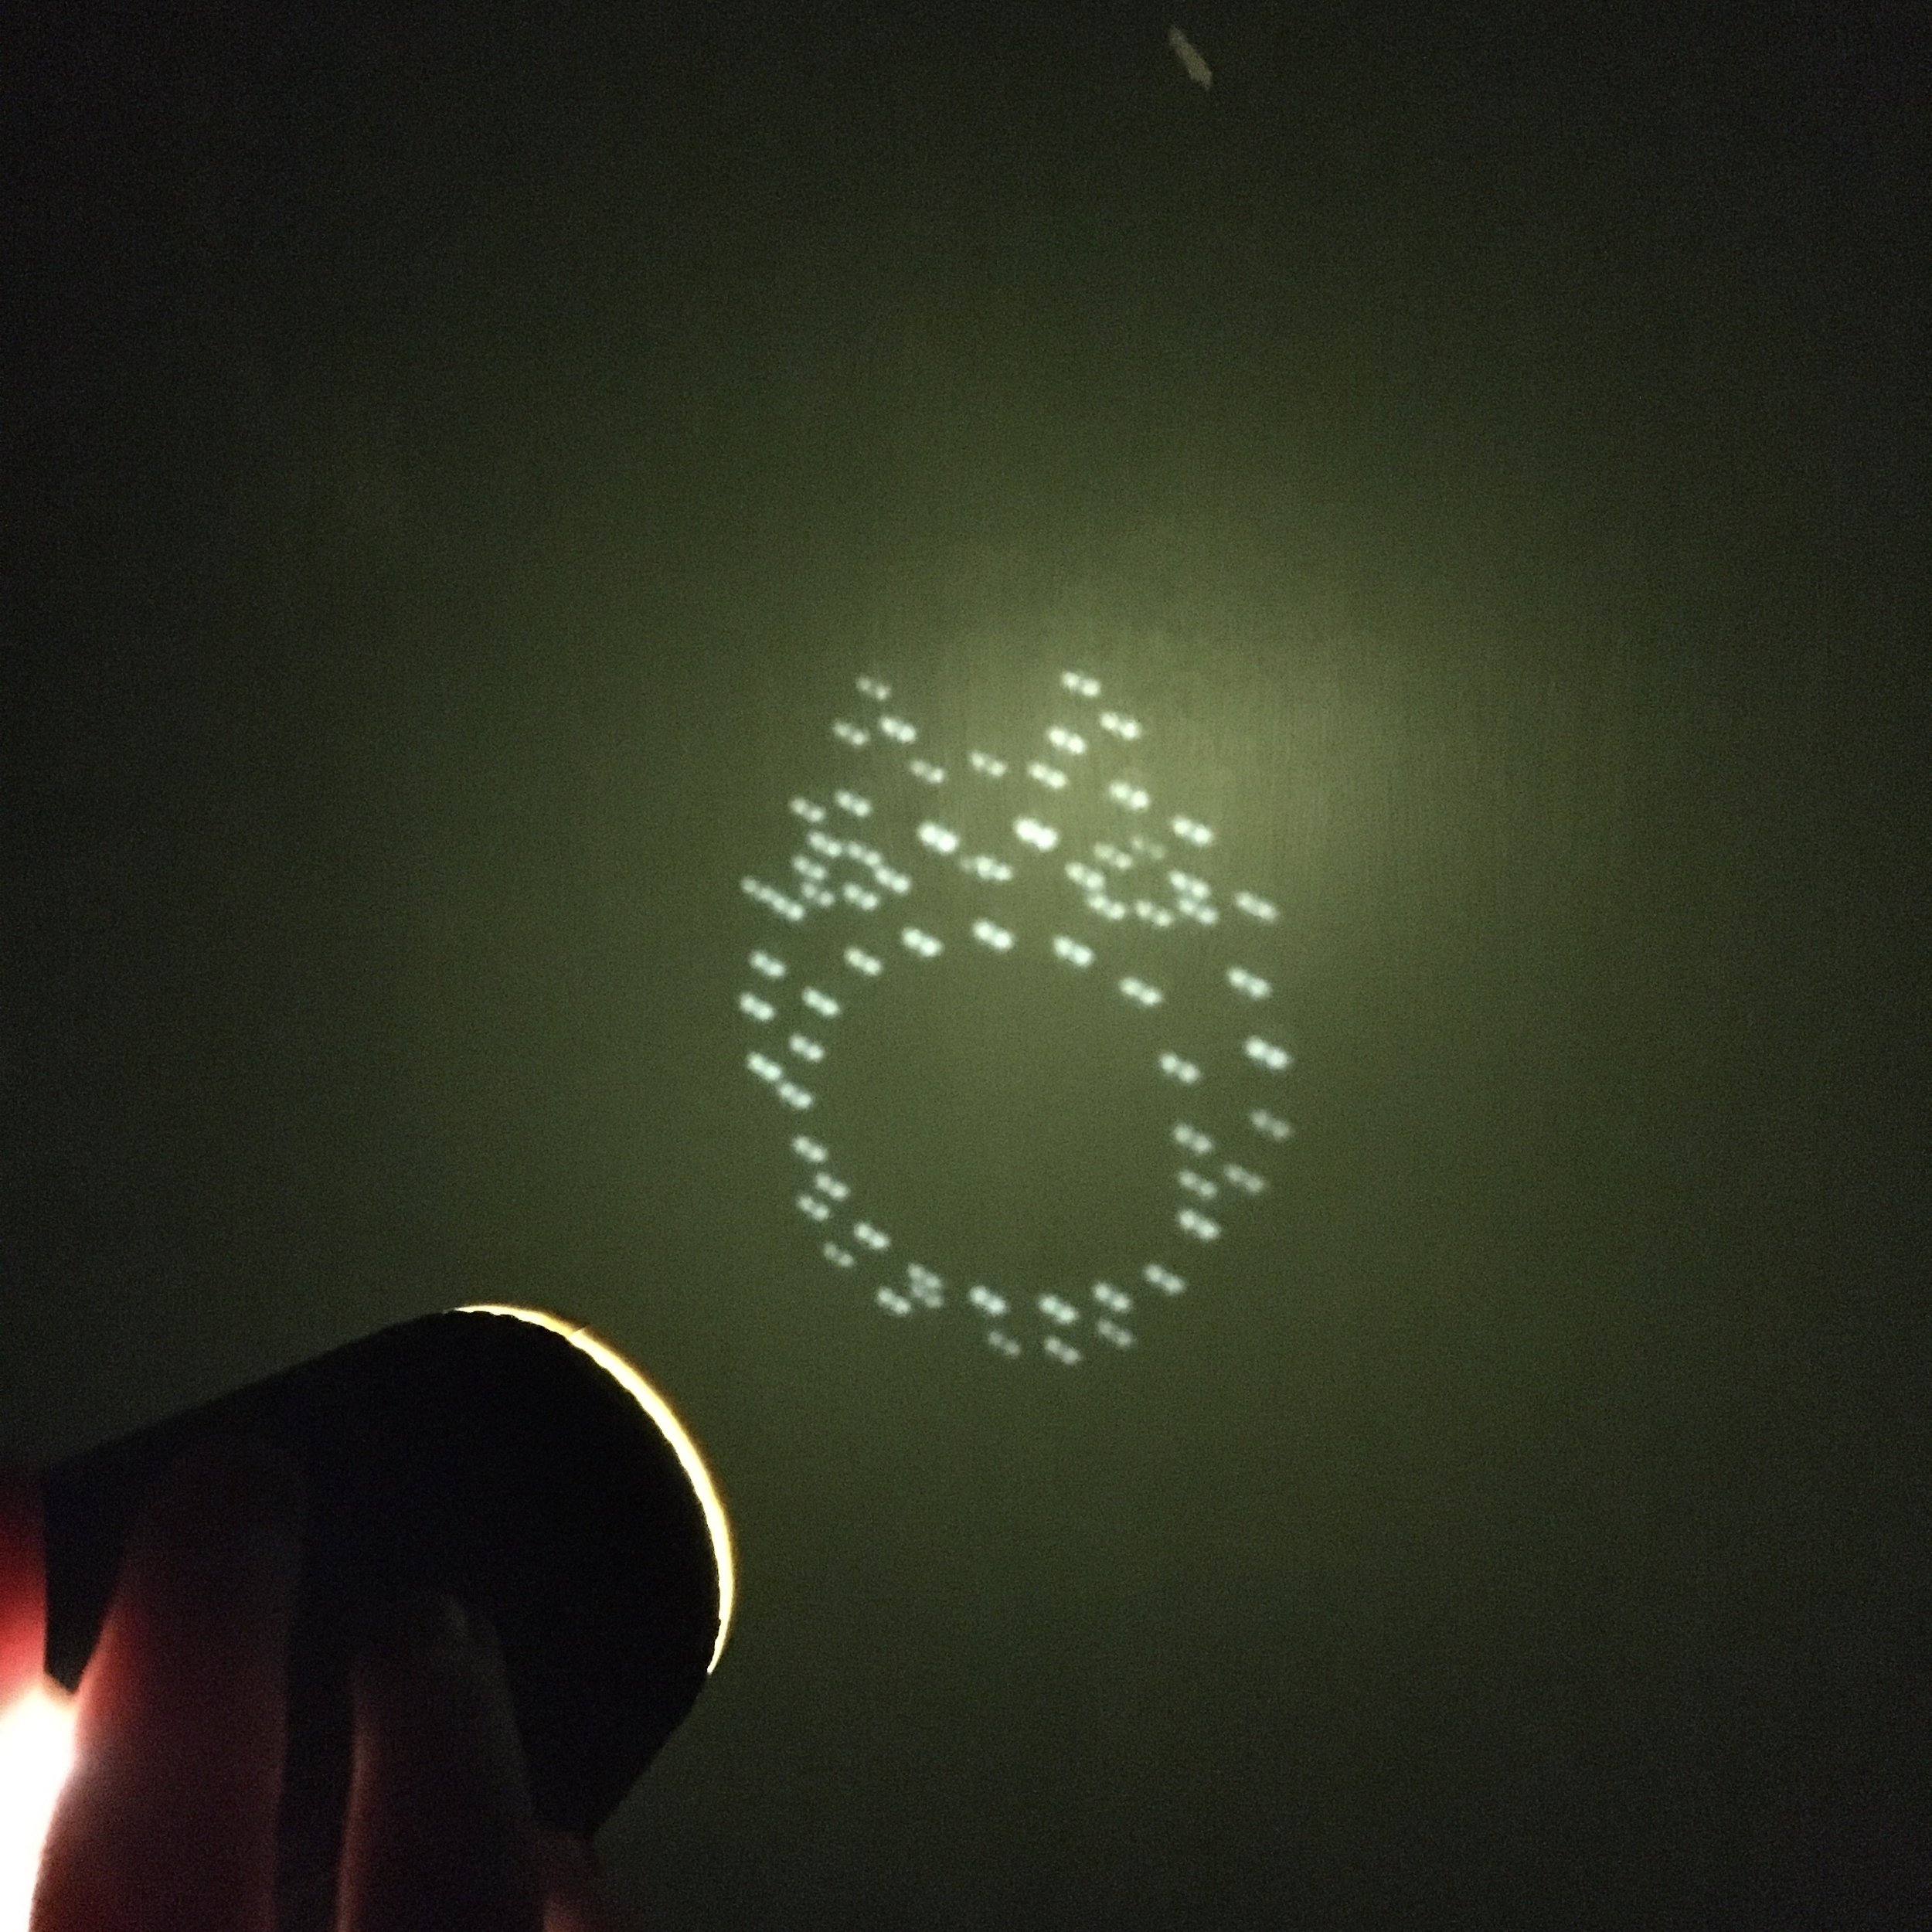
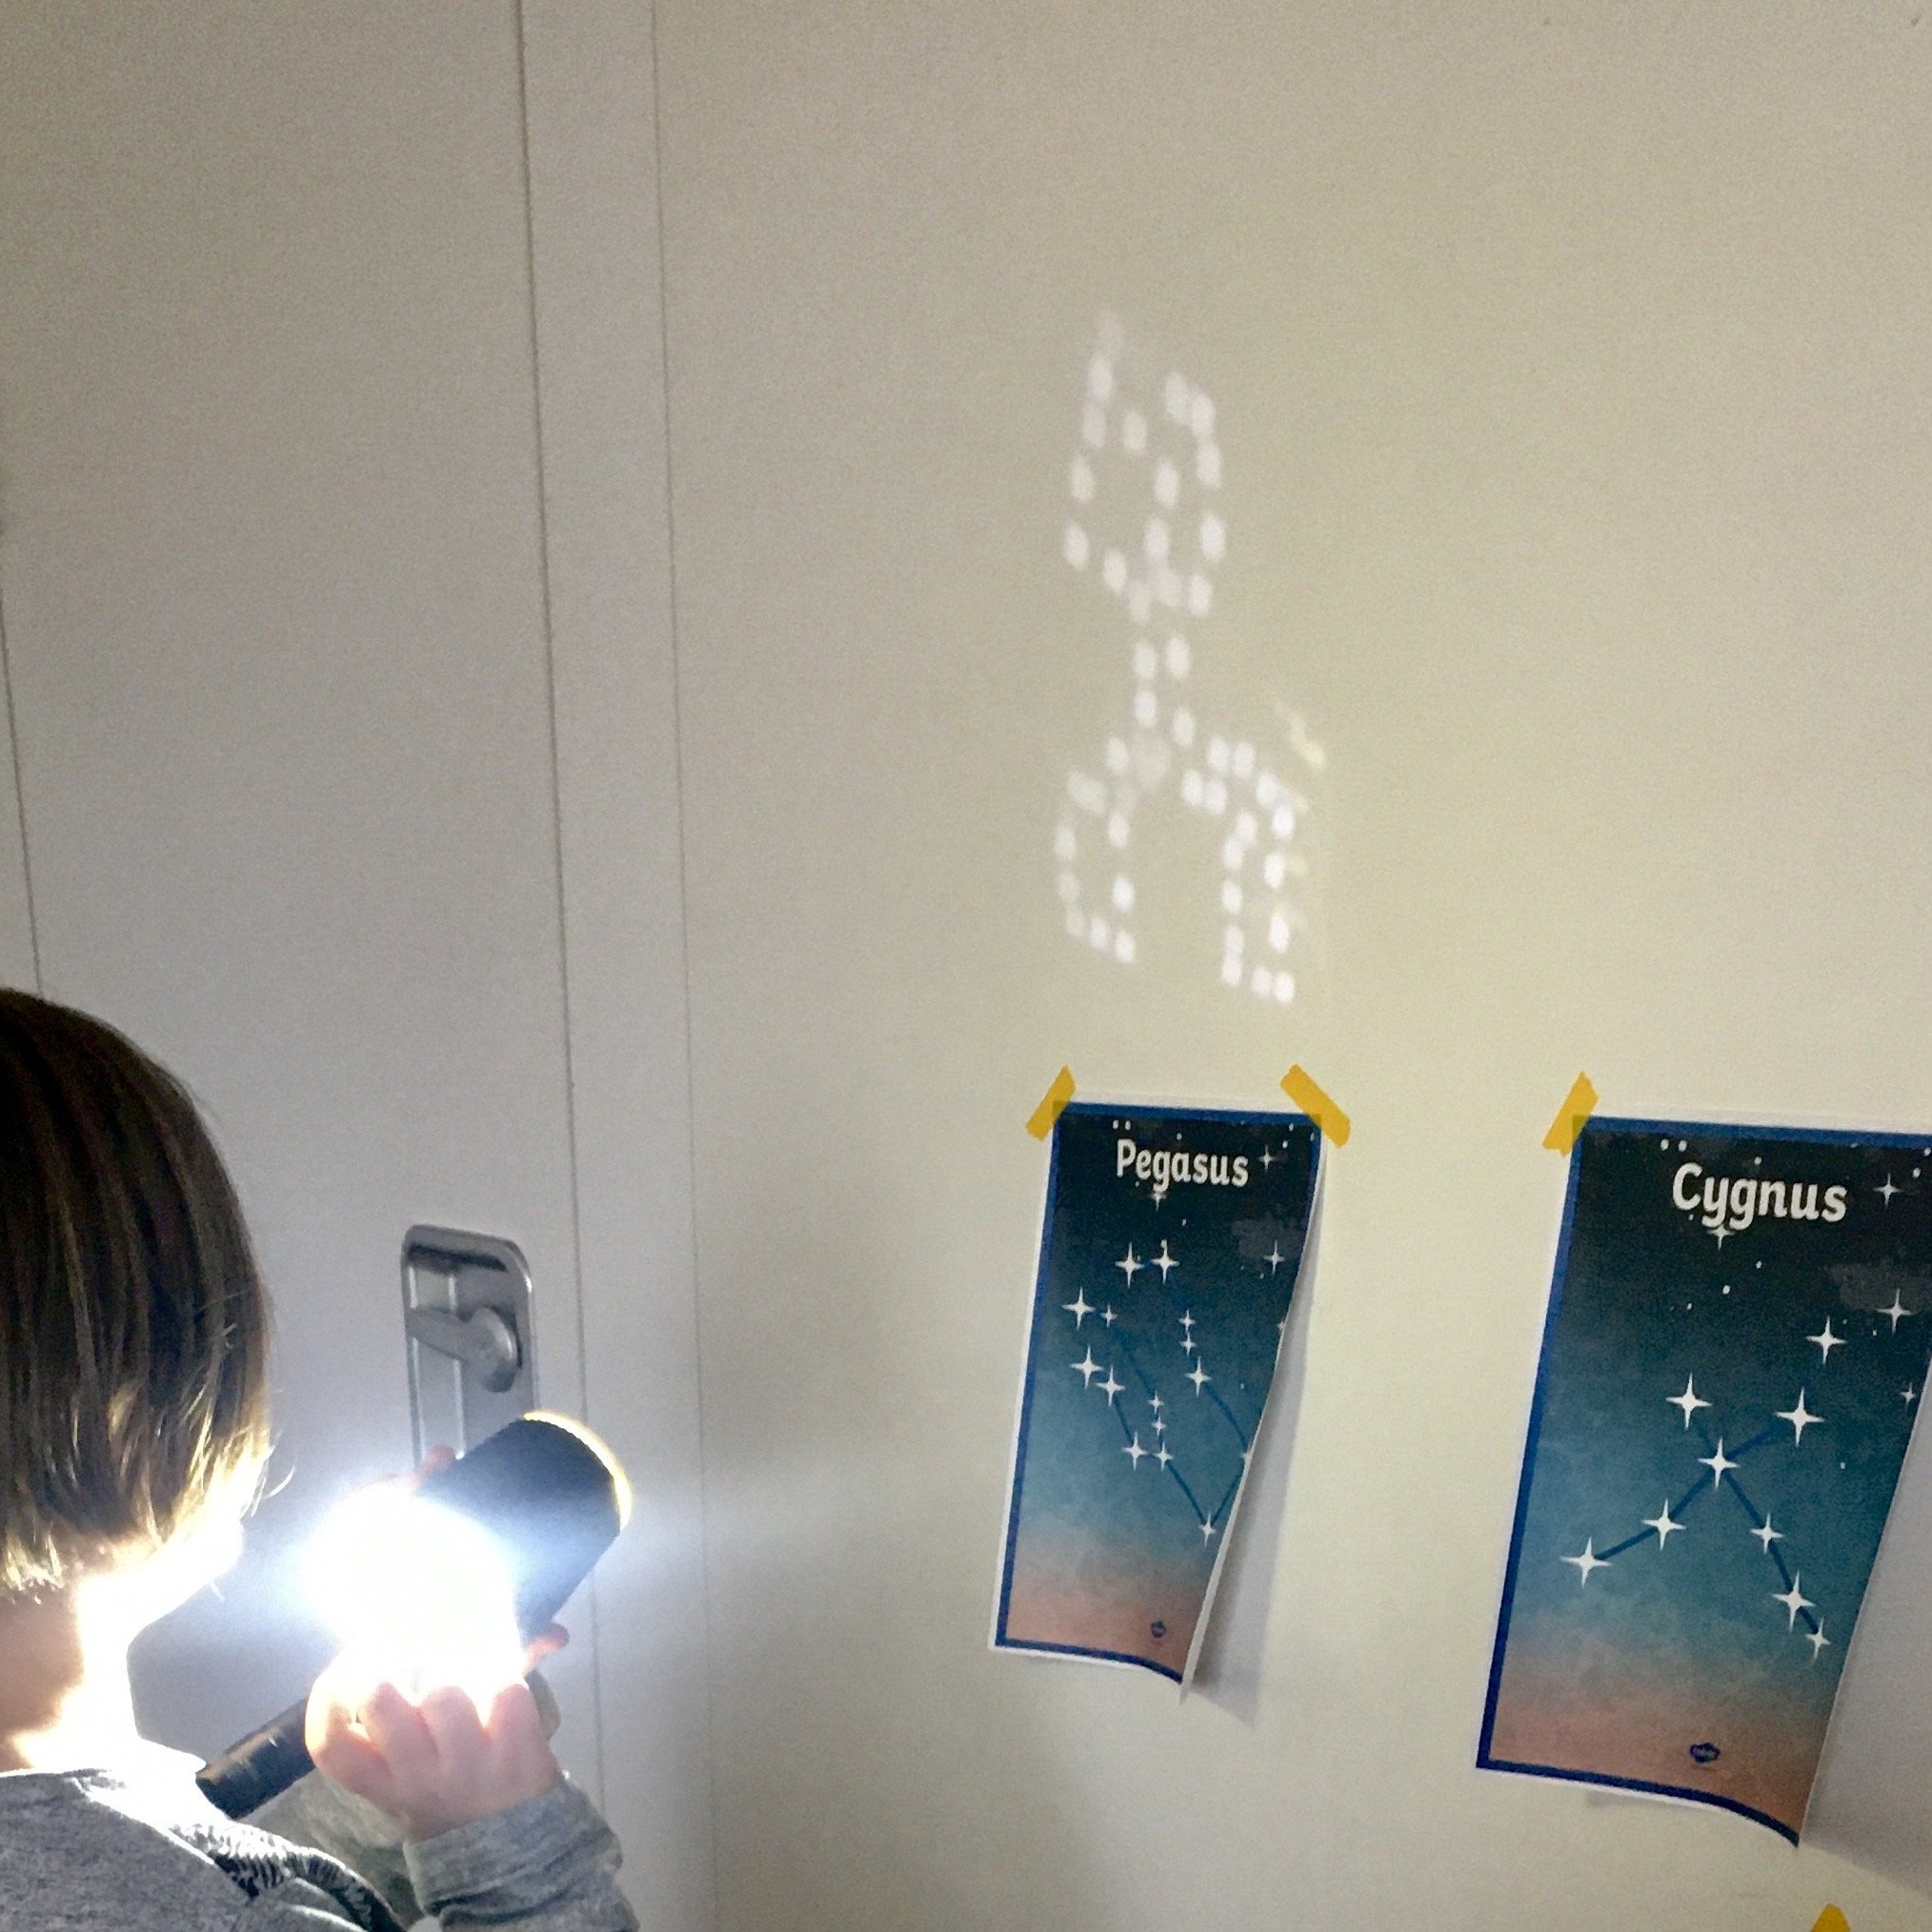
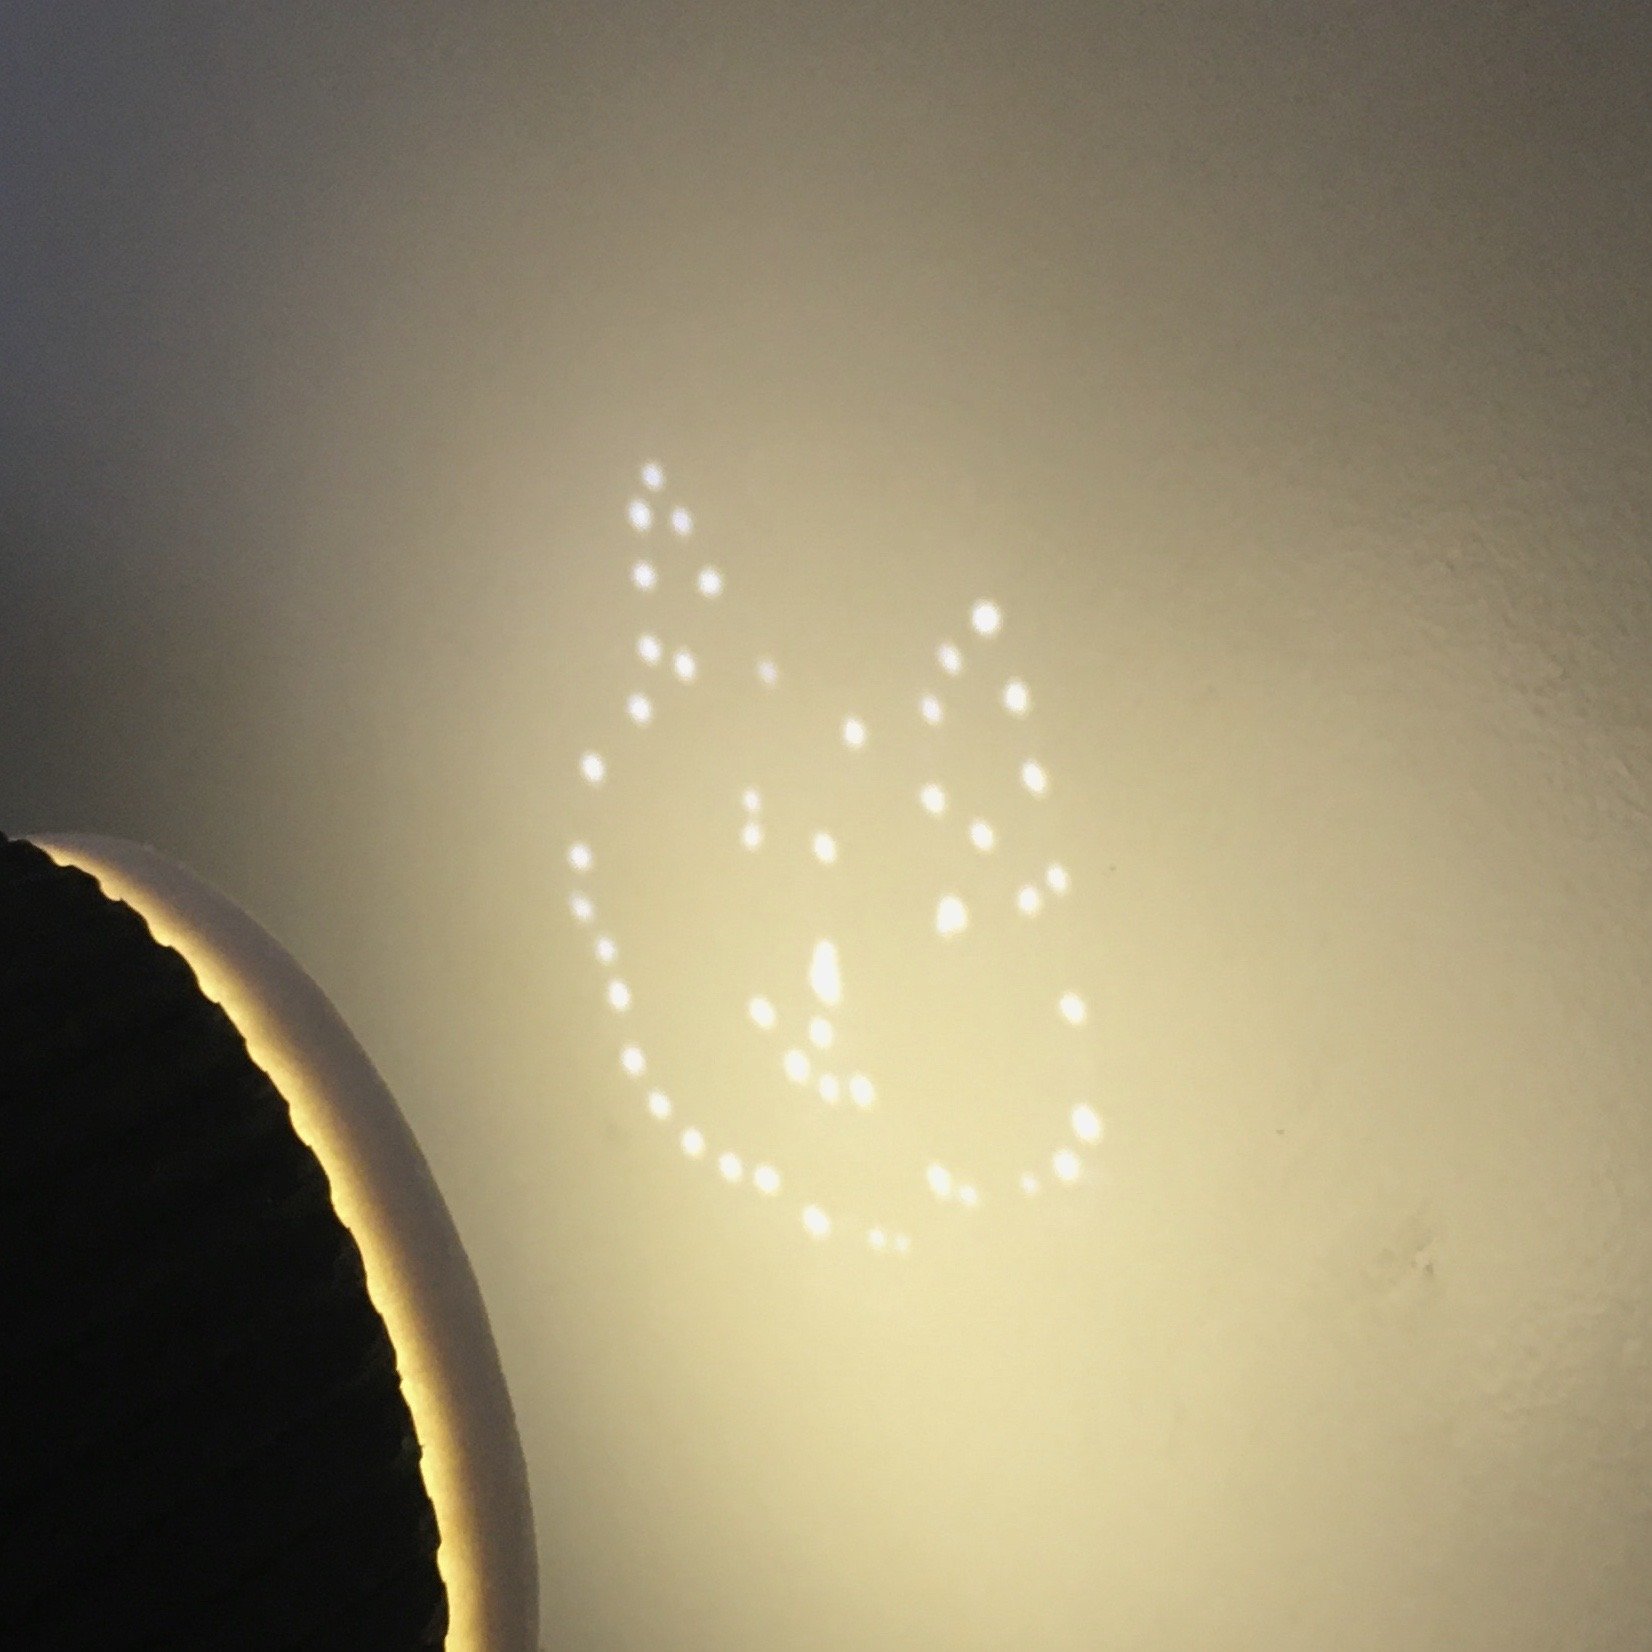
Hold your torch inside the cup and aim the cup towards a wall in a darkened room. Now you can see the constellation projected onto the wall! For best results, you may want to use a single-LED torch to avoid multiple images being created on the wall. Or, you can use a mobile phone light against the cup opening with the light shining in.
On a sunny day, the open end of the cup can be pointed toward the Sun to project the constellation down into the shadow of the cup itself.
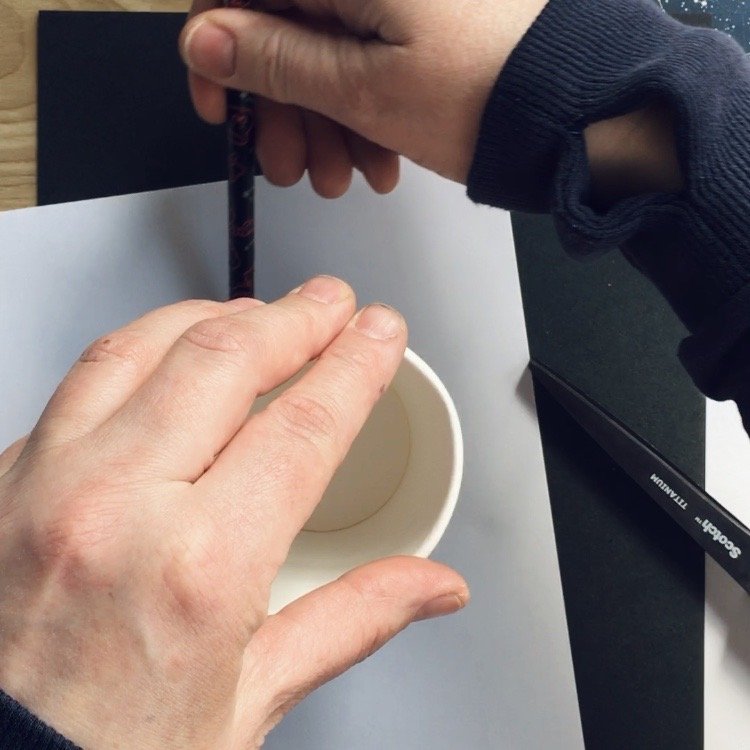
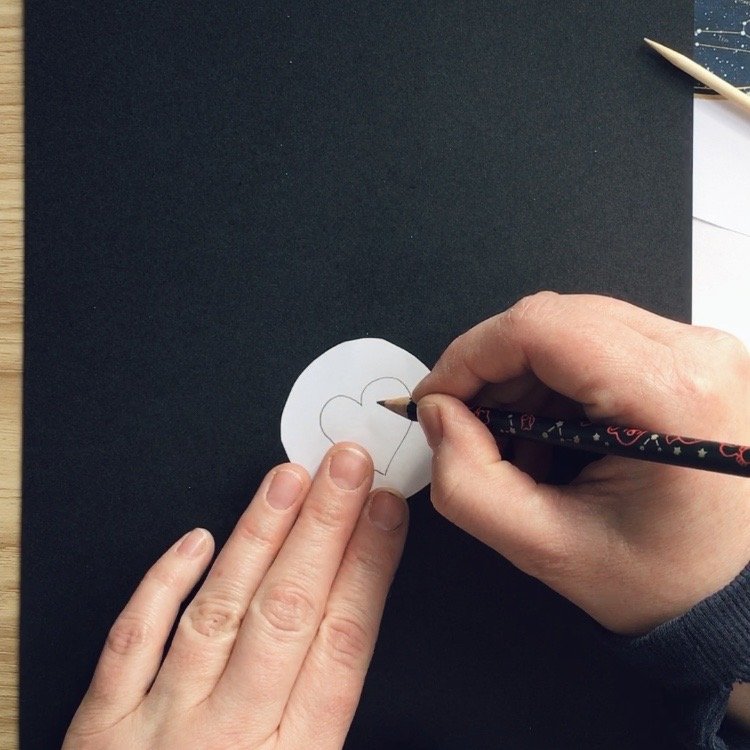
Why not have a go at creating your own constellation? If you draw around the bottom of your cup on some paper and cut the circle out and you’ll have the right size and shape to draw your constellation in. Your constellation can be as simple or elaborate as you like! Once you’ve drawn your constellation, you can then stick this onto the bottom of the cup before making your holes in the cup.
Alternatively, if you’re feeling confident, you can simply sketch out the locations of the stars that make up your constellation on the bottom side of your paper cup before poking holes in each star of the constellation design.
We had lots of fun making our own constellations!

Author: Denise Hope, home educating mum of two boys