Make a felt ball acorn garland
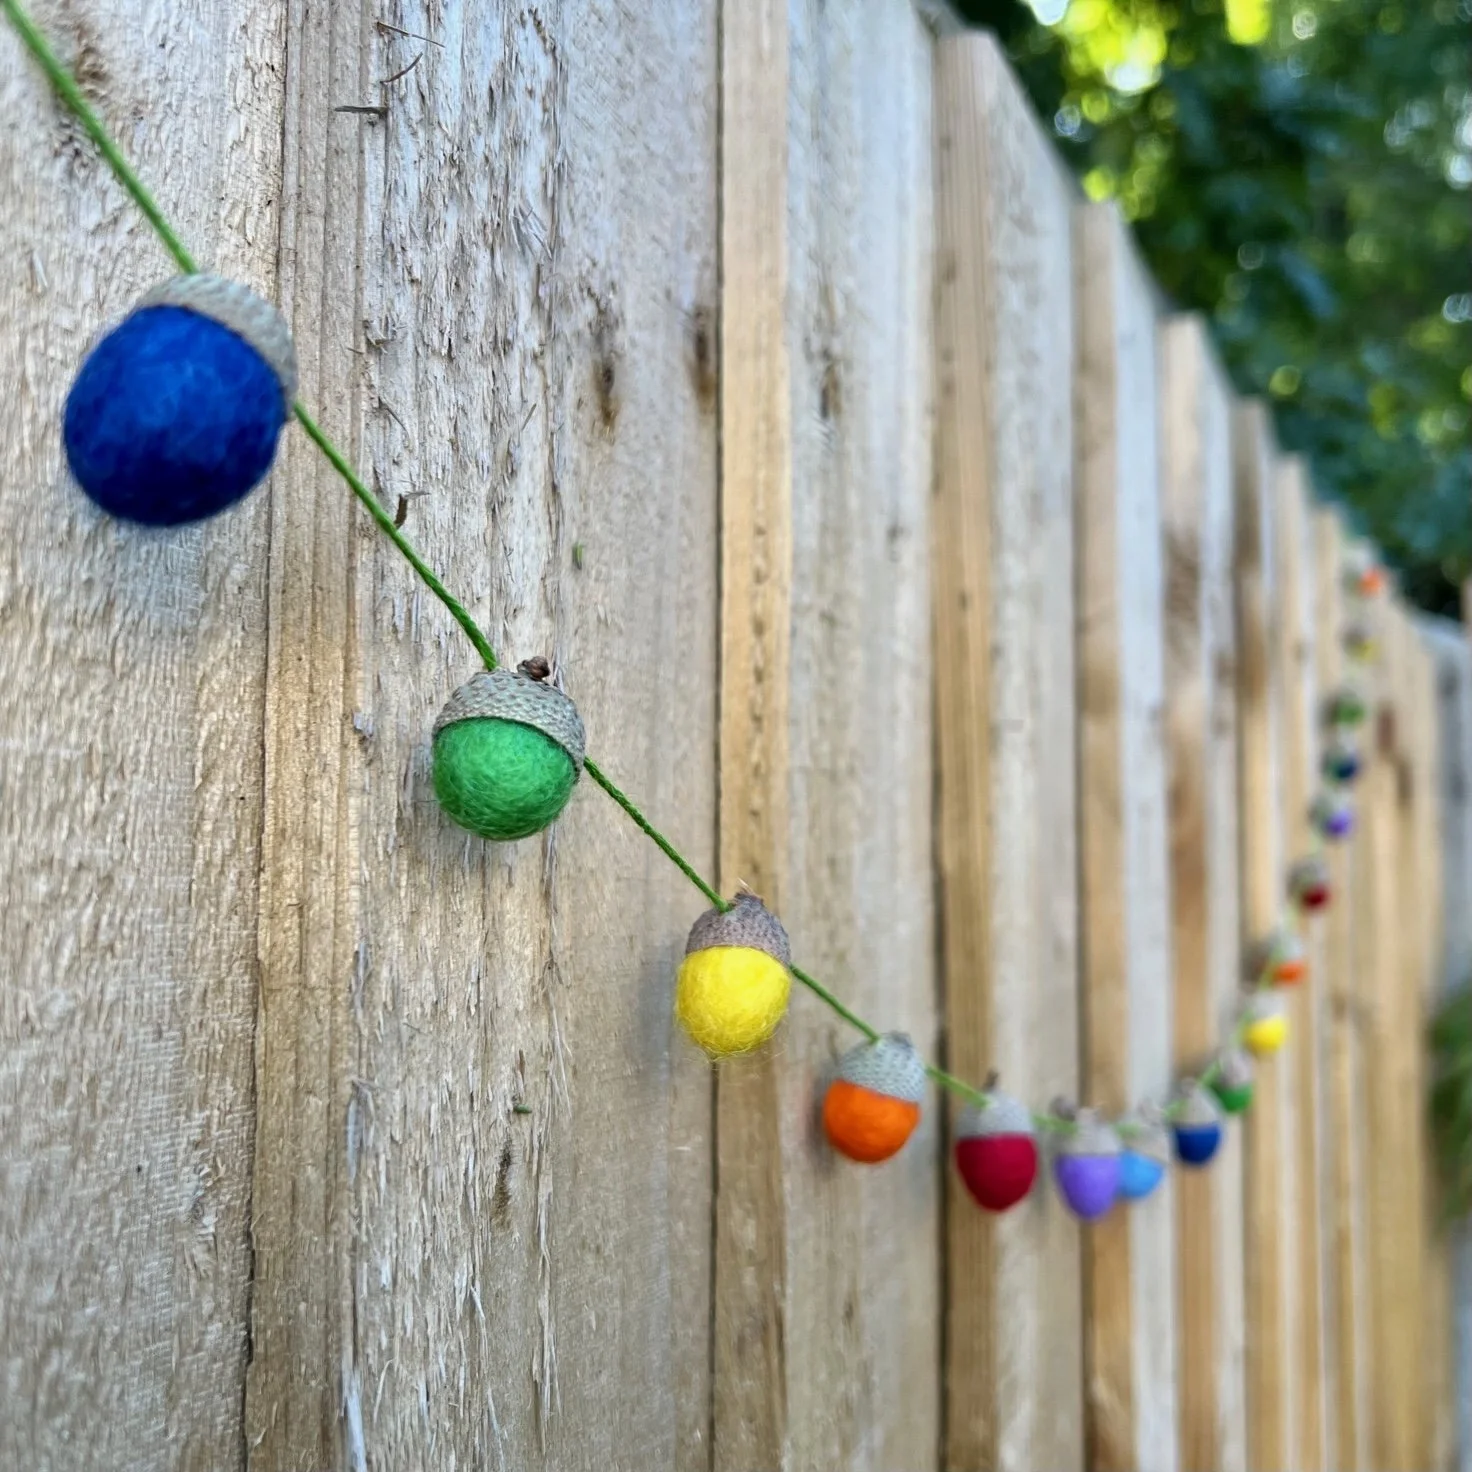
This garland made with acorn cups filled with colourful felt balls will brighten up any corner!
What you will need:
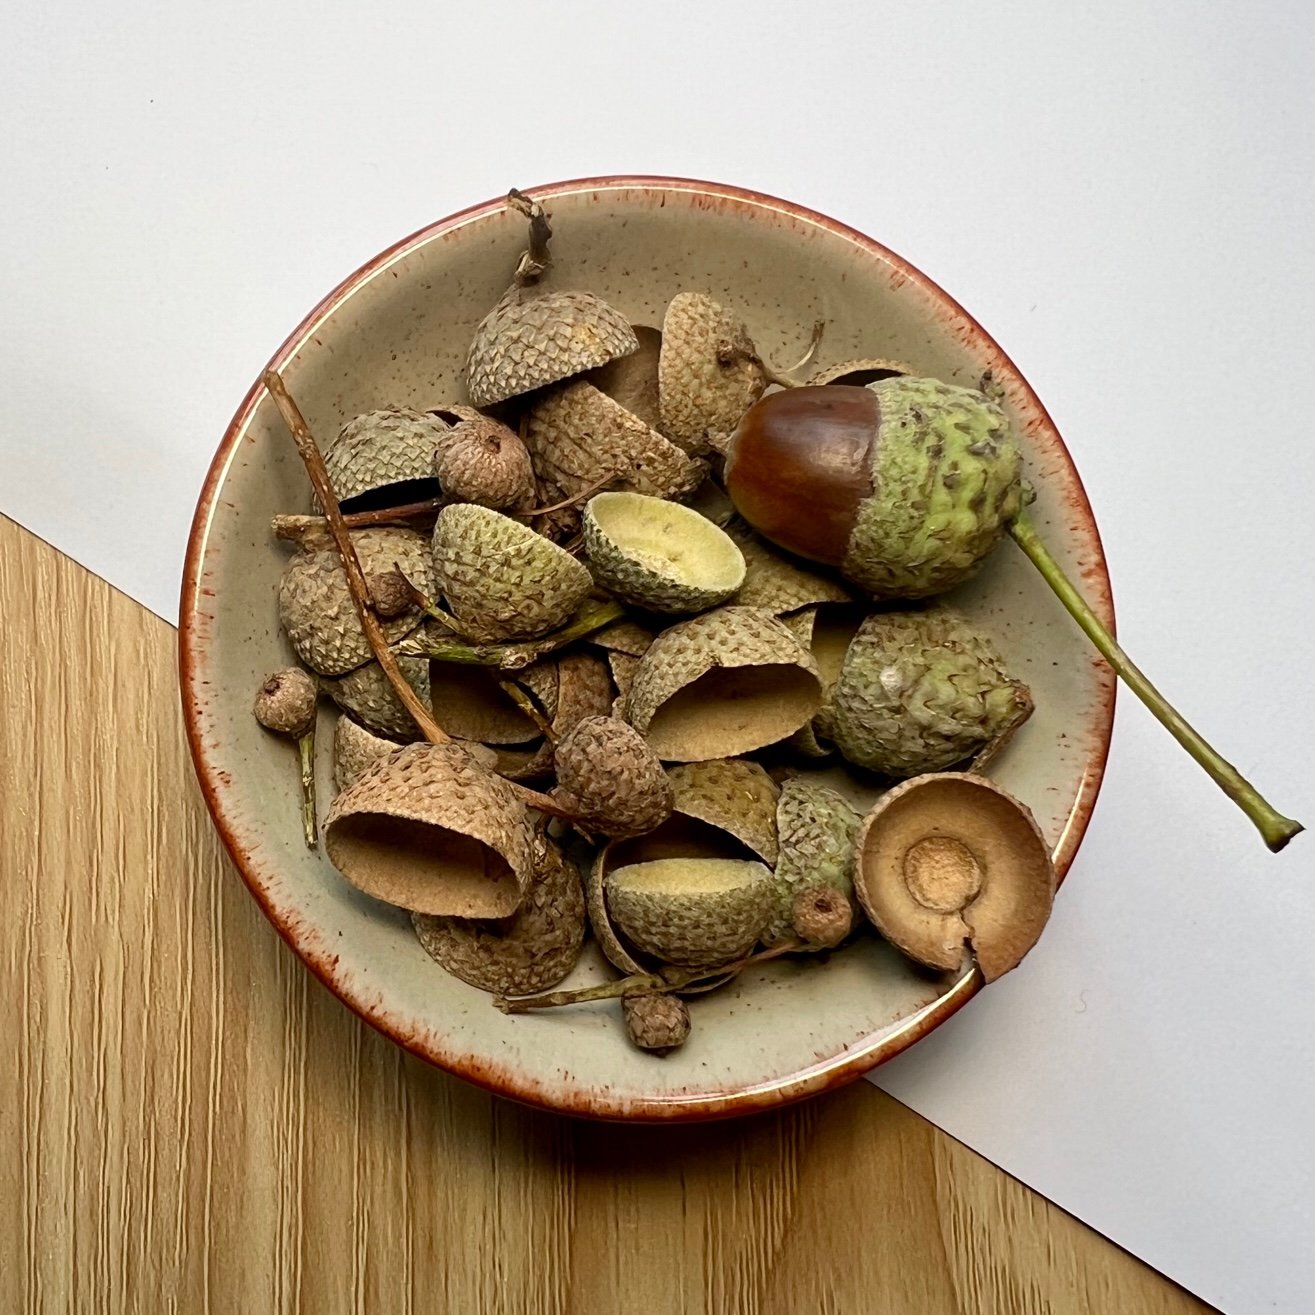
Acorn caps
Embroidery thread or fine string
Awl
Small embroidery needle
Glue - Fabric glue is best but I made this with craft glue

What you need to do:
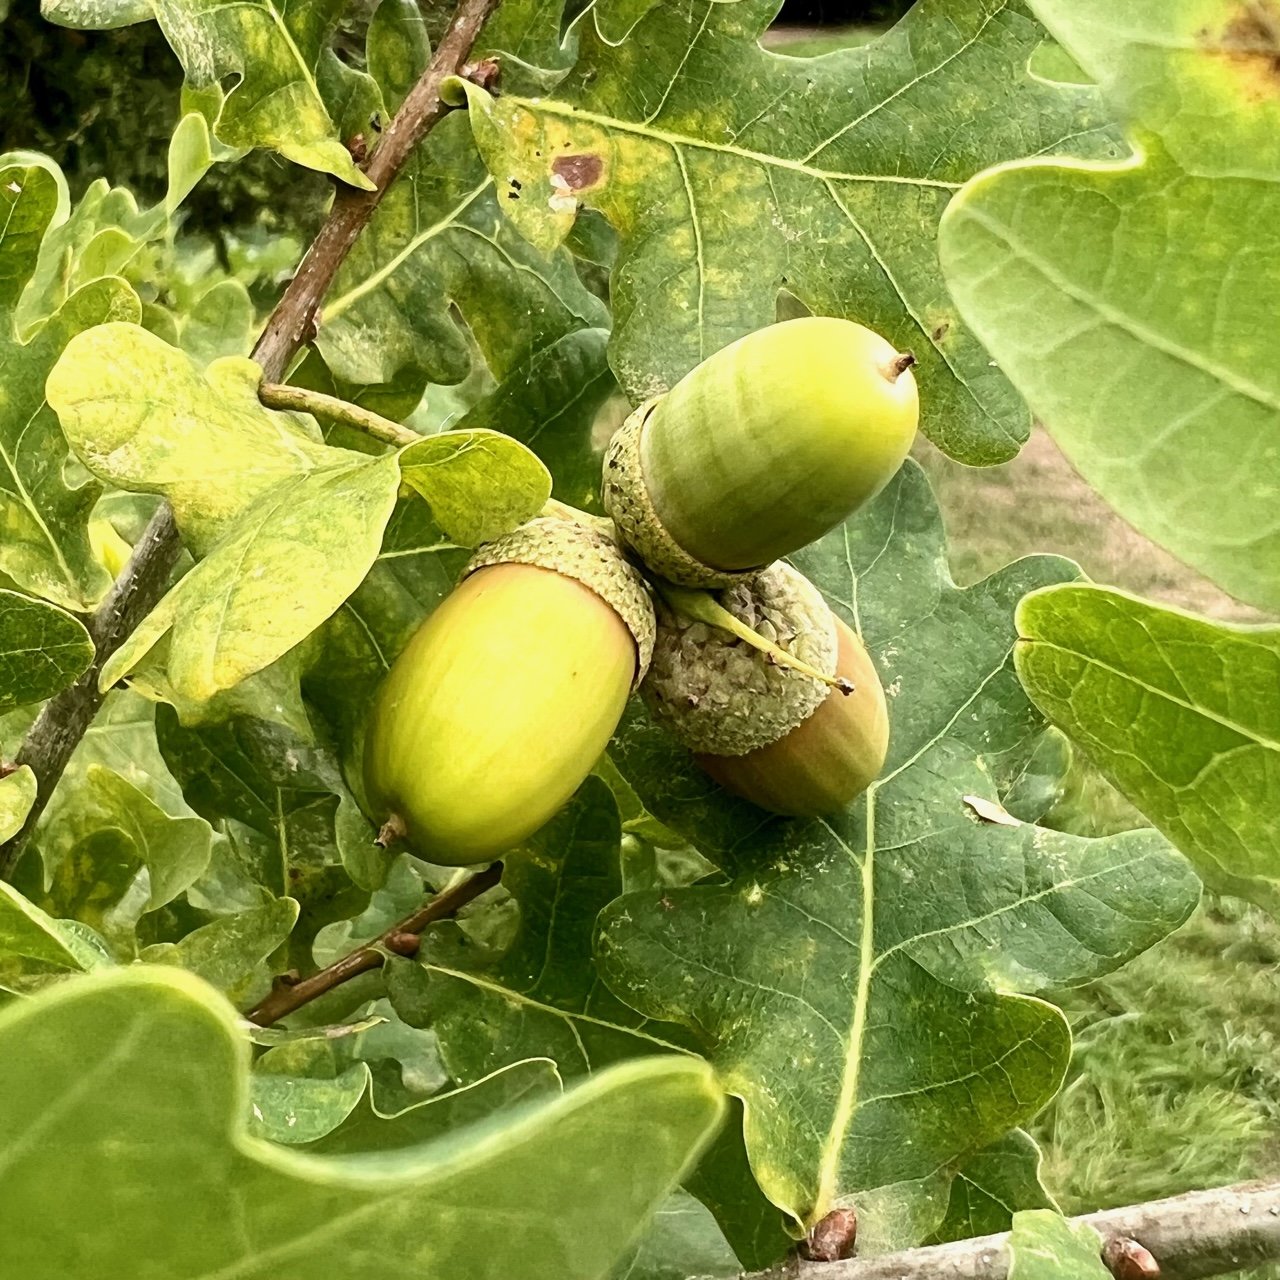
1. First you’ll need to go on a walk and find an oak tree so you can collect some acorn cups. At this time of year, the oak trees will be covered in acorns and you’ll also see plenty of acorn cups underneath the trees which have been discarded by squirrels and other animals!
The cups you collect will need to be the right size to fit your felt balls. You could bring one of your balls with you and see if it fits, or you could collect a lot of cups to make sure you have some the right size. You want cups that the felt balls have to be pushed snugly into and you will need at least as many cups as you have felt balls.
The greener, newly dropped green acorn cups are softer than the darker brown ones that have been on the ground for a while and so it’s easier to put holes in the greener cups. Although the older, brown cups fit my felt balls better!
2. You’ll need to make two holes in each acorn cup, either side of the stem, so you can string them up. On the inside of the cups, you’ll see a circle where the stem has grown from on the other side. Hold one of the acorn cups on some folded cardboard to protect your surface, and then press the awl inside the cup just outside the circle. Don’t force the awl through in one poke as it might break - wiggle the awl a bit as you push through from the inside of the cup.
Make another hole on the other side of the circle.
If you prefer, you can collect acorn cups with a stem attached so that you can tie your string around the acorn cup stems rather than threading it through holes in the cups.

3. Once you have made holes in all the acorn cups, you can start threading them onto your string. Start by tying a hanging loop at the end of your string. Then thread the string through the holes in your first acorn cup - you might find it easier to use a small embroidery needle for this.
4. Thread the rest of the acorn cups placing them roughly where you want them to be on the string.

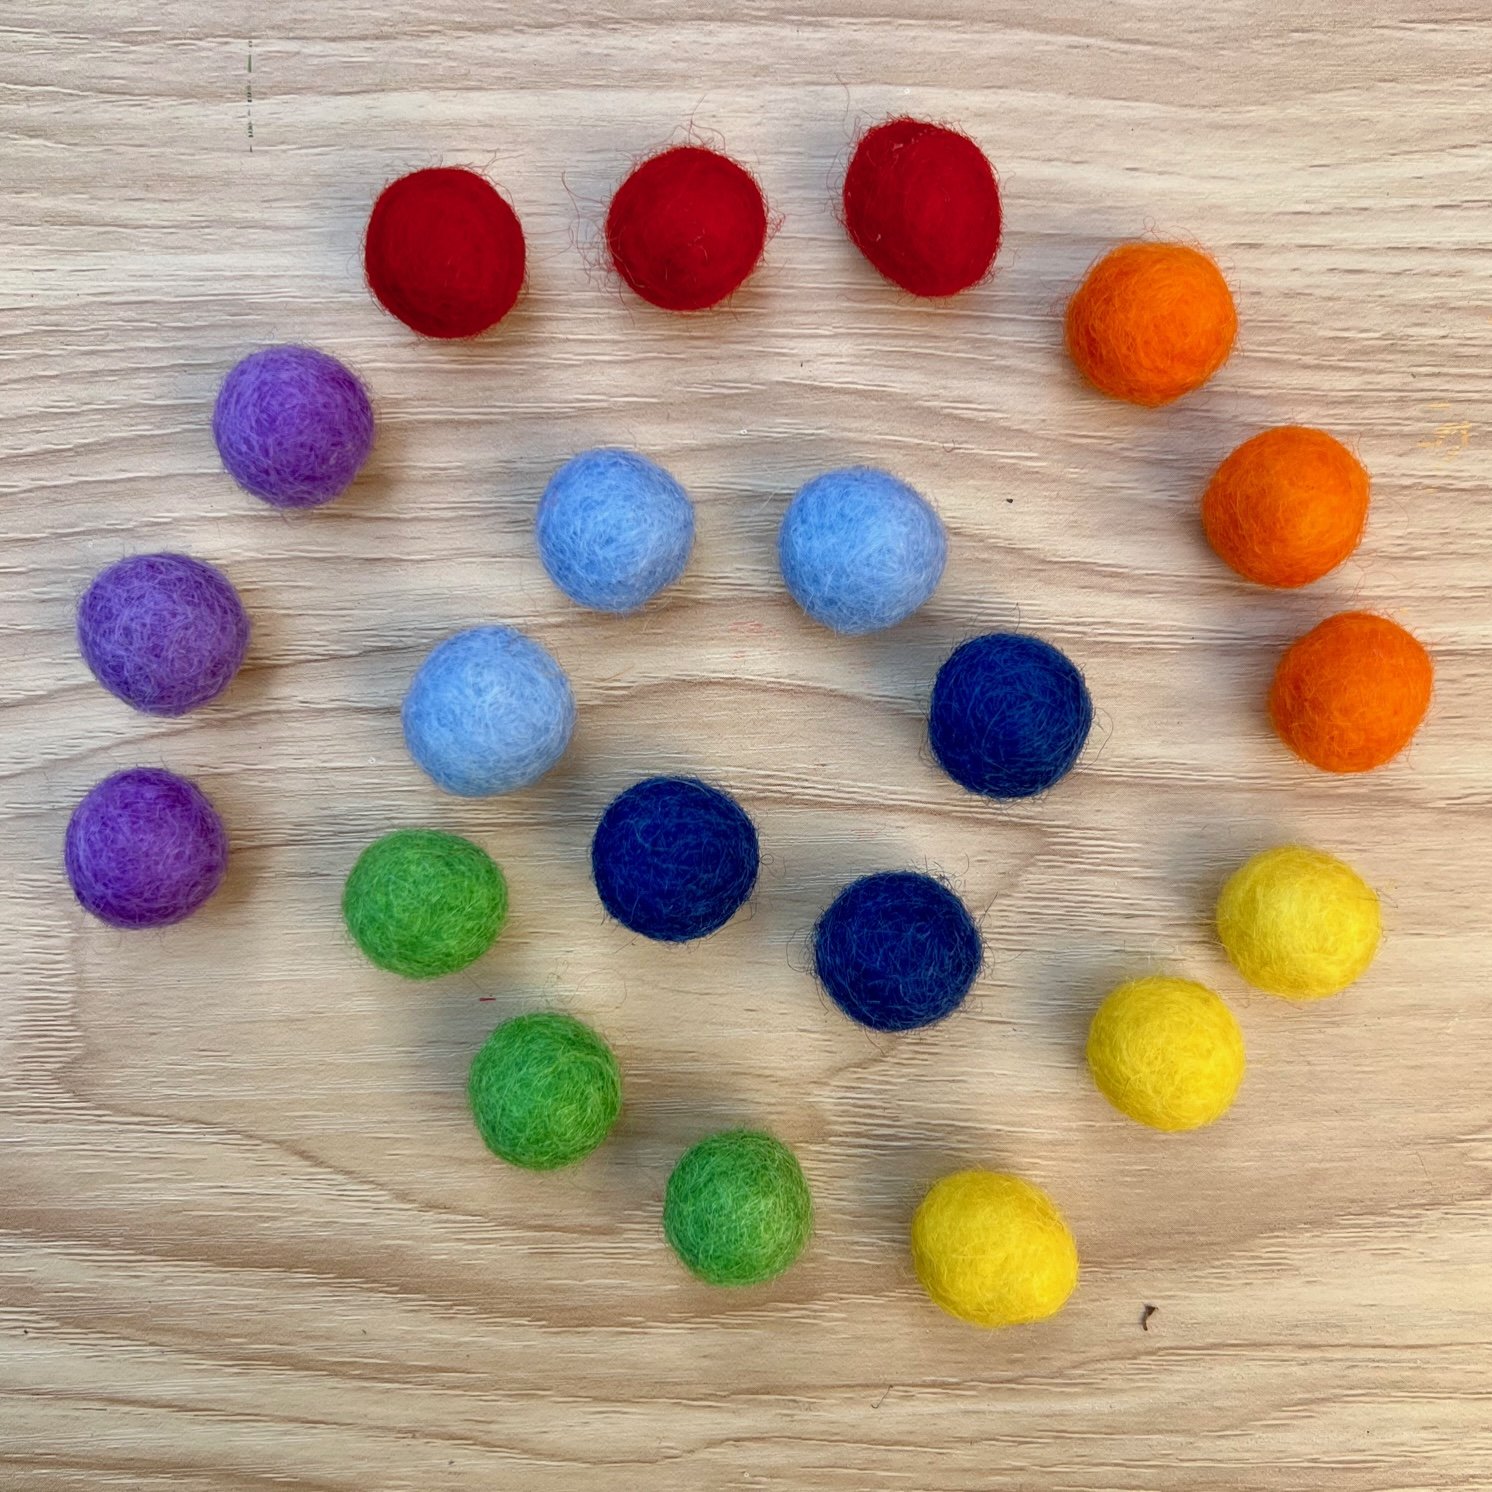
5. Lay out your coloured felt balls and decide what order you would like them on your garland. You may want to place the colours randomly or in a repeating pattern. I used these beautiful, rainbow-coloured felt balls that we sell through our online shop and placed them in rainbow order.
6. Make sure the first acorn cup is where you want it to be on your thread and then put some glue inside the cup so that it covers the bit of thread and also around the inside rim. I used regular craft glue for this although fabric glue would be better. With craft glue, you just need to be a bit more patient waiting for the glue to dry!

7. Take your first colour felt ball and give it a little roll back and forth between your fingers and the palm of your other hand so that one end is narrower and more acorn-shaped. Then push the felt ball into the cup and hold it there for around 30 seconds or so until it sticks.

8. Do the same with the rest of your felt balls, making sure that the cups are exactly where you want them to be on the thread before you add the glue.
9. When you have finished, tie a loop at the other end of the thread and then leave to dry for a few hours or overnight. Then you can hang up your beautiful garland!

If you liked this activity, why not have a look at our blog post on how to make a garland with mini tree cones and painted acorns. Or if you’ve got some acorn cups left over, you could make this fantastically fun halloween wreath!
You can buy a pack of 21 of these colourful 100% wool felt balls here!
Author: Denise Hope, home educating mum of two boys
This activity featured in a previous Mud & Bloom box. If you’d like to receive regular nature craft activities like this alongside gardening activities for children, subscribe below to receive a monthly Mud & Bloom box!