Make your own advent calendar

Advent calendars filled with a mix of treats, treasures, festive activities and jokes are one of my favourite Christmas traditions. My boys are now tween and teenager but they still get really excited about putting up the advent calendar the night before the first of December! This advent calendar made with little envelopes is perfect for stuffing. It’s really simple to make and you can decorate the envelopes however you like but they do look really lovely decorated with a little bit of greenery and other winter treasures.
What you will need:
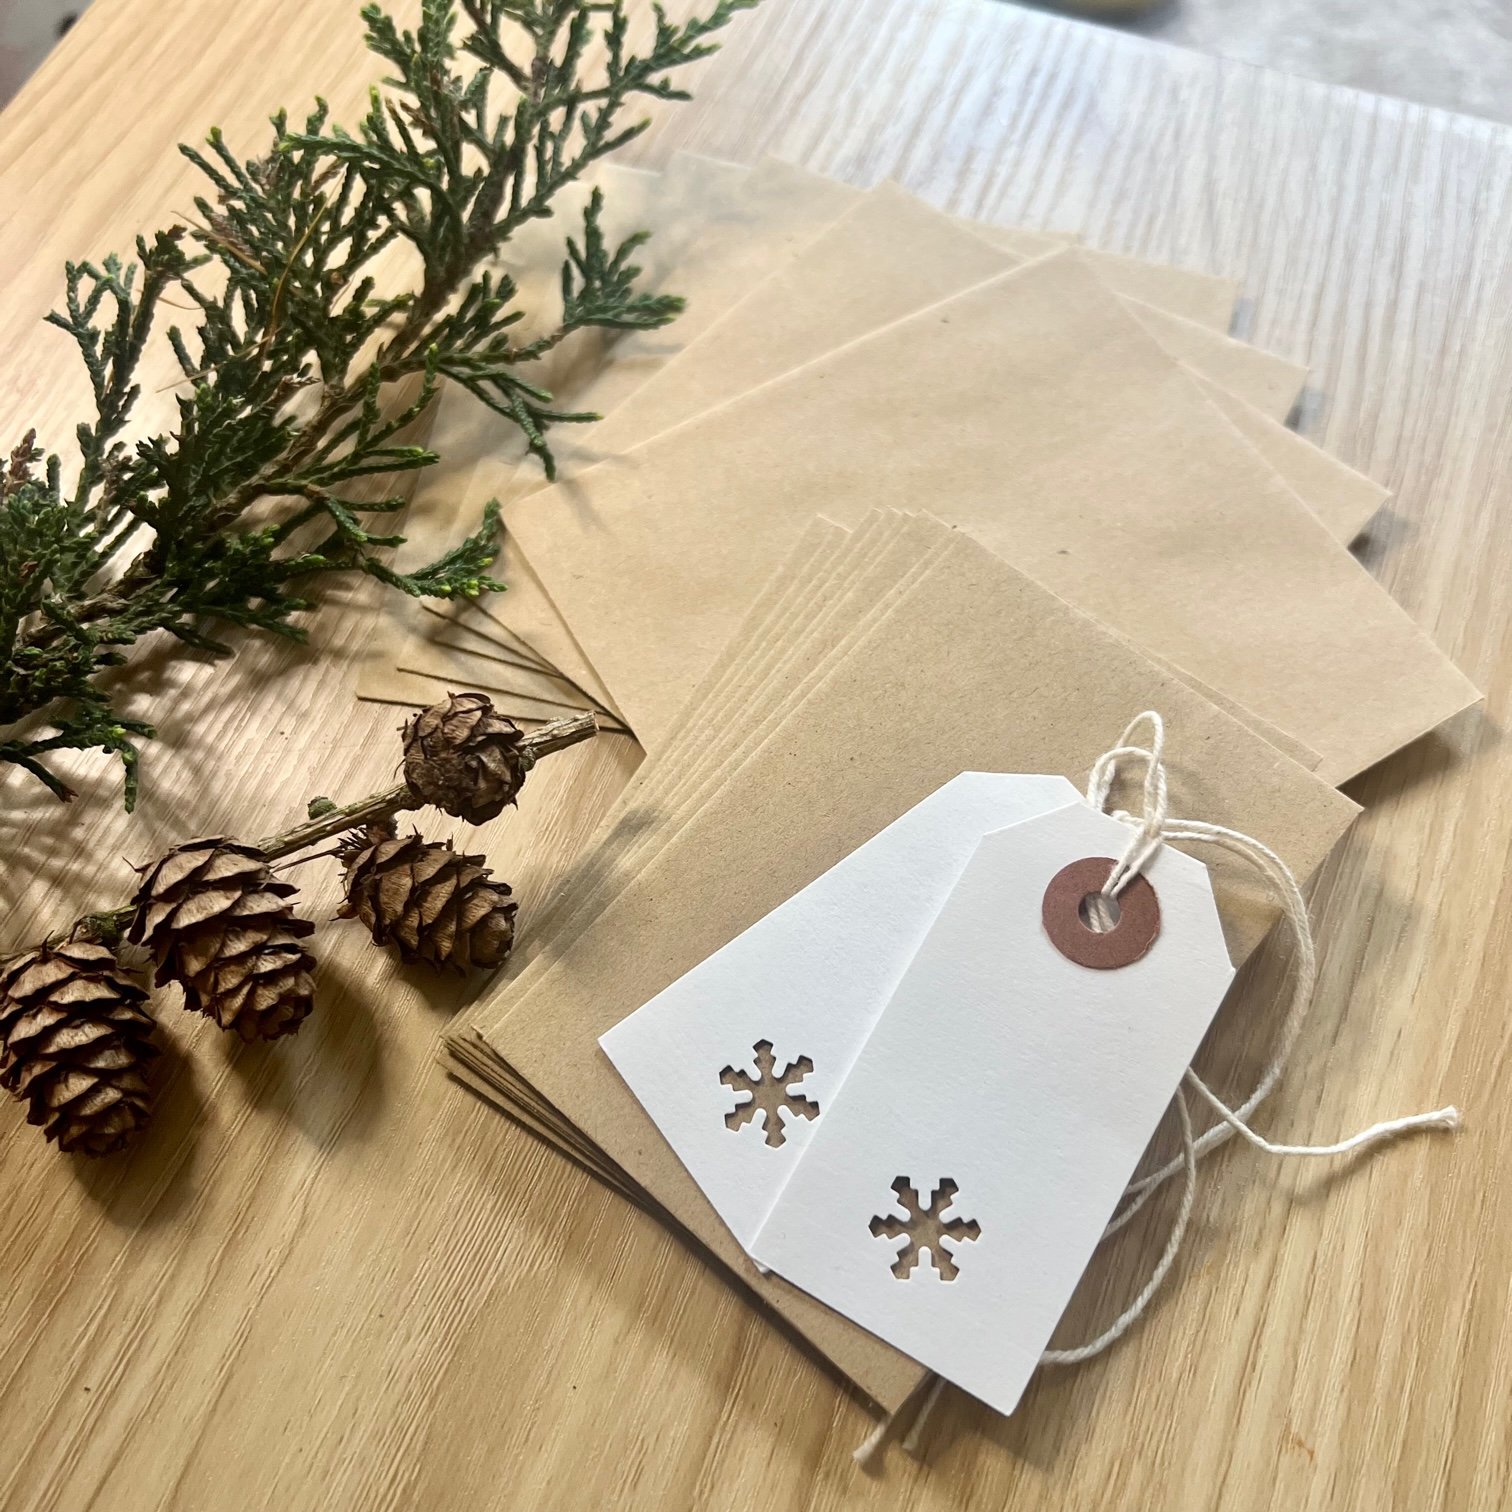
24 small envelopes
24 wooden pegs
Twine
Decorations
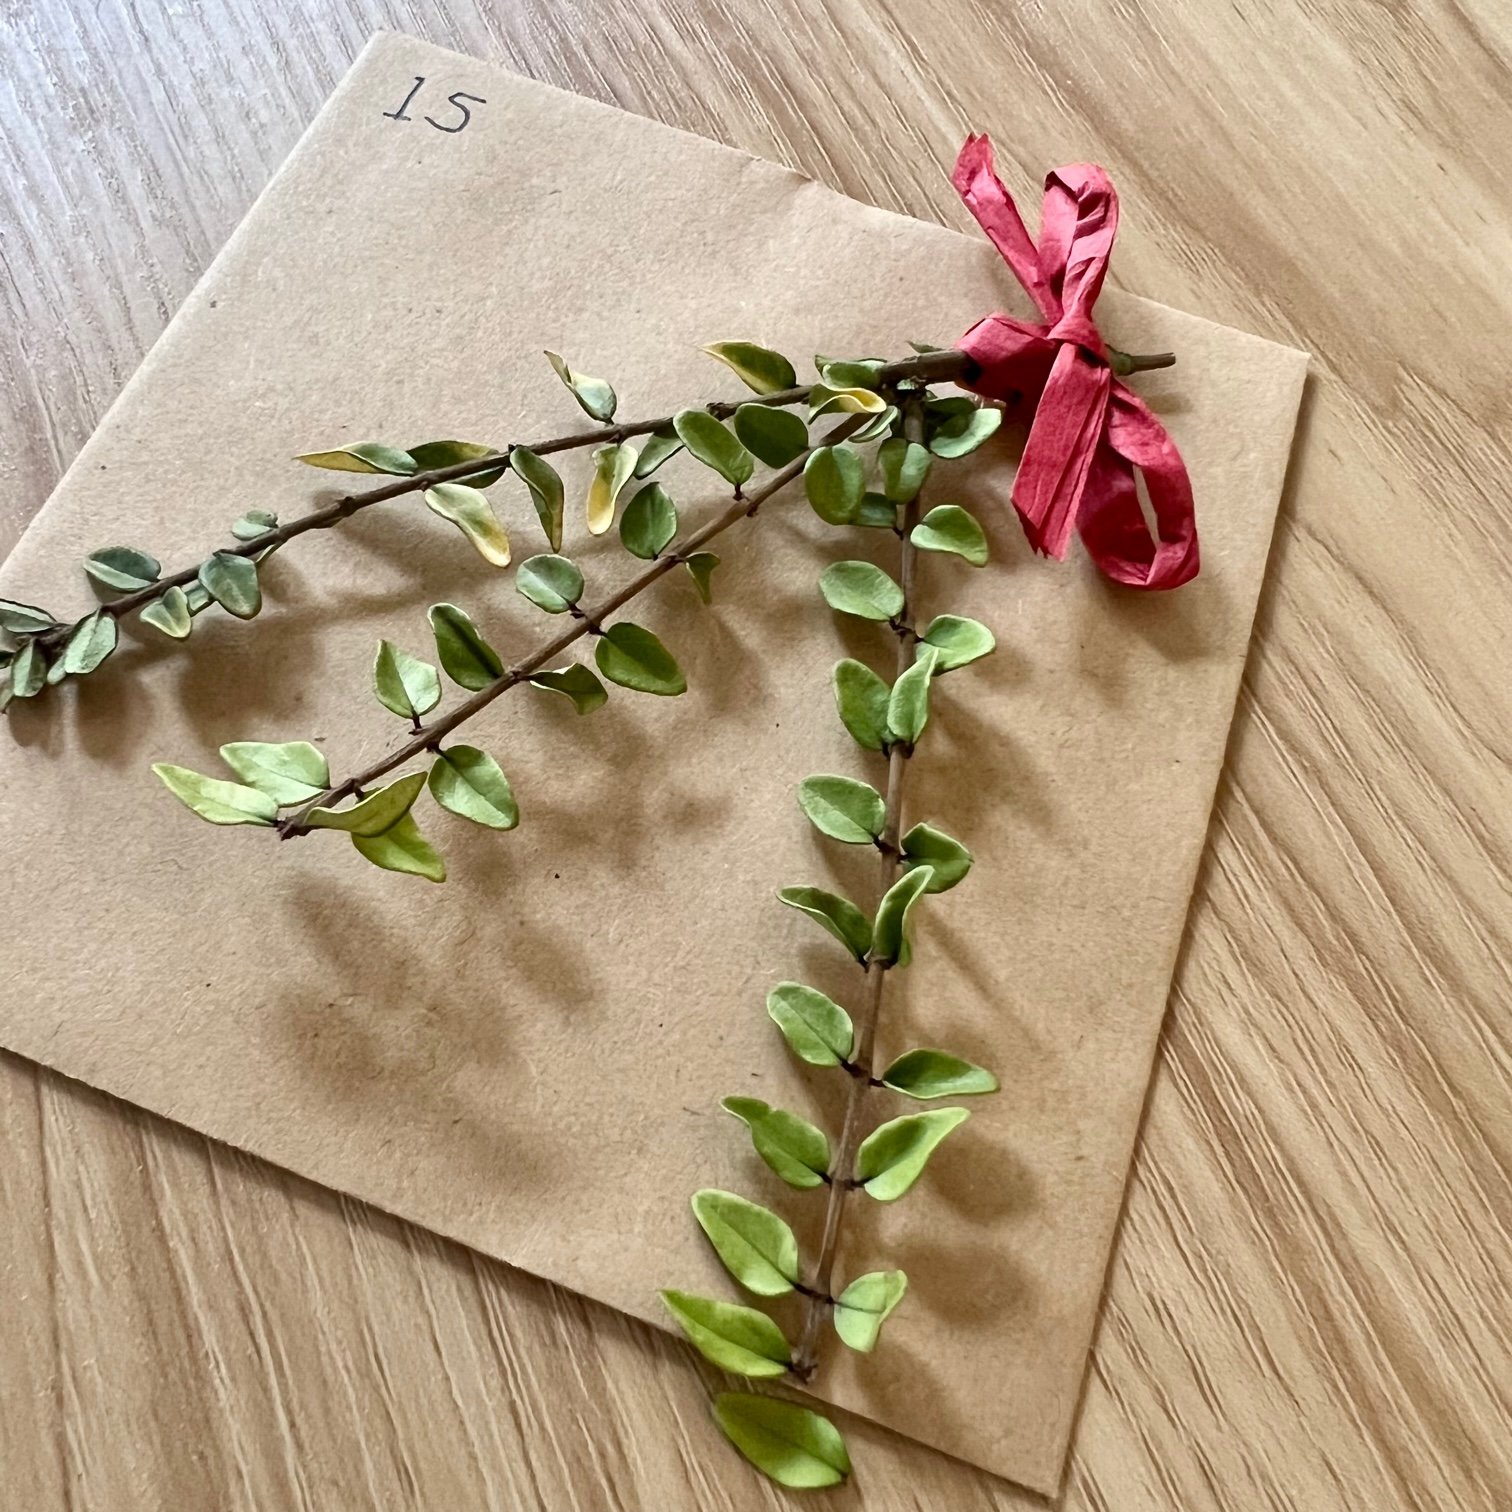
foliage, alder cones, acorn caps, small feathers or other nature finds
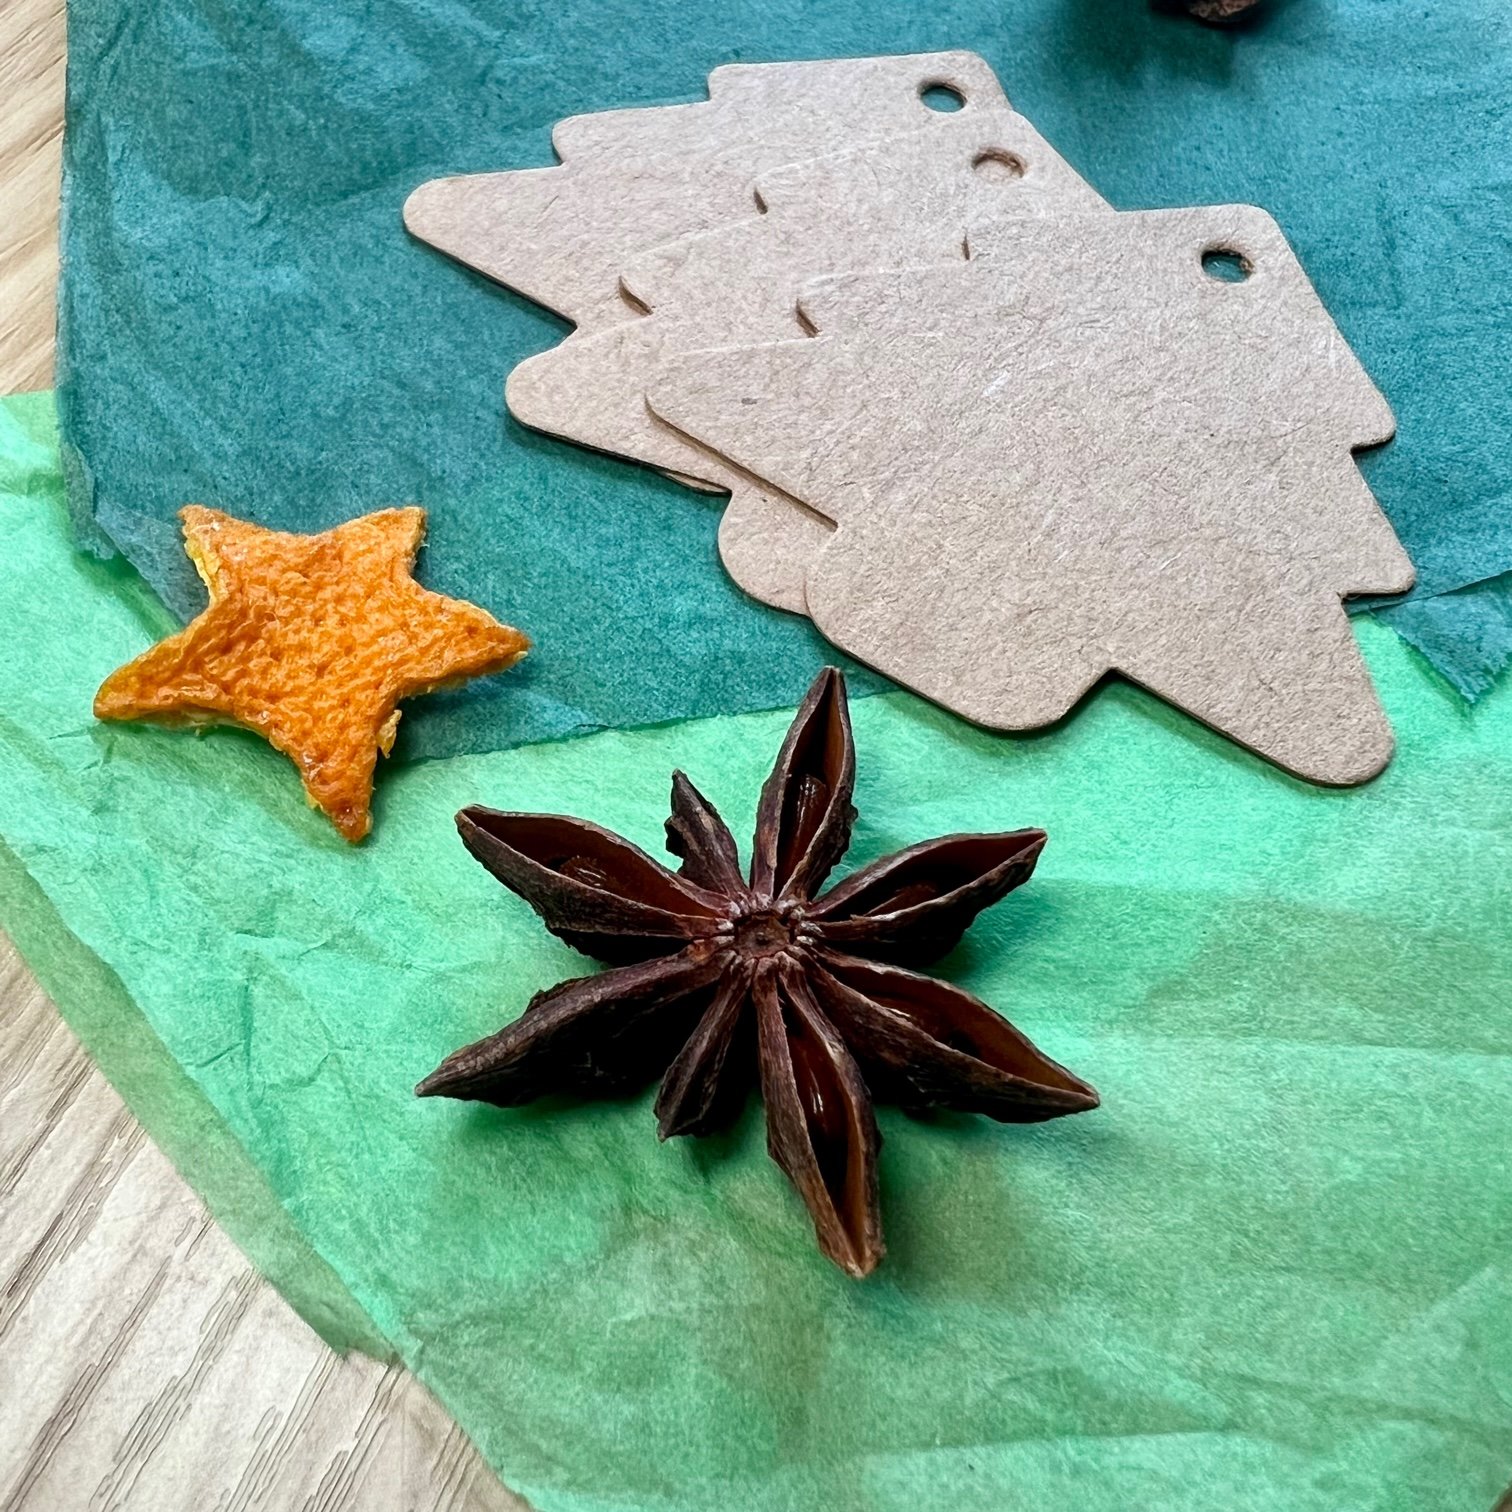
Star anise
Craft materials, e.g., washi tape, coloured paper, mini felt balls, tissue paper, felt tip pens, embellishments, ribbon, gift tags, wrapping paper, stamps - anything you have!
Glue / glue dots
Scissors
A pen

What you need to do:
First you’ll need to collect some nature items to use to decorate your envelopes. Evergreen leaves, sprigs of conifer needles, acorn cups and small tree cones all work well. Whatever you choose needs to be small enough to fit on your envelopes and to look good for at least 24 days! Berries are likely to go a bit wrinkly and sad-looking once picked but the little clusters of unripe ivy berries would stay looking good.
Once you are home, gather your craft materials and set about decorating your envelopes! There’s no particular method to this - just have fun!
Here are some decorating ideas:
Tie little bunches of greenery with a ribbon or some twine and stick on to your envelopes with glue dots.
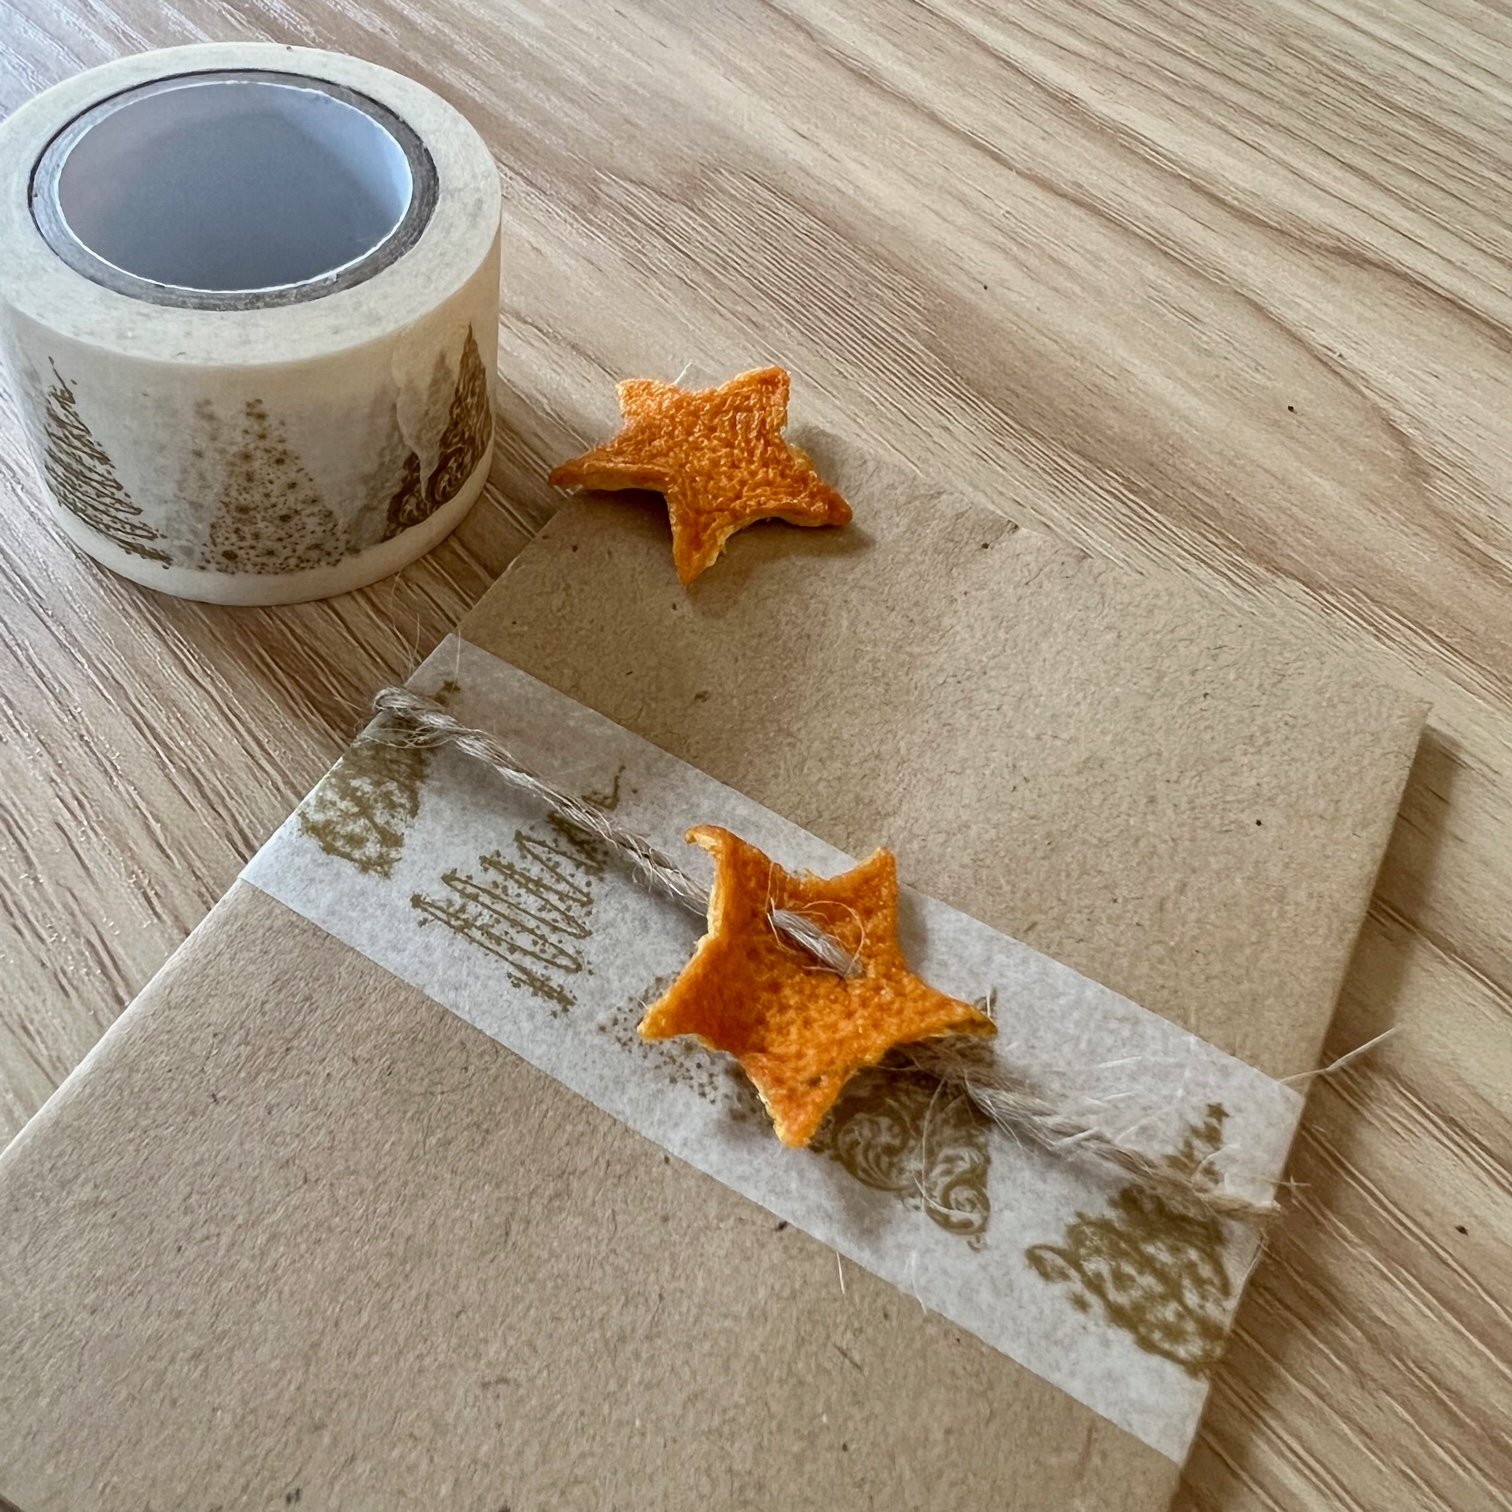
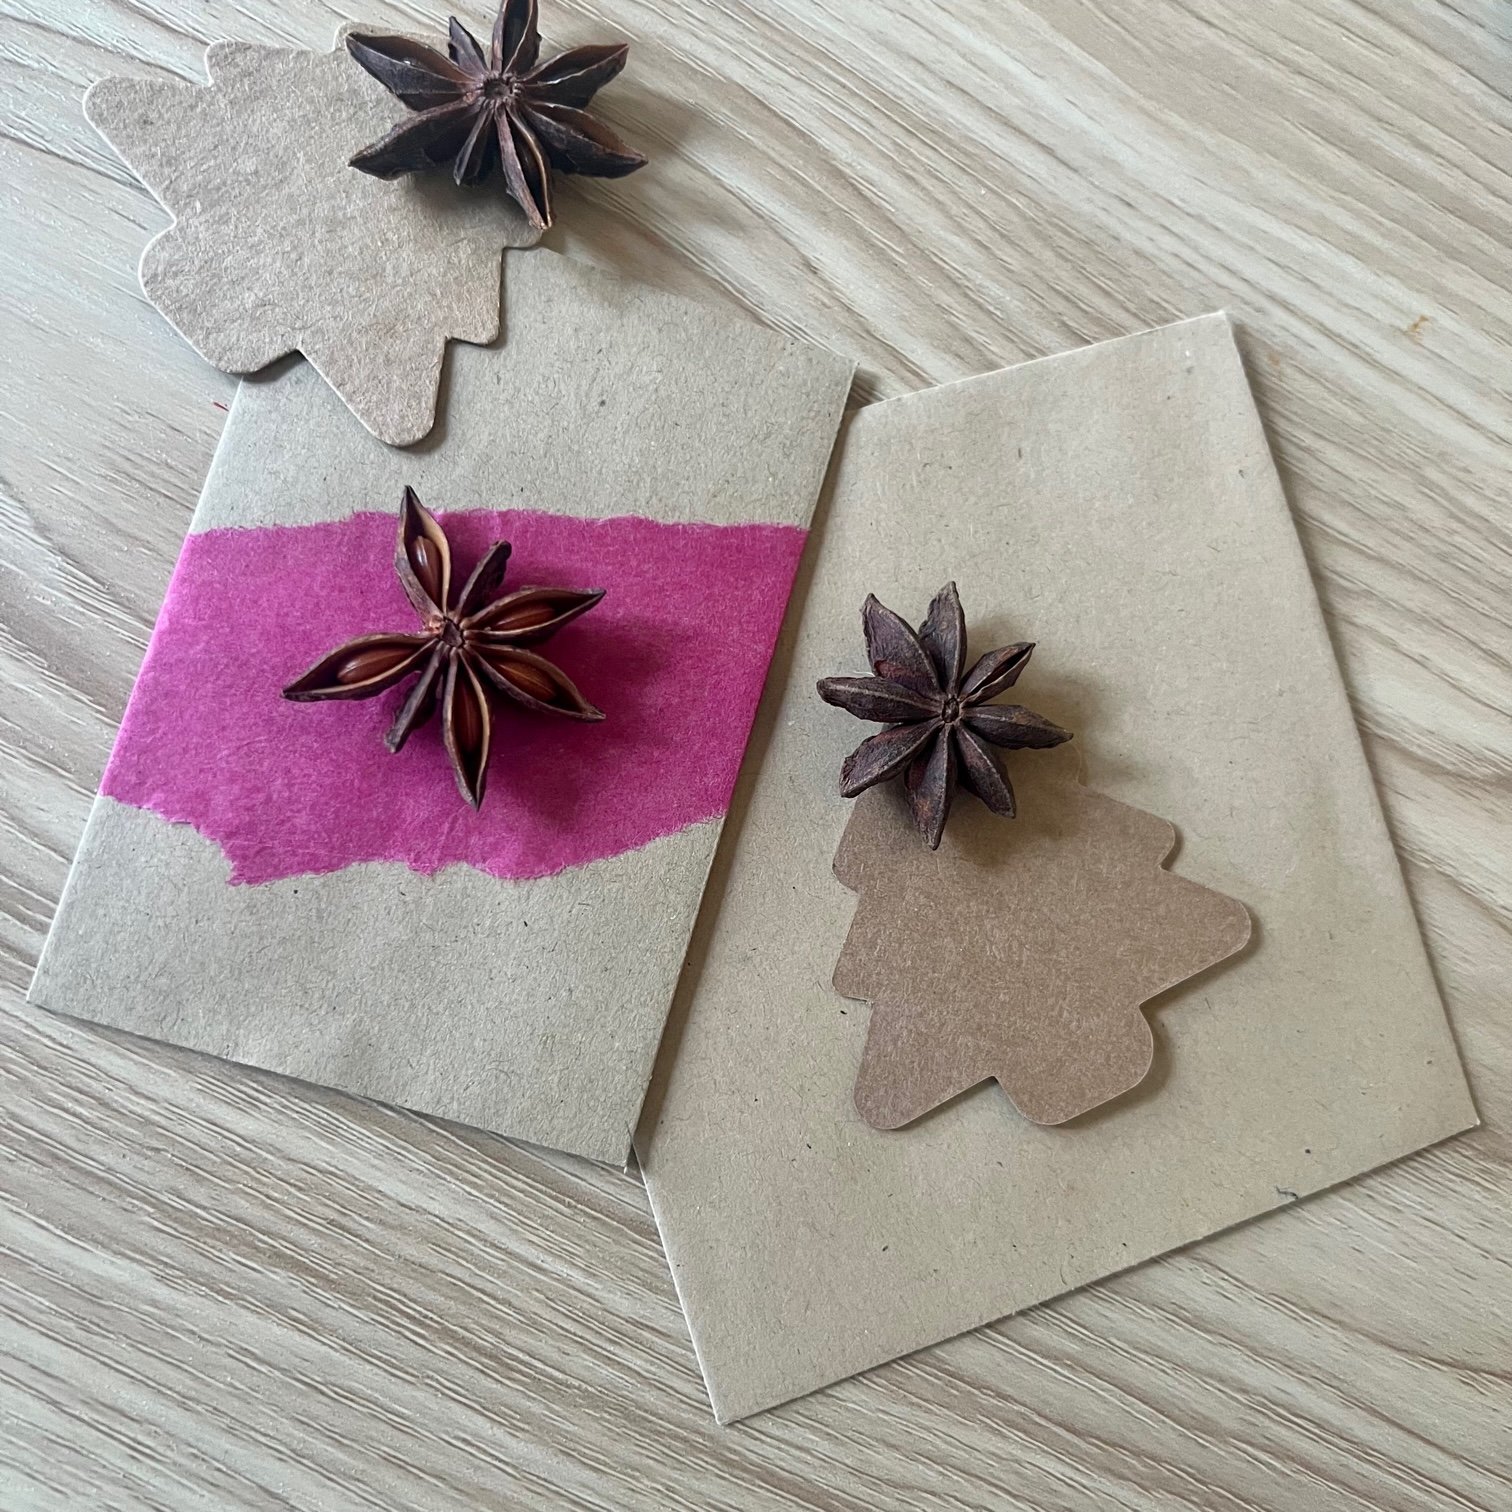
Star anise and dried orange peel stars make fantastic festive-scented embellishments.
Stick on felt balls arranged in a circle to make a miniature wreath.
Layer your decorations by using coloured paper/tissue paper/wrapping paper underneath your embellishments.
Cut out pictures from old Christmas cards or wrapping paper to stick on your envelopes.
Use festive washi tape mixed with plain colours.
Glue felt balls or tightly bunched up tissue paper into acorn cups and stick onto your envelopes with glue dots.
Repeat your designs!
Think about where you want the calendar numbers to go so you can leave a space for them.

Once you’ve decorated all your envelopes, think about where you want to hang them and how many rows you will have. If you don’t have enough space to hang them in one line, then two rows of 12, three rows of 8 or 4 rows of 6 would allow you to space them evenly.
Lay the envelopes out in an order that looks good and then write on the numbers.
Measure out and hang your piece(s) of twine (Command Mini Hooks work really well!) and then attach each envelope to the twine in numerical order with a wooden peg.

Now you can fill your little envelopes with an assortment of treasures, treats, jokes and activities - whatever takes your fancy and you can fit in the envelope! Crystals, fossils and old coins make great small treasures. Use small pieces of card to write on your jokes and festive activities. A few years ago, I painted several sheets of A4 watercolour paper with some watercolour paints and then cut them into smaller pieces for my activity and joke cards. A lot of the activities I include are the same year after year so the cards can be reused - we all love the familiarity of having the same little traditions every year. We even love to hear the same 24 Christmas jokes year on year…though if anyone has any festive jokes, I’d love to hear them!
The activities can be quite simple such as going for a winter walk, putting up your Christmas tree, making mince pies, going on a walk to look at the Christmas lights in your neighbourhood, reading a Christmas book in candleight, watching a Christmas movie or doing some festive craft together. If you want ideas for Christmas crafts, have a look at the festive section in our blog: Mud & Bloom Blog | Festive. We also have a wonderful Christmas Craft Box which includes the materials for two Festive crafts - you can order one here.

And now you’re all ready for the 1st of December! You'll be able to reuse this advent calendar year after year though you might want to replace the greenery next year.
Author: Denise Hope, home educating mum of two boys
If you’d like to receive regular nature craft activities alongside gardening activities for children, subscribe below to receive a monthly Mud & Bloom box! Each monthly Mud & Bloom box contains at least two craft activities for children as well as two growing activities.