Make foil decorations from mince pie cases

Making decorations from mince pie cases is a fantastic way of turning waste into something useful and beautiful. This craft was inspired by the recent popularity of Christmas decorations made from tomato paste tubes (if you haven’t seen them, have a look at @thekwendyhome) - the inside of the tubes are gold and being made of metal makes them perfect for embossing. However, the cut metal can be quite sharp due to the thickness so using mince pie foils is a bit more child friendly and the decorations look just as cute! You can make a garland from the foil or individual decorations
What you will need:
Foil / Mince pie cases
Spoon
Blunt pencil/tool or ball point pen
Scissors
Needle and thread
Craft glue / PVA glue

What you need to do:
First you’ll need to eat some mince pies! You could just remove the cases and save the mince pies for later but I love mince pies so I prefer the first option! To get the quantity of foil cases I wanted for this, I also asked friends to save me their mince pie cases too.
Once you’ve got as many foil cases as you want, then give them a clean with a sponge and some warm soapy water and then leave them to dry on a tea towel.
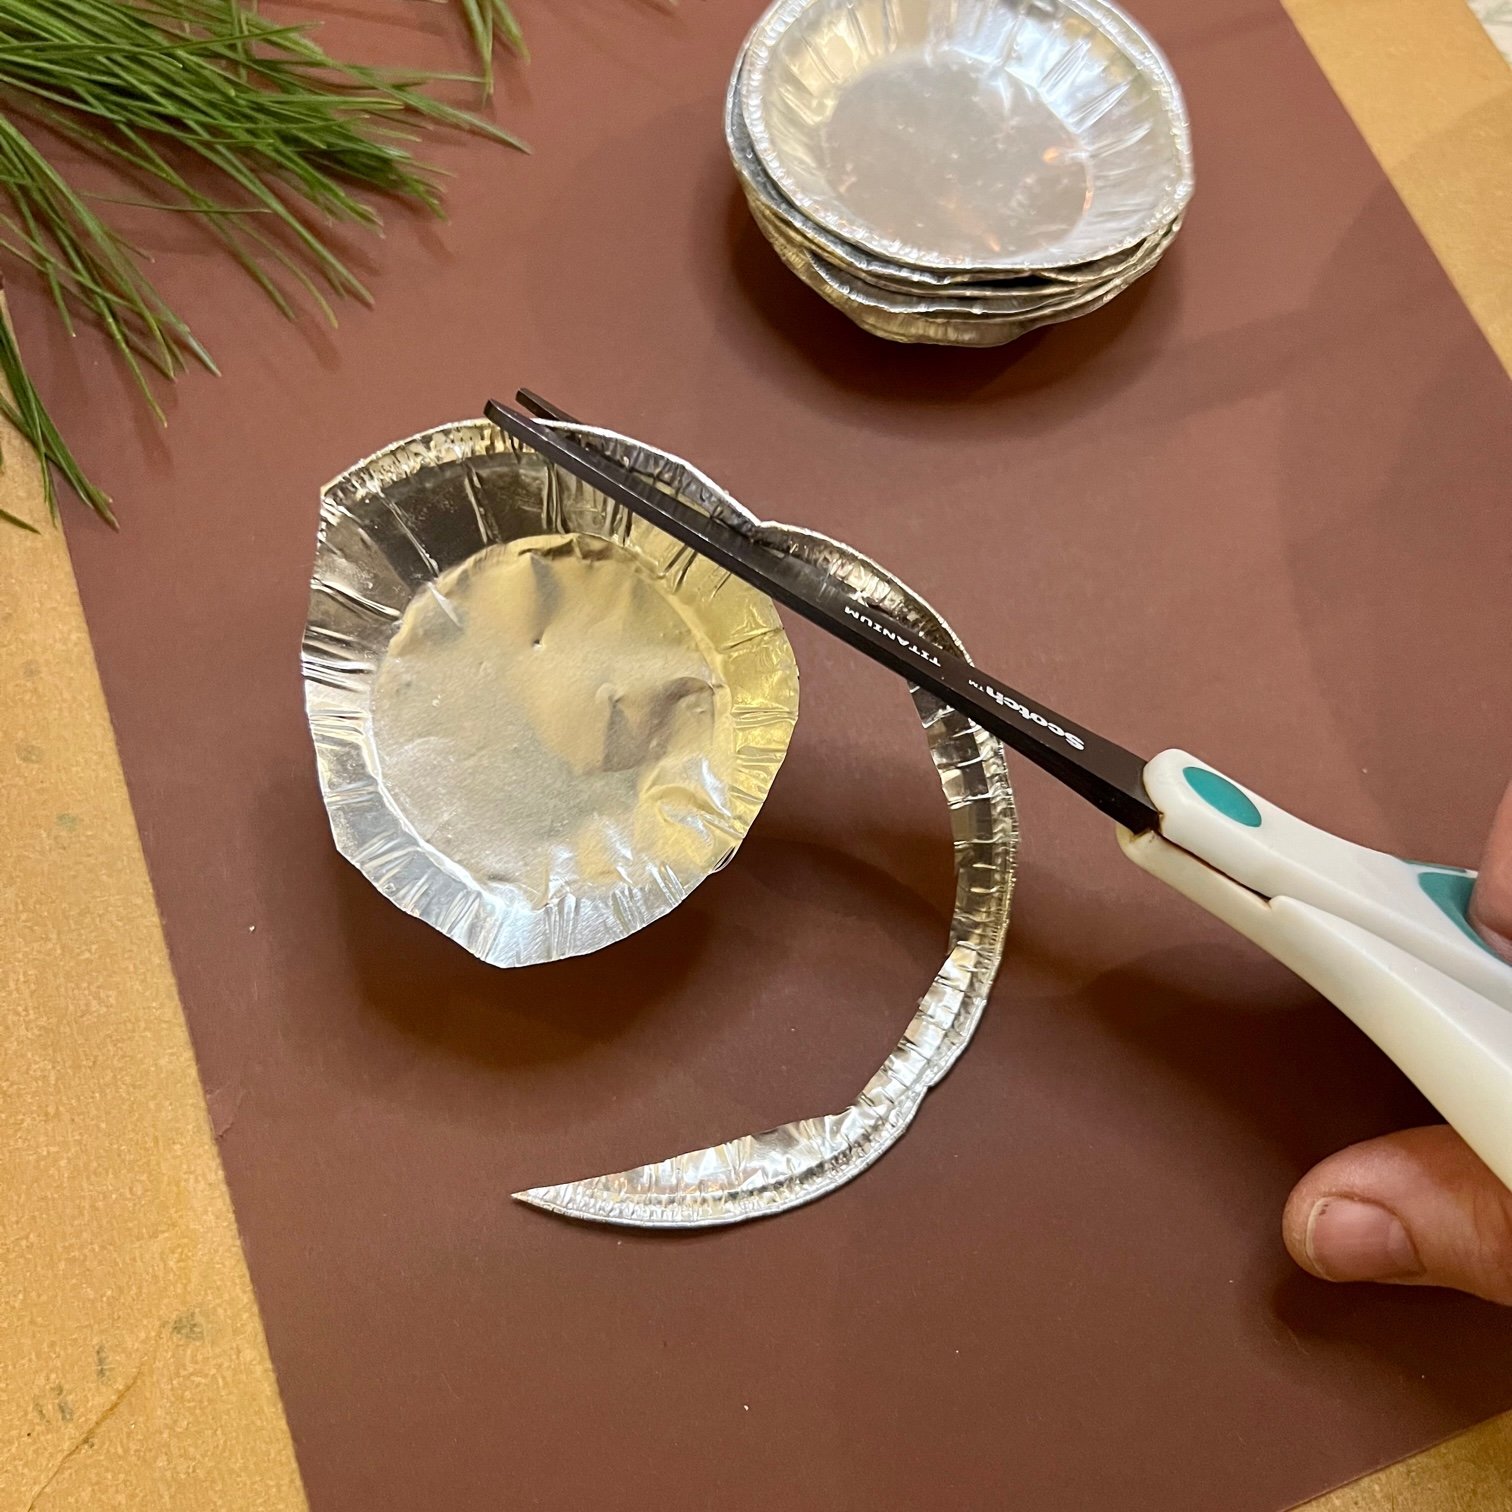
Once they’re dry, take one of your foil cases and cut away the rim to make it easier to flatten.
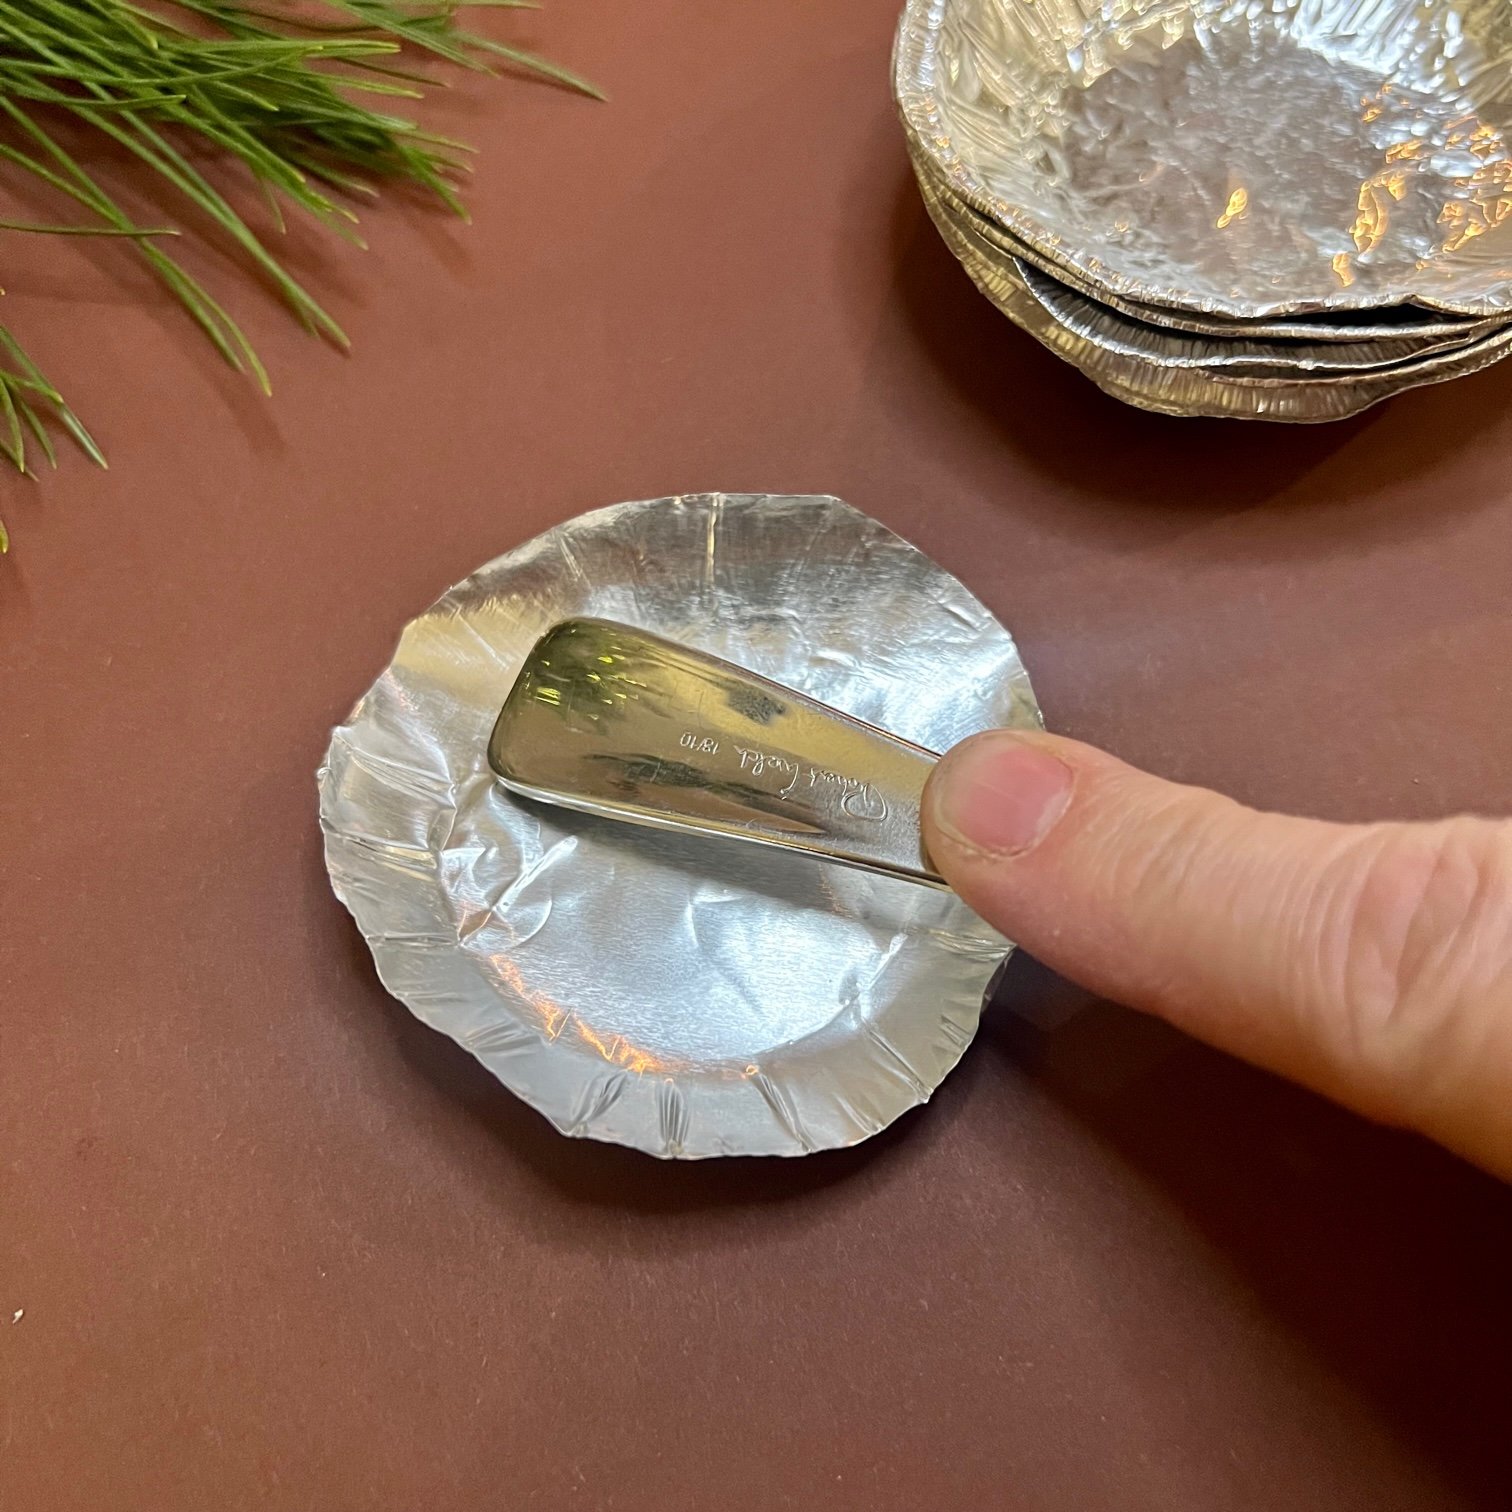
Using the back of a spoon or the handle, gently smooth the foil from the centre to the outer edge, turning the foil as you do so until all the wrinkles have gone and you have a flat piece of foil.
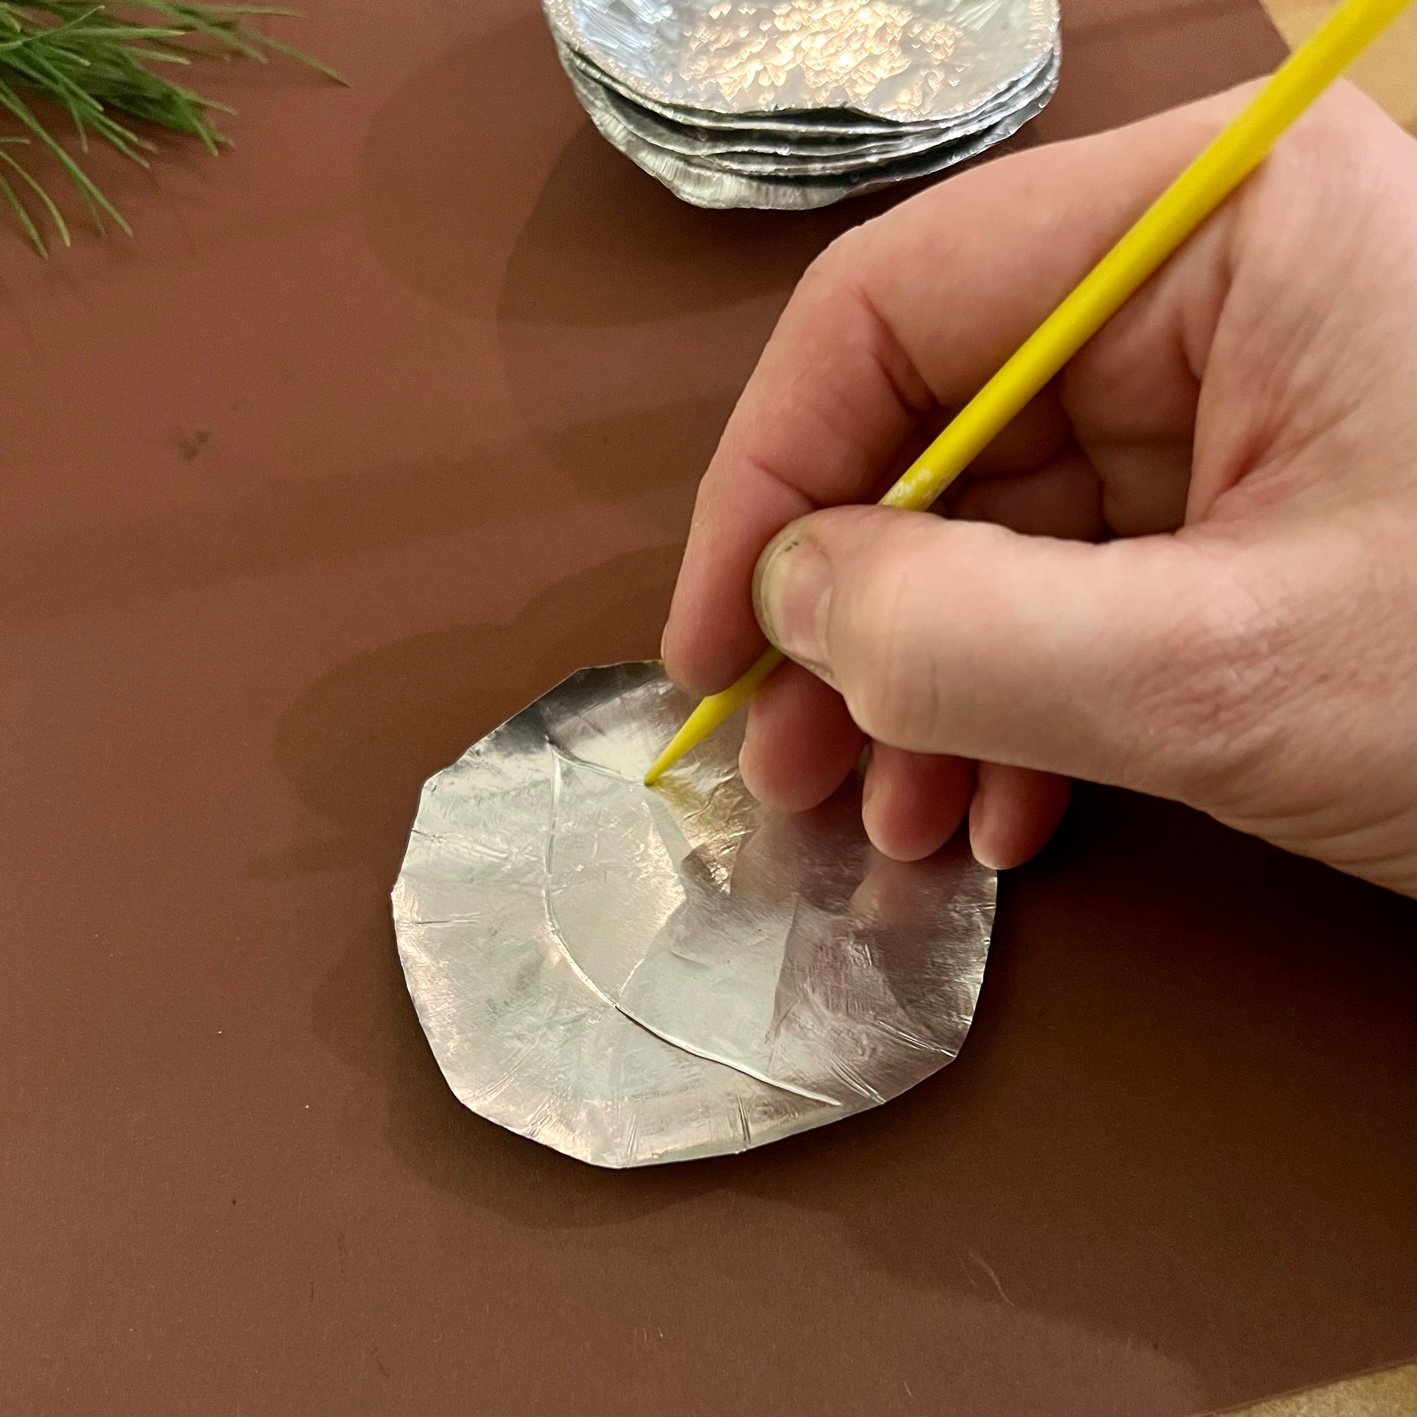
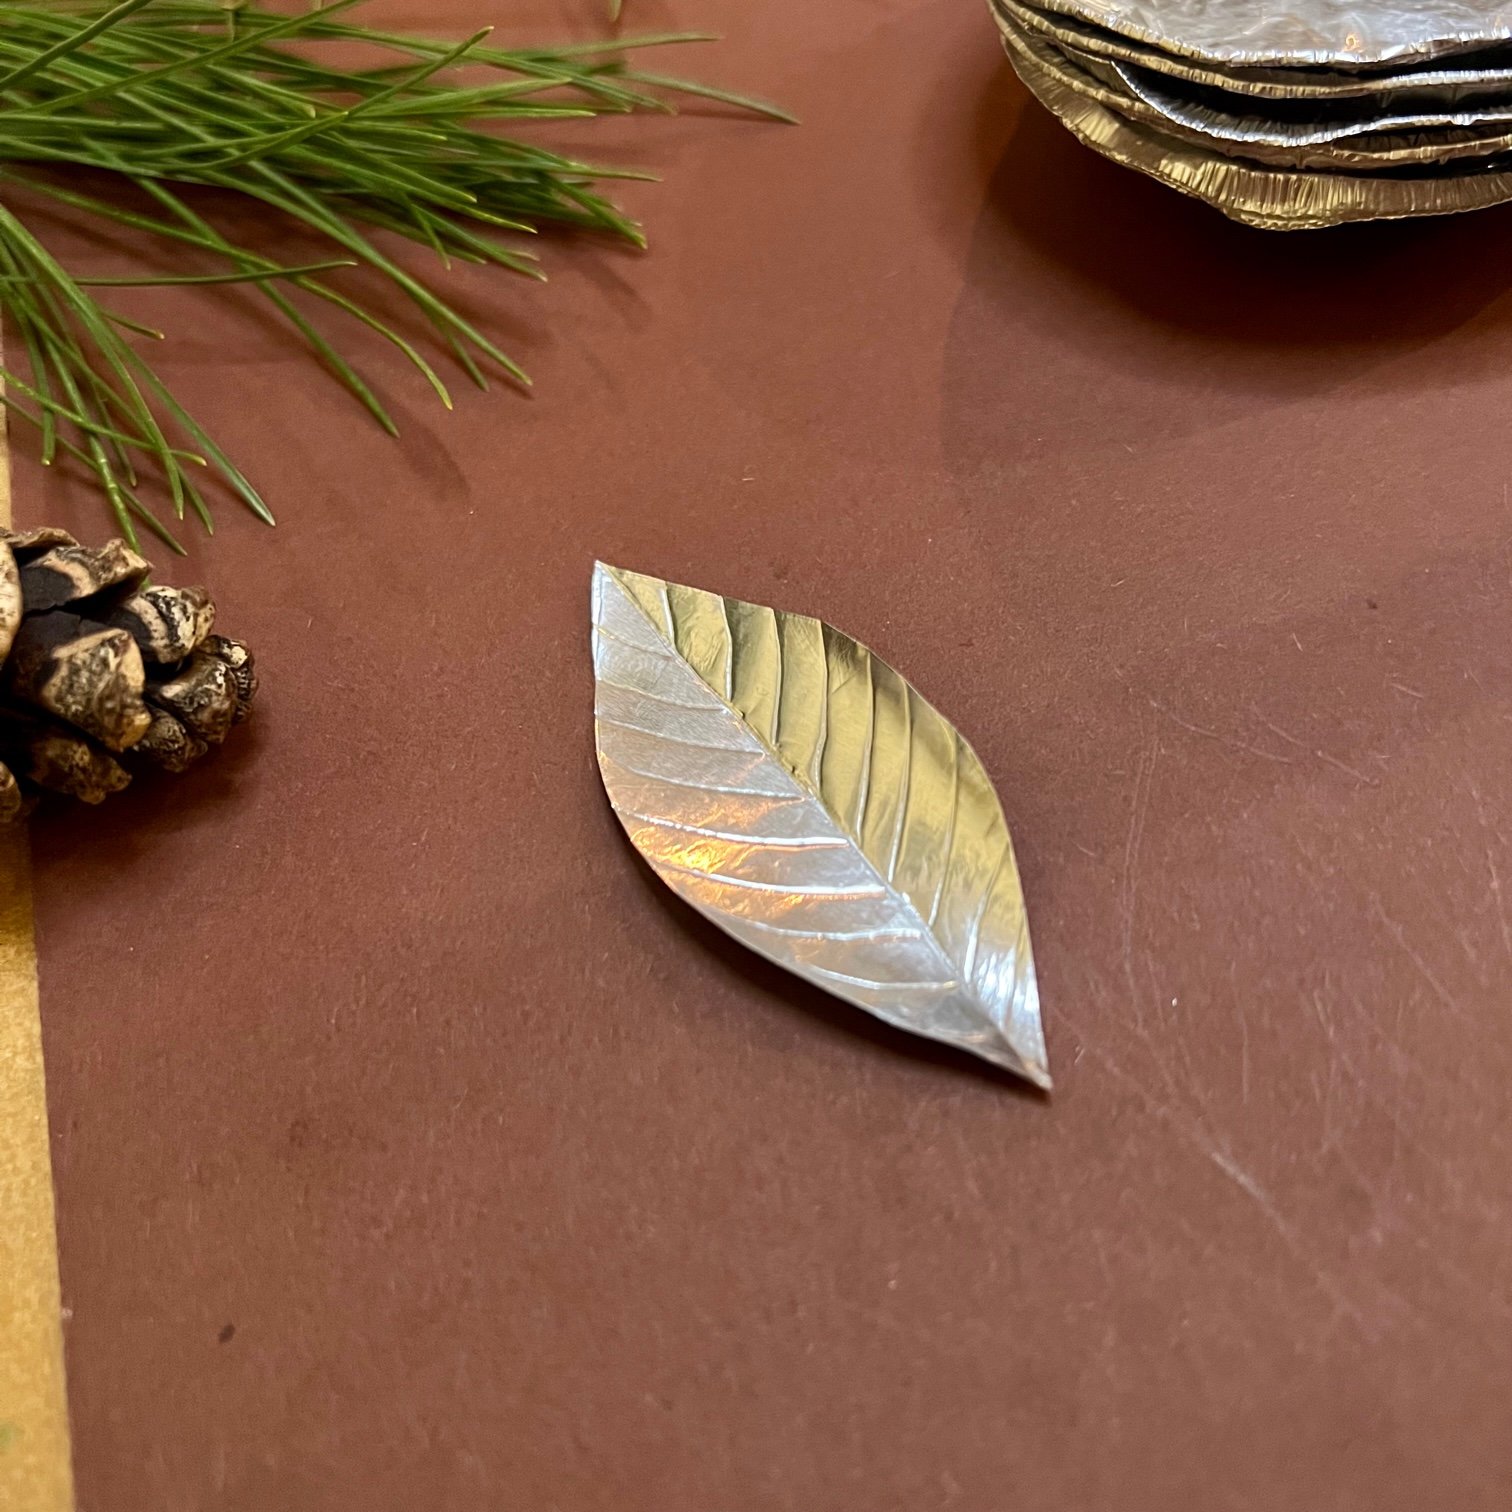
Now you can draw your shape with a ball point pen, blunt pencil or other tool. I chose leaves and acorns for my garland as well as some simple circles. Once you’ve drawn the outline, you can cut out out the shape with some scissors and use your pencil or tool to emboss some extra details. I drew a cross-hatch pattern on the acorn caps and added leaf veins.
To make a garland, first tie a loop at the end of your thread and then, using a needle, poke a hole near the top of your shape and thread through.
If your thread is very fine you might find that the foil slides along the garland, in which case, slide the foil along to the end near the loop and then put a little dab of craft (PVA) glue where the thread goes through the hole to hold it in place.

Leave to dry while you work on your next foil shape! Once you’ve threaded (and glued if needed) all your shapes, then tie another loop at the end and your garland is ready to hang!
As the foil is so light, the garland moves and shimmers with the slightest breeze. It’s so simple but looks really beautiful!

If you’d prefer to make hanging decorations for your Christmas tree, then glue two of the flattened foil discs together with a little bit of glue before drawing and cutting out your shape. This will make the decoration a bit more sturdy. Then use your needle to poke a hole in your decoration and thread some cotton through it, tie the thread in a loop and hang your decoration! The great thing about these decorations is that you can keep on making more as you eat more mince pies!
Author: Denise Hope, home educating mum of two boys
If you’d like to receive regular nature craft activities alongside gardening activities for children, subscribe below to receive a monthly Mud & Bloom box! Each monthly Mud & Bloom box contains at least two craft activities for children as well as two growing activities.