String art hearts

Creating string art is a really fun activity to do with children, especially if they like hammering things! It combines gross motor skills (hammering) and fine motor skills (wrapping and tying the string). The string art hearts also make a really lovely Valentine’s gift.
What you will need:
Wood slices - mine came from the January Mud & Bloom box and were about 9 cm diameter. (You can order a January box here!)
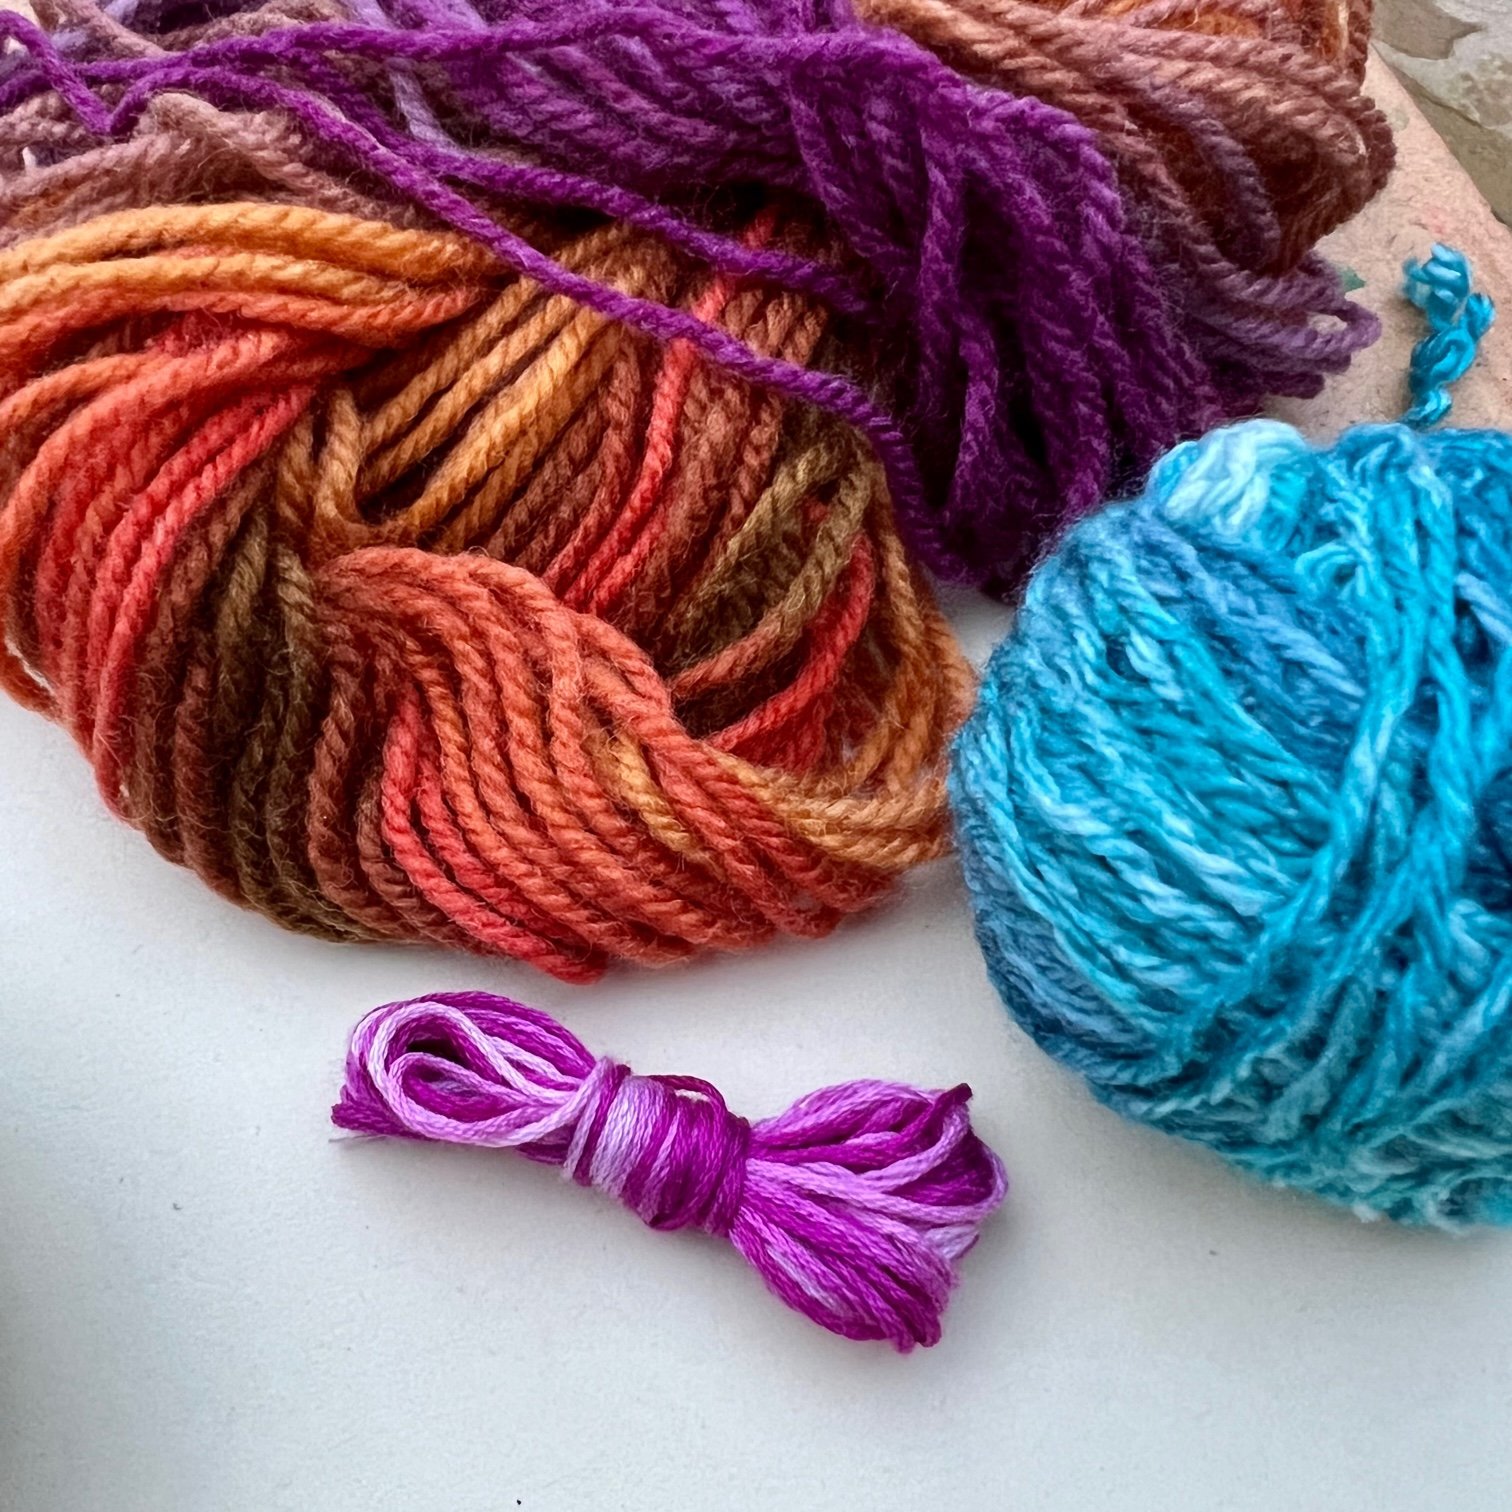
Colourful yarn or embroidery thread - thicker yarn is easier for small children.
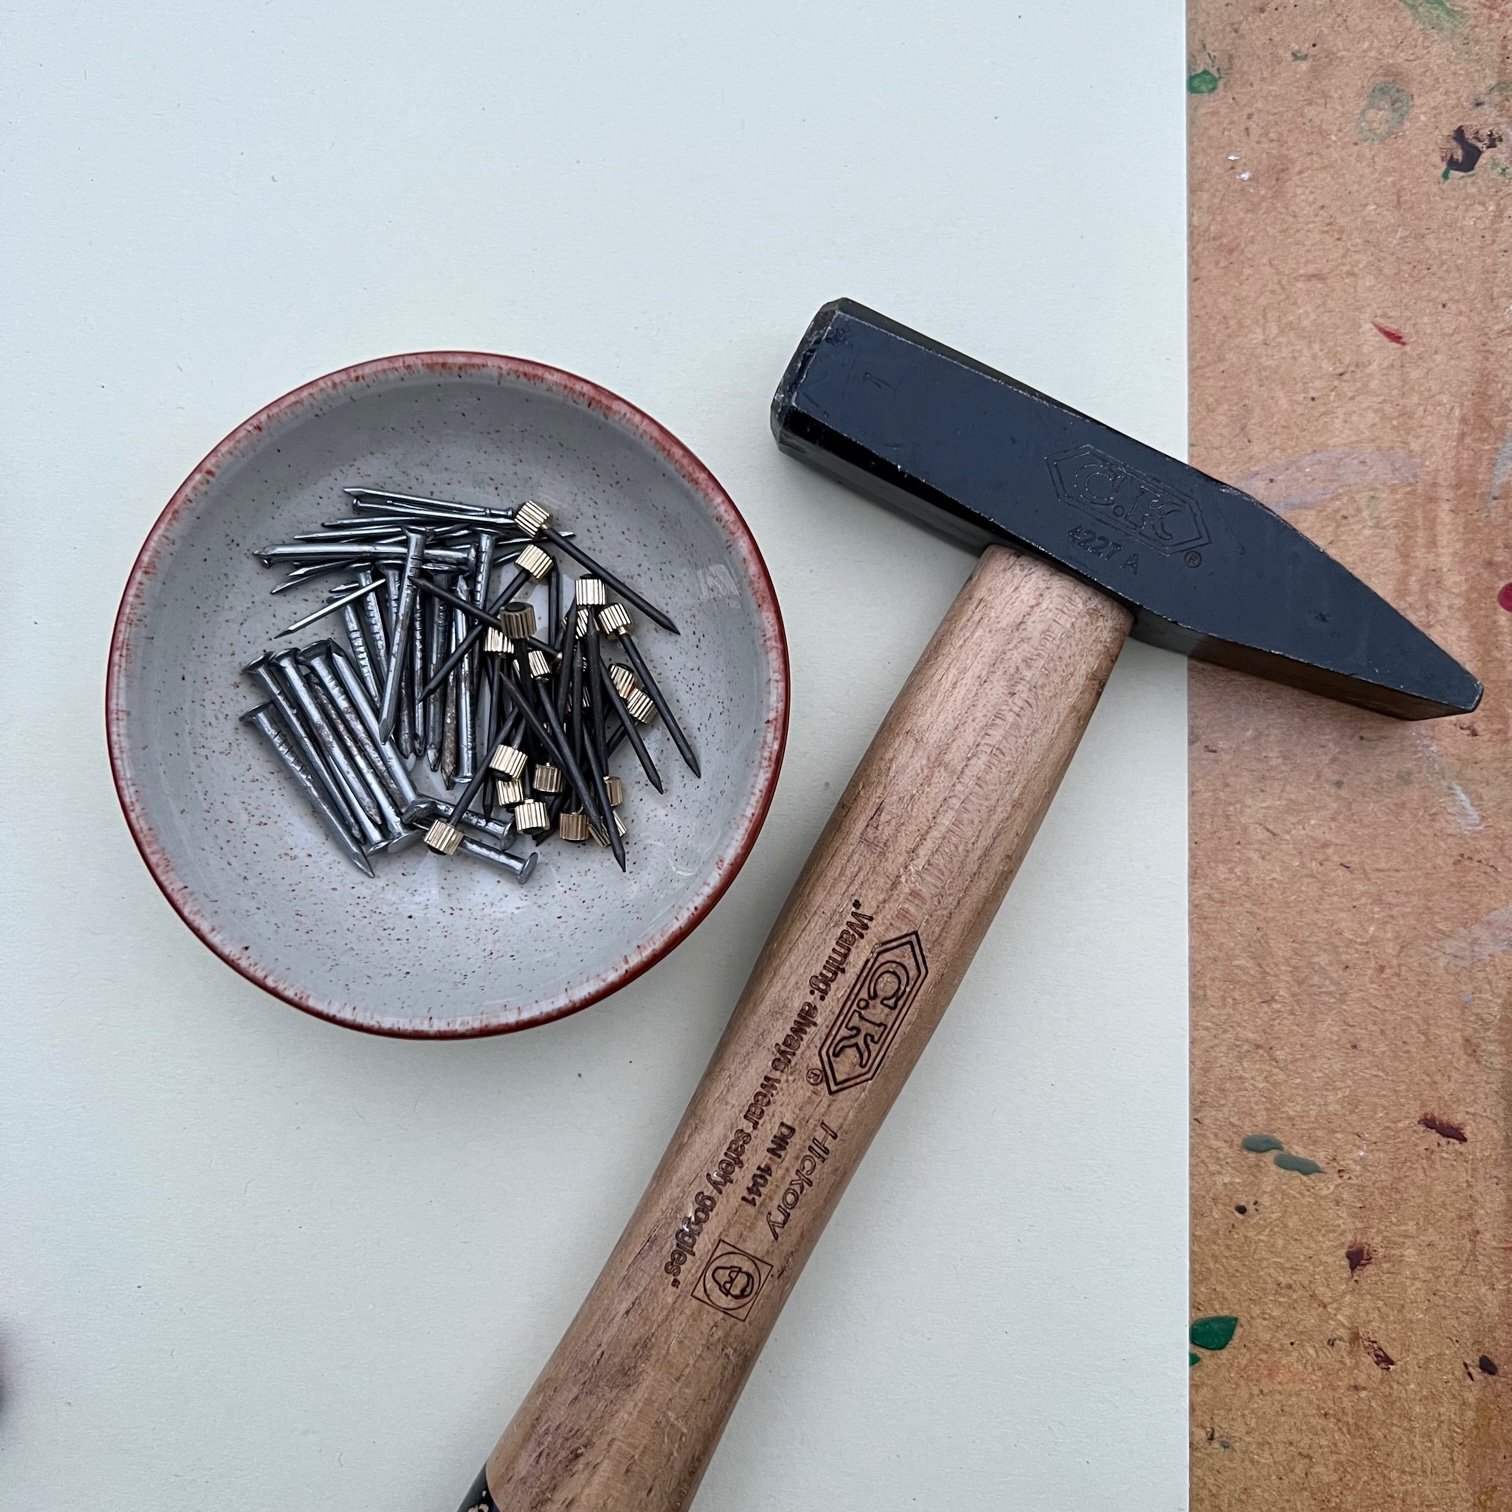
Small nails or picture pins about 20-25 mm long. I tested out a few different nails which you can see in the photos: some standard 25 mm nails, 25 mm picture pins with a brass head and some 20 mm thin veneer pins (these were a bit tricky to hold in place but looked great).
A small hammer
Paper
A pencil
Scissors

What you need to do:
First you’ll need to make your heart template. Start by drawing around around your wood slice onto a piece of paper and cutting it out. This will make it easier to centre your heart on the wood slice (I didn’t do this for my first attempt and it isn’t very centred!).
Then draw a heart in the centre of the cut paper. You might find that you have something heart-shaped that you can draw around, such as a cookie cutter, or you can fold a piece of paper in half, draw half a heart onto the paper at the fold with a pencil and then cut out with scissors to create a heart that you can draw around.
If you want to, add dots around the heart as a guide to where the nails should be - 1 cm is a good distance between each nail but, for younger children, you might want to make them further apart so it’s easier to wind the thread around them.
Place the heart template on your wood slice, taping it in place if you need to.
Depending on where you are doing this activity, you might want to place a board or several pieces of cardboard underneath your wood slice to protect your surface.
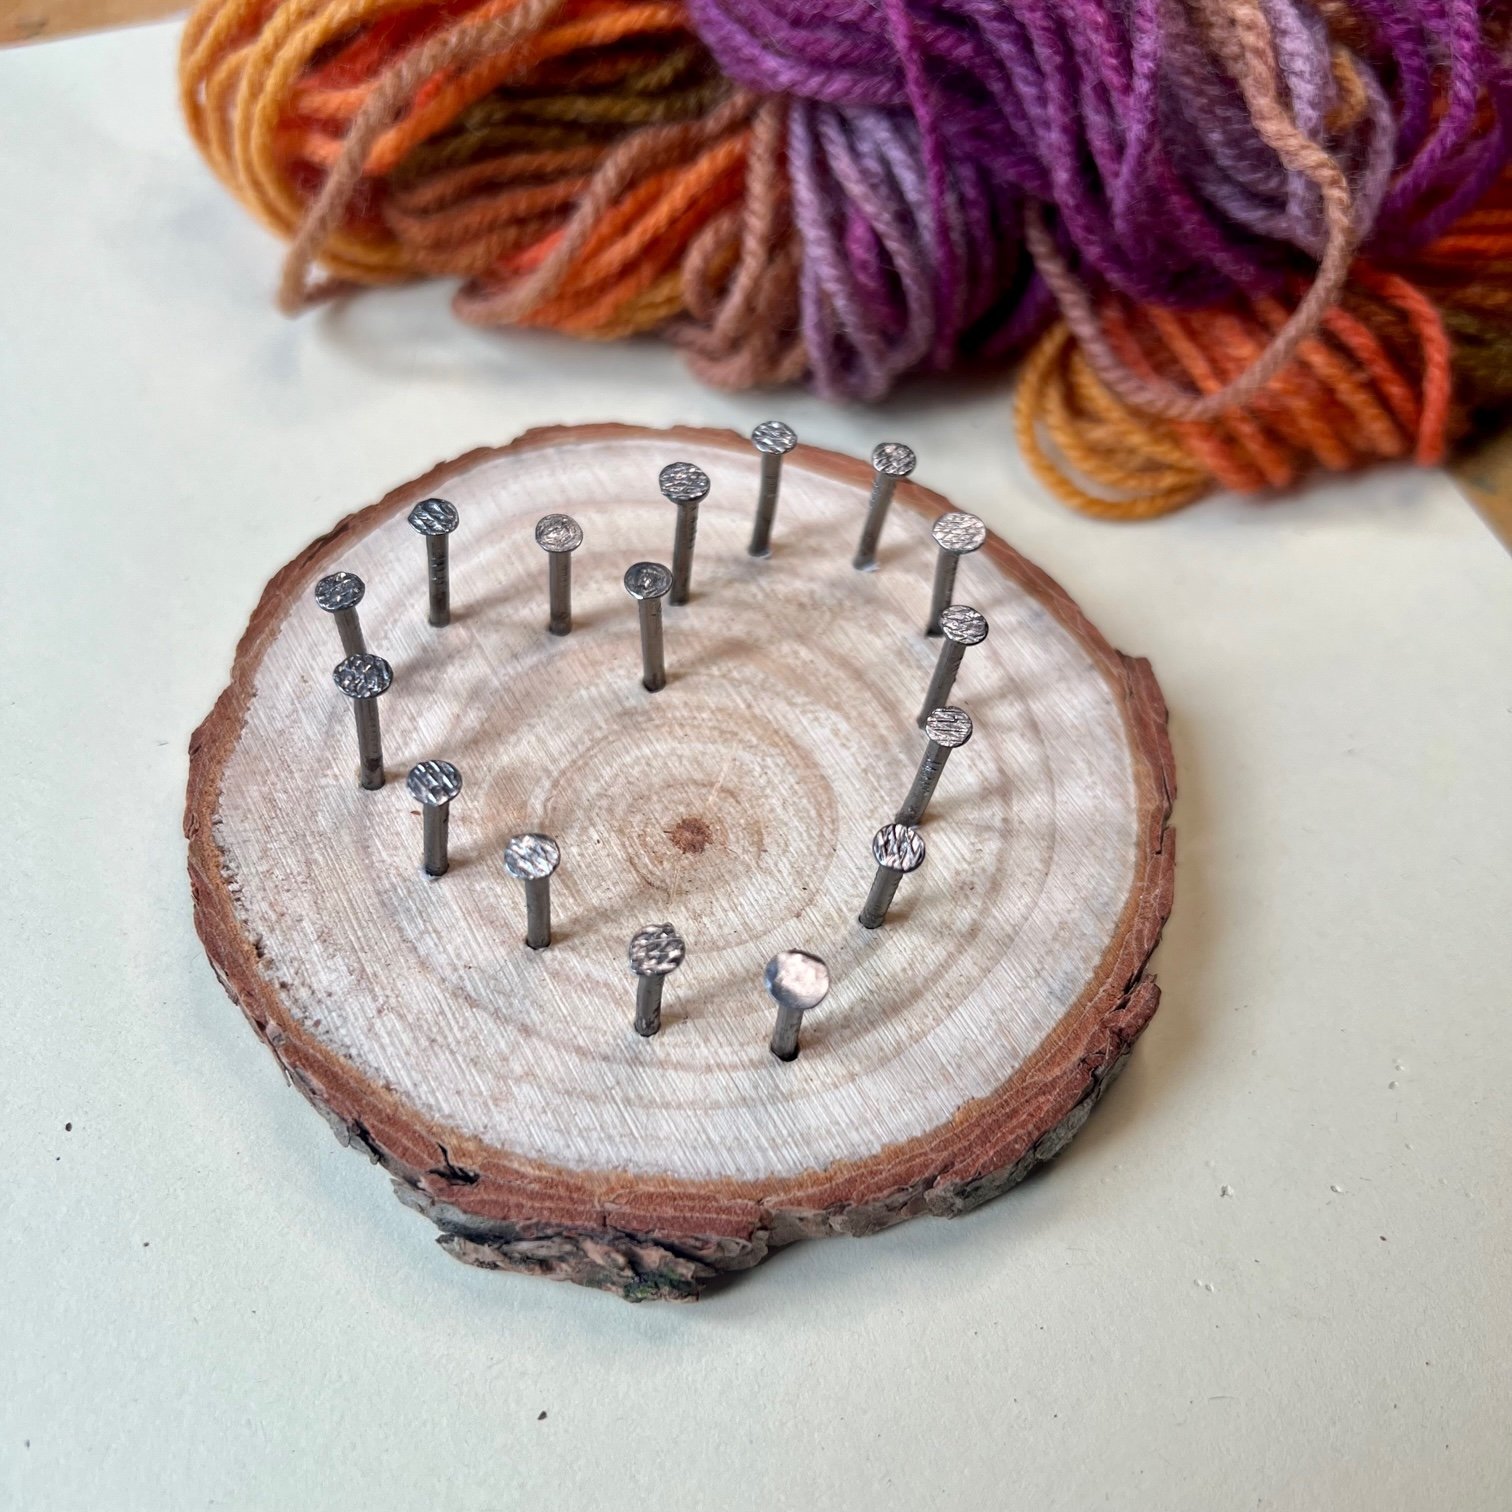
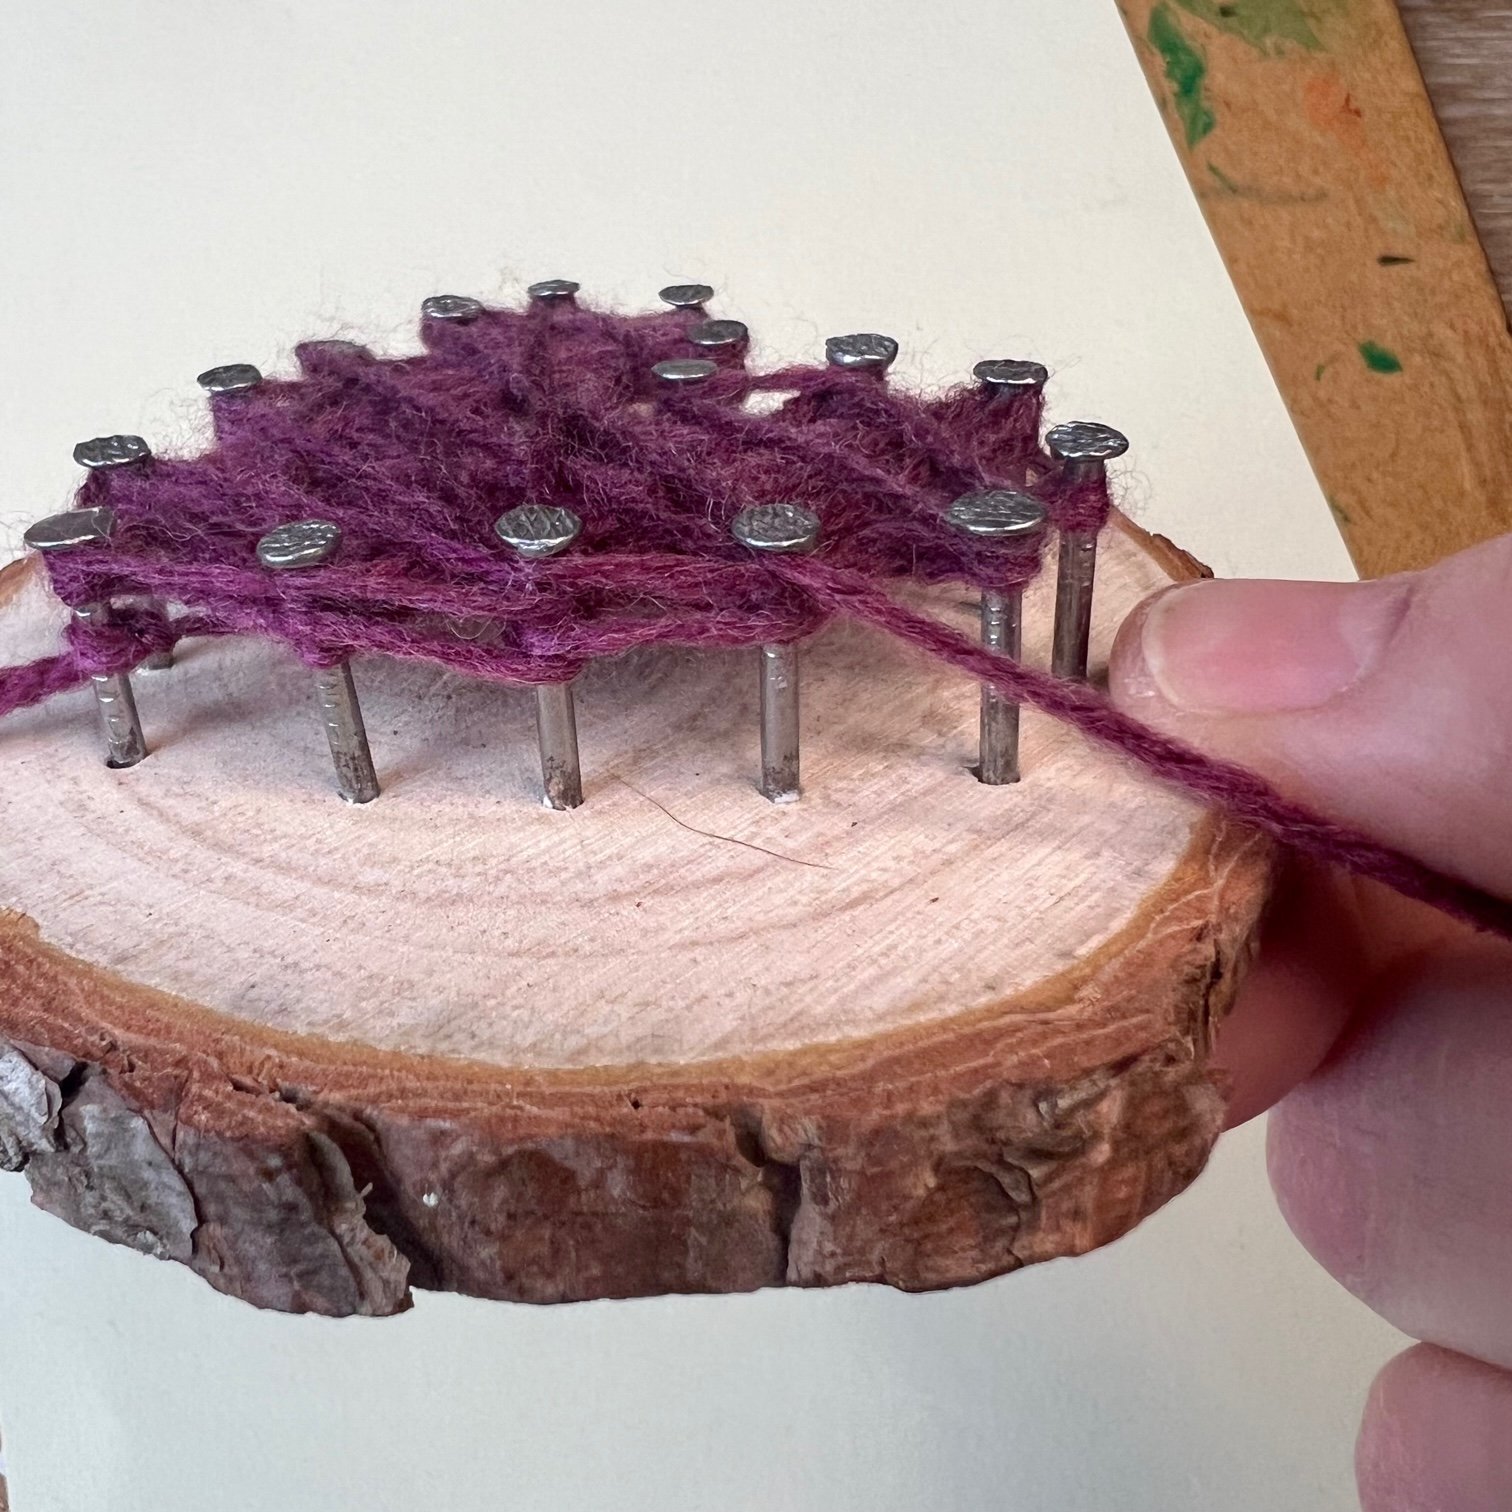
Now you can start tapping your nails around the heart shape with your hammer! Start by poking your nail at the centre of the ‘V’ at the top of the heart and then, holding the nail in place with your fingers, gently but firmly start hammering the nail. Encourage children to start with a few gentler practice taps so they can get used to where the hammer hits in relation to their fingers! The nail needs to be hammered in enough so it isn’t wiggly, but not so far that it pokes through the other side.

Continue hammering the nails around the heart template in approximately 1-2 cm intervals, making sure you have a nail at the bottom point. Try and make sure that the nails are all straight and the same height.
Once the nails are all hammered in, tear away the paper template.
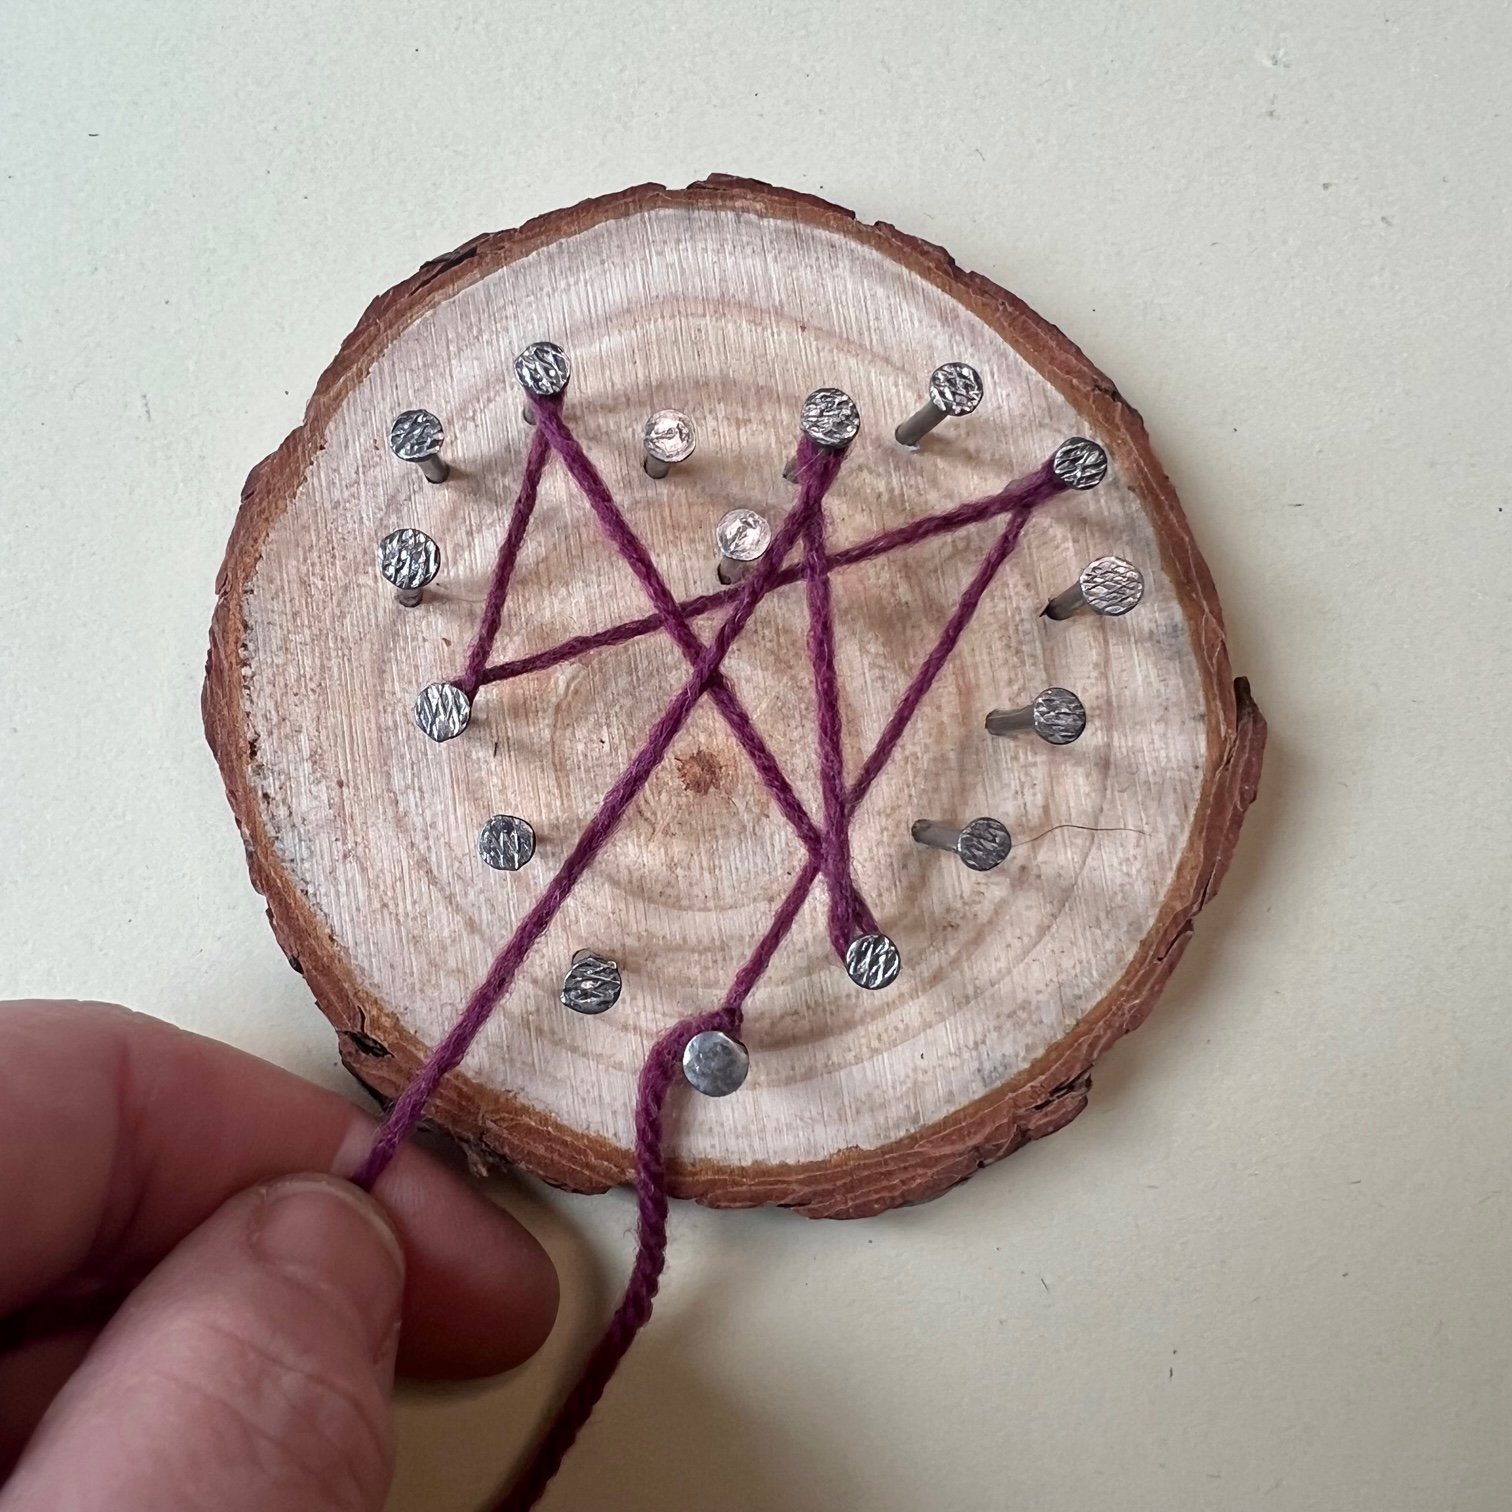
Finally it’s time for the string! Tie a loop at the end of your thread but don’t pull it tight yet. Place the loop around the bottom nail and then pull it tight. Tie a second knot to make a double-knot on your nail but don’t cut off the excess. Then start wrapping at random!
There is no right or wrong way to wrap the thread around the nails, just remember to keep the thread tight so that it doesn't slip off the nail.
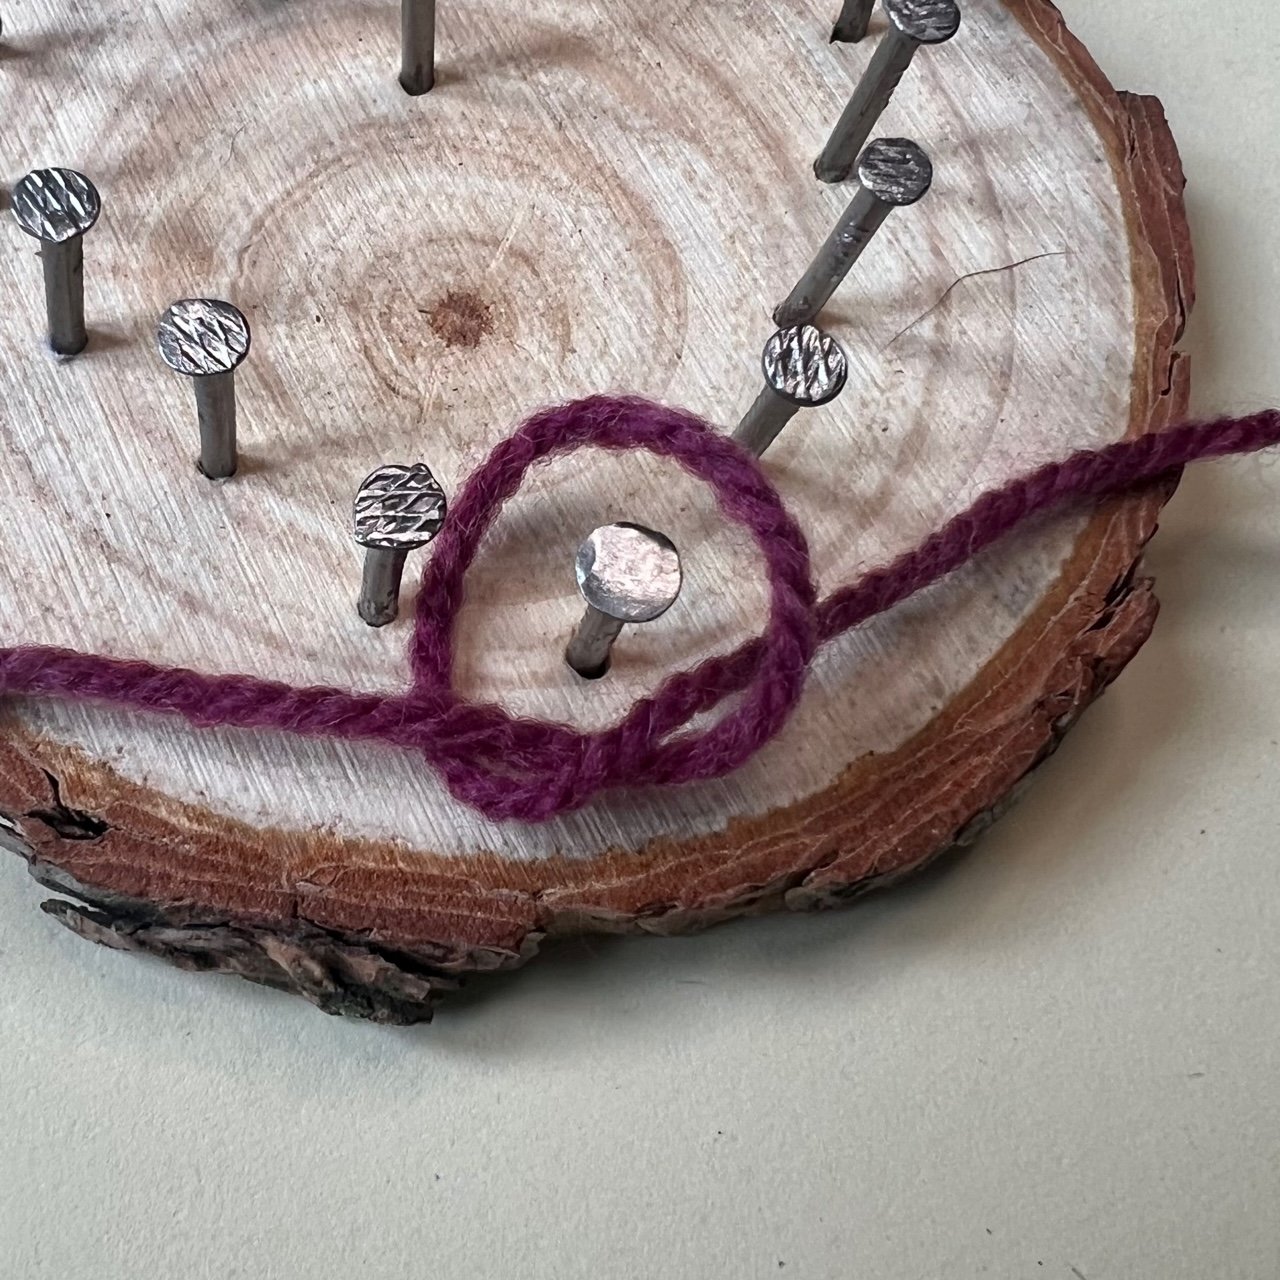
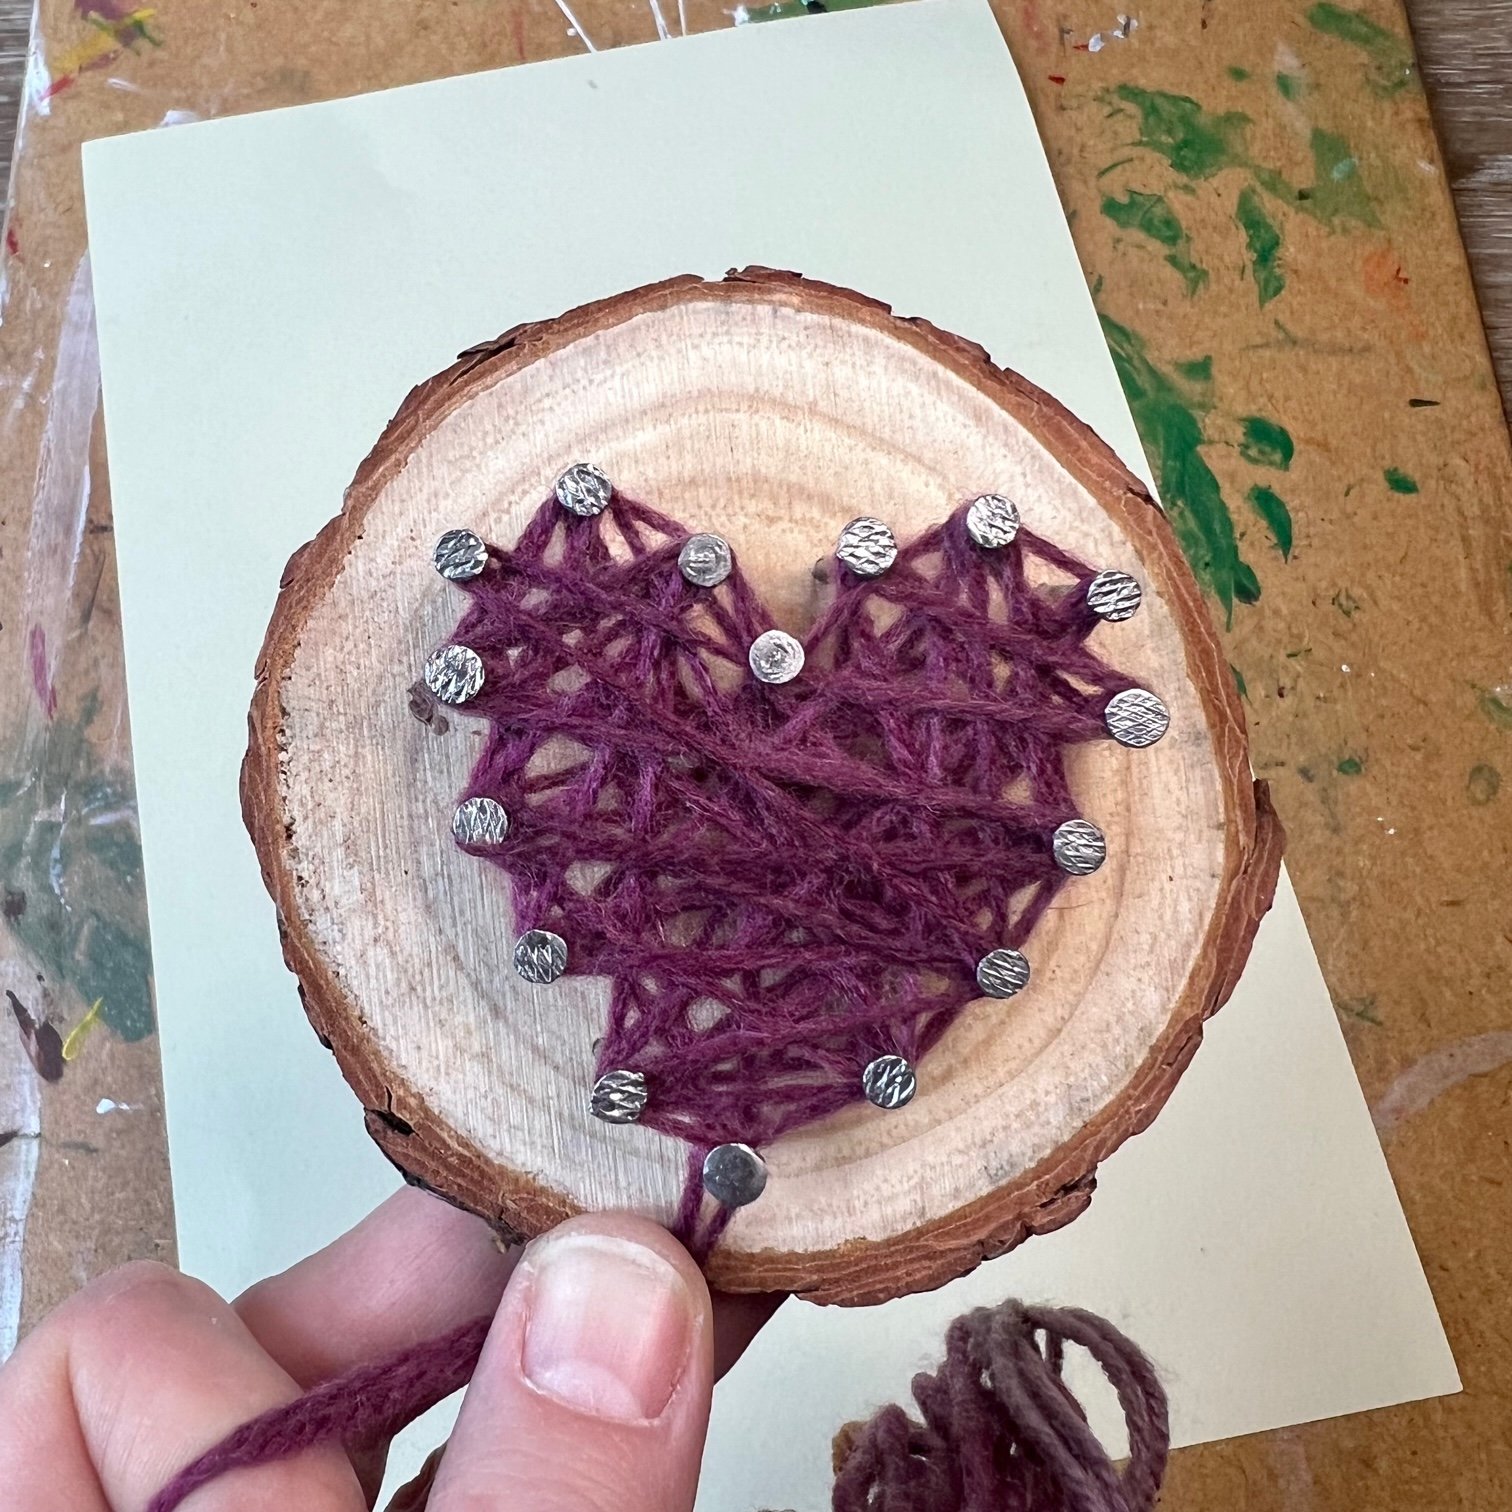
Continue wrapping and filling in the centre of the heart with your thread until you are pleased with the design.
After the heart is filled, take your thread down to the bottom nail, where you started, and then take the thread around the outside of the heart, looping it around each nail as you go to create an outline for your heart. Once you have reached the bottom nail again, tie the end of the thread and the excess from the first knot into a double knot and then trim the ends off.
Now you’ve completed your first string art heart, you can experiment with other designs, different colours or thickness of thread or yarn.

If you want to hang up your string art hearts, you could drill a hole in your wood slice or screw in an eye at the top and then add a loop of twine.

Author: Denise Hope, home educating mum of two boys
If you’d like to receive regular nature craft activities alongside gardening activities for children, subscribe below to receive a monthly Mud & Bloom box! Each monthly Mud & Bloom box contains at least two craft activities for children as well as two growing activities.