Planting layered bulbs in pots
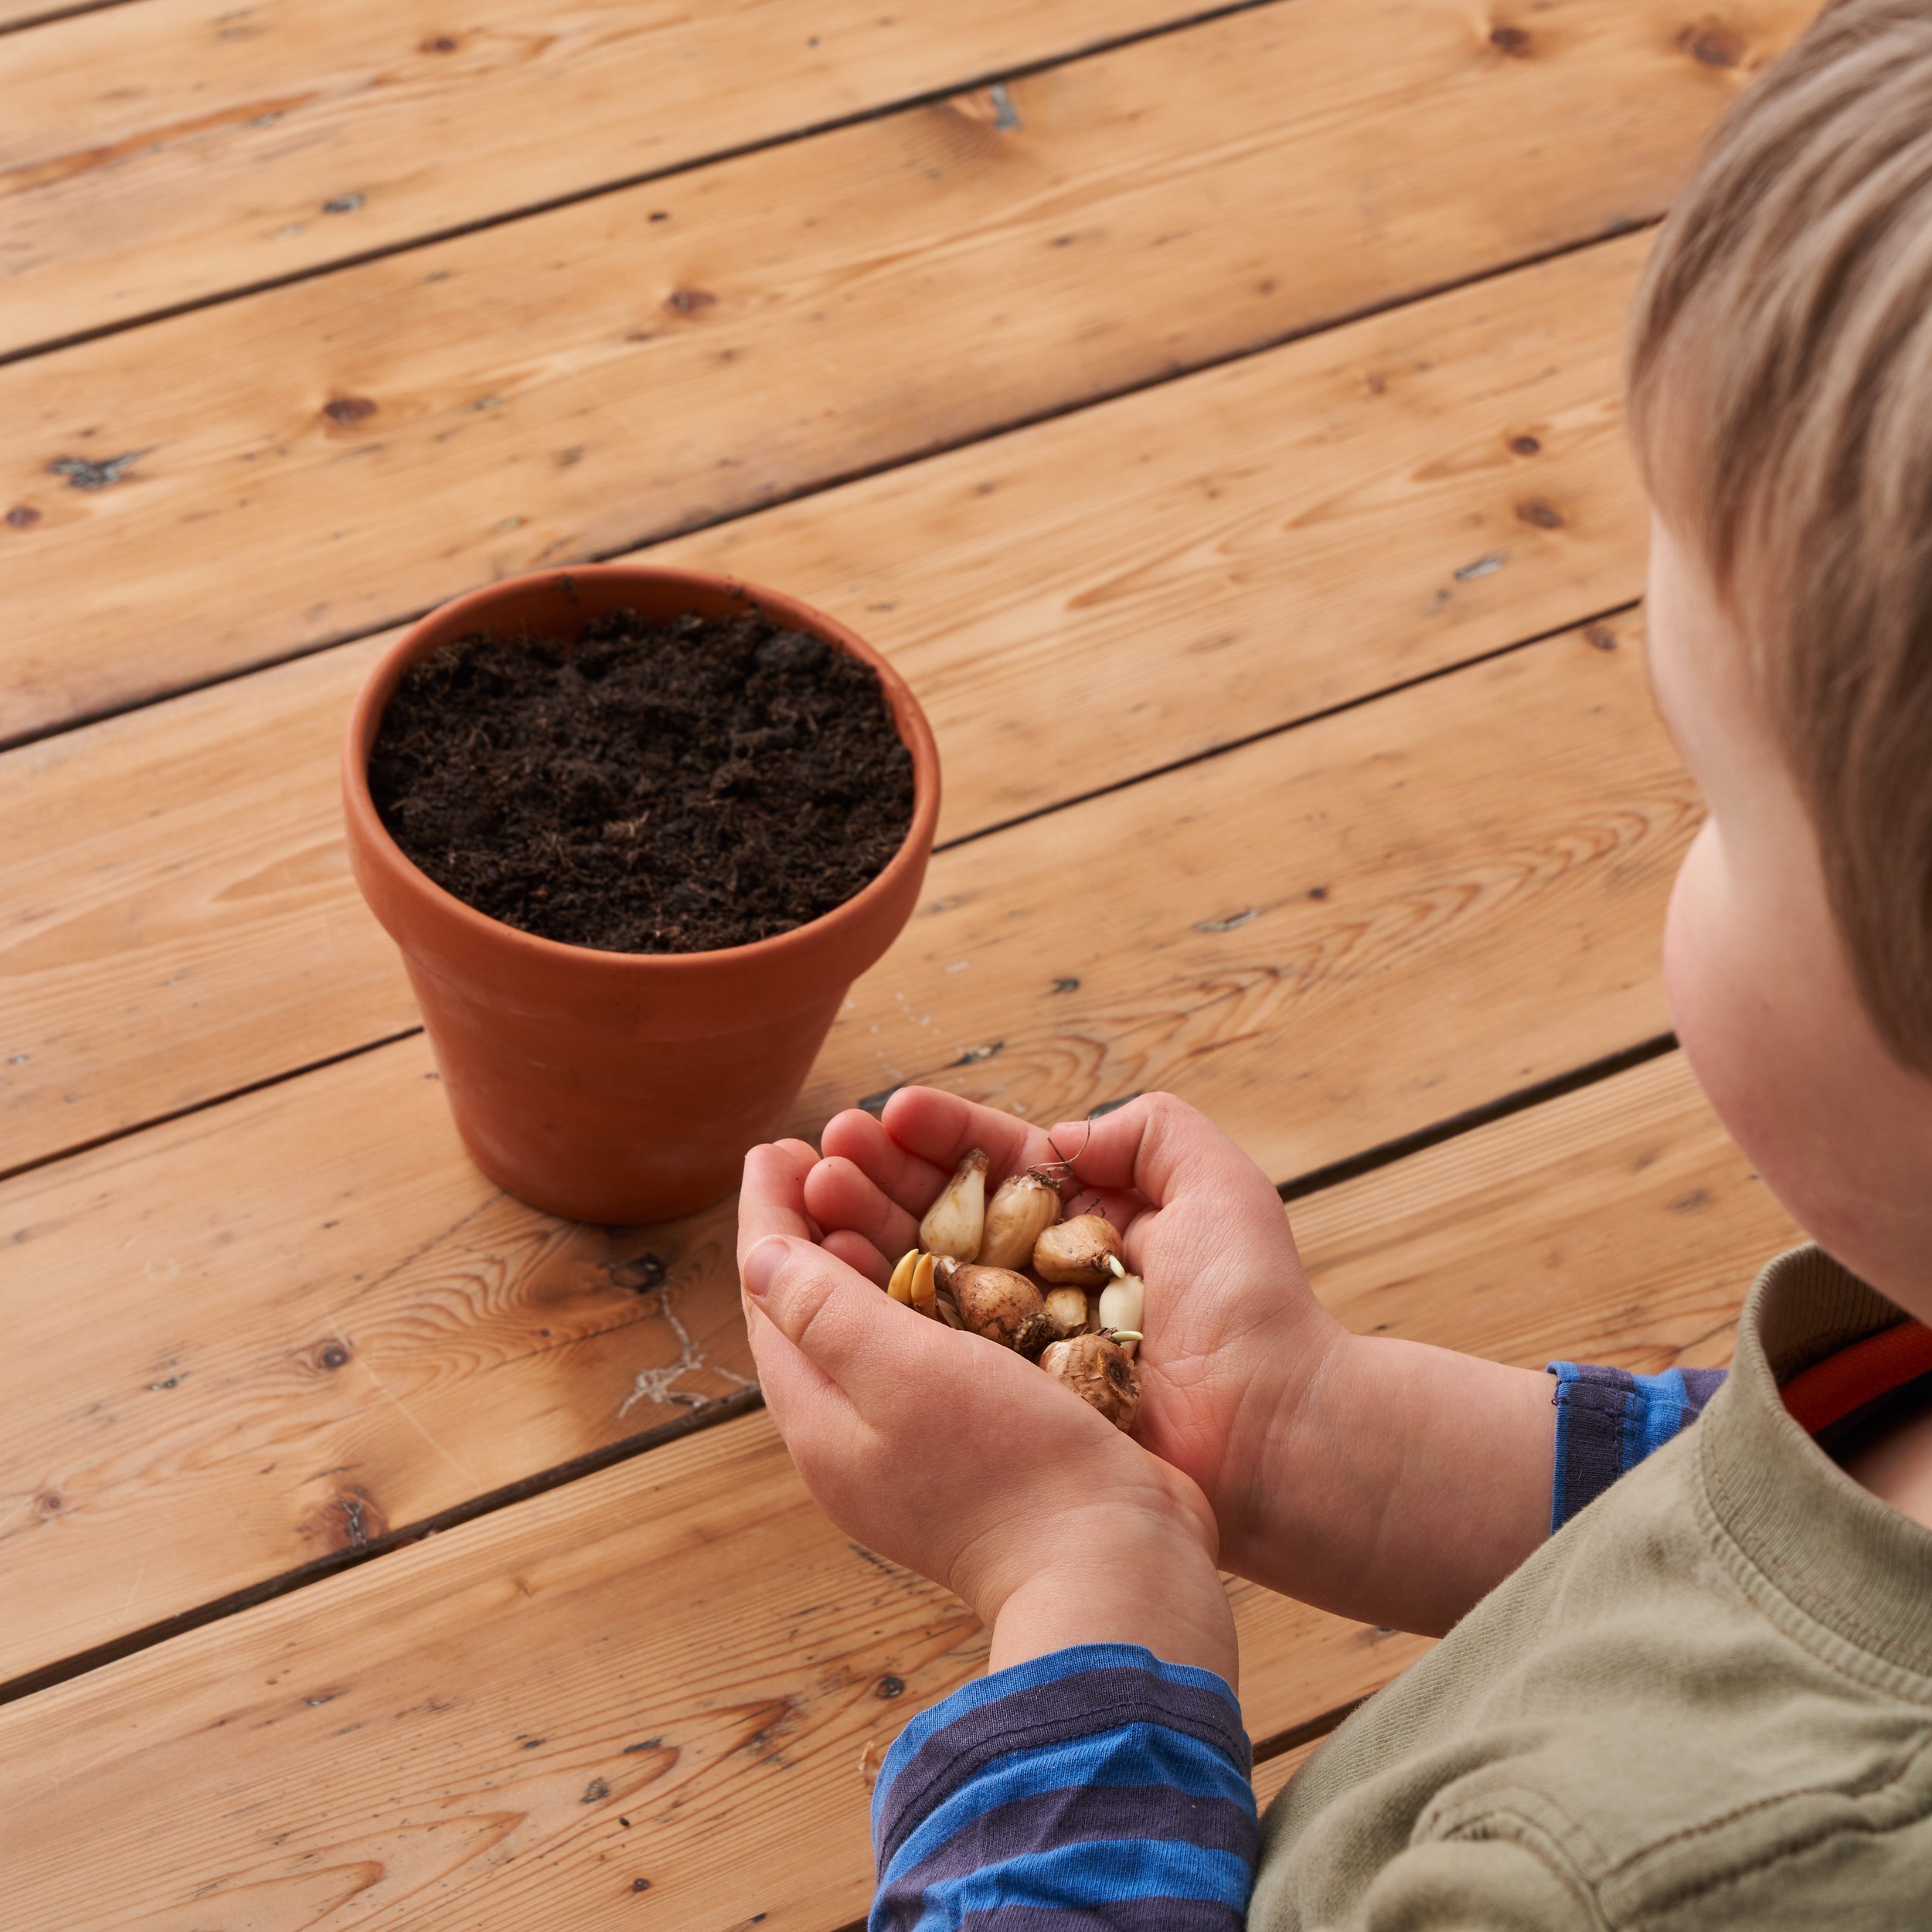
Planting bulbs with children is a great way to get them engaged with the garden, as the bulbs are large and easy for them to handle and the actual planting is very straightforward. The activity involves crumbling the soil with their hands, patting it down and sorting and placing the bulbs, I also let my children choose the bulbs we bought this year, which they loved doing. I'm hoping they will remember what they chose when they're flowering in the spring!
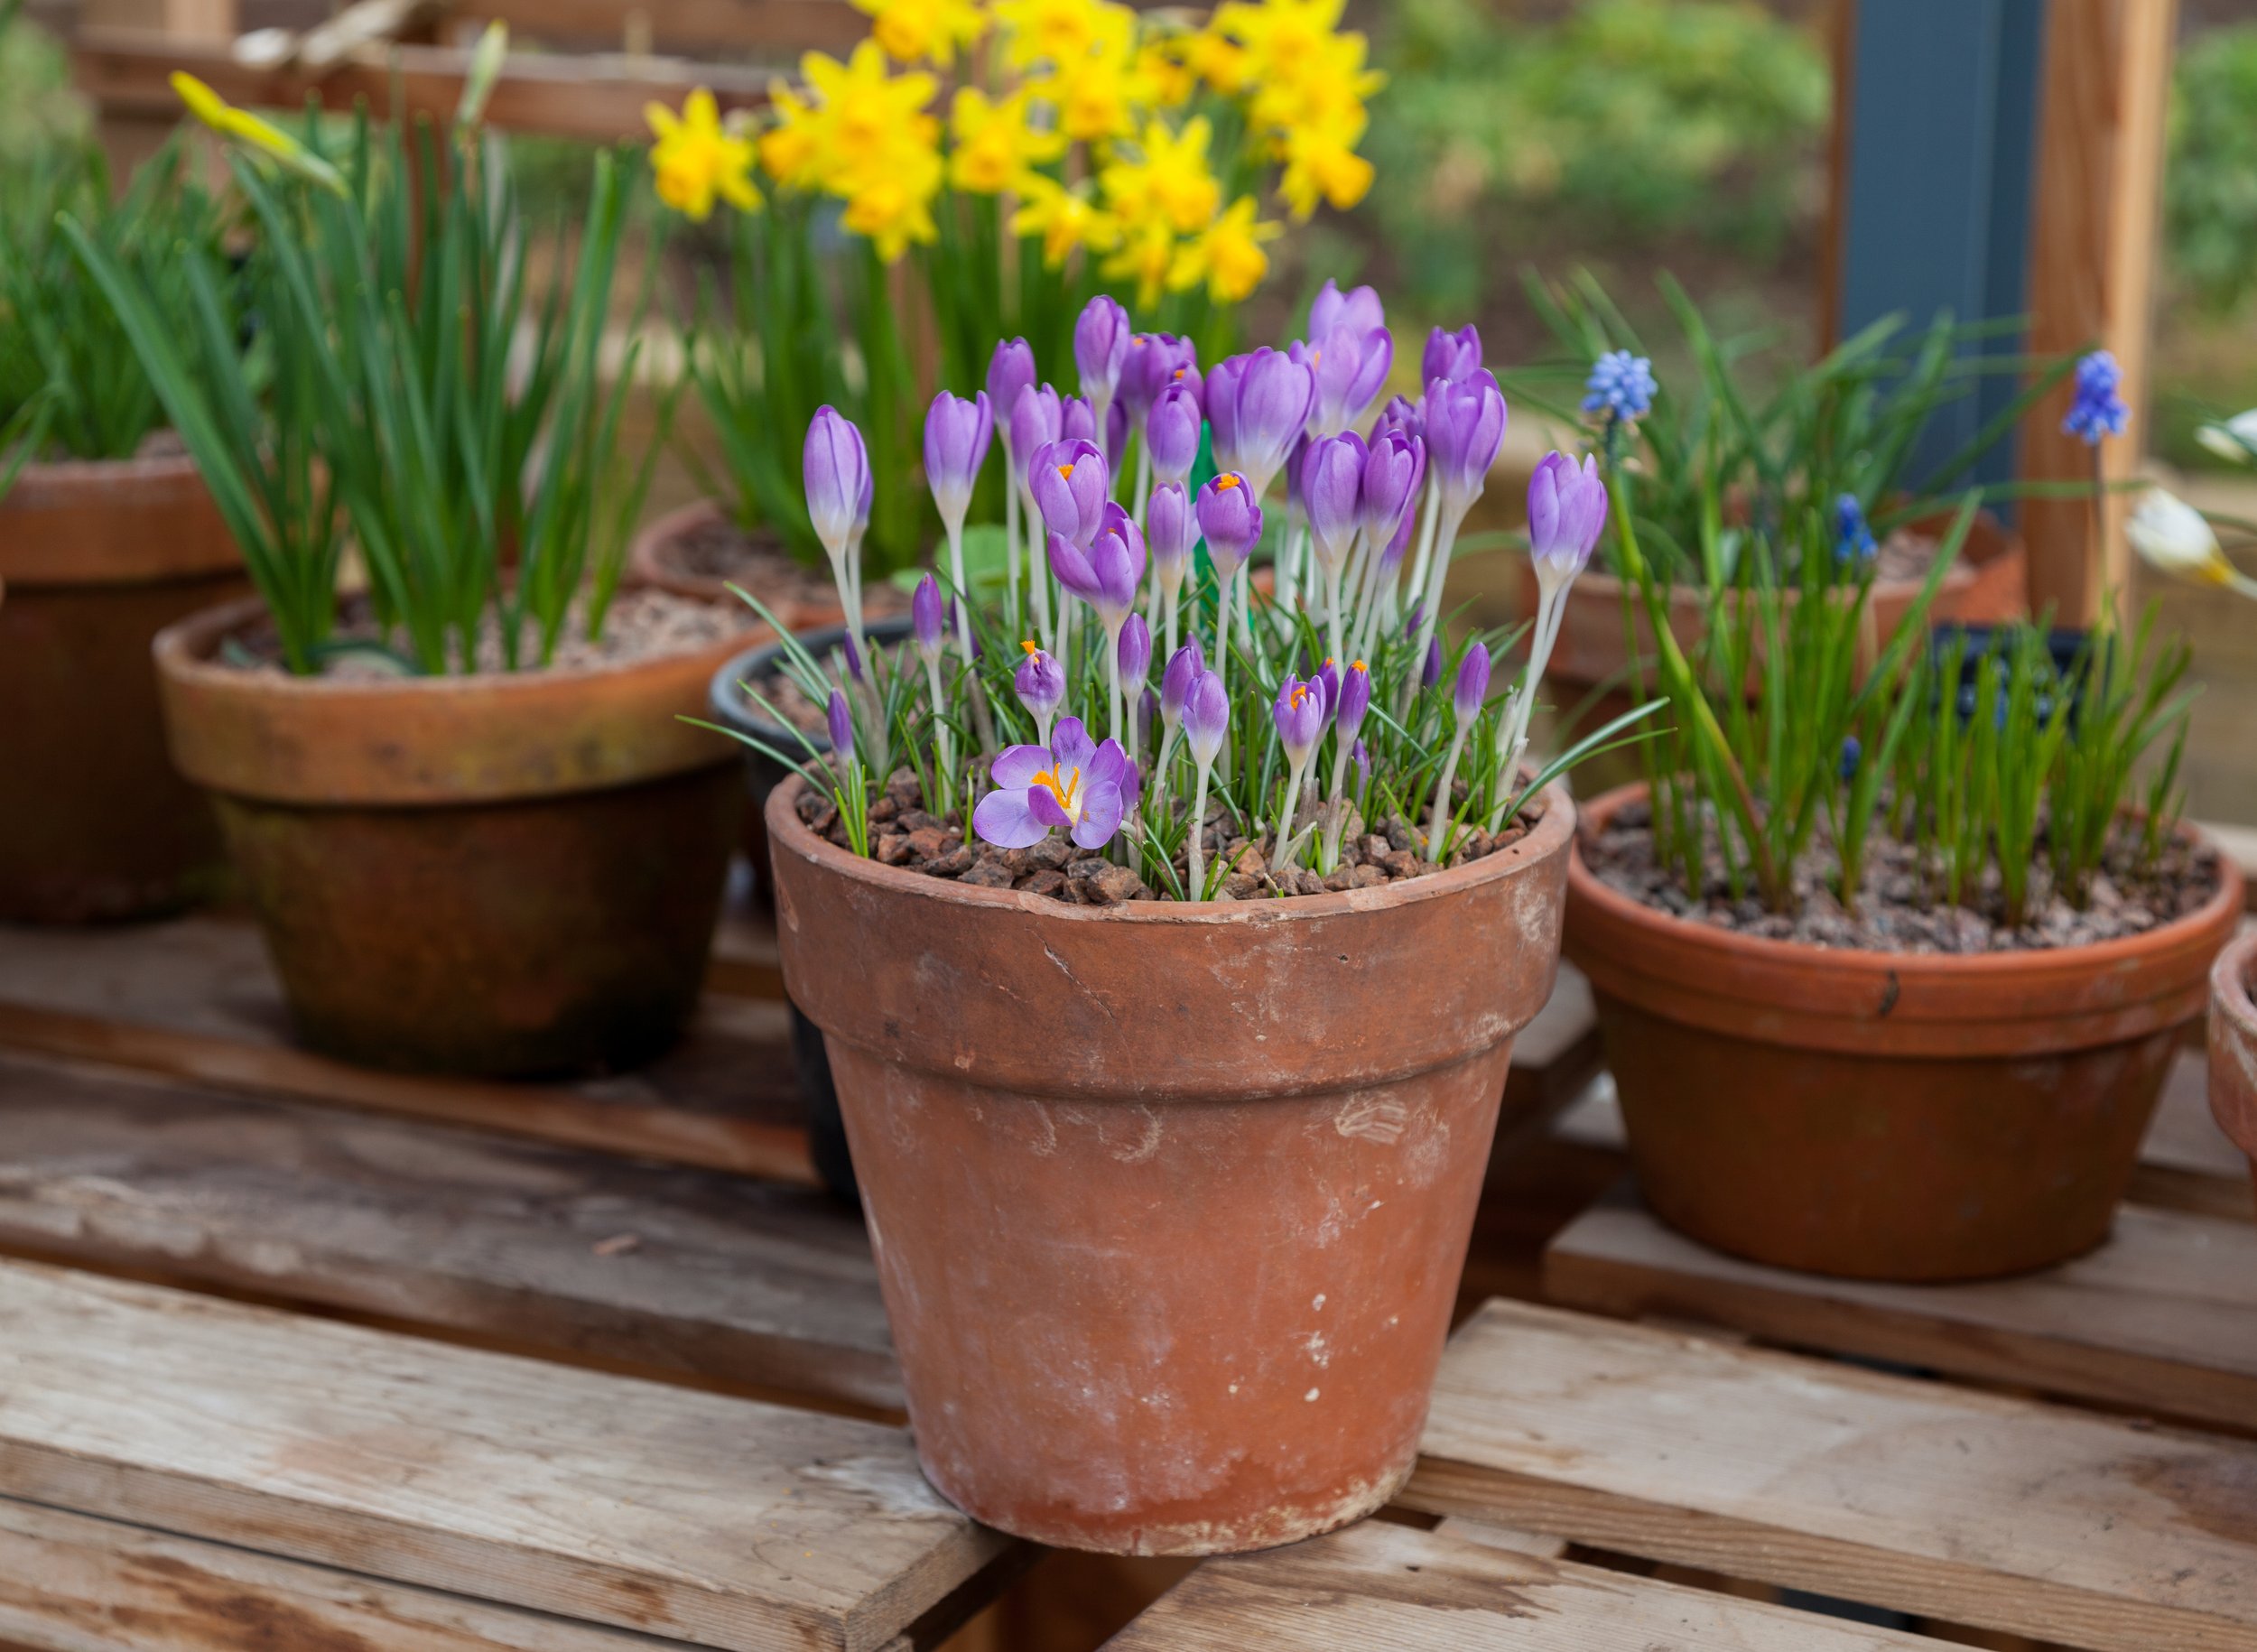
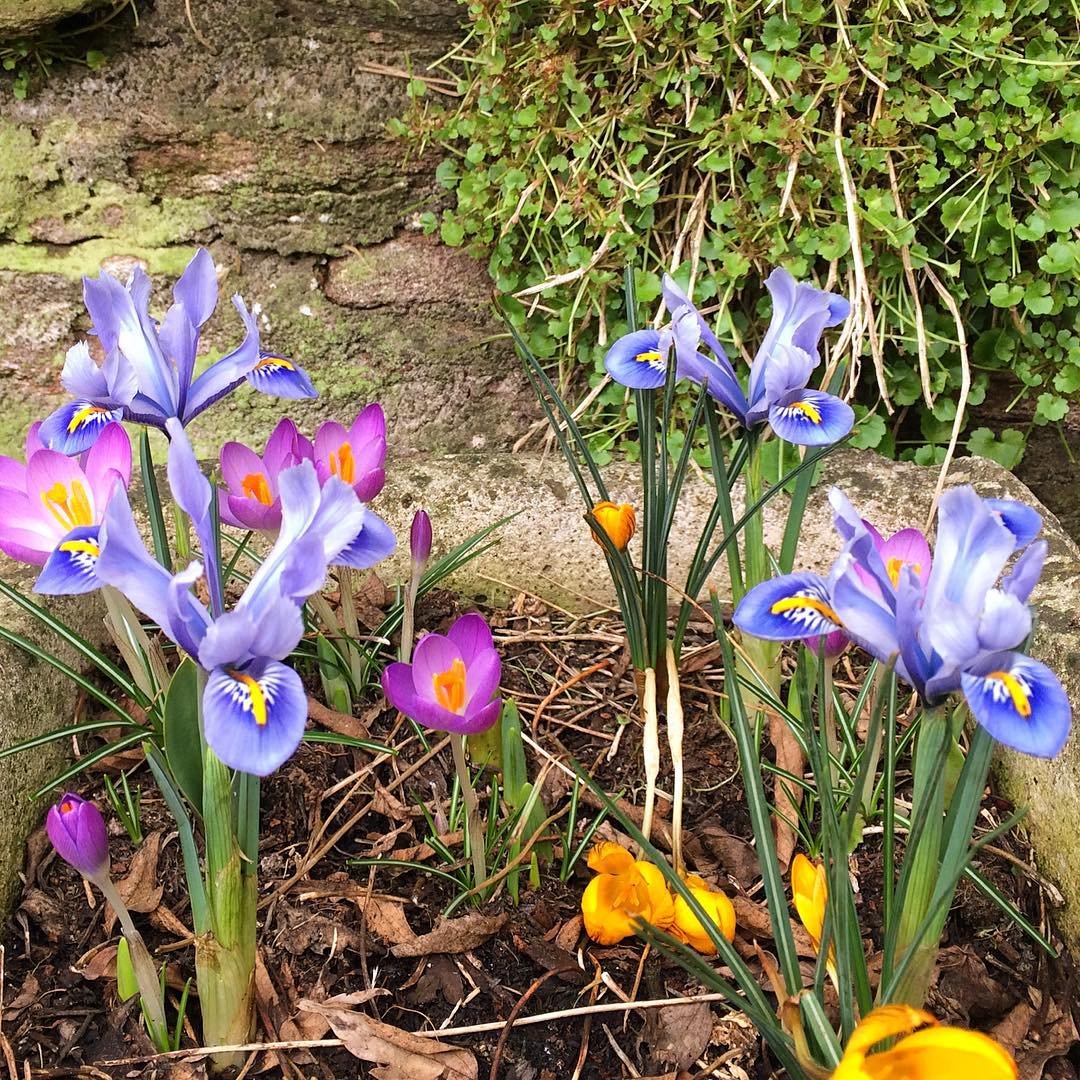
Autumn is the best time to plant spring flowering bulbs such as tulips, daffodils, crocuses, irises and hyacinths as well as the more hardy summer flowering bulbs such as alliums, lilies and crocosmia. For more tender summer flowering bulbs such as gladioli it's best to wait until the spring to plant them.
You don't need a garden to plant bulbs, as flowering bulbs look great in pots too and can be placed on a windowsill, balcony or front door step etc. We planted our bulbs in pots this year as we've just moved to a new home and I'm not sure what's in the garden yet, we also have a patio to appreciate them on.
We layered our bulbs in the pots, in order to get a succession of different flowers throughout the spring (we only planted spring bulbs, but I might do some more with summer bulbs too).
What you will need:
A selection of bulbs (we planted two varieties of daffodils, mixed coloured tulips, crocuses and small irisis), a bag of multipurpose compost and a plant pot or container with holes in the bottom.
How to plant layered bulbs in a pot:
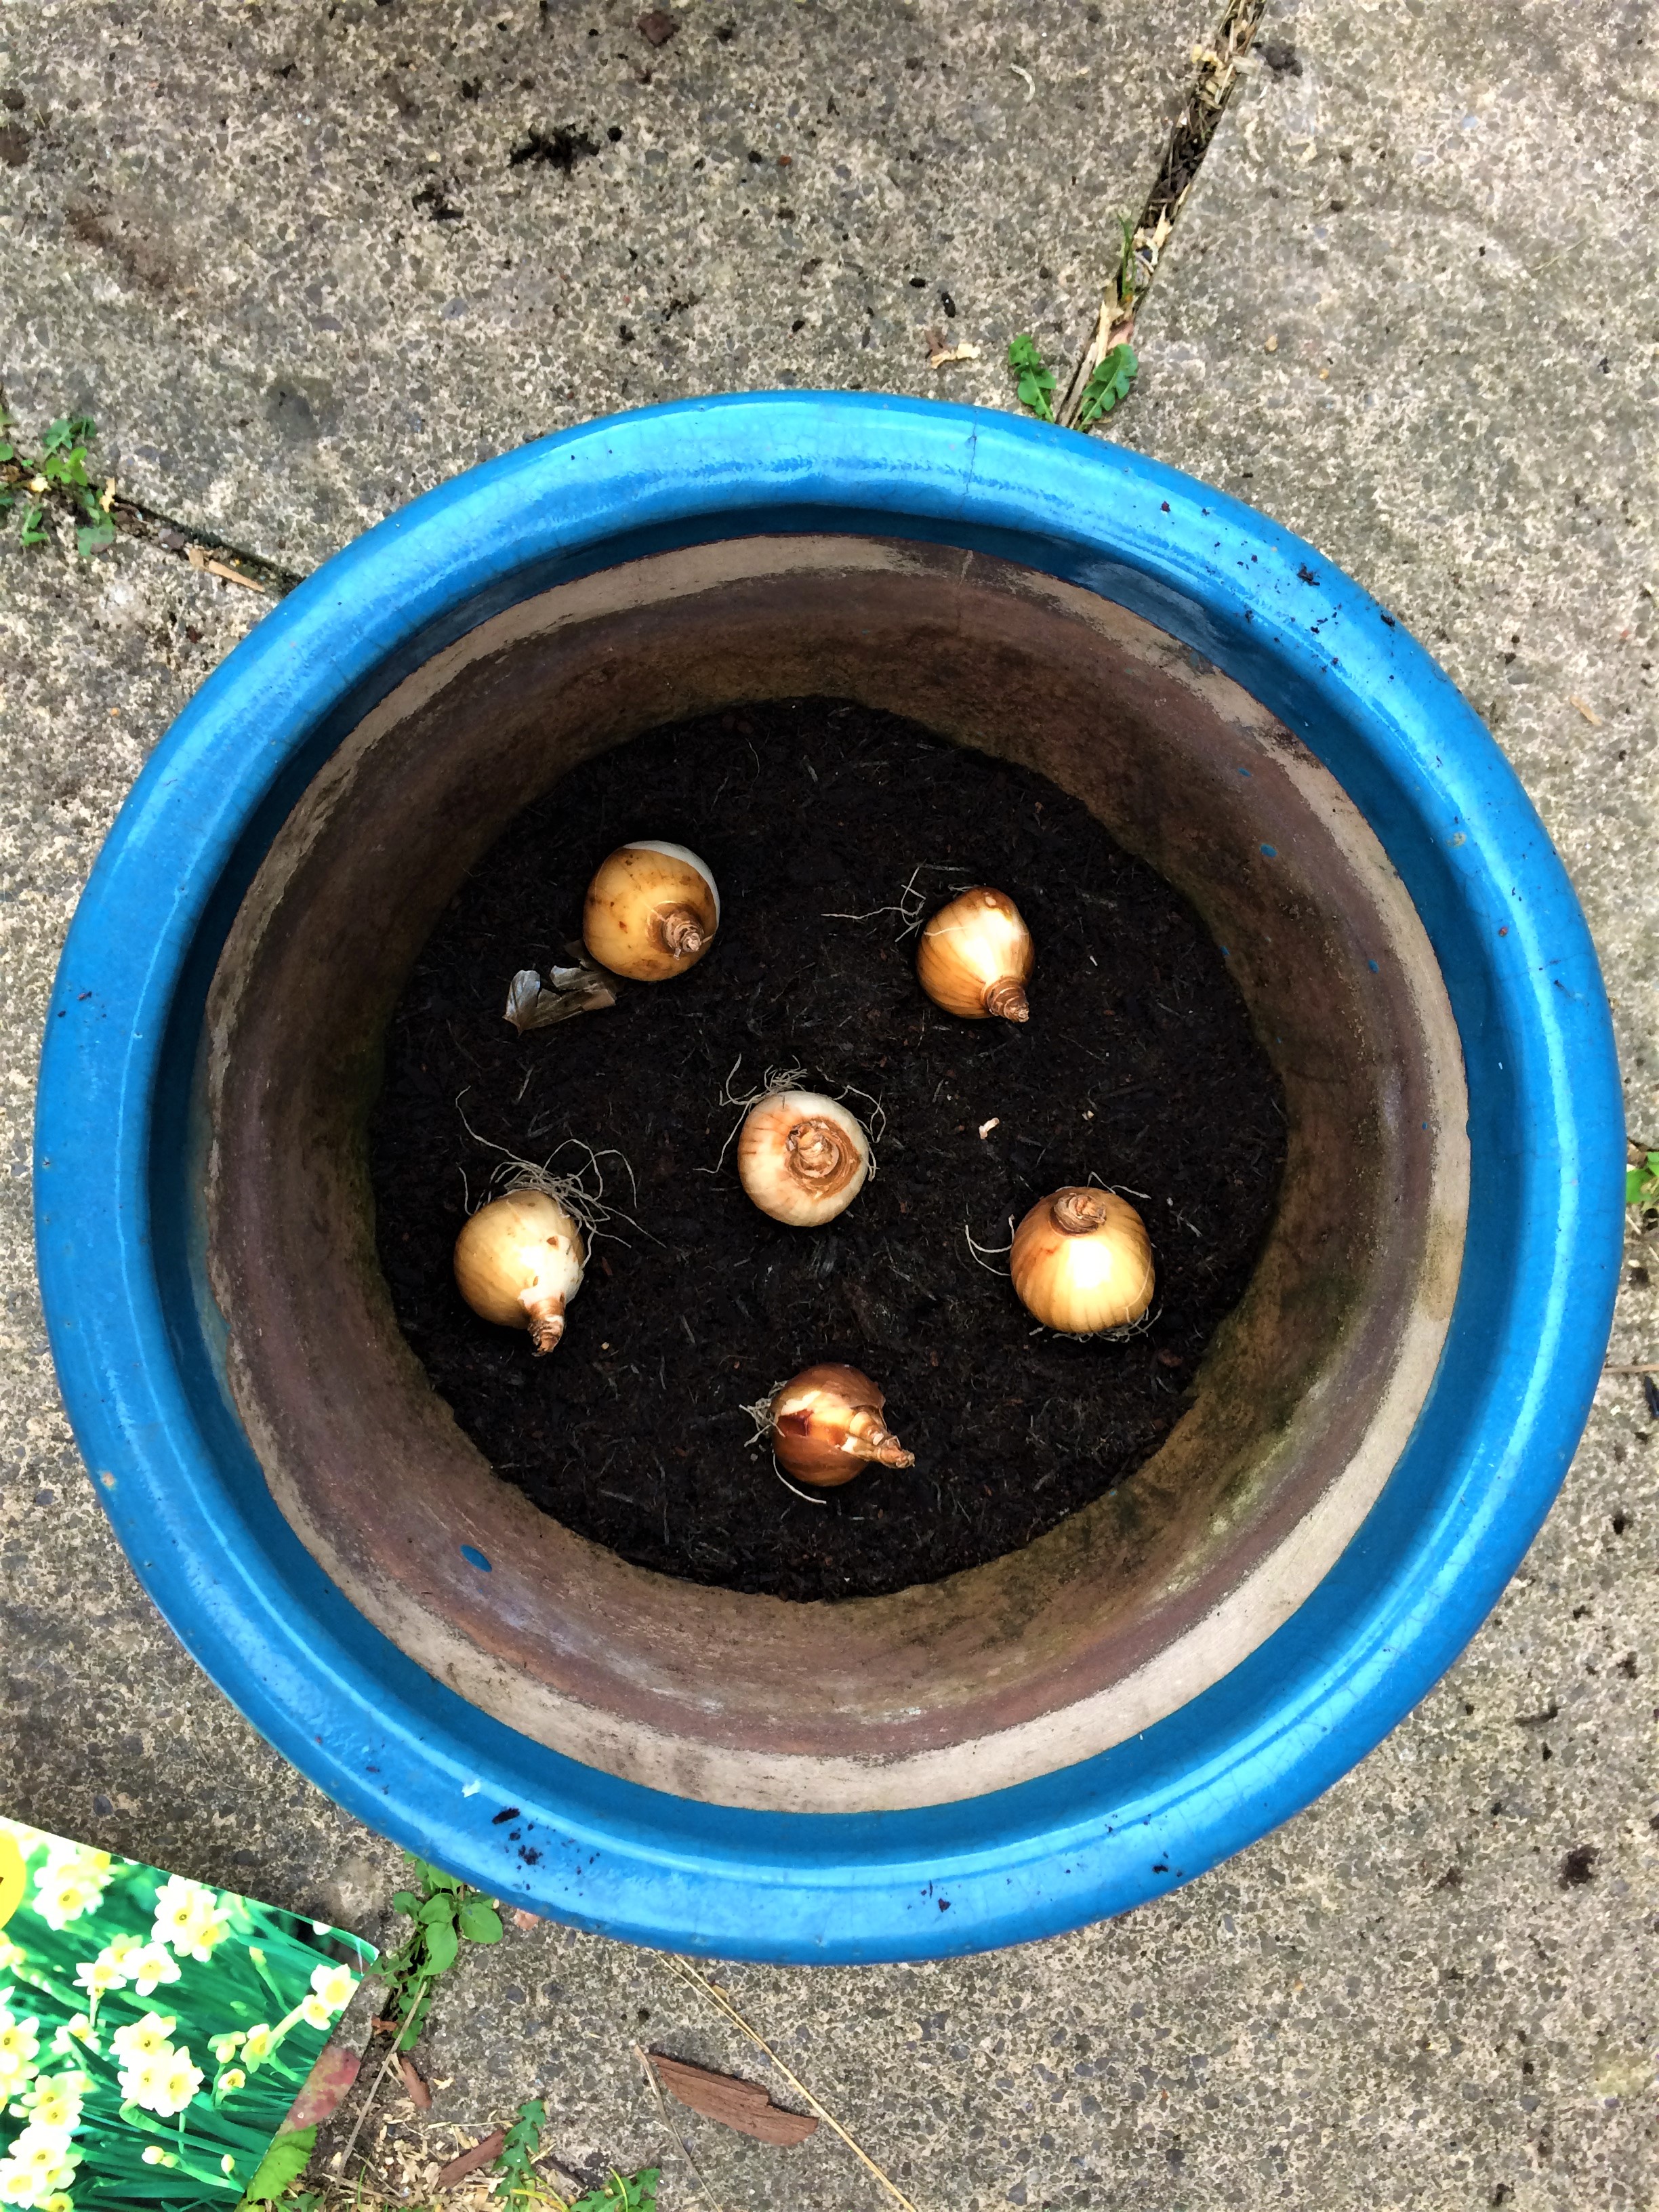
First fill your pot half full with the compost and crumble out any lumps in it. Then place your last flowering and largest bulbs on the first layer, they will need to be slightly wider apart than the instructions on the packet say. Always place your bulbs with the most pointed end facing upwards, however if you're ever unsure which way to place the bulb, lay them on their side and they will still grow upwards.
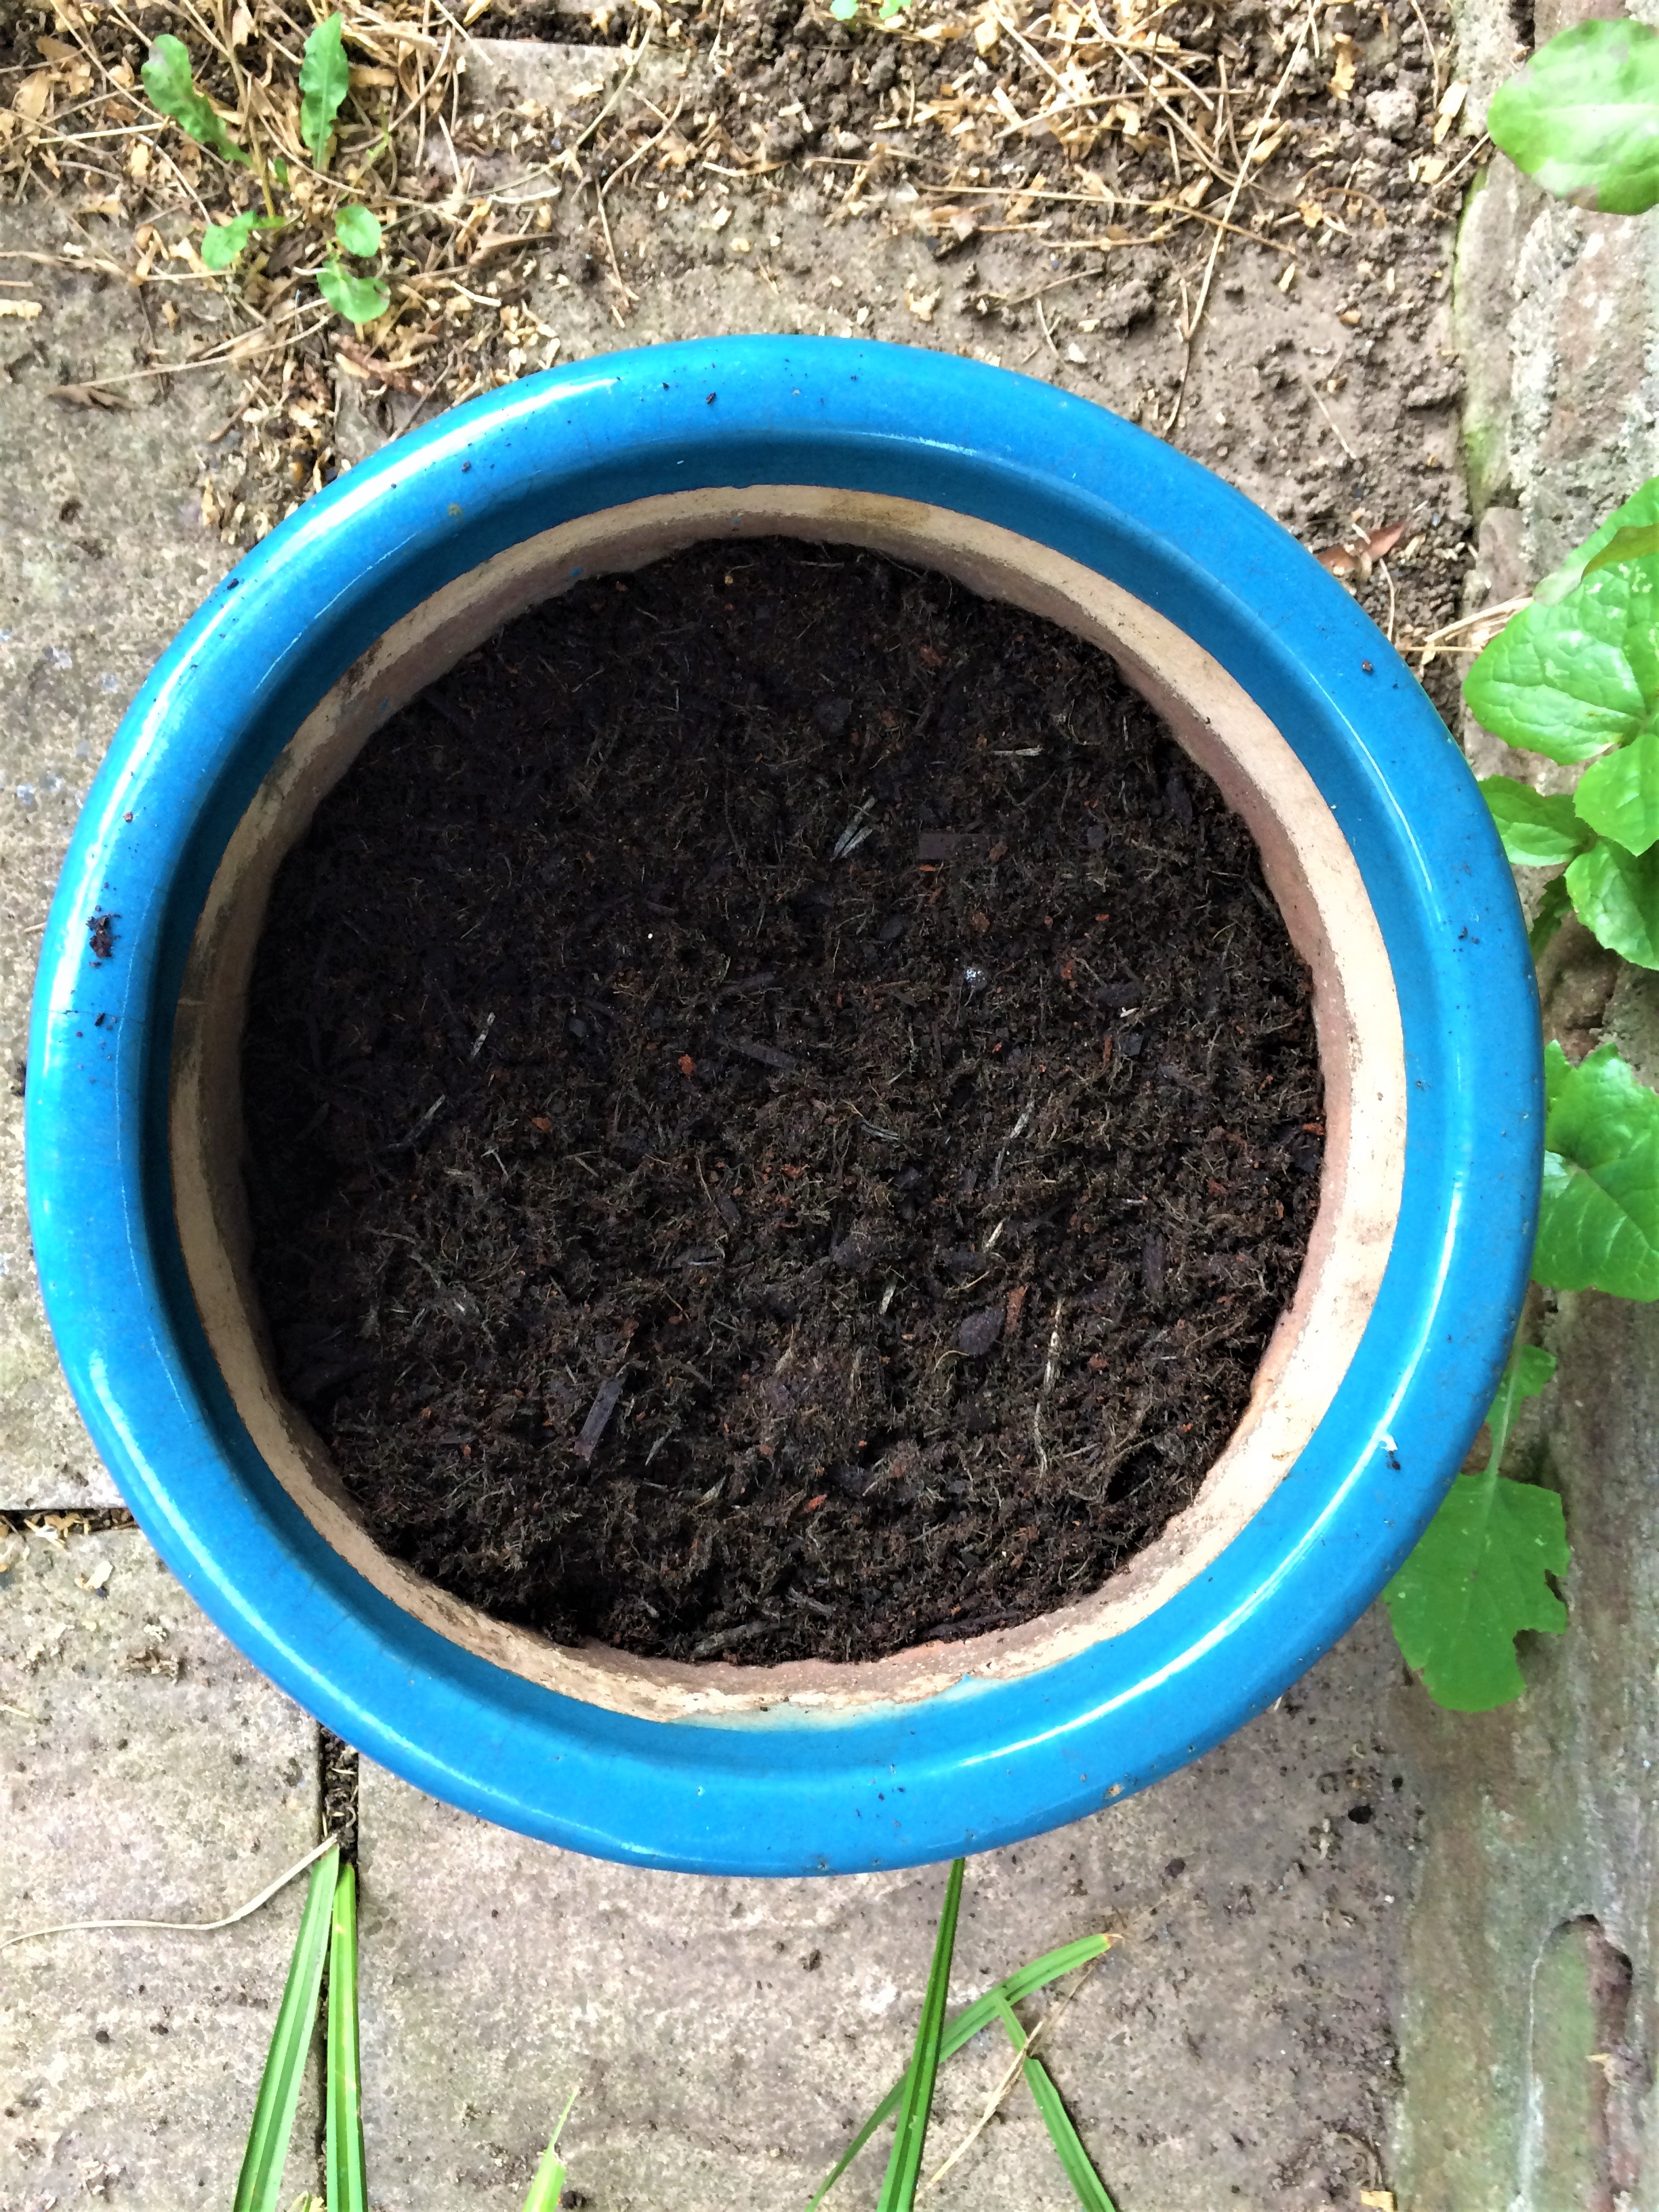
Next, spread a layer of compost over the bulbs, enough to completely cover them and then place your next layer of bulbs on top of the compost, it doesn't matter if the bulbs are directly placed on top of each other as the plants will find a way to grow around the bulbs if this happens.
Finally plant your top layer of bulbs. We planted a few pots with varying layers of bulbs.
When you've planted up your pot(s), you can plant something on the top if you wish, a plant that will flower during the autumn and early winter months such as some bought cyclamens would look lovely, as nothing will be growing in them until the late winter, or you can just leave the pot(s) outdoors somewhere, which is what we did, until they flower in the spring. They will need the occasional water, but not much, as bulbs don't like to sit in soaking wet compost.