Hot rocks!

This is another really simple activity to do with rocks - hot rocks! By heating the rocks, you can ‘paint’ on them with crayons which melt as soon as they touch the rock and it creates beautiful, swirling patterns. My two boys love this activity as they love watching the colours mix together.
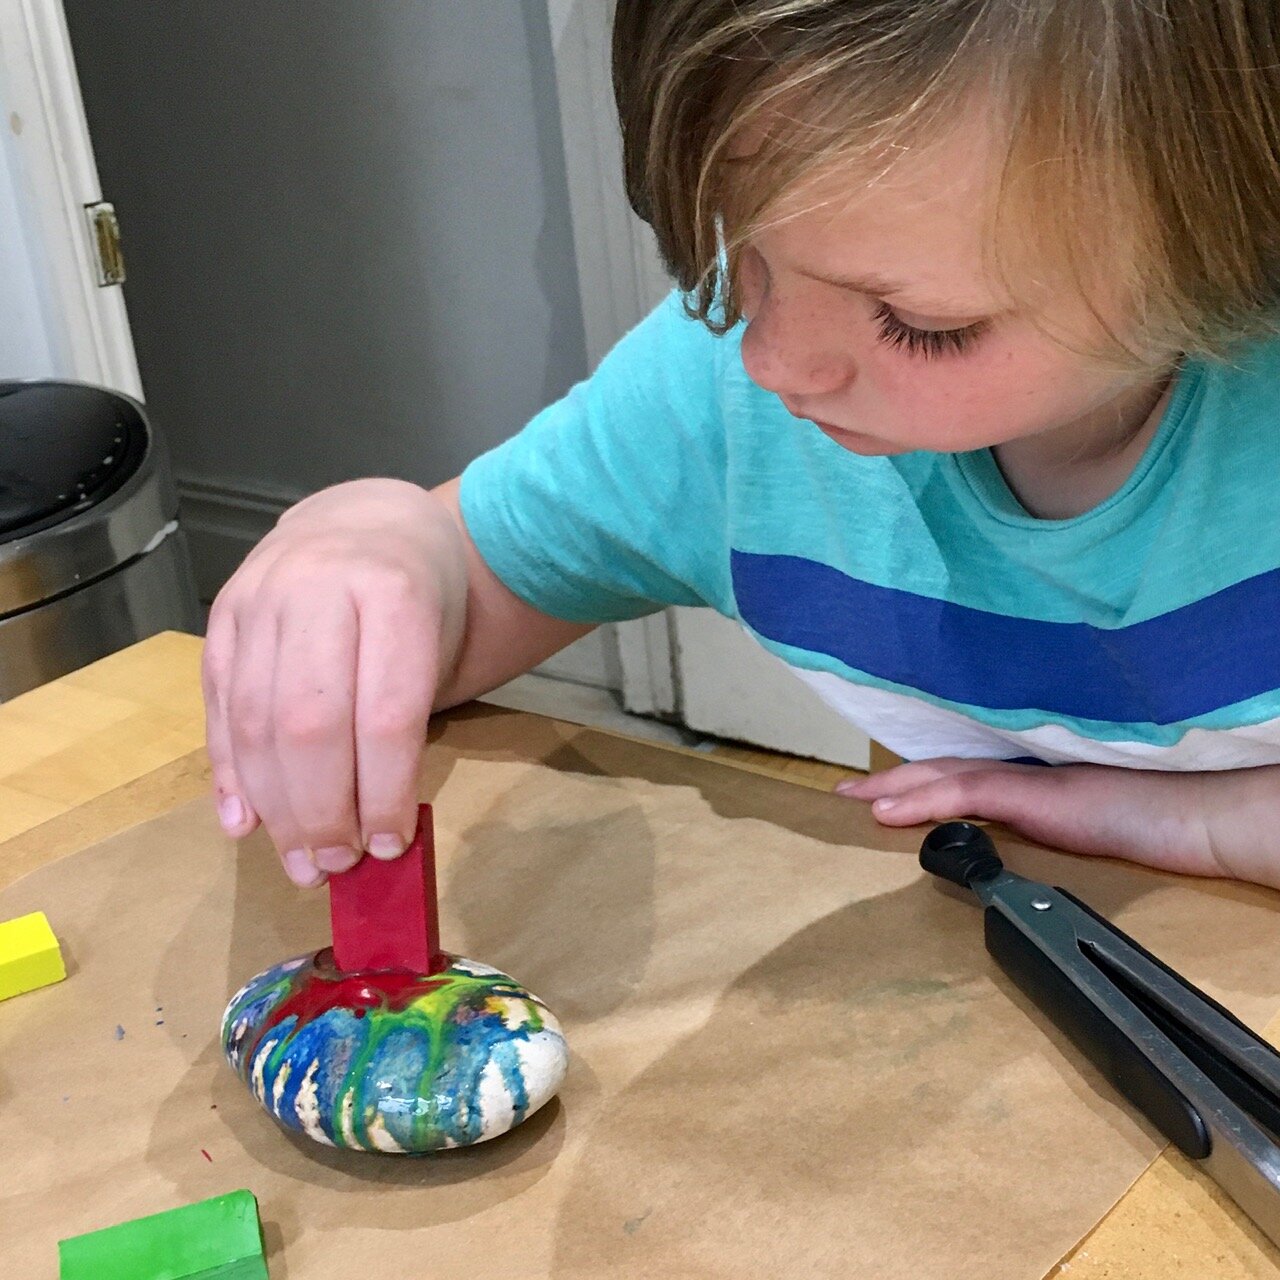
This is definitely a supervised activity for children old enough to understand not to directly touch the rocks when they are hot. I first did this when my oldest was 5 years old as he was very focused and calm but, for my youngest, I’ve waited until he is almost 9 years old as he is the opposite!
What you will need:
Smooth, flat rocks
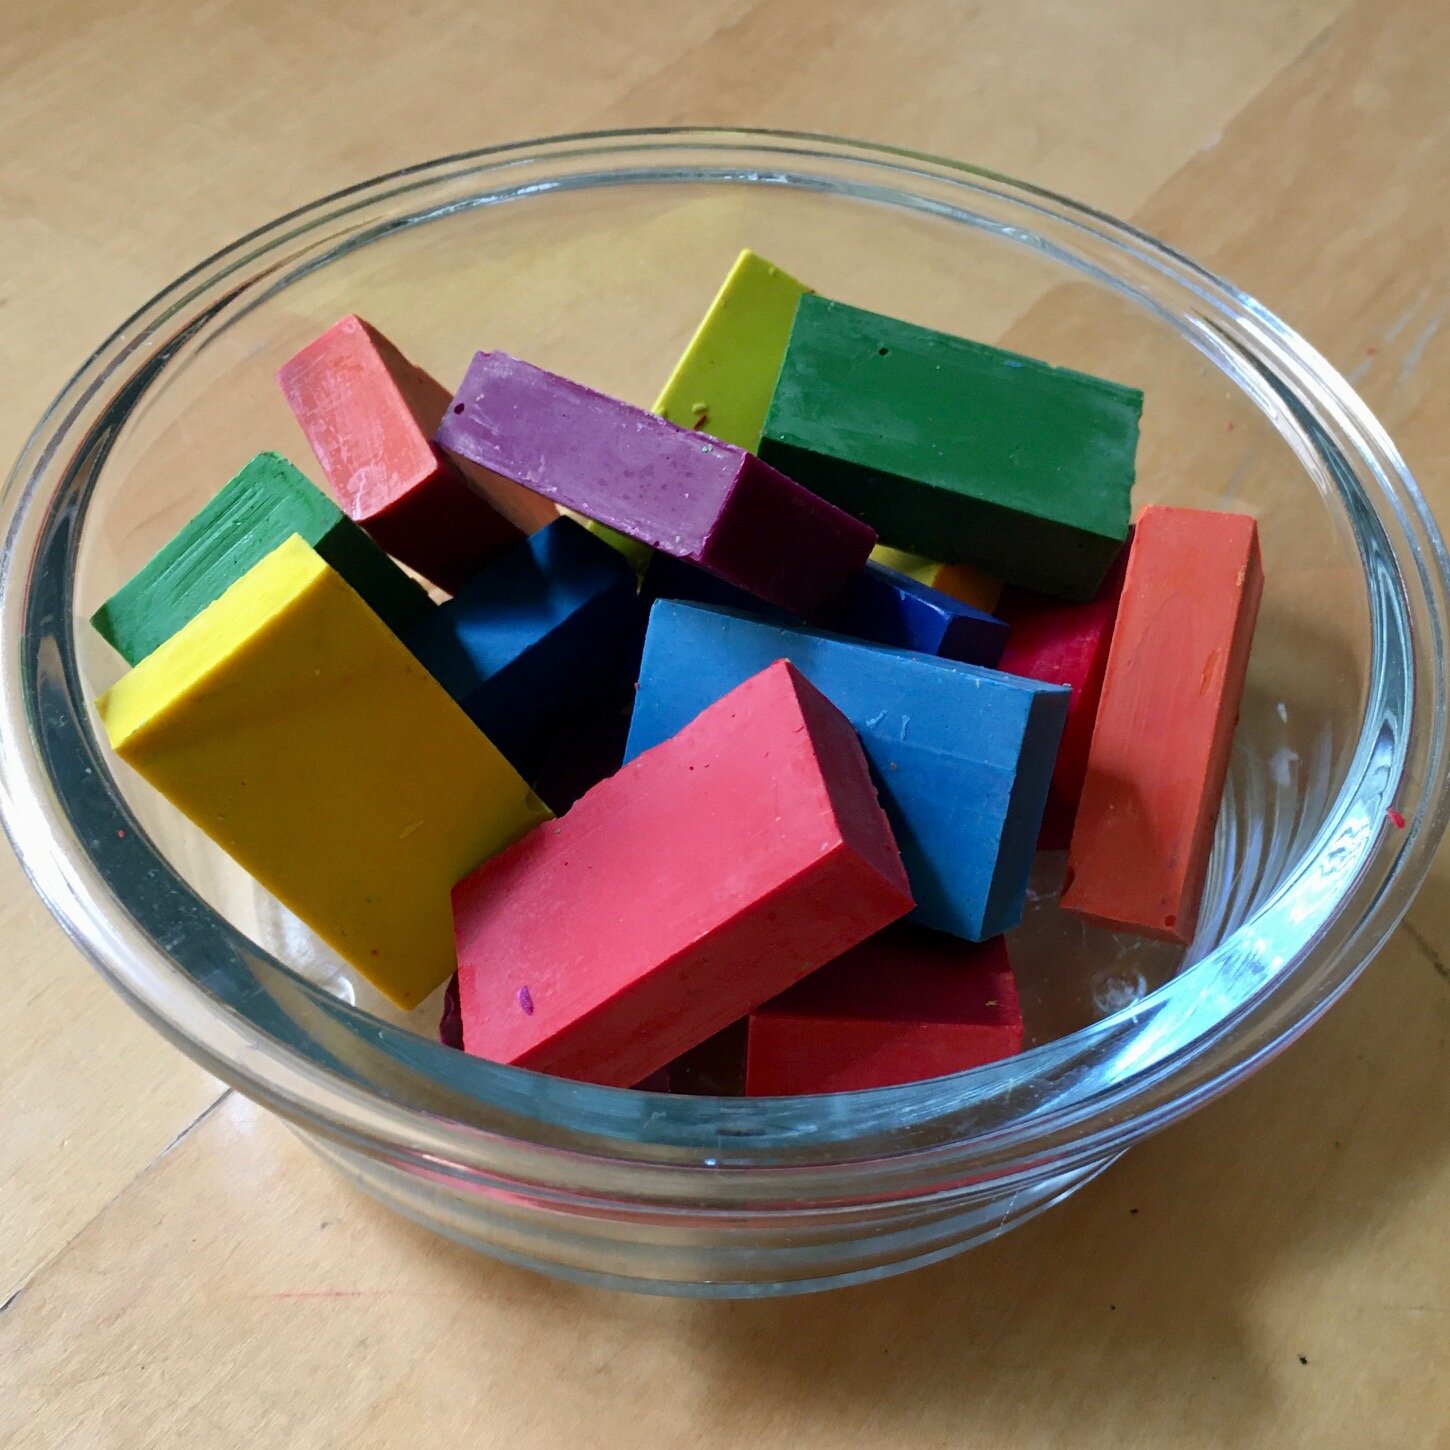
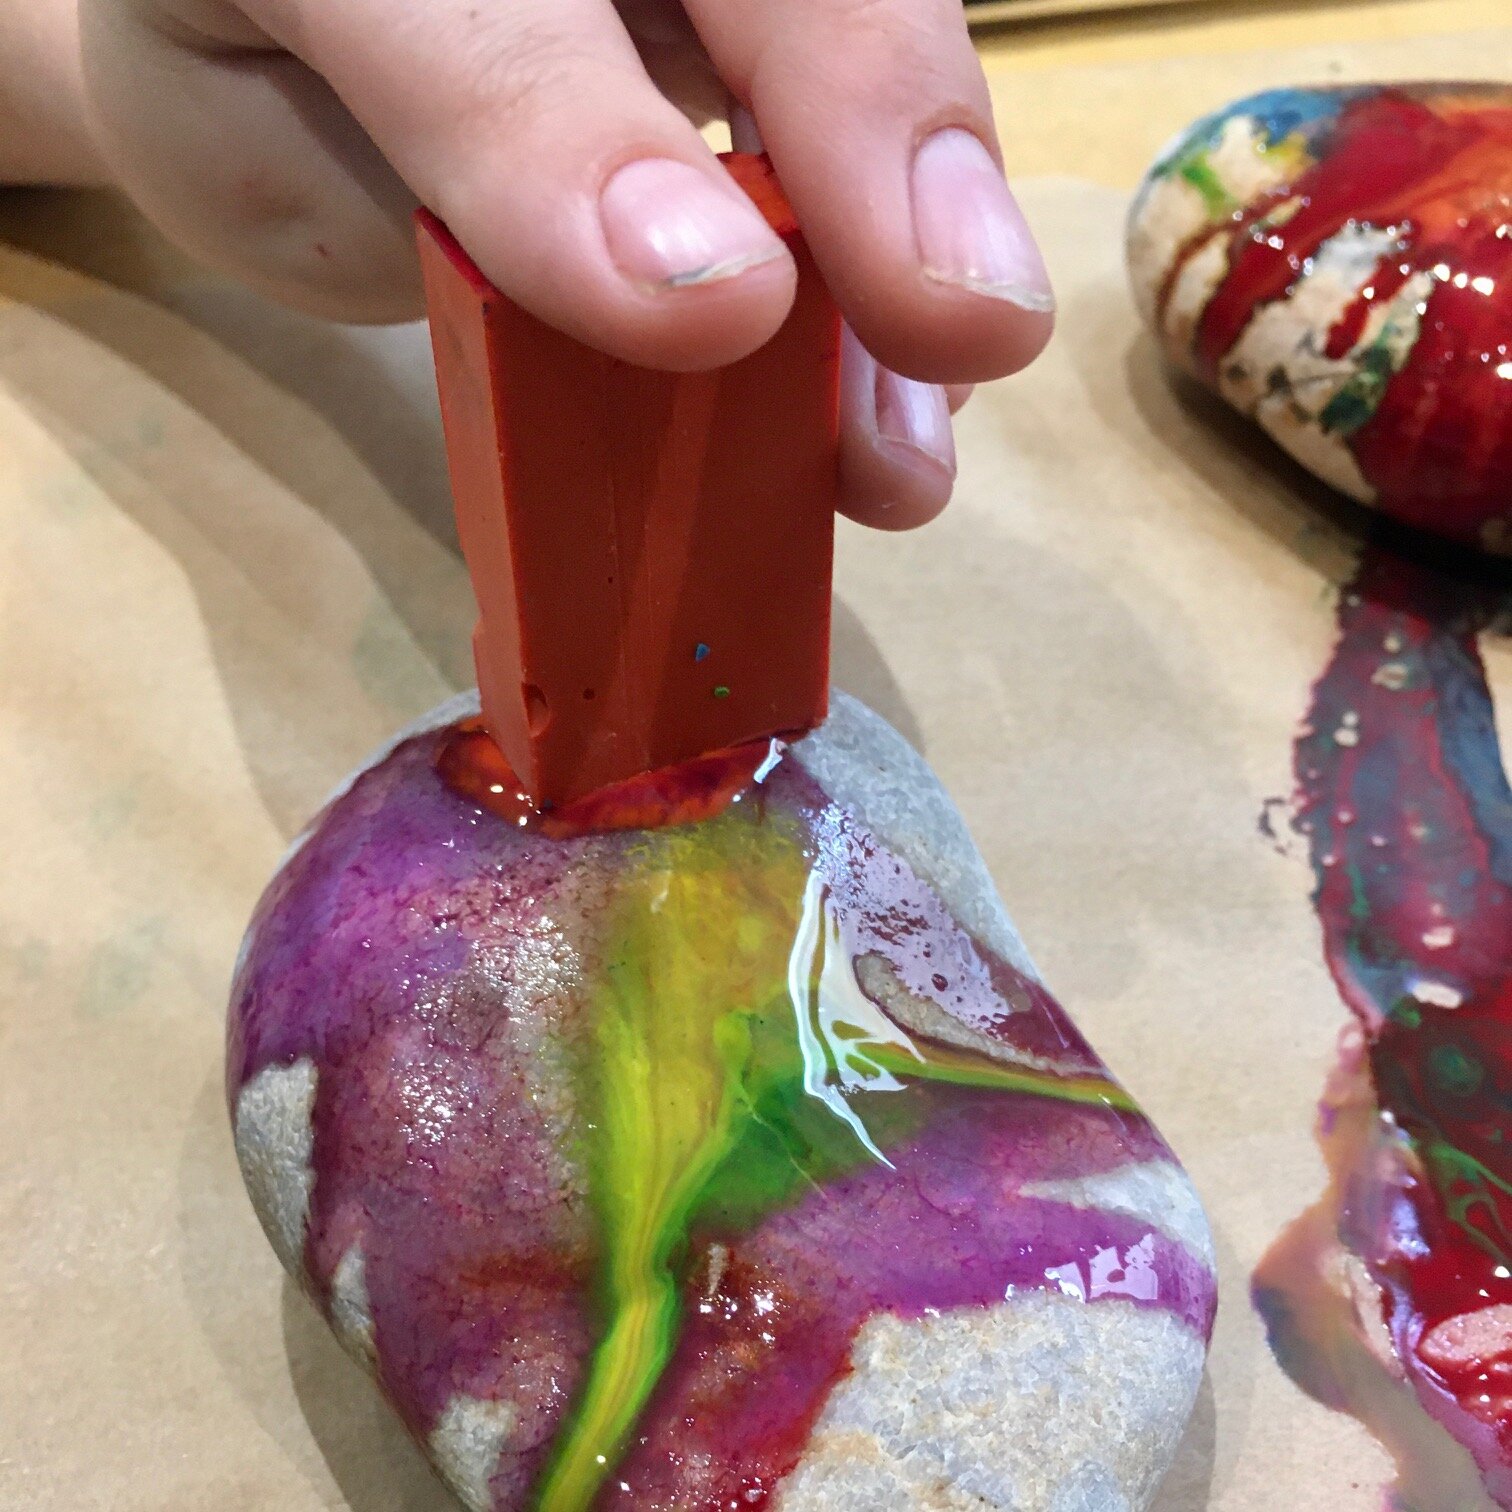
Crayons (we used some block crayons that had come in our previous Mud & Bloom boxes)
Oven
Baking sheet
A folded tea towel or mat to protect your table
Foil or baking paper
Tongs or oven gloves
Cup of cool water

What you need to do:
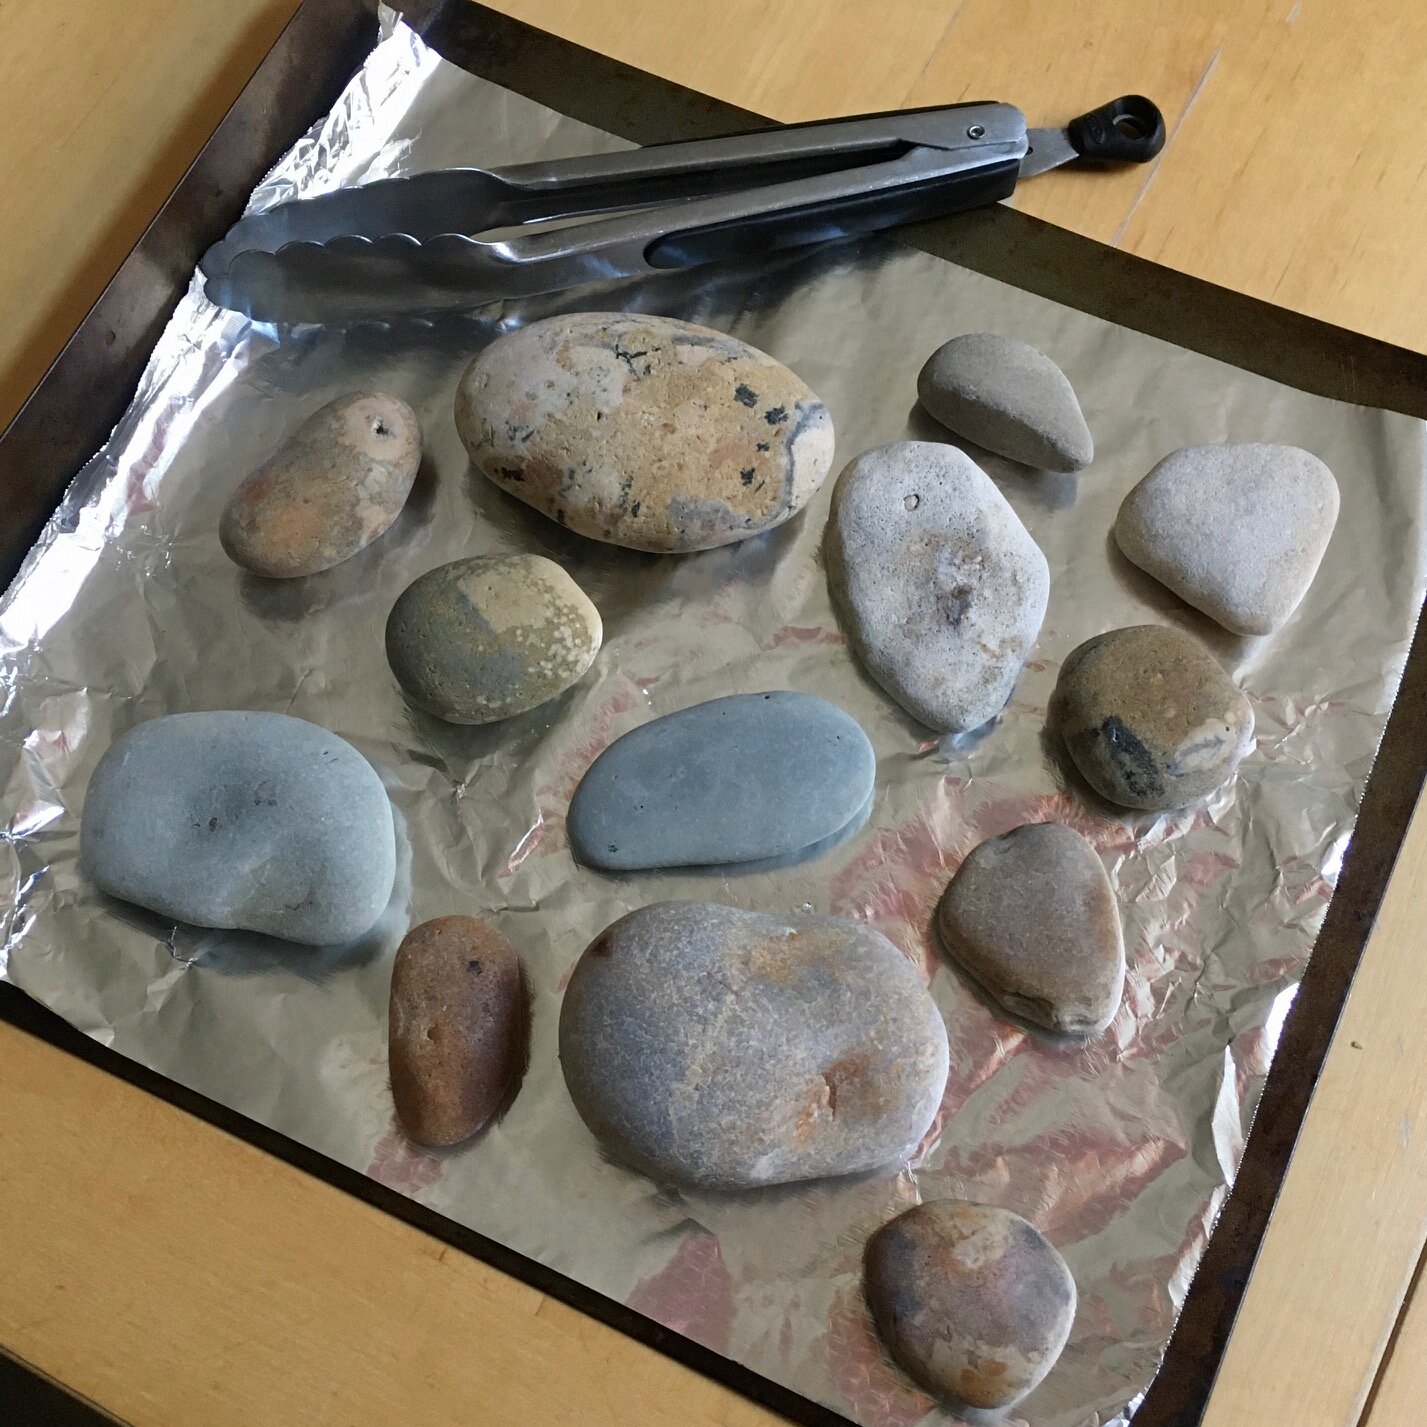
1. First go on a scavenger hunt to gather your rocks. Flat and smooth ones are best. Give them a quick wash and make sure they are fully dry before the next step.
2. Spread the rocks out on a foil-lined baking sheet and put them in a 180 degrees Celsius oven to heat up for about 10 minutes.
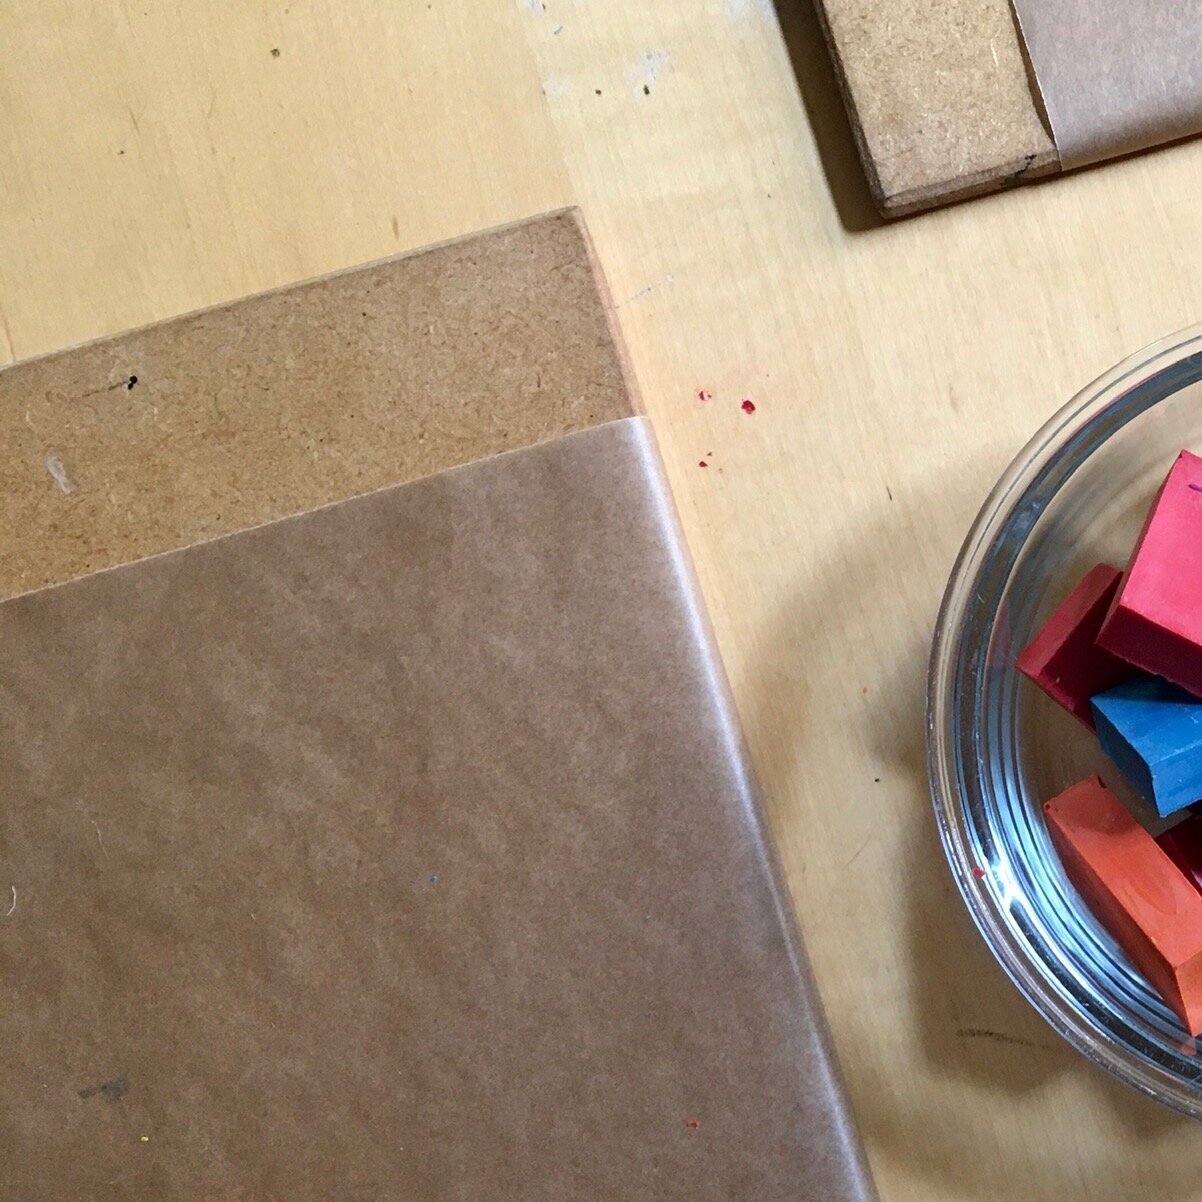
3. Set up your work area with a mat to protect your work surface. I used some painting boards wrapped in baking paper to catch any wax drips, however, we have previously used a foil sheet on top of a folded tea towel and I think the softer surface was better at keeping the rocks in place. Keep a cup or bowl of cool water nearby in case any fingers accidentally touch the hot rocks.
4. When your rocks are hot, transfer them one at a time to your mat with a pair of tongs or an oven glove, leaving the rest of the rocks in the oven. (My tongs were completely metal so I also held a tea towel underneath in case the rock slipped from the tongs!)
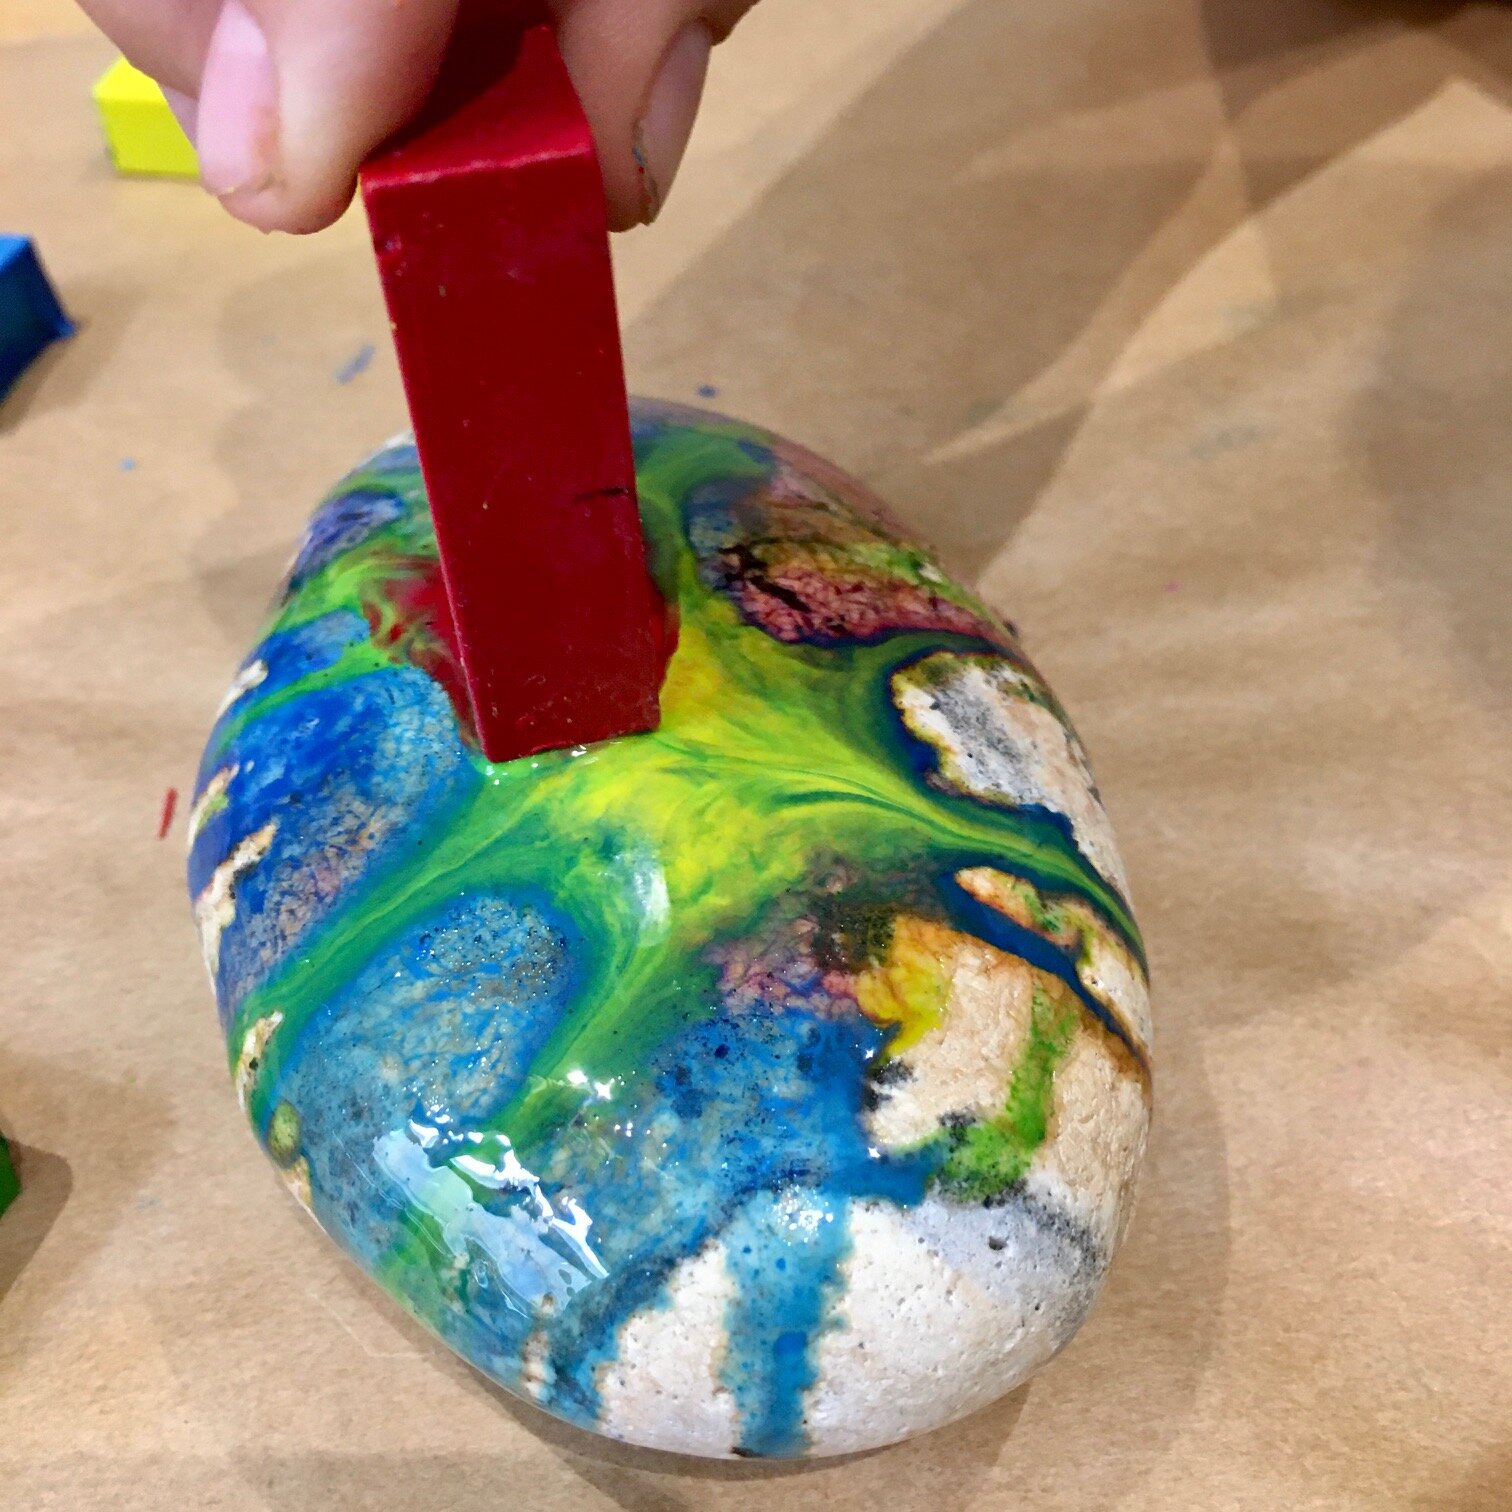
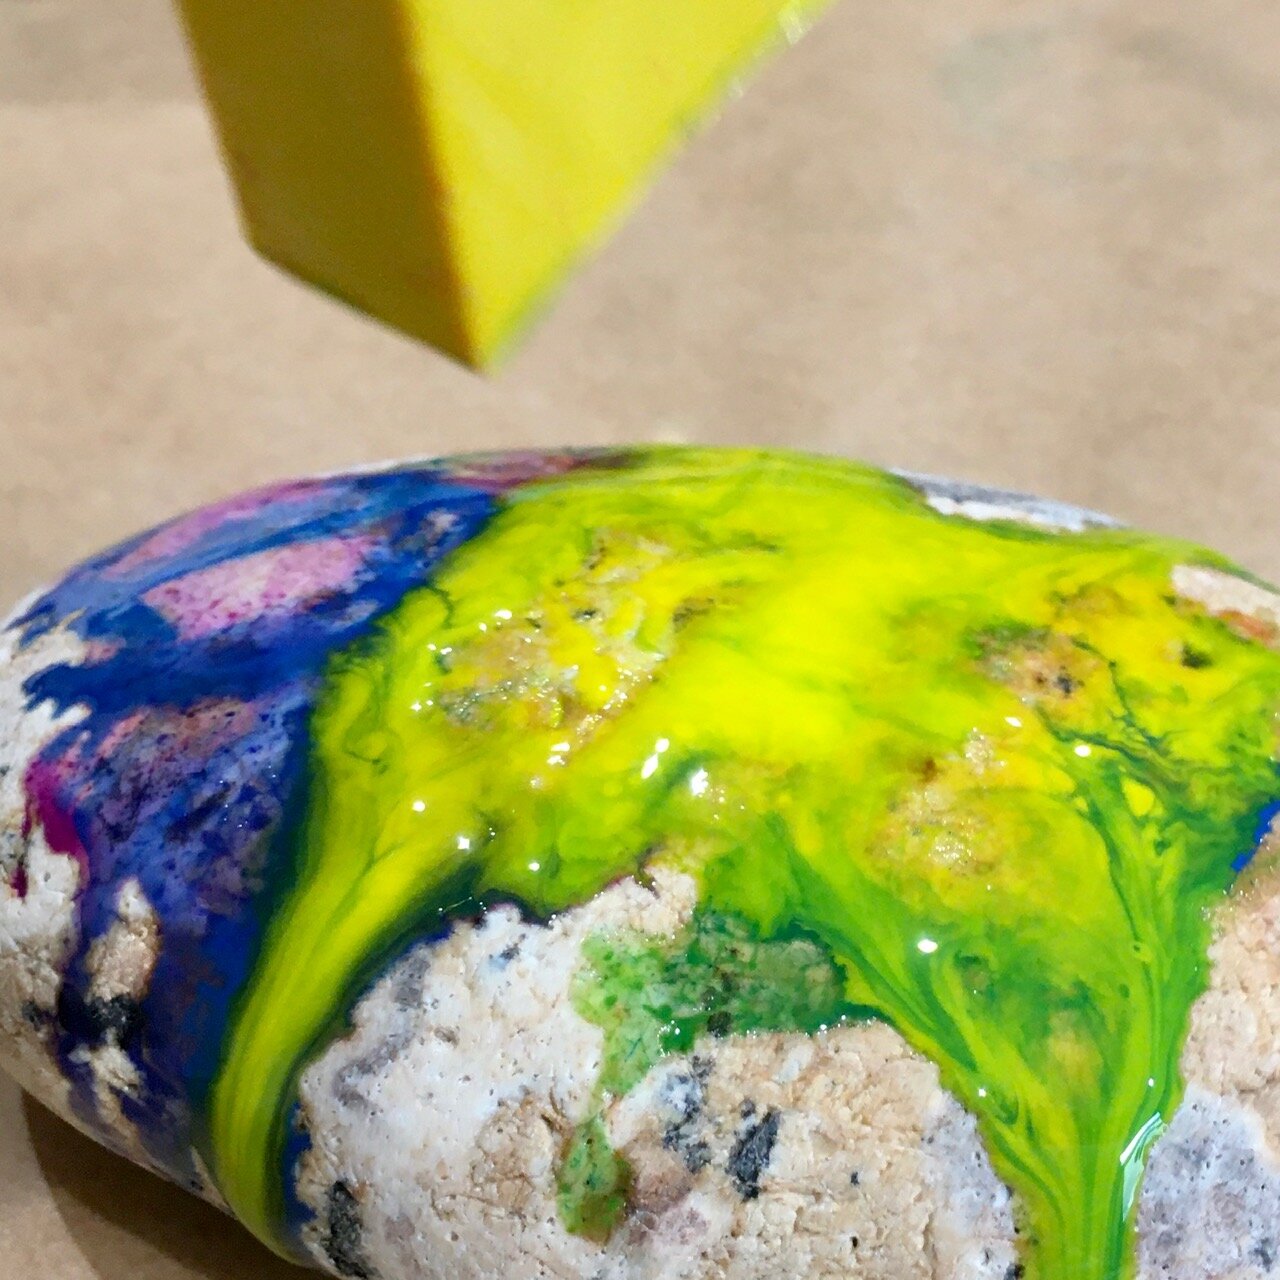
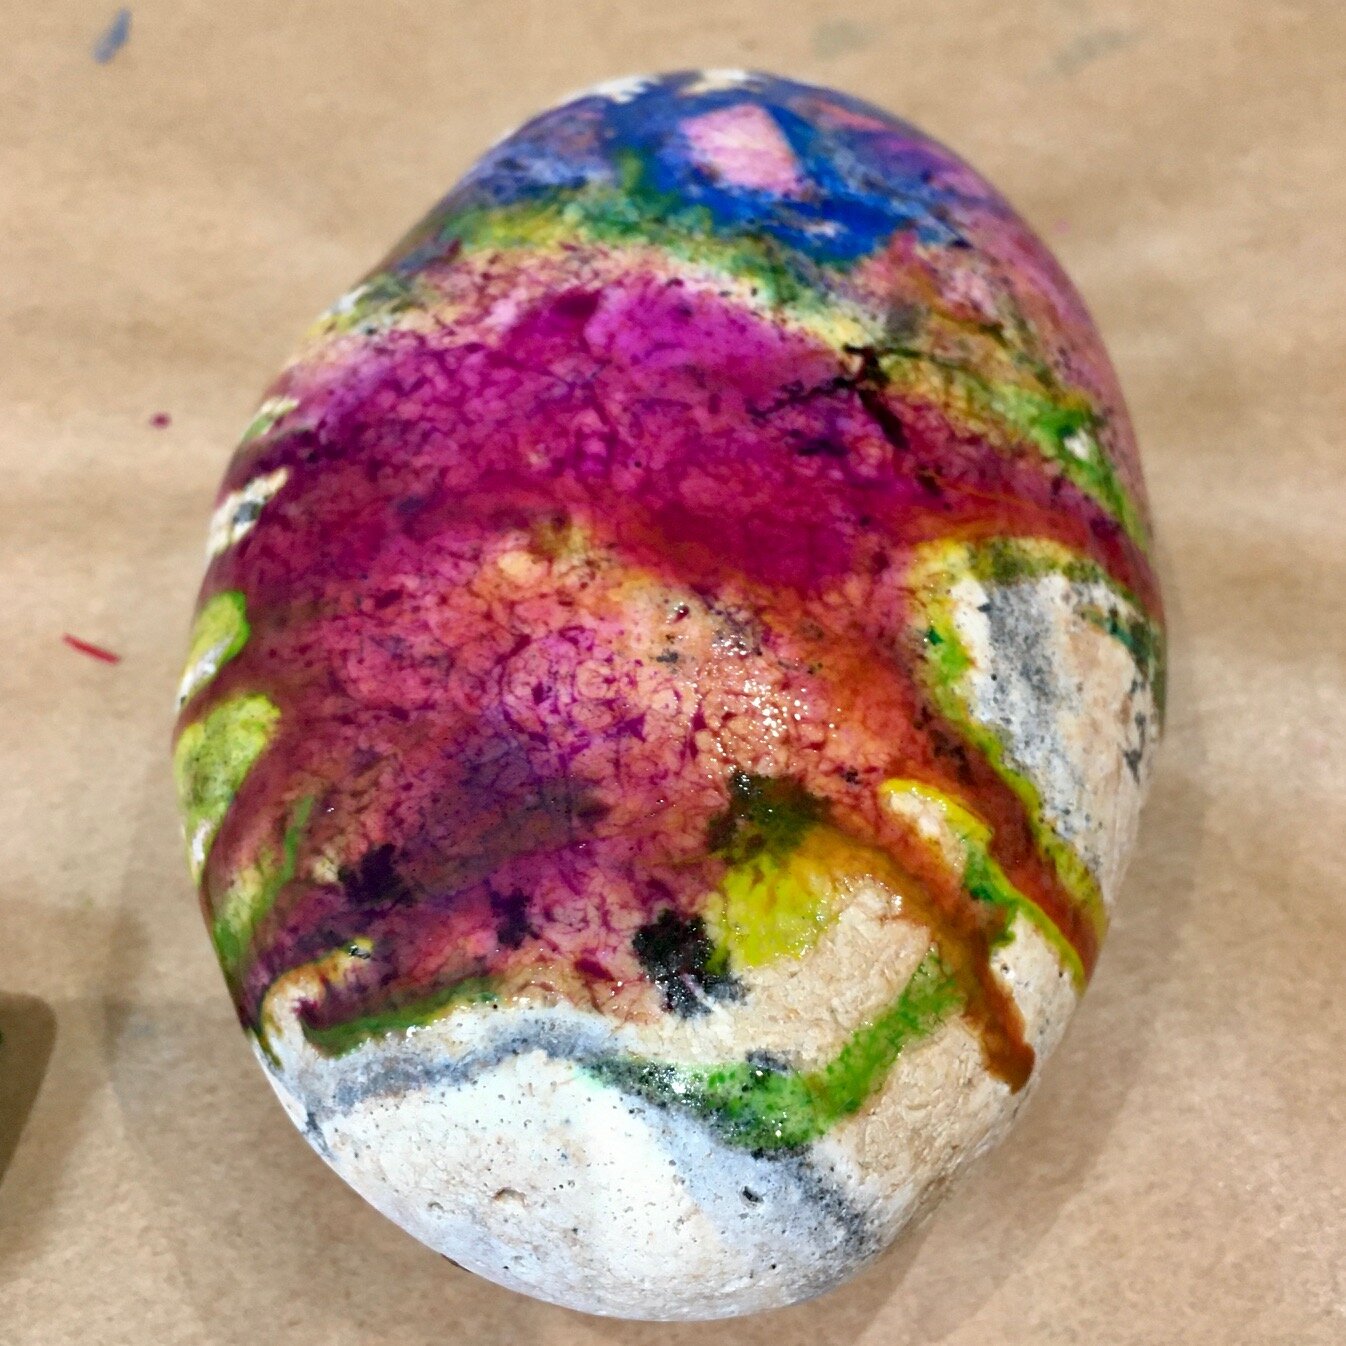
5. Then you can simply draw on your hot rock with your crayons being careful not to touch the rock with your skin. The crayons melt pretty quickly and turn to liquid, creating pools of melted crayon which drip down the sides of the rock and create beautiful patterns. You can add other colours and then watch the melted crayon magic happen as the colours swirl together!

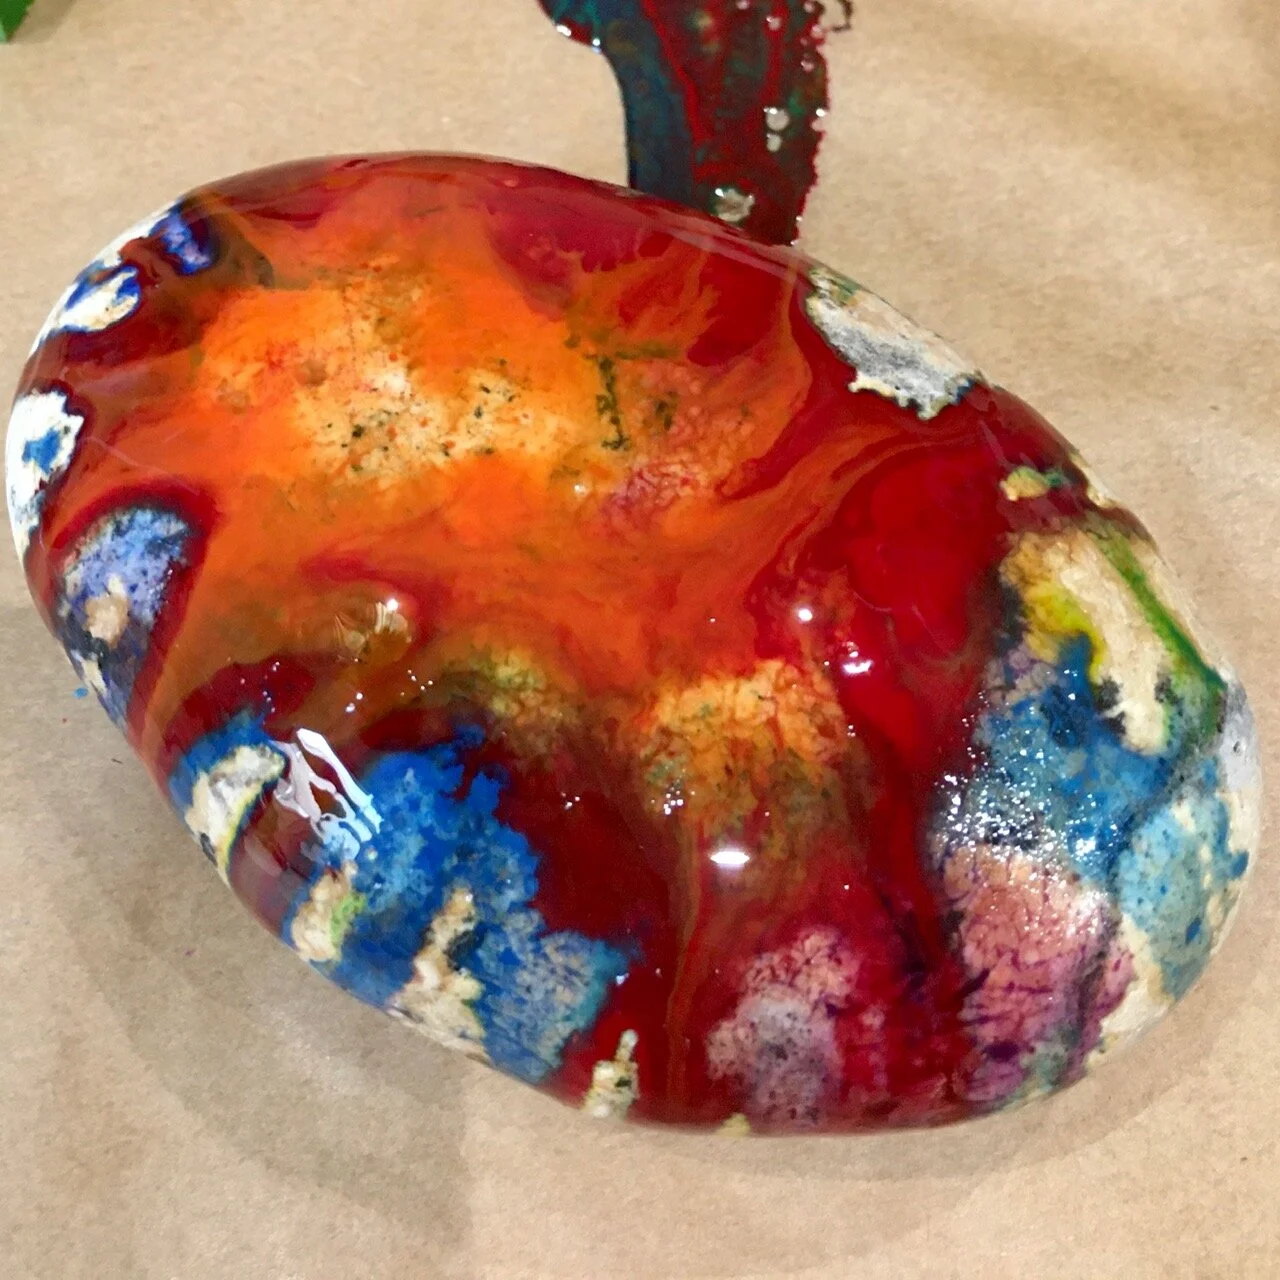
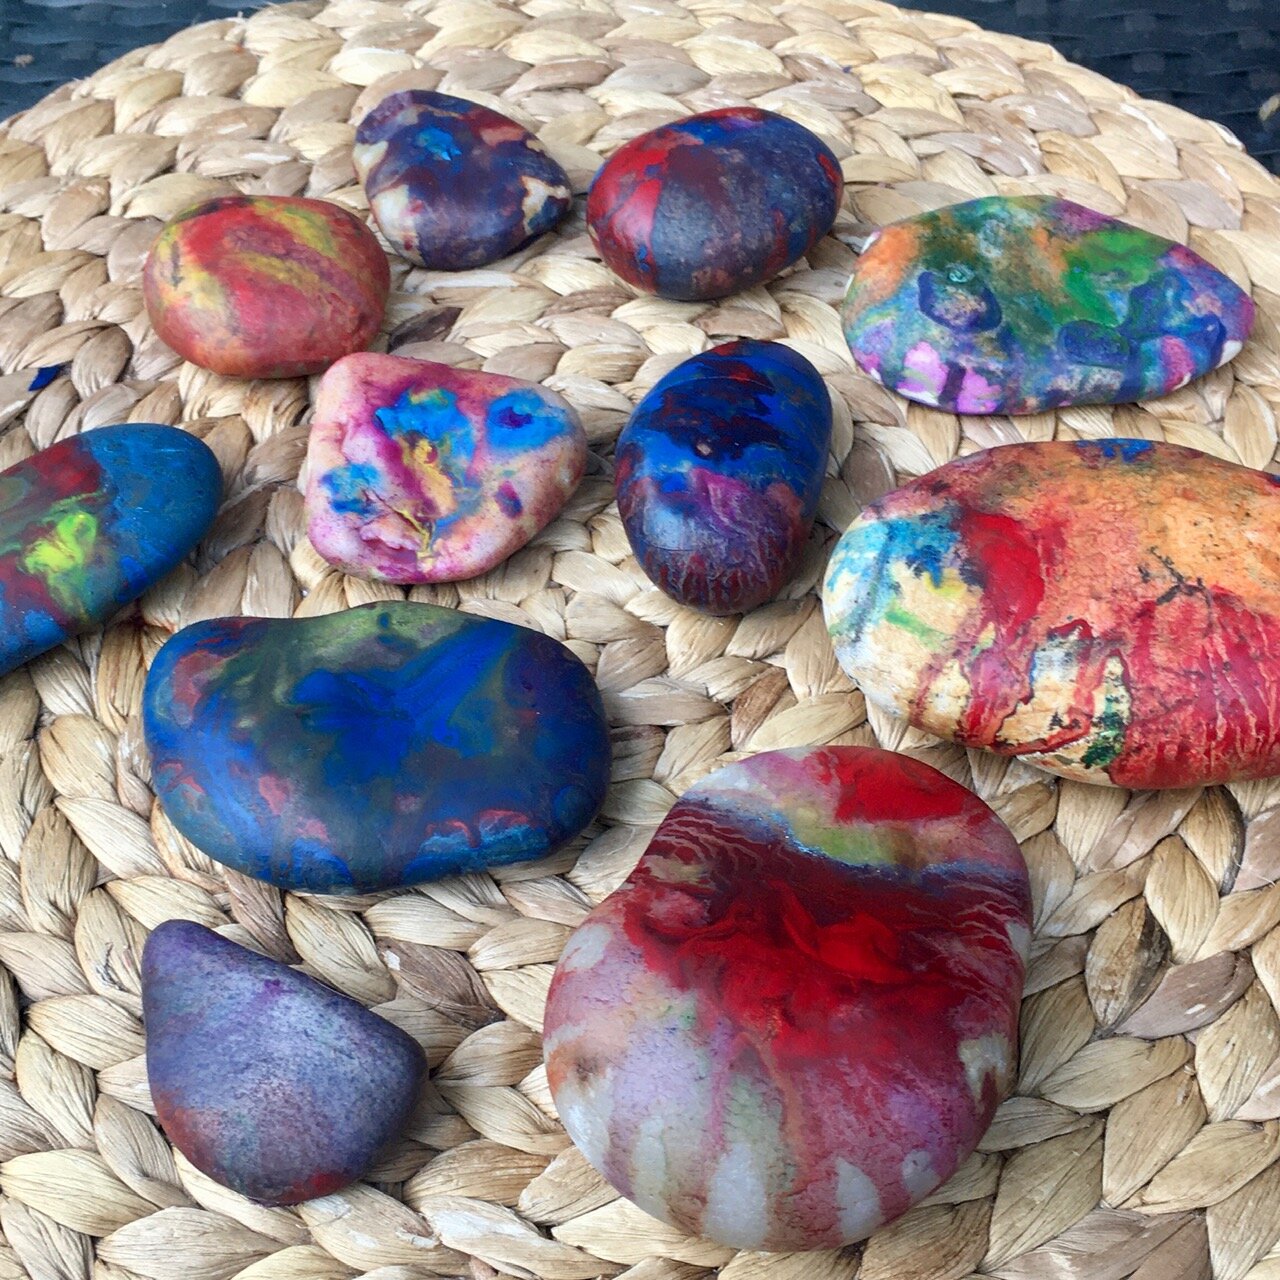
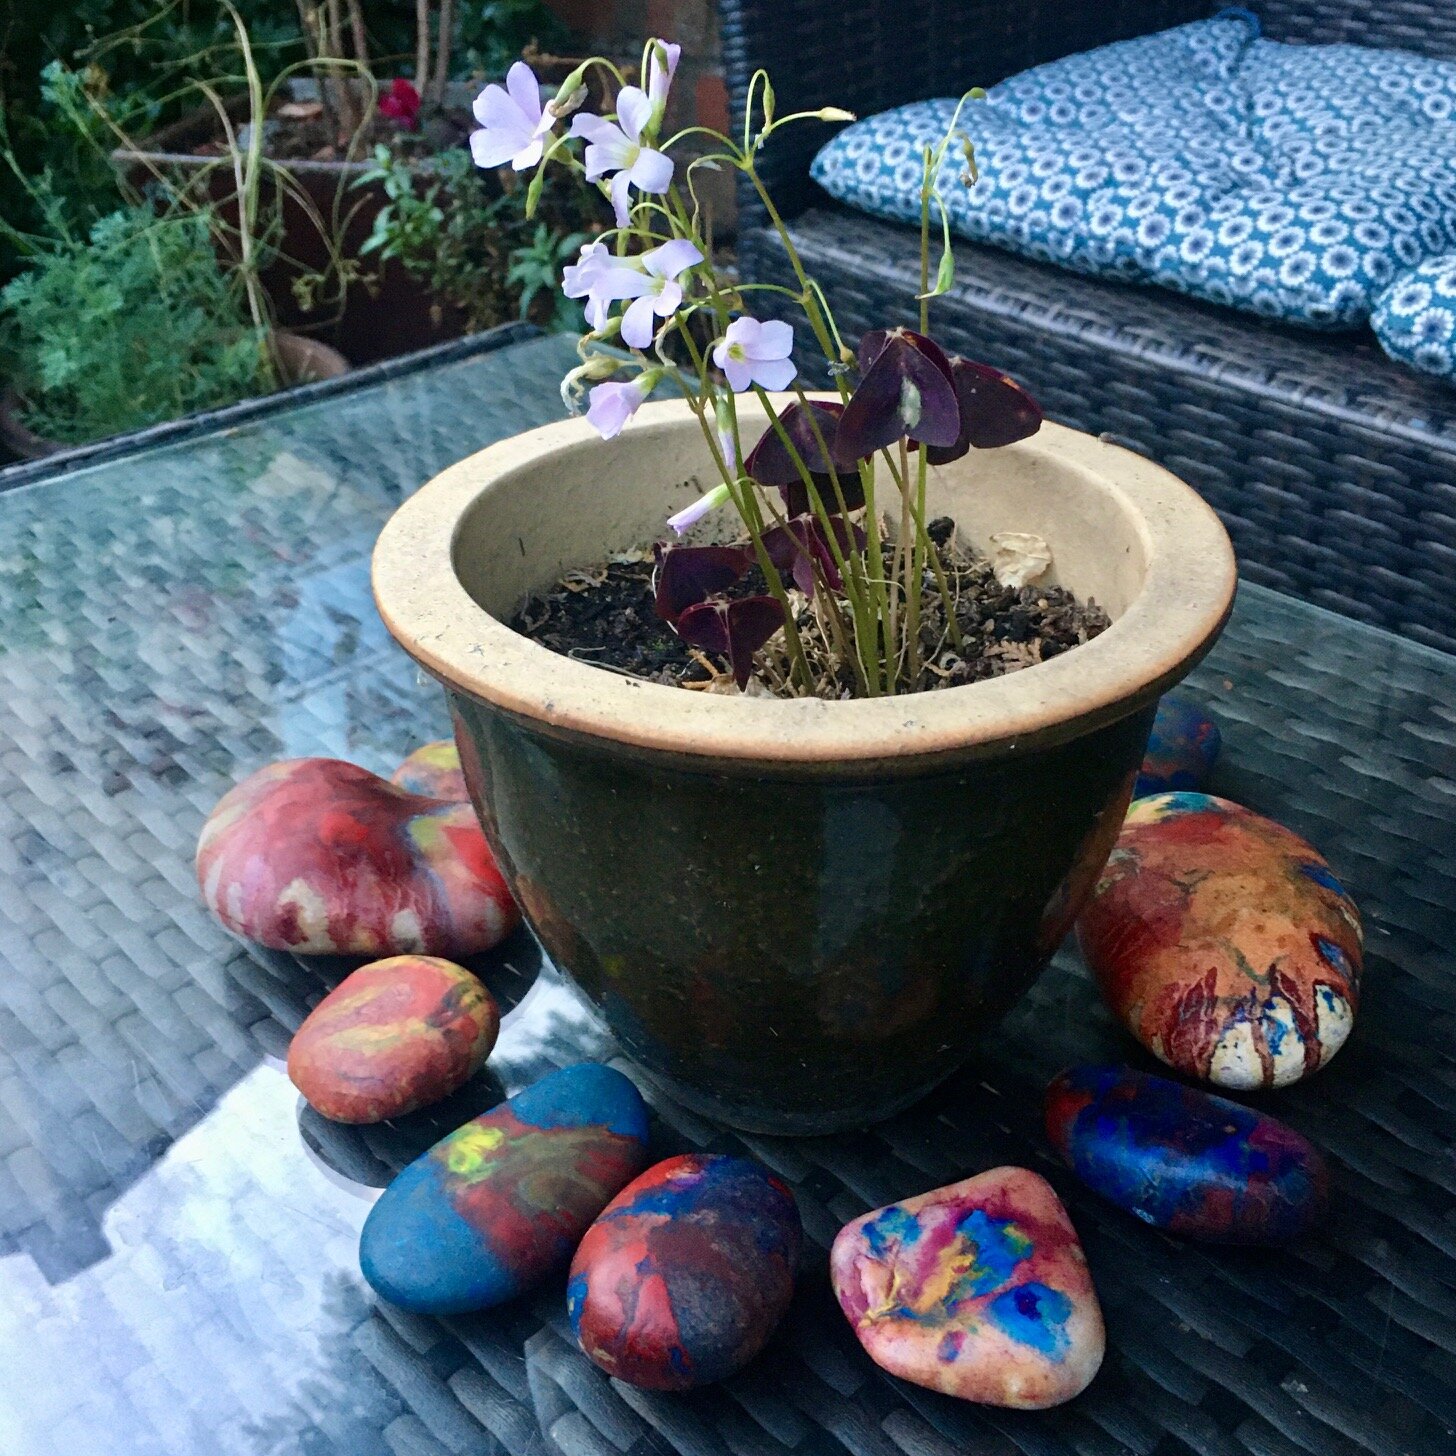
6. Let the rocks cool until the crayon has hardened leaving a smooth finish. This can take a couple hours. You can use your rocks to decorate your garden - they look really nice in plant pots - or you can give them away as gifts.
* Tip for younger siblings: When I first did this activity with my oldest son, I also set up a work area for my youngest but gave him cold rocks and oil pastels to draw on the rocks so he could join in the activity safely.
Author: Denise Hope, home educating mum of two boys