Clay mushroom plant pot decorations

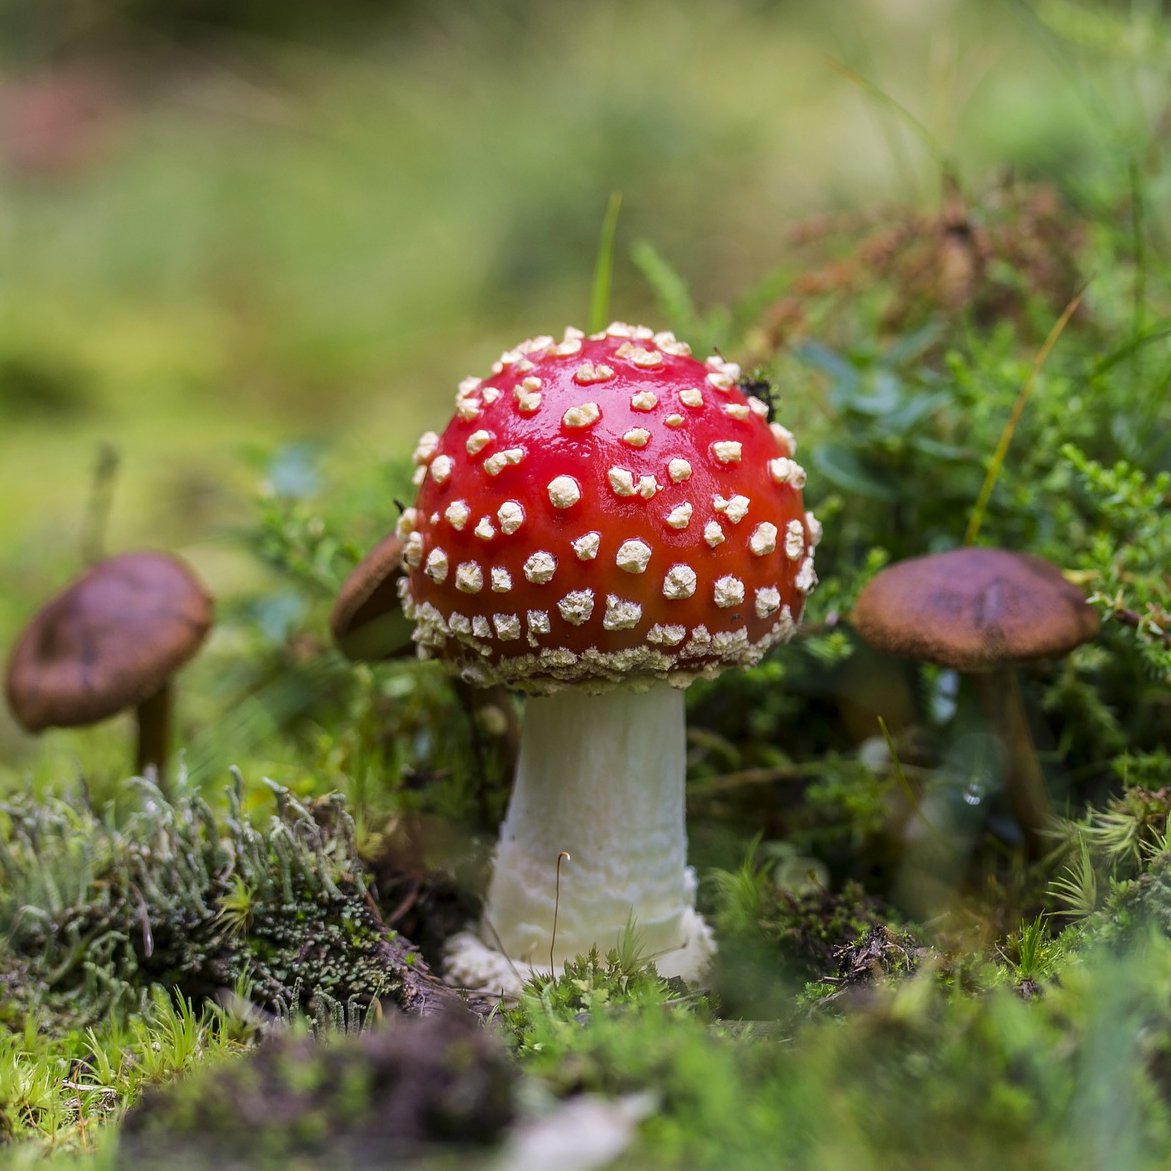
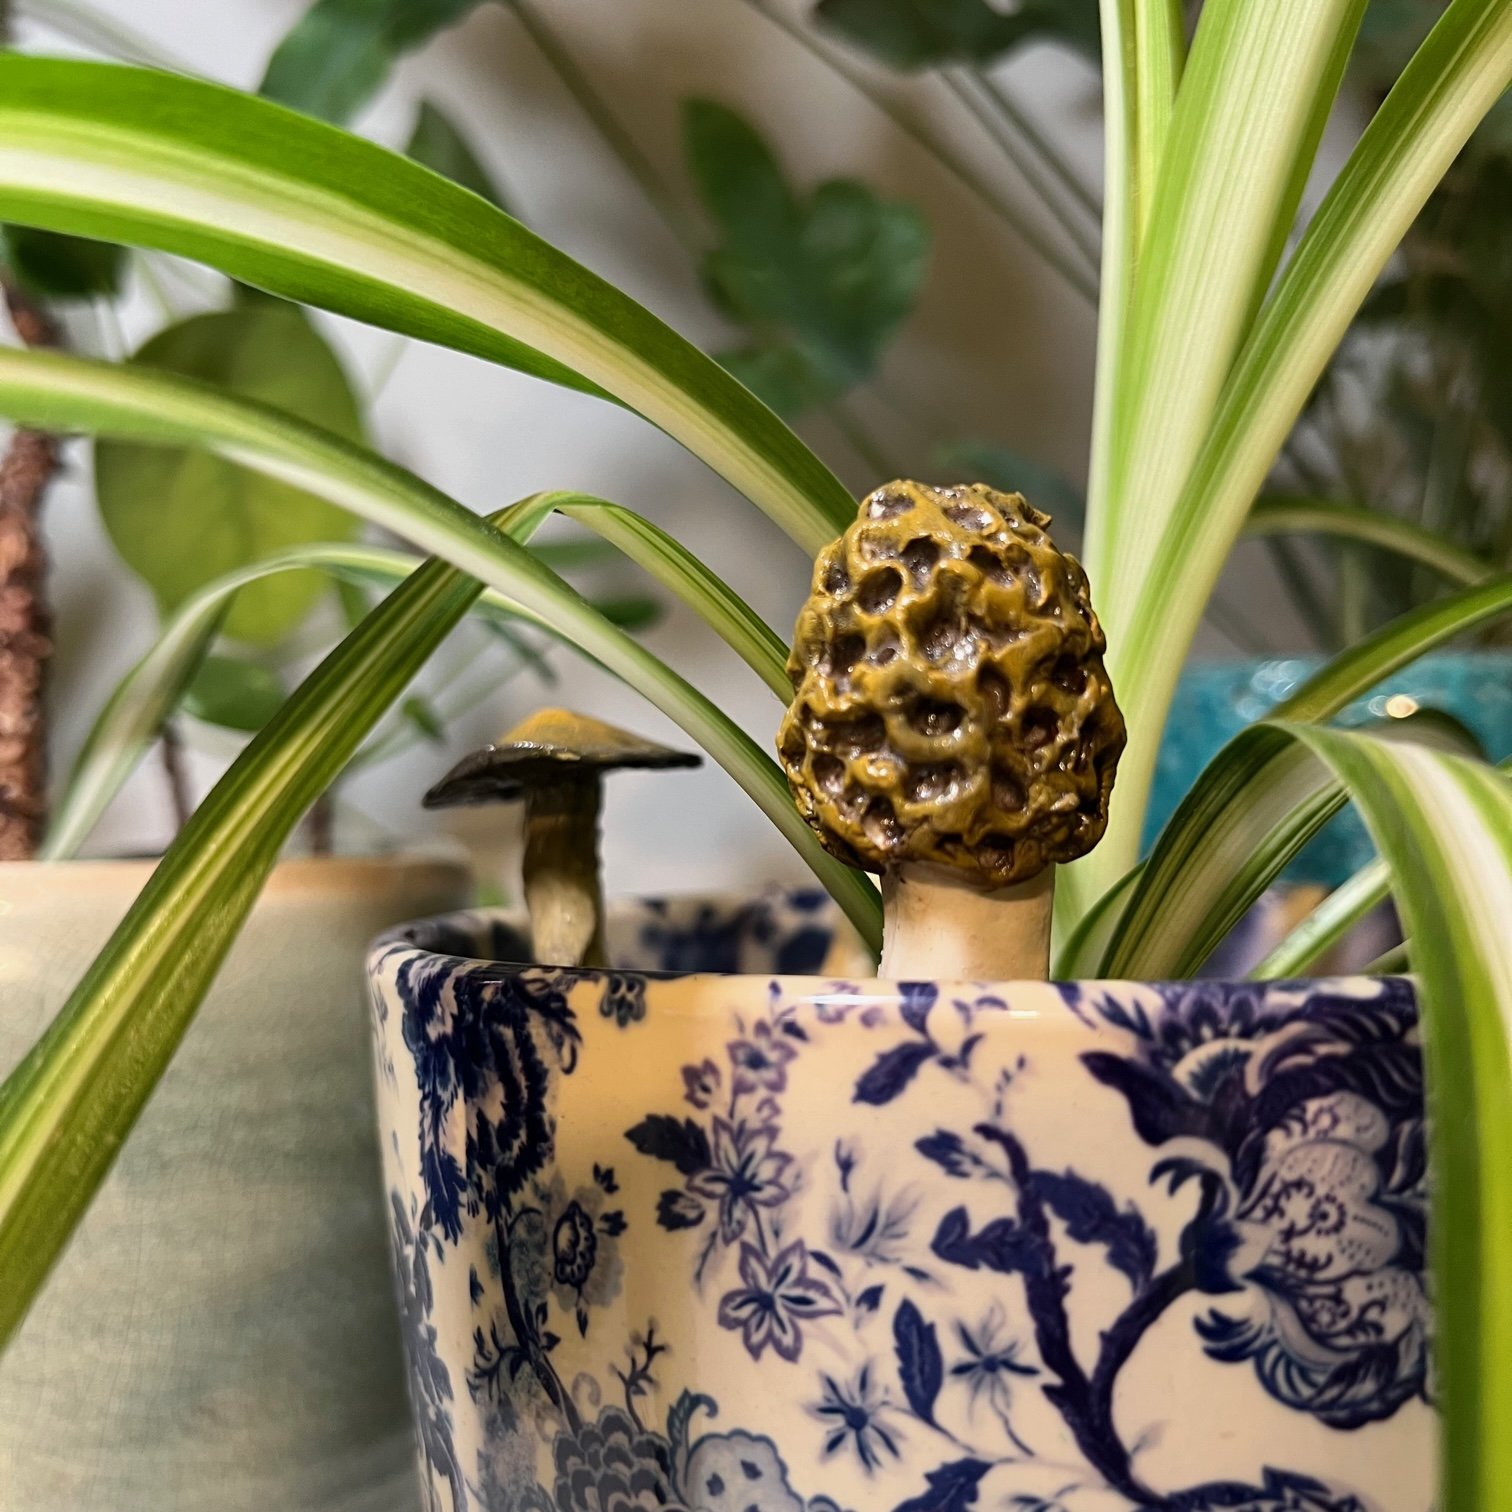
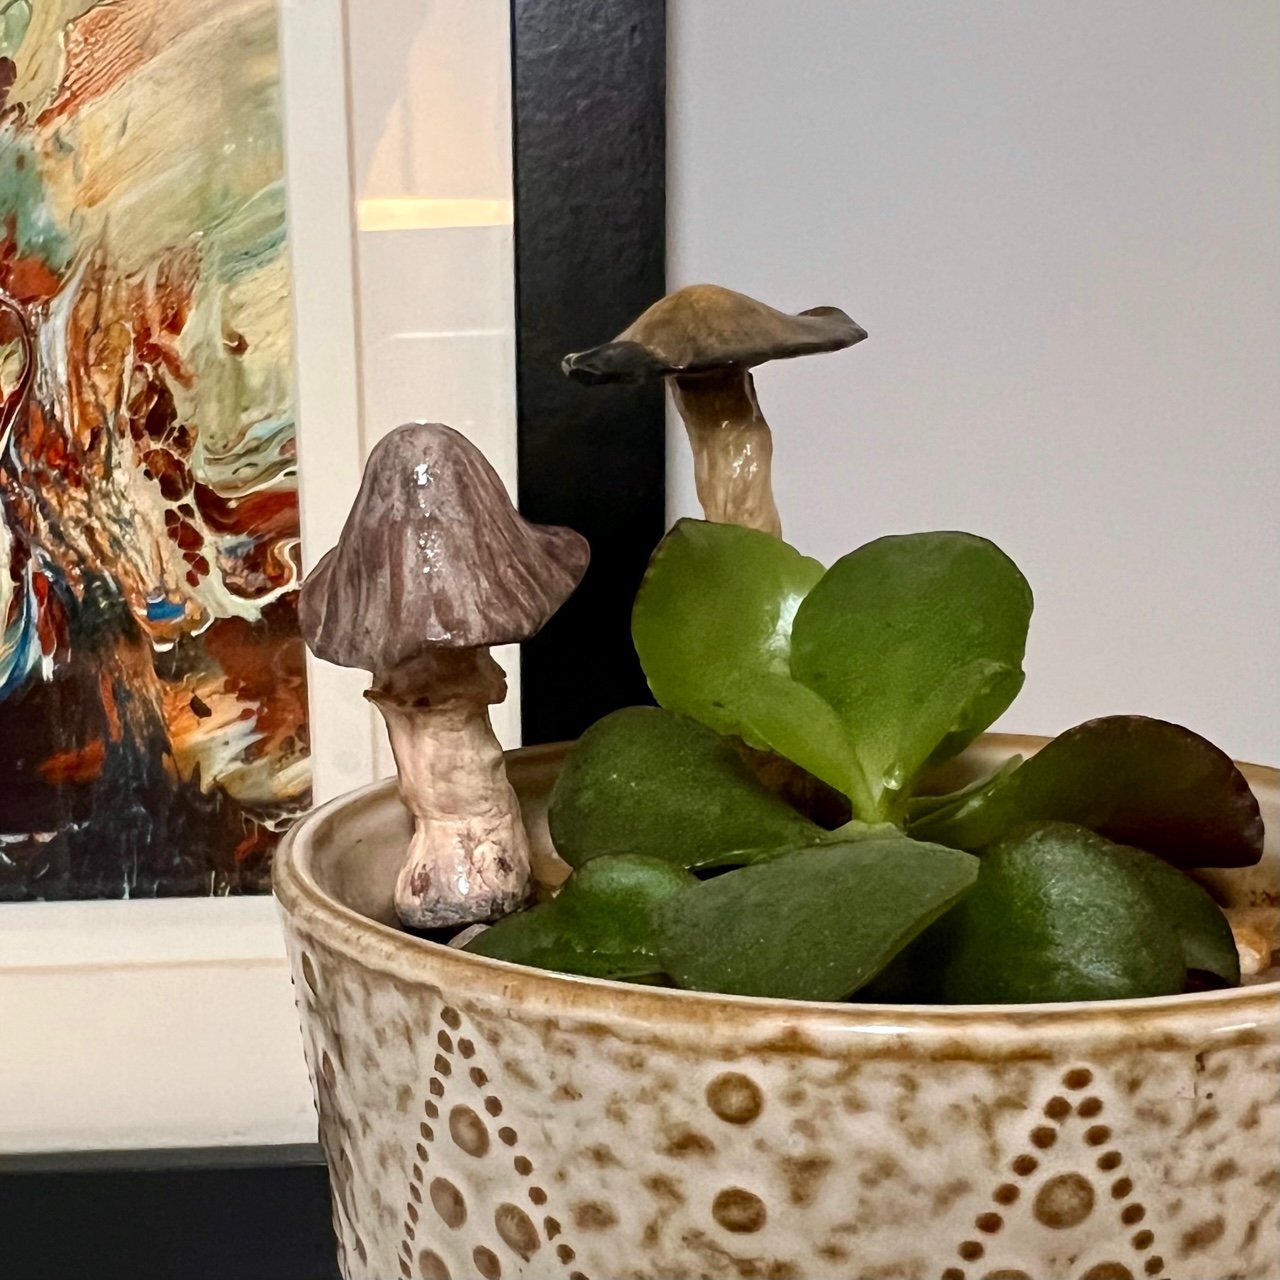
These clay mushrooms are such fun to make and look great in plant pots, adding a bit of whimsy! Below is a guide to making a fly agaric mushroom - the easily recognisable mushroom of fairy tales - however, it’s easy to adapt this technique to make some other types of mushrooms. This craft is great for children and beginners as mushrooms are naturally imperfect and wonky, they’re often torn, uneven or have bits missing and so there is no worry to make them look perfect.
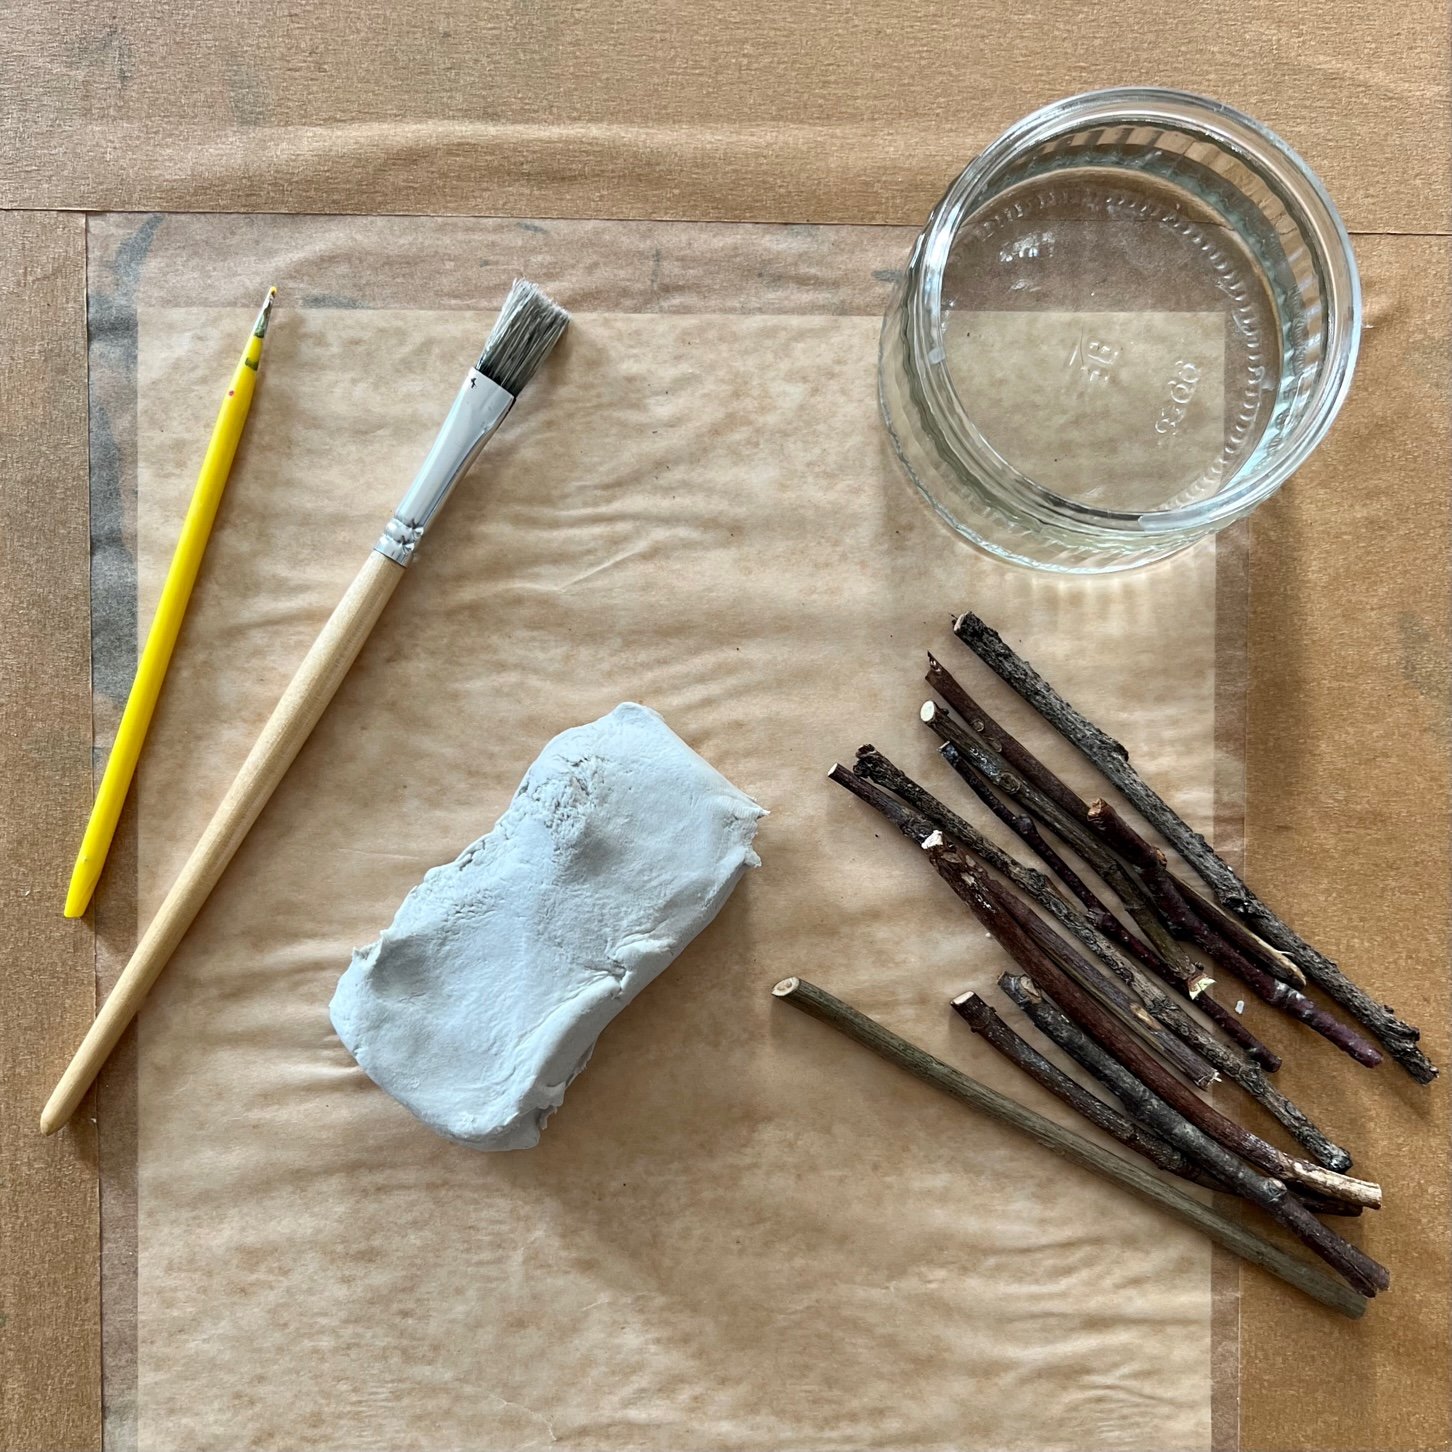
What you will need:
Air dry clay
Small twigs
A small dish of water
A pointy tool such as a skewer or toothpick
Acrylic paints
A paintbrush
Varnish or other sealant (optional)
What you need to do:
First you’ll need to collect some twigs and sticks. The thickness of your twigs will depend on how big you want your mushrooms to be but should be no bigger than a pencil width if you want your mushrooms to fit in your houseplant pots. Make sure the twigs are fairly straight and don’t snap too easily!
Once you are home you can break or cut your twigs into smaller lengths. They need to be twice as long as your finished mushrooms as you’ll need enough length to push into the mushroom stem and into the soil of your houseplants. My twigs ranged between 7 and 14 cm long.
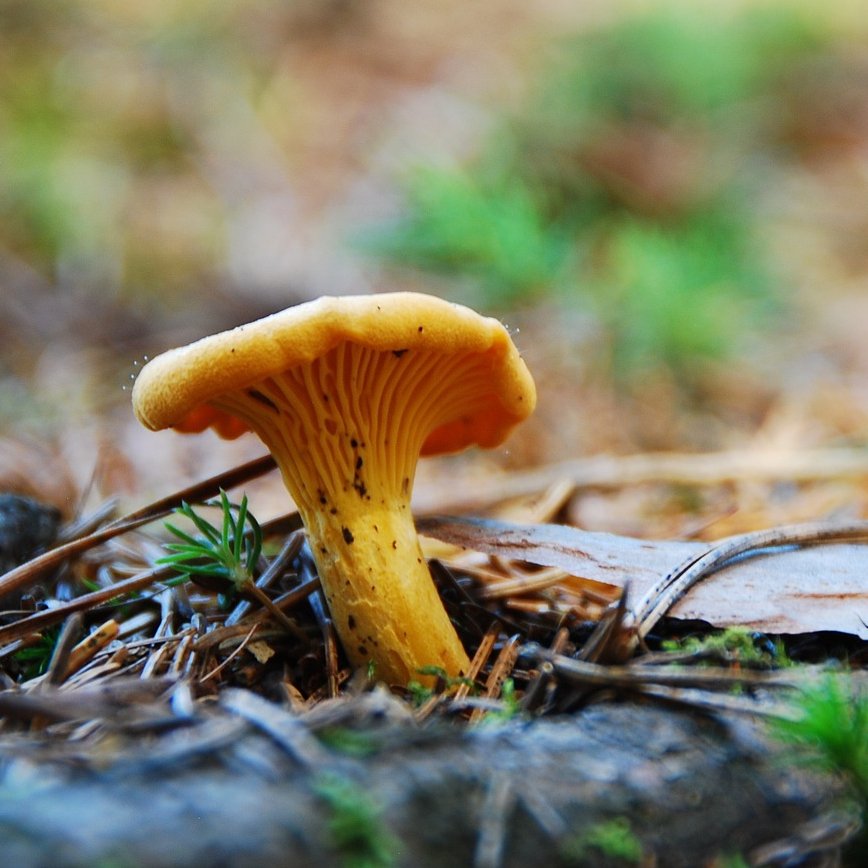
Before you start making your clay mushrooms, you might want to have a look at some photos of different mushrooms to give you some inspiration. Our November Mud & Bloom box includes a fungi spotter card (you can order yours here!) with some pictures of fungi that you can find this month.

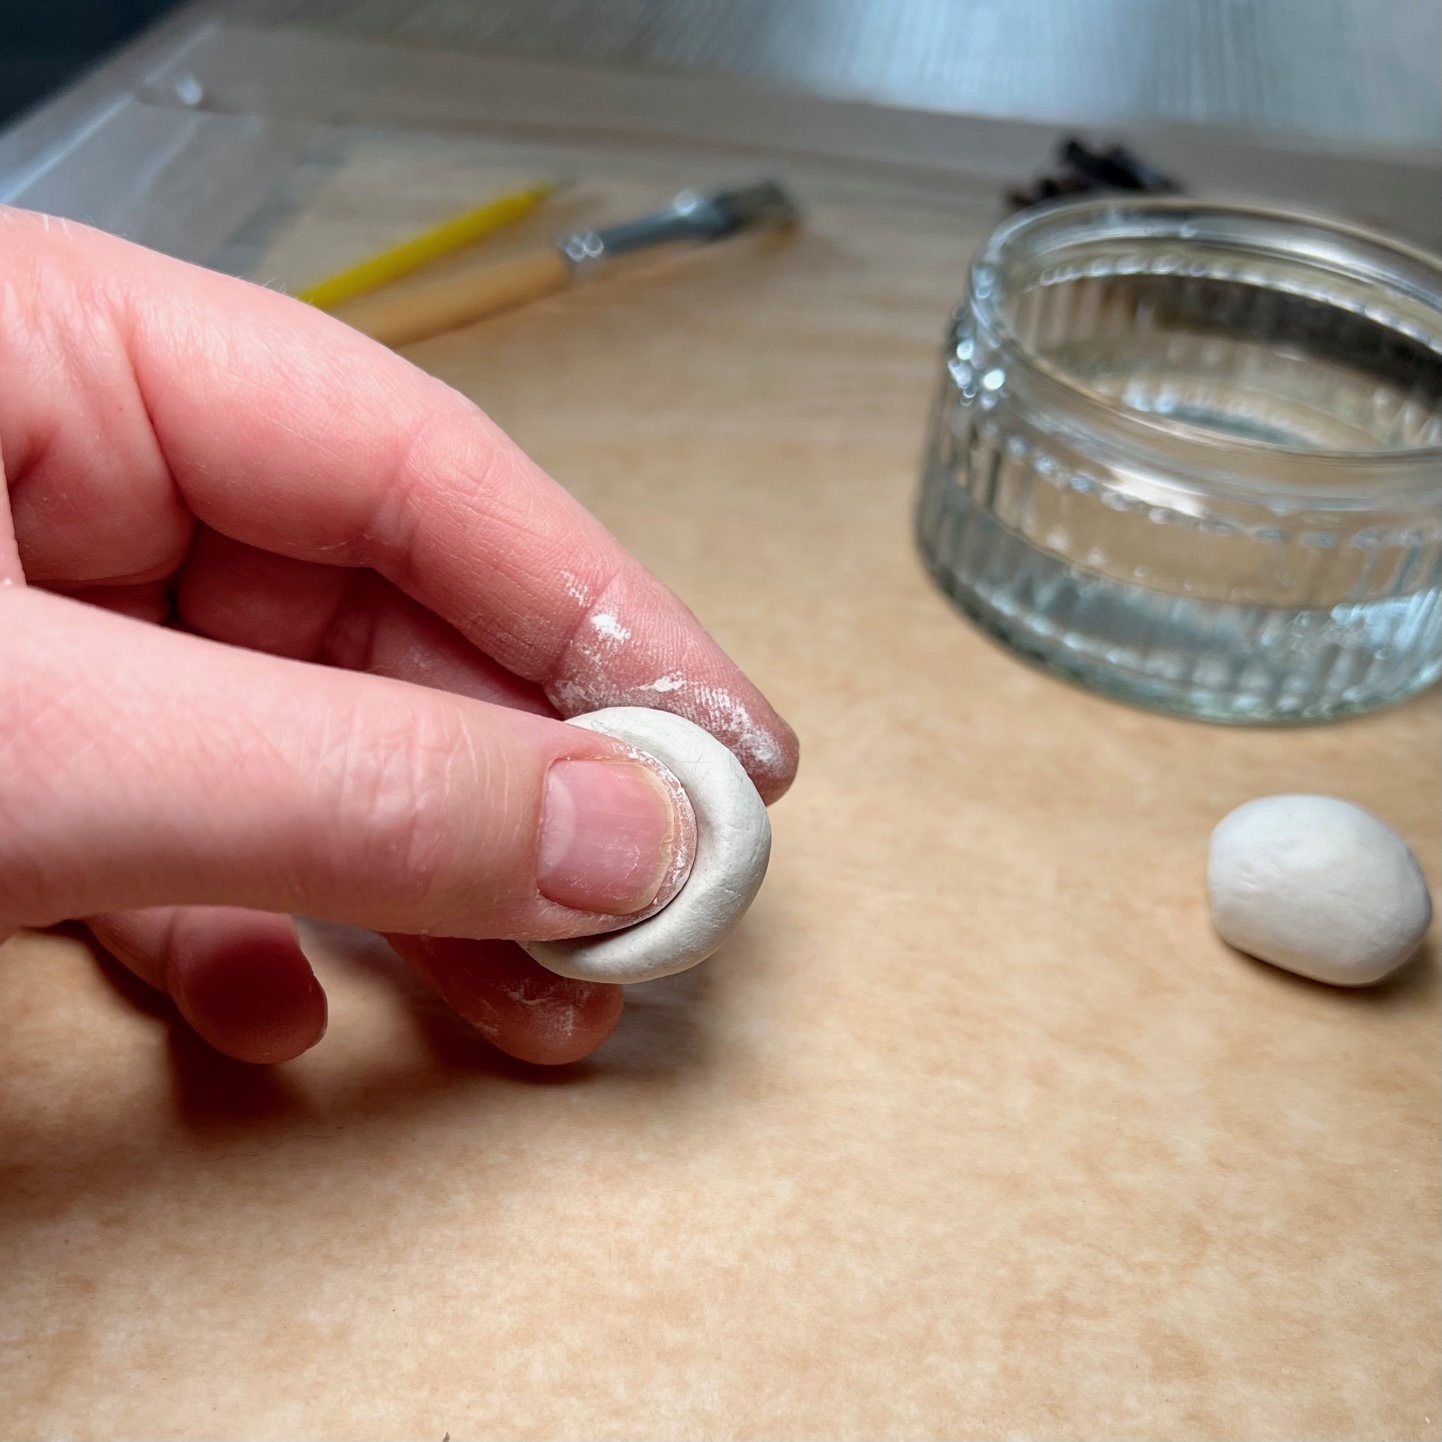
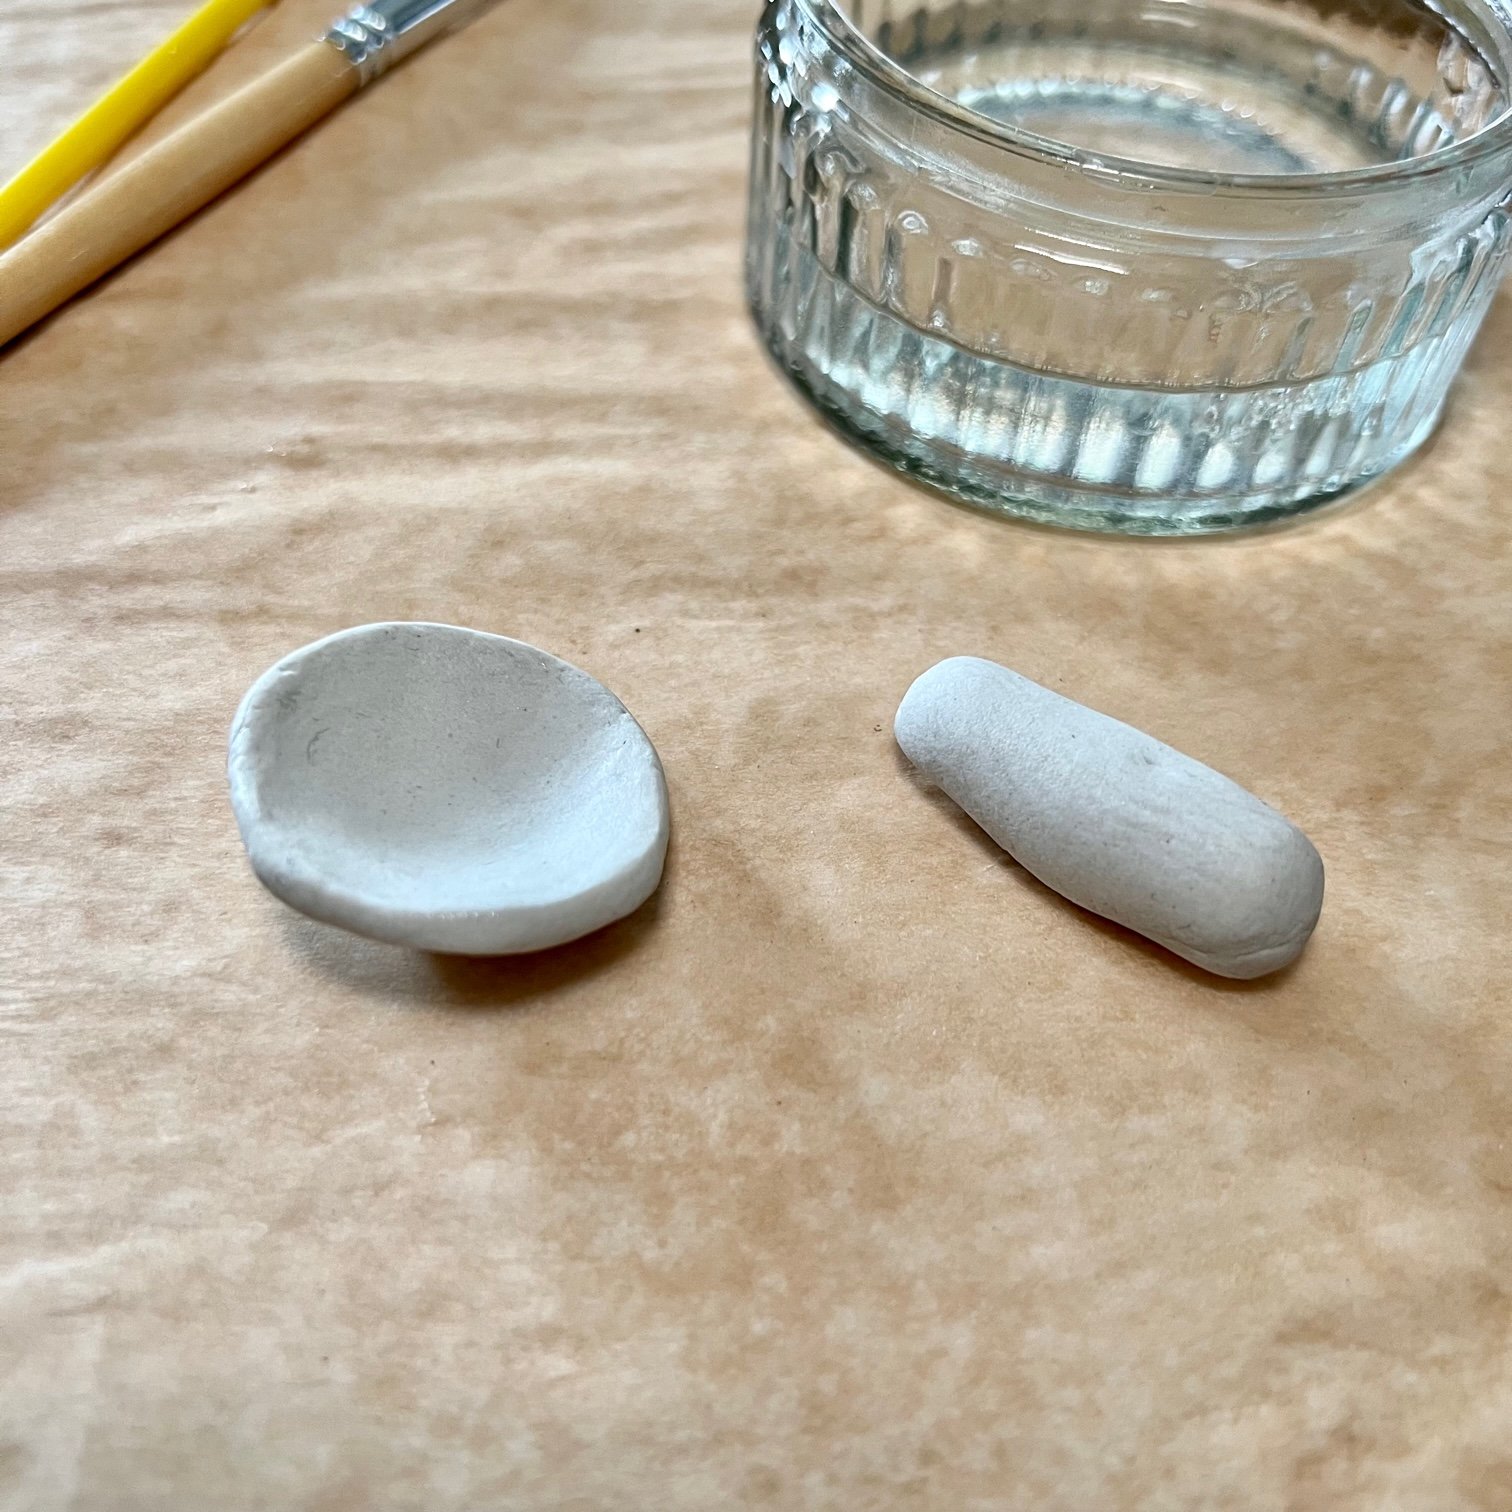
To make your mushroom, start by kneading a small bit of clay to make it easier to work with. Divide the clay into two equal pieces and then roll each piece into a ball using the palms of your hands. If it feels dry, you can add a drop or two of water to your hands.
Take one of the balls of clay and press into the centre with your thumb, making an indent. Next, gently pinch the edge of the clay between your thumb and fingers, moving all the way around, to create a small dish shape which will be your mushroom cap.
From here, you can leave it as it is or you might choose to make the cap larger with thinner edges or make the edges wavy or more flared – it’s up to you! Don’t worry about making it look perfectly round or smooth - mushrooms are imperfect in nature!
Roll out the second ball of clay into a sausage shape. This will be the mushroom stem. You can make the base thicker if you want to - some mushrooms have a bulbous stem at the bottom end. If you want to make the stem longer, just make sure it is thick enough for you to insert a stick.
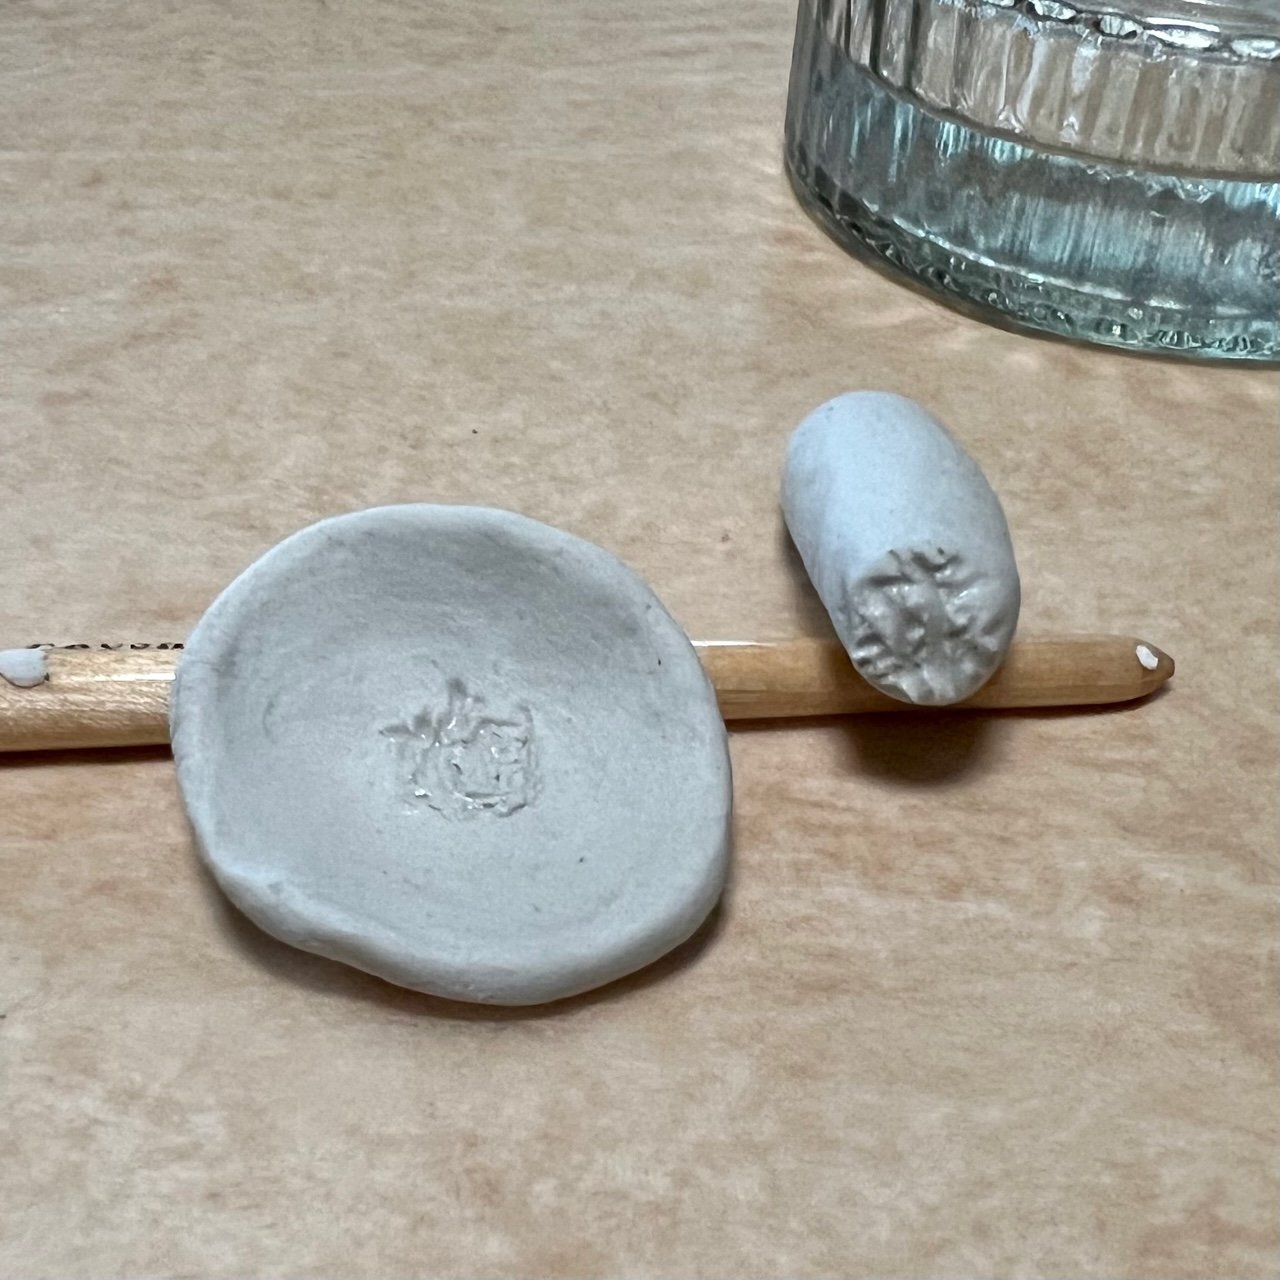
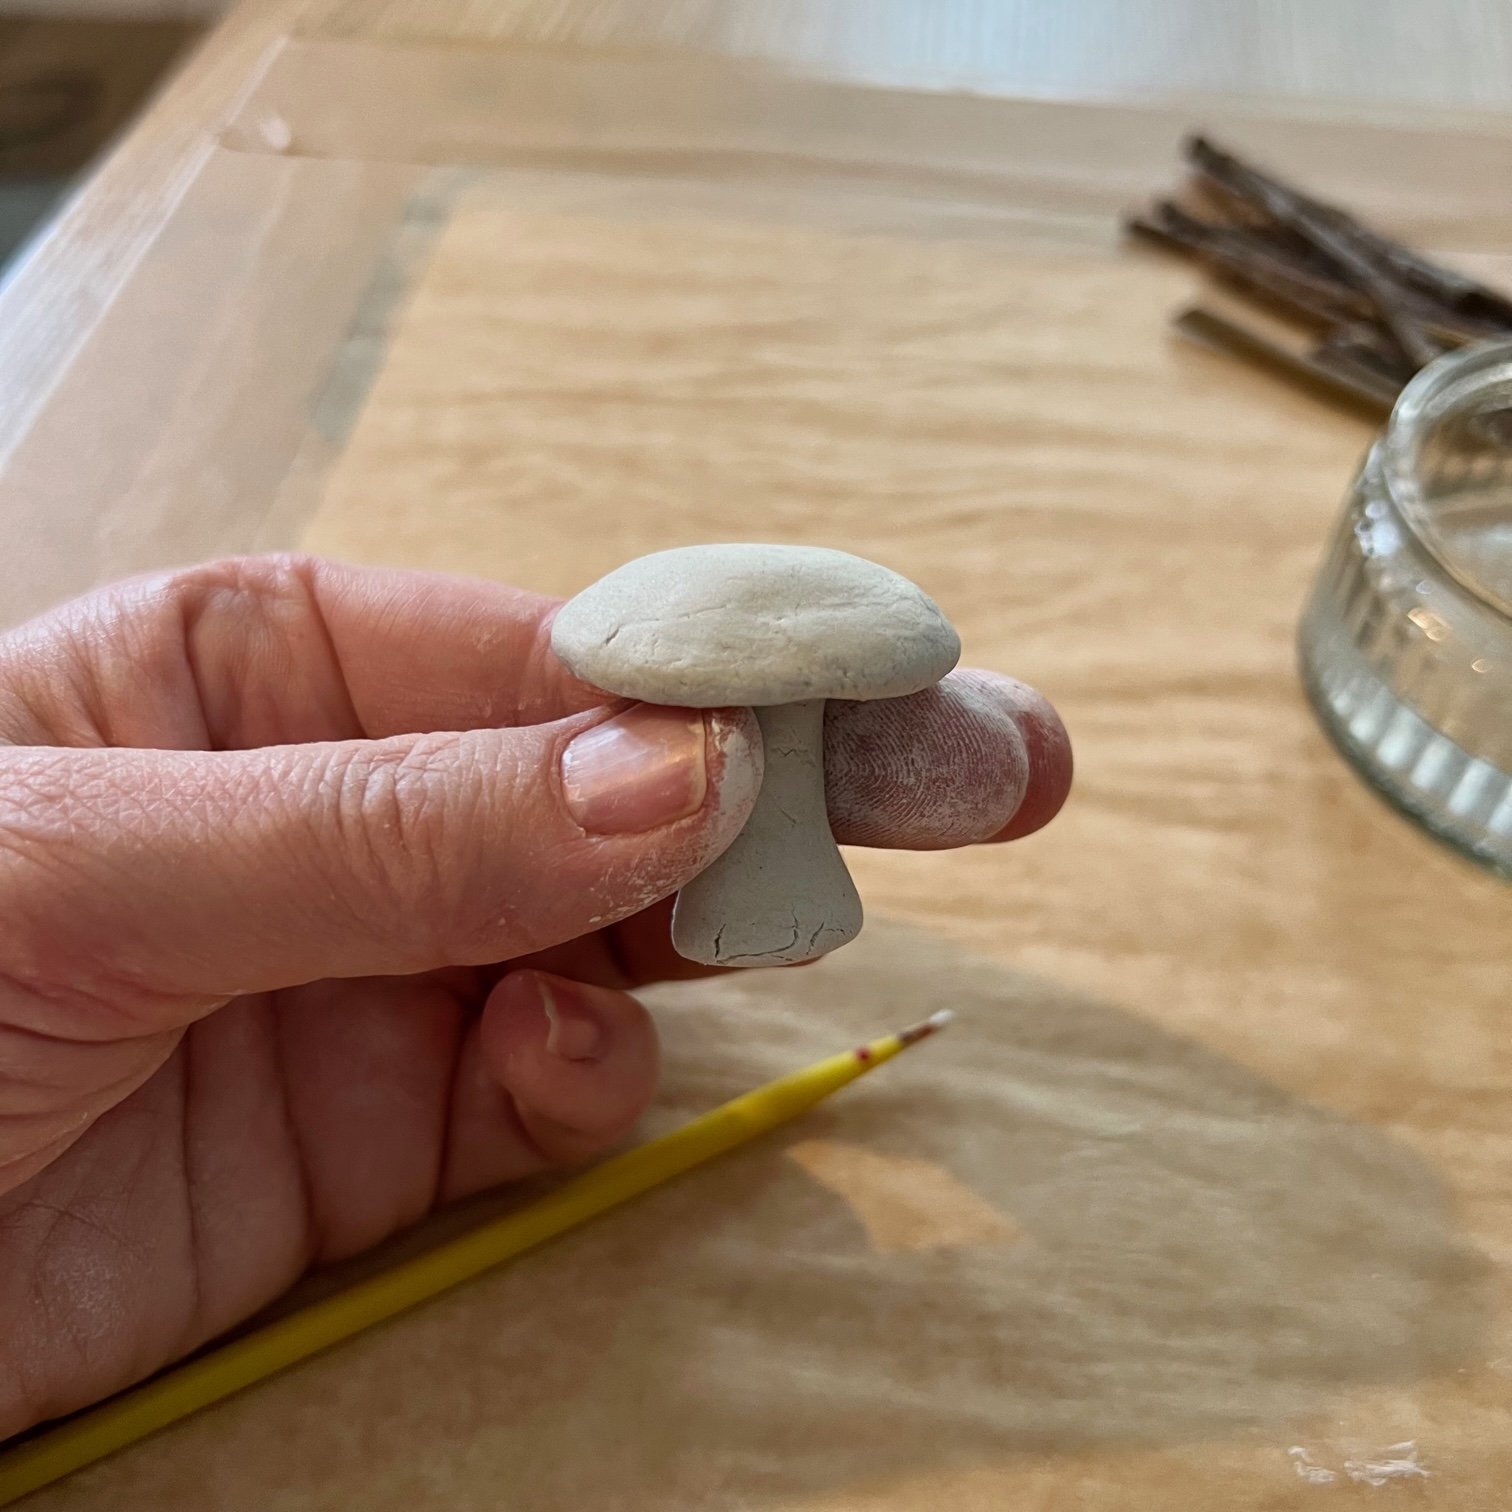
To join the stem and cap together, first lightly press the top end of your stem onto your table to flatten it. Then dip a skewer, toothpick or another pointy tool into your dish of water and then use your tool to scratch marks on the top end of the stem and the underside of the cap where it will be attached.
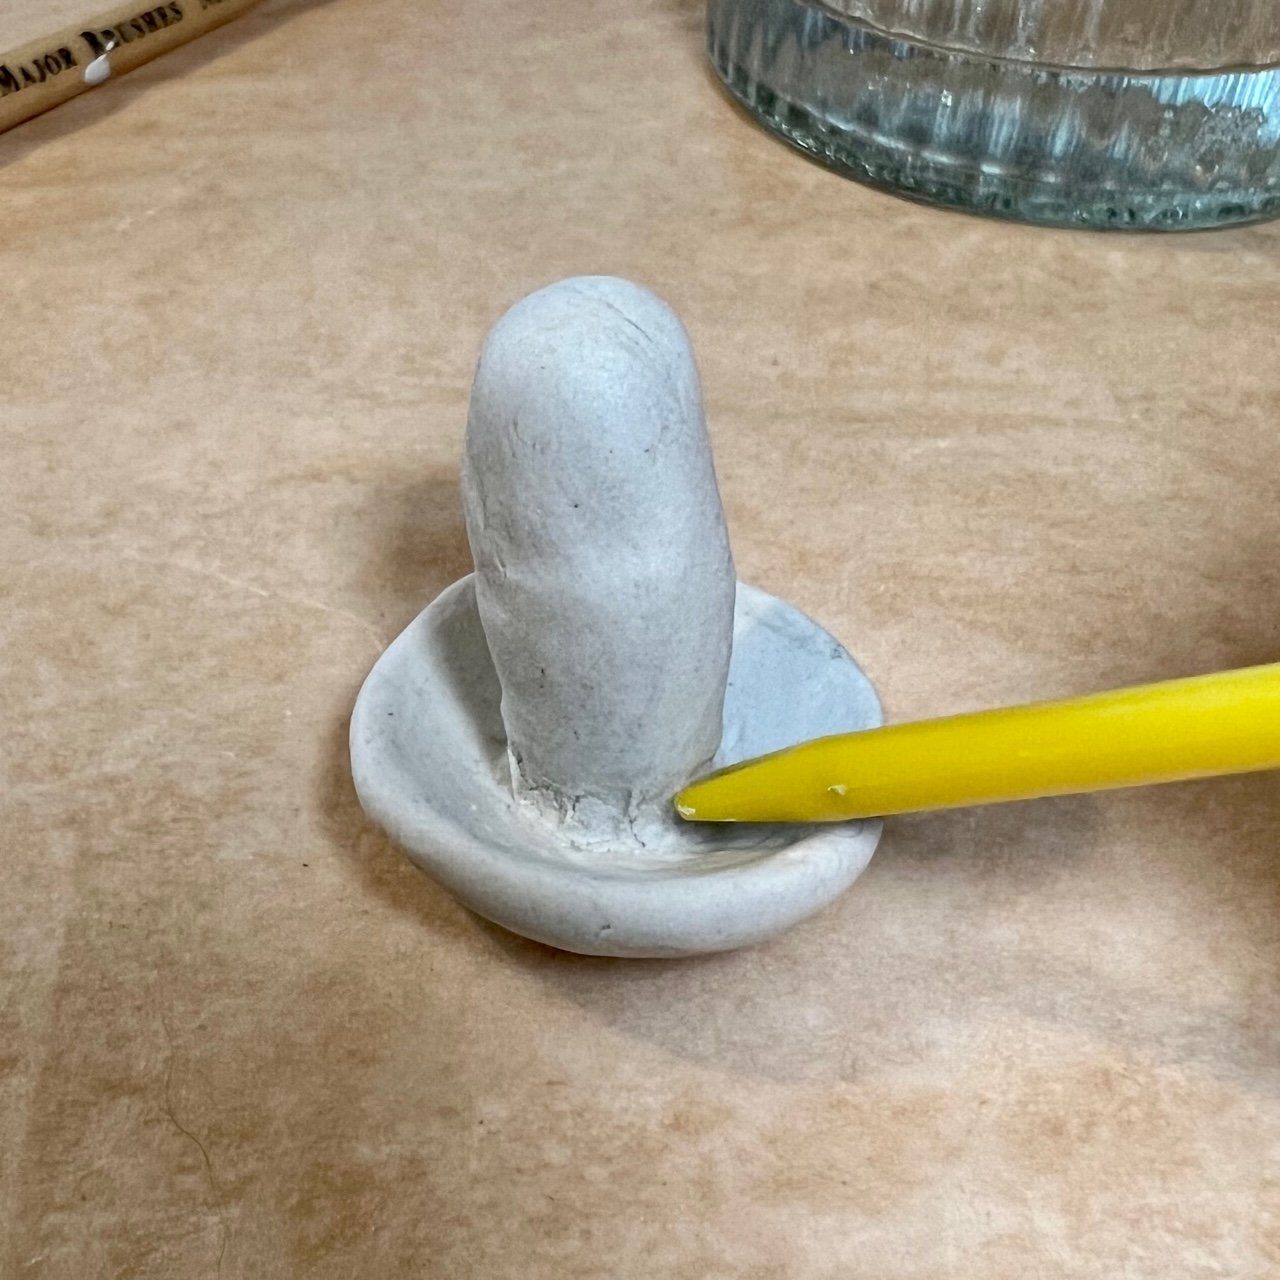
Centre the stem on the cap and push down gently to connect the two pieces. Using the end of your paintbrush or another blunt tool, scrape over the seam between the stem and the cap to help reinforce the join.
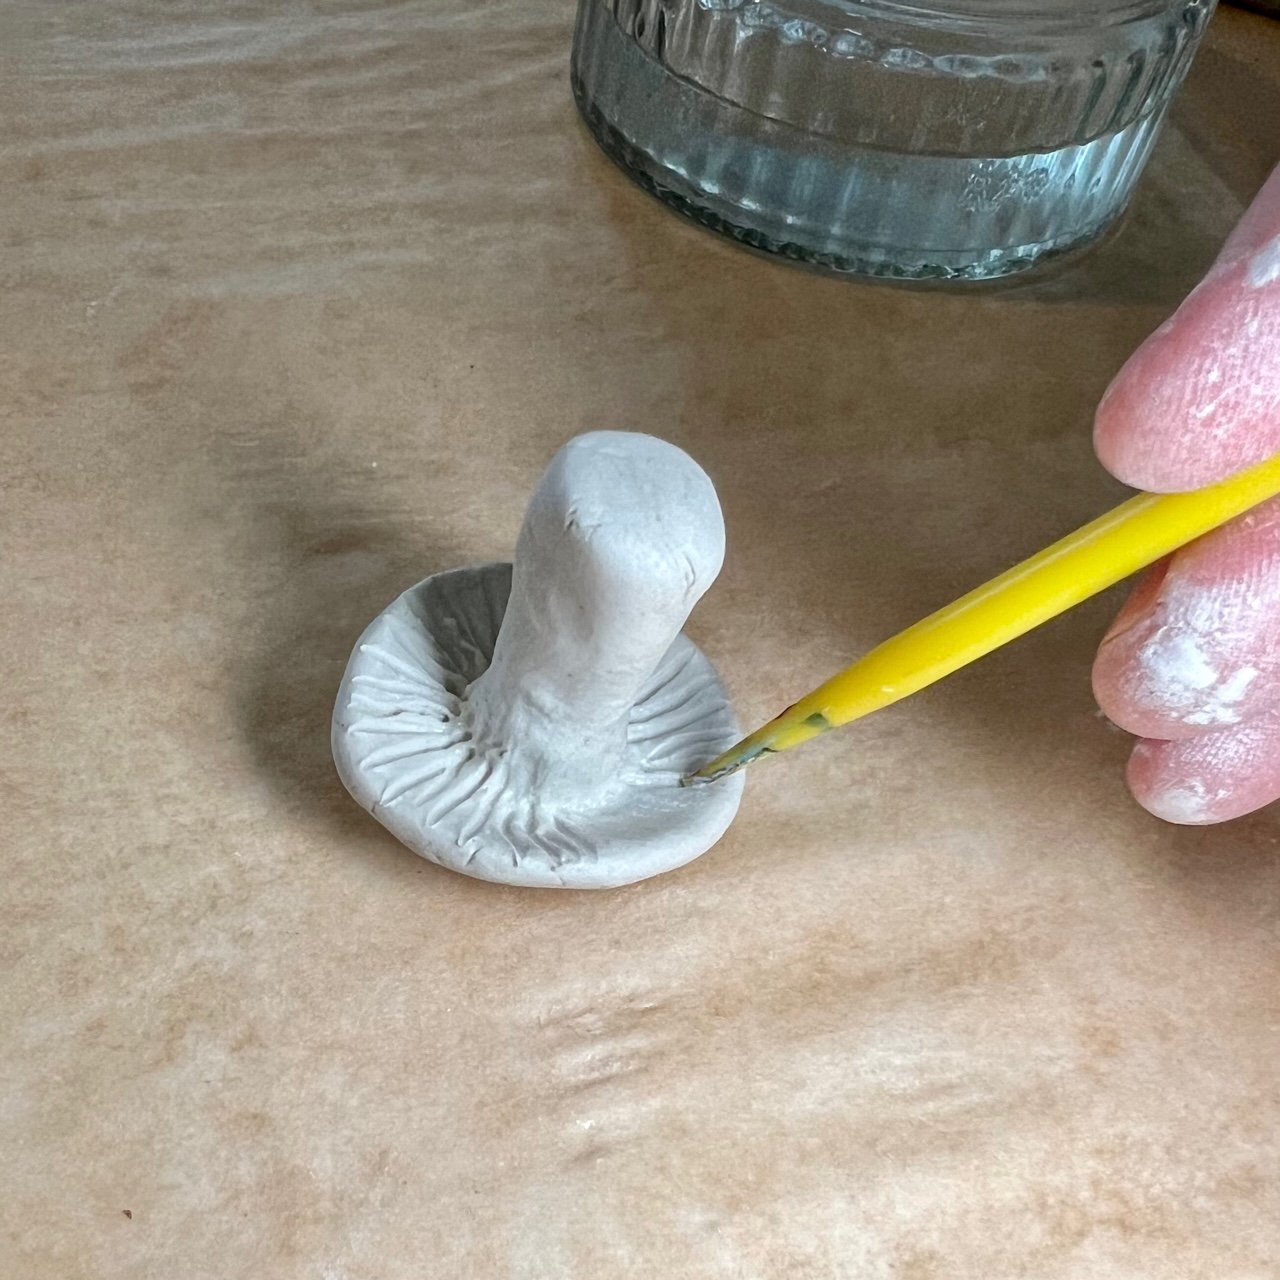
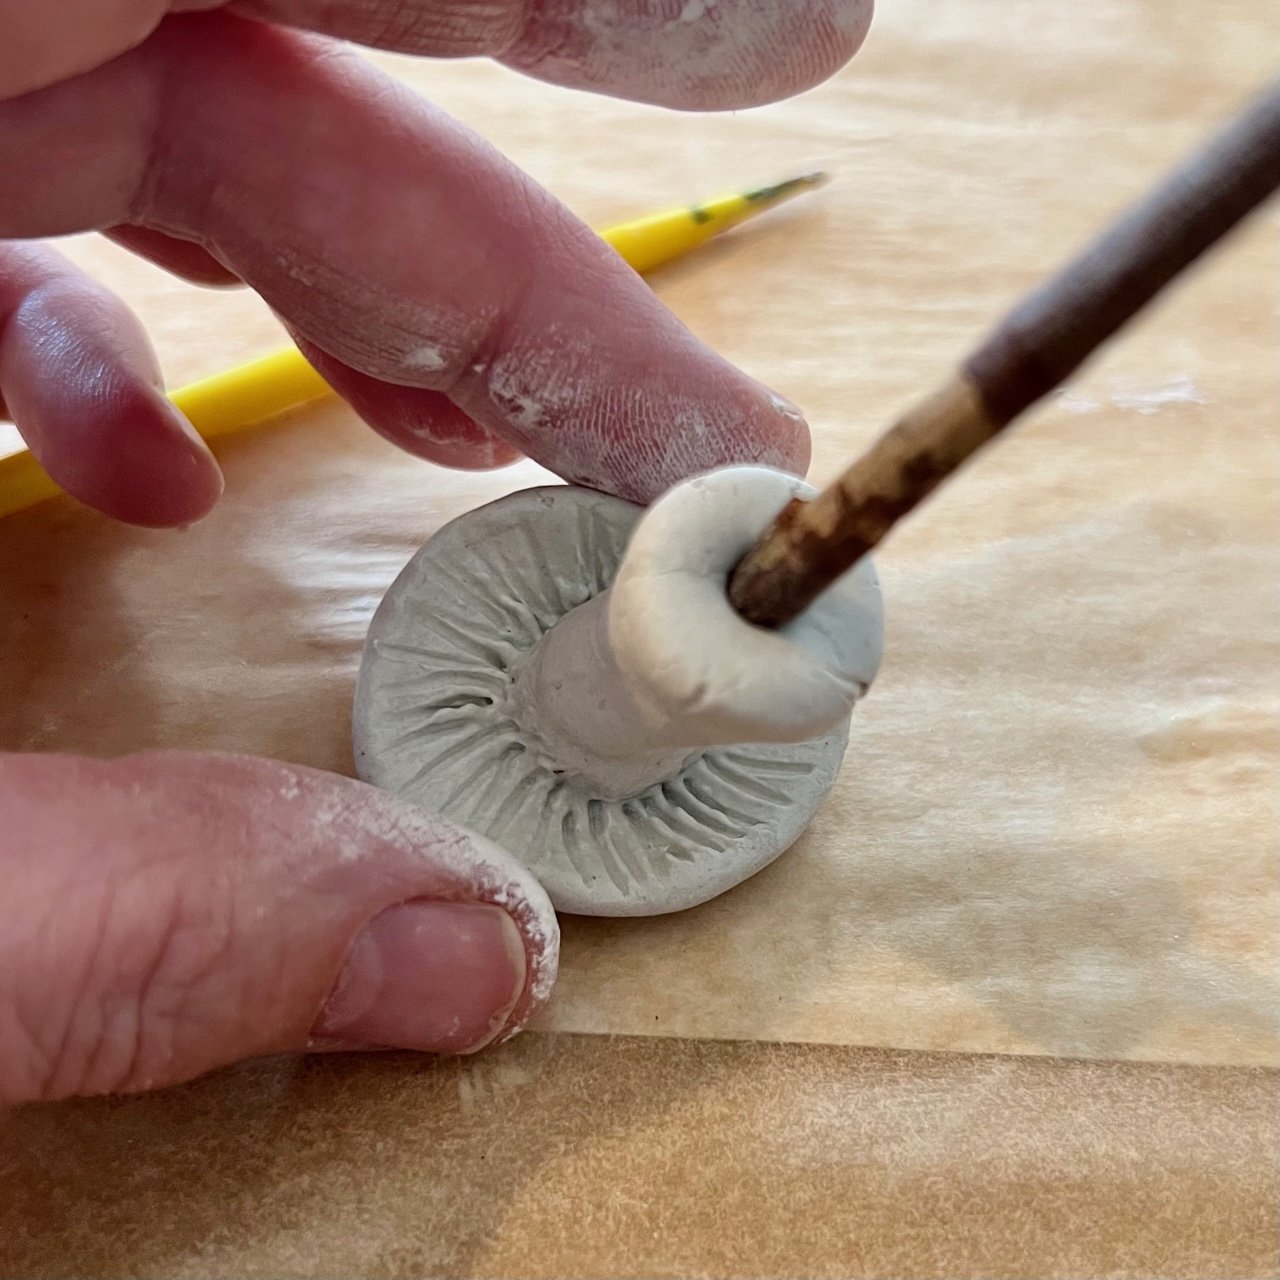
Fly agaric mushrooms have gills on the underside of their caps that produce and release spores. You can add gills to the underside of your mushroom cap by scratching lines from the stem to the edges of the cap’s underside with your pointy tool.
Choose one of your twigs that is at least twice as long as the mushroom stem and then push it up through the bottom of the stem until it just touches the underside of the cap.
Now you can shape your stem a bit more if you want to. I kept this one fairly smooth and straight but I experimented a bit more with other ones I made, making them thinner, a bit more twisted, adding a ring, and just generally making them look a bit more imperfect and natural looking!
Don’t forget that you can use a bit of water to smooth out your clay as you work if your clay starts to dry out and crack.
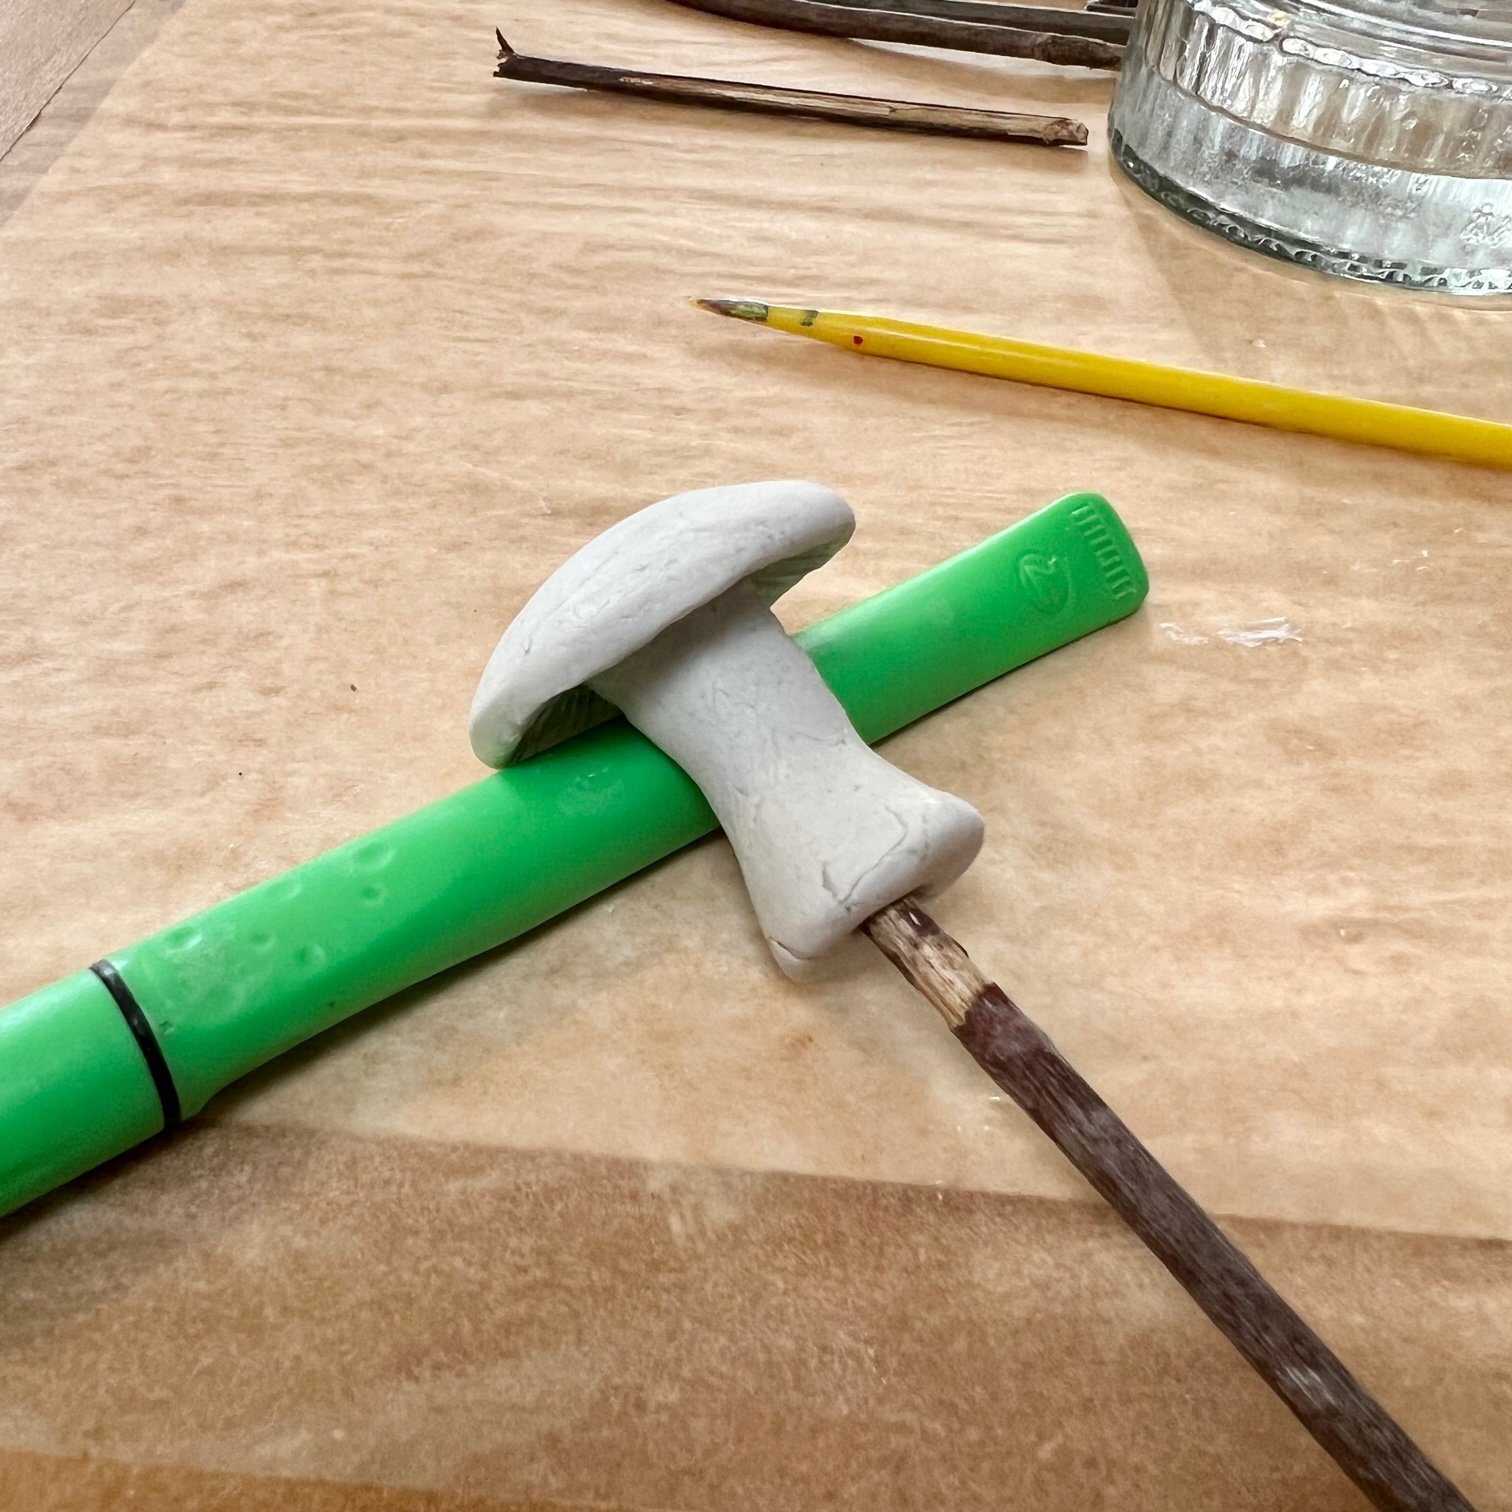
Once you’ve made as many mushrooms as you want to, you will need to leave them to dry for a day or so. I rested the stems of my mushrooms on some marker pens to help prevent the caps getting squashed.
You’ll know when your mushrooms are dry when the clay is lighter all over. You might need to turn the mushrooms to help dry the other side.
Once dry, they are ready to paint!

To paint the stalk, you’ll need to create an off-white. To do this, you’ll just need to add a very small amount of brown to your white. It’s not essential but it does make it look more natural. You can also add a little dark brown/black around the base of the stem where it would touch the soil.
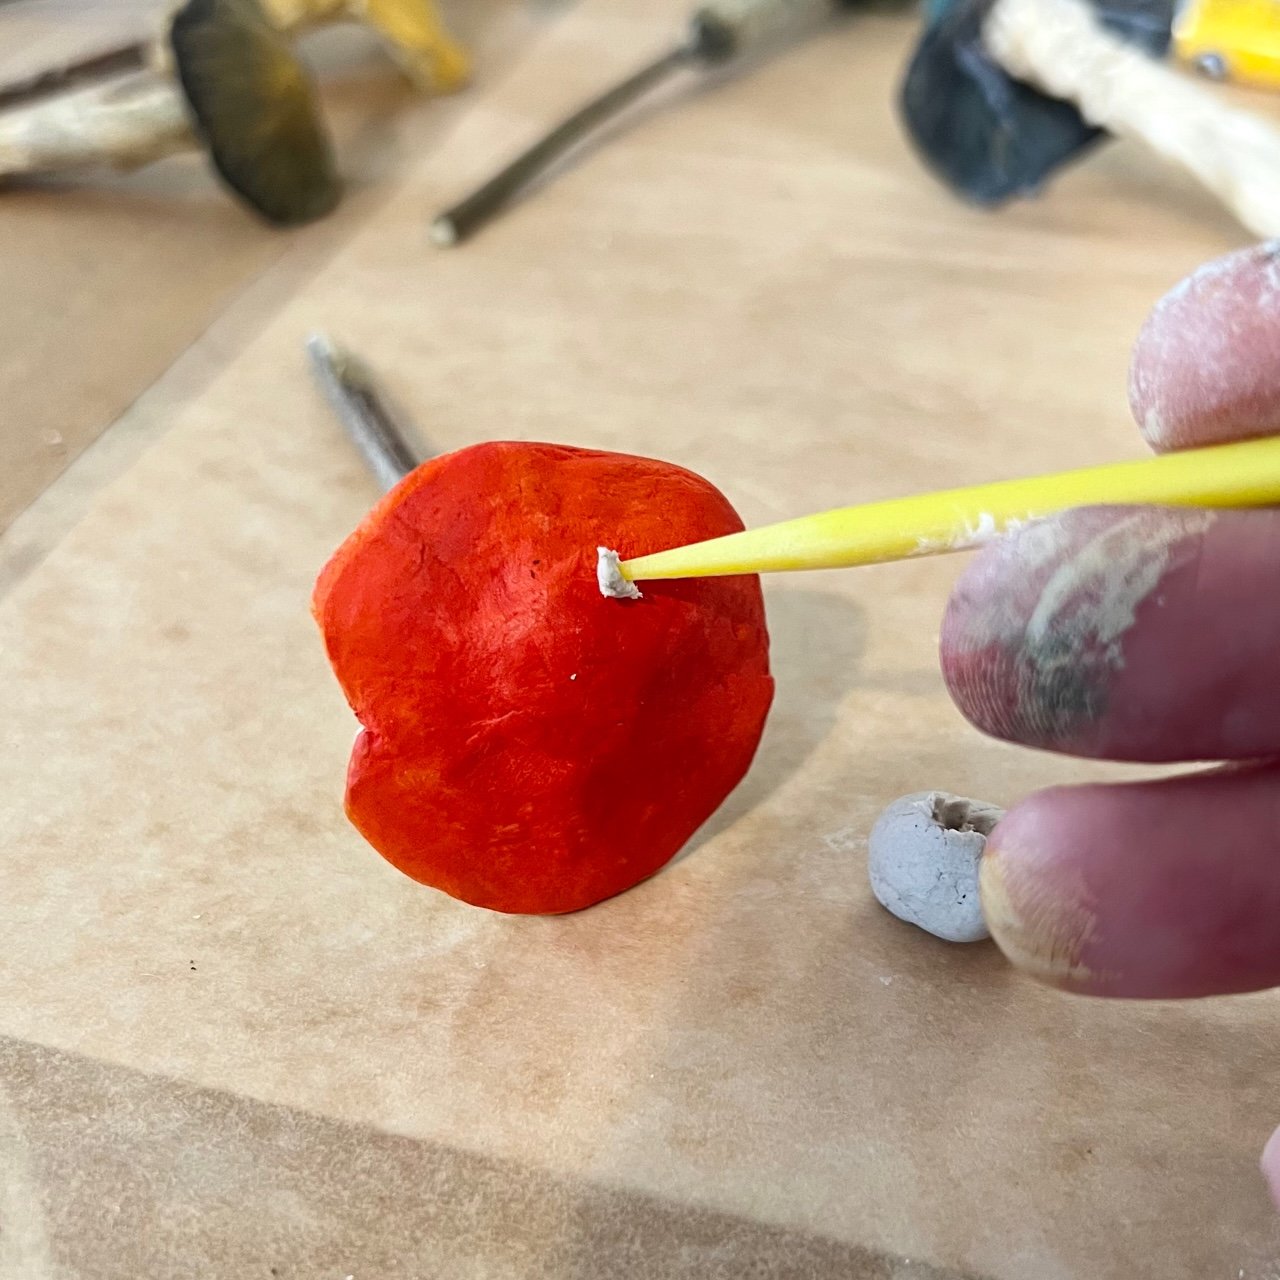
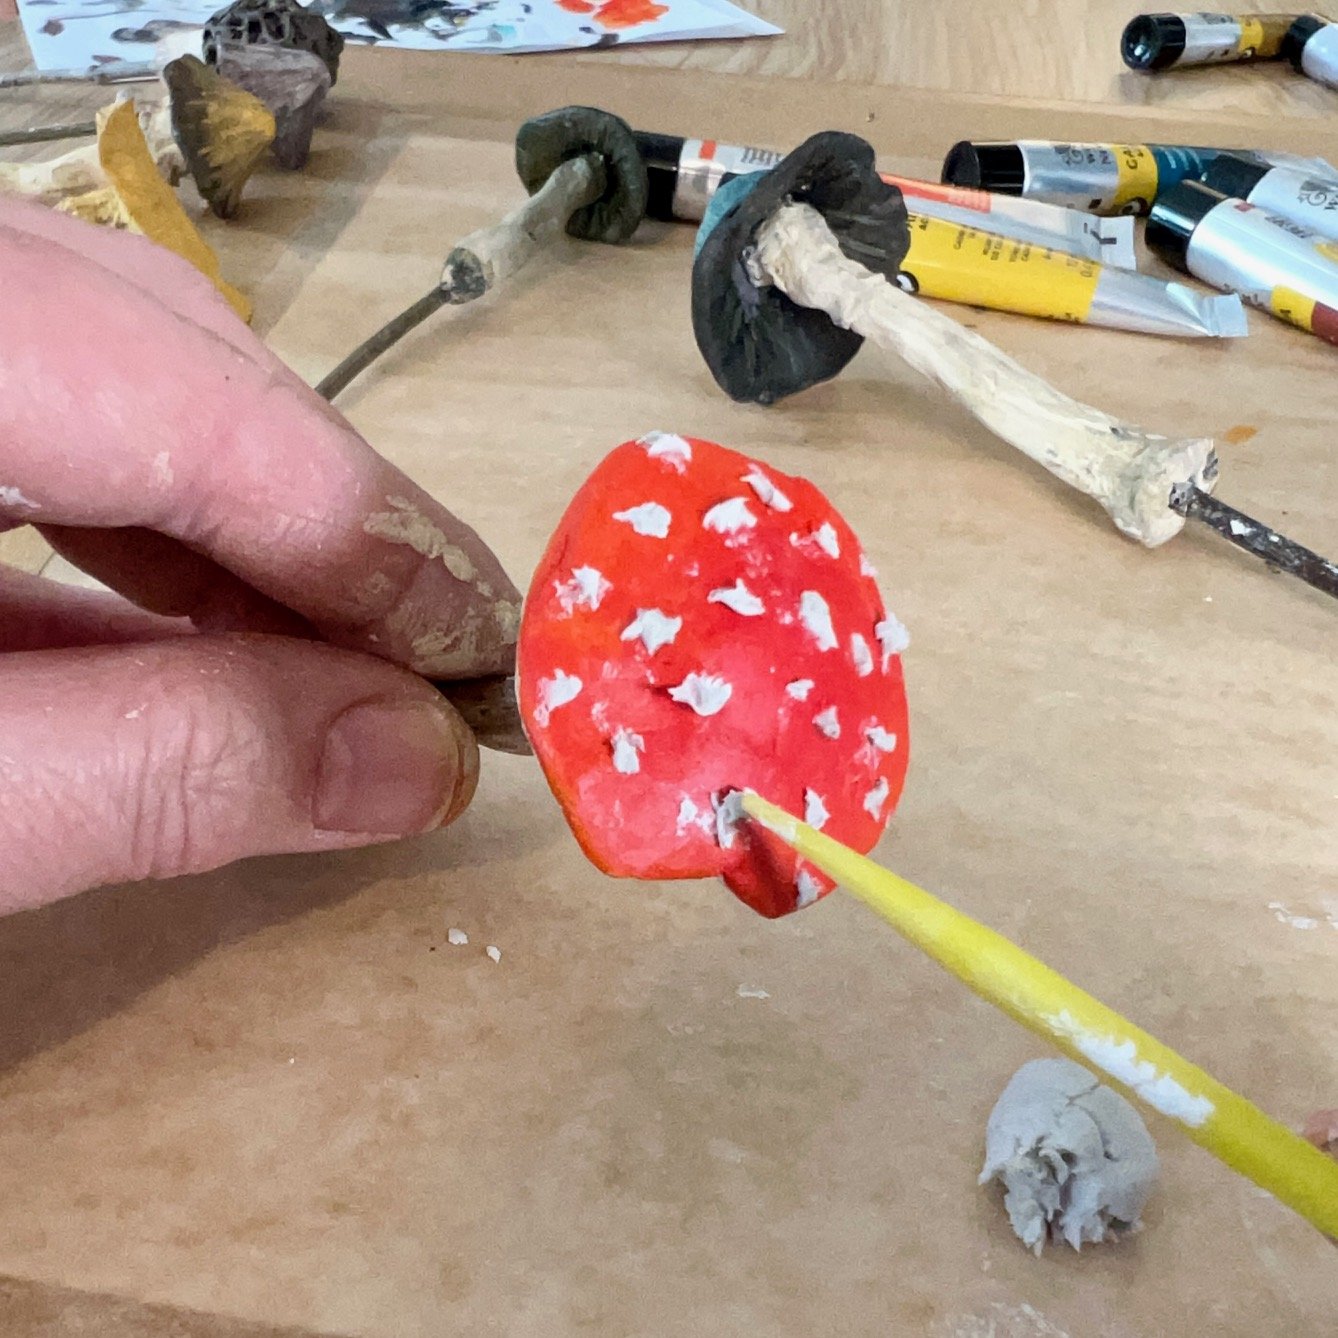
The red cap of fly agaric mushrooms are often more of an orangey-red towards the outer edges, so once you’ve painted your cap red, add a little orange (mix red and yellow if you don’t have orange) around the outside of the cap and blend it with the red.

Once the cap is dry, you can paint on some white spots or, for a more 3D effect, you can use your pointy tool to pick a tiny amount of clay and stick it onto the cap (you might need to dip your tool in water first to make the clay stick). Then leave to dry - this won’t take very long.
To make your mushrooms more durable, add a coat of varnish or sealant.

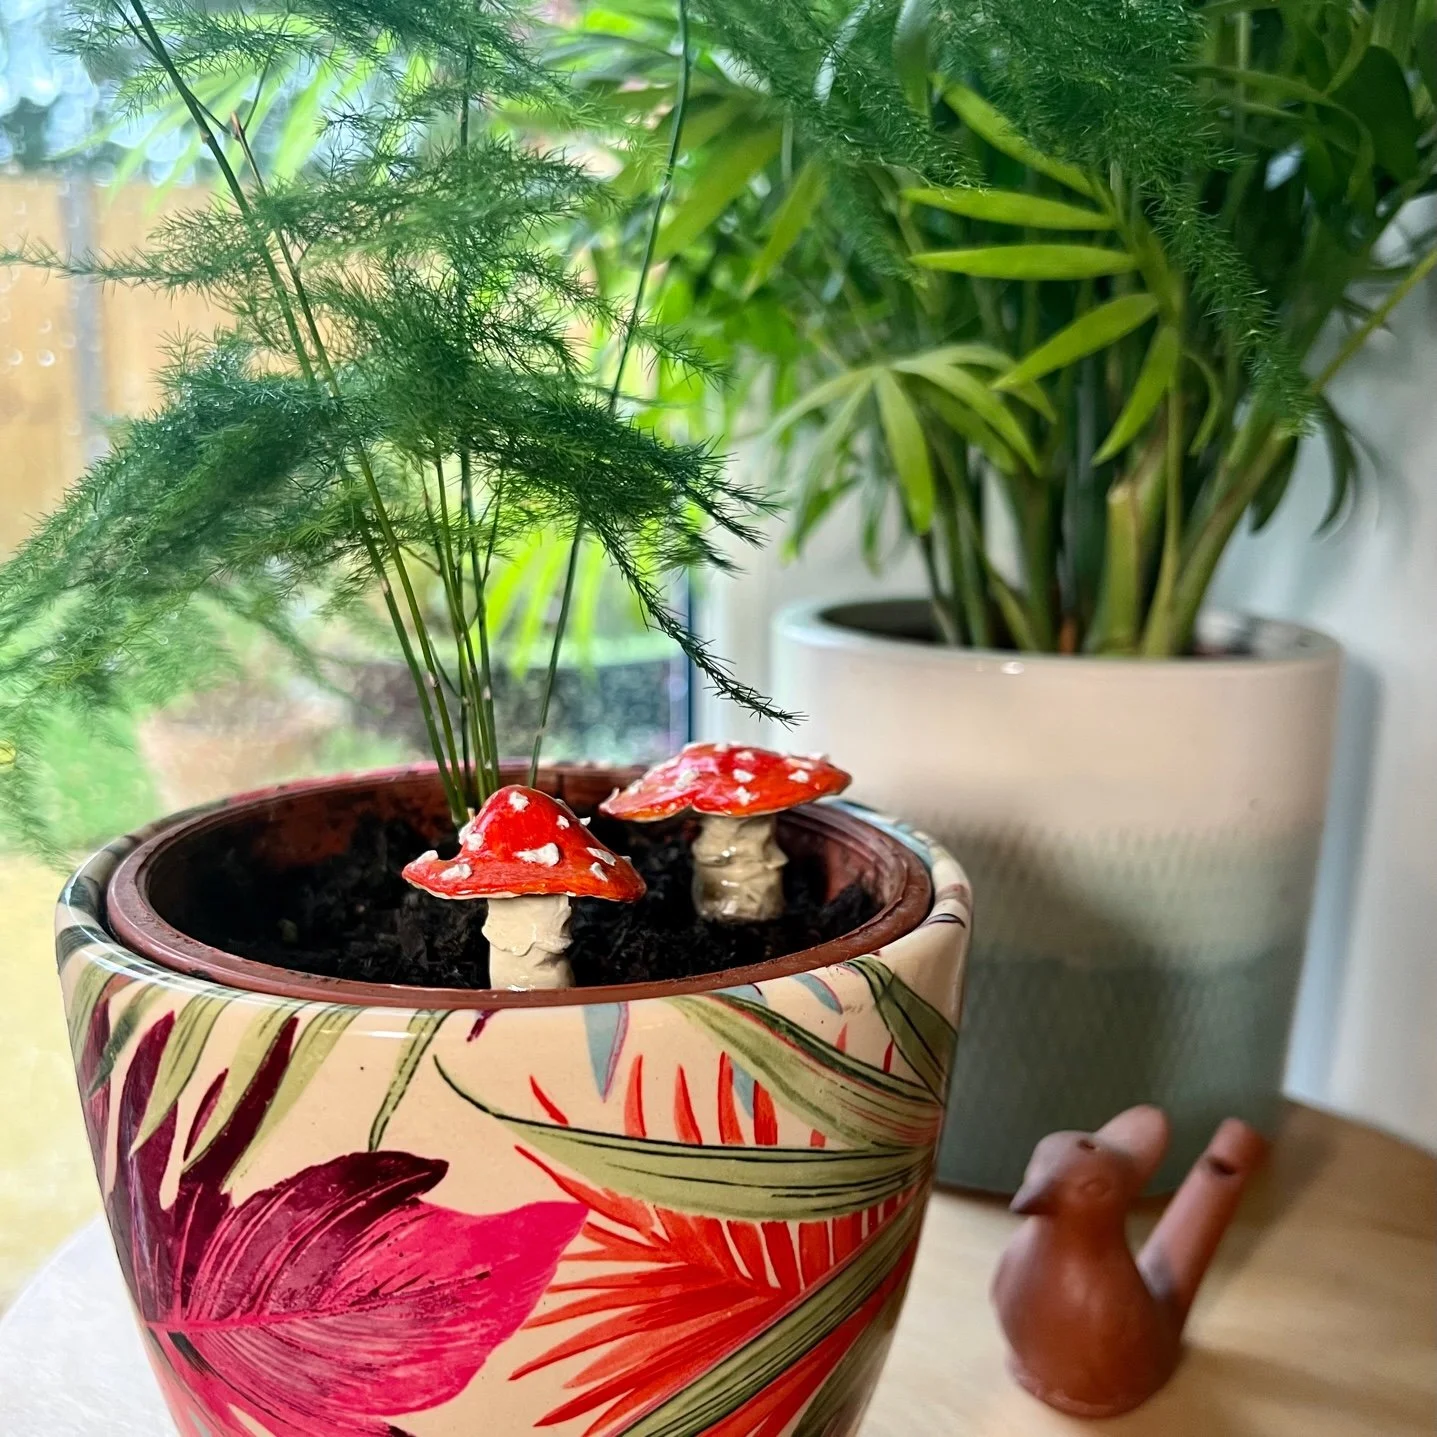
Now you can poke your mushrooms into the soil of your favourite houseplants! They would also look really sweet in a terrarium or as part of a fairy garden.

Author: Denise Hope, home educating mum of two boys
If you’d like to receive regular nature craft activities like this alongside gardening activities for children, subscribe below to receive a monthly Mud & Bloom box! Each monthly Mud & Bloom box contains at least two craft activities for children as well as two growing activities.