Make an autumn leaf bowl

If you’ve collected any colourful autumn leaves yet, this a lovely activity to do with them. It will require a bit of patience though, as it takes a few days to complete.
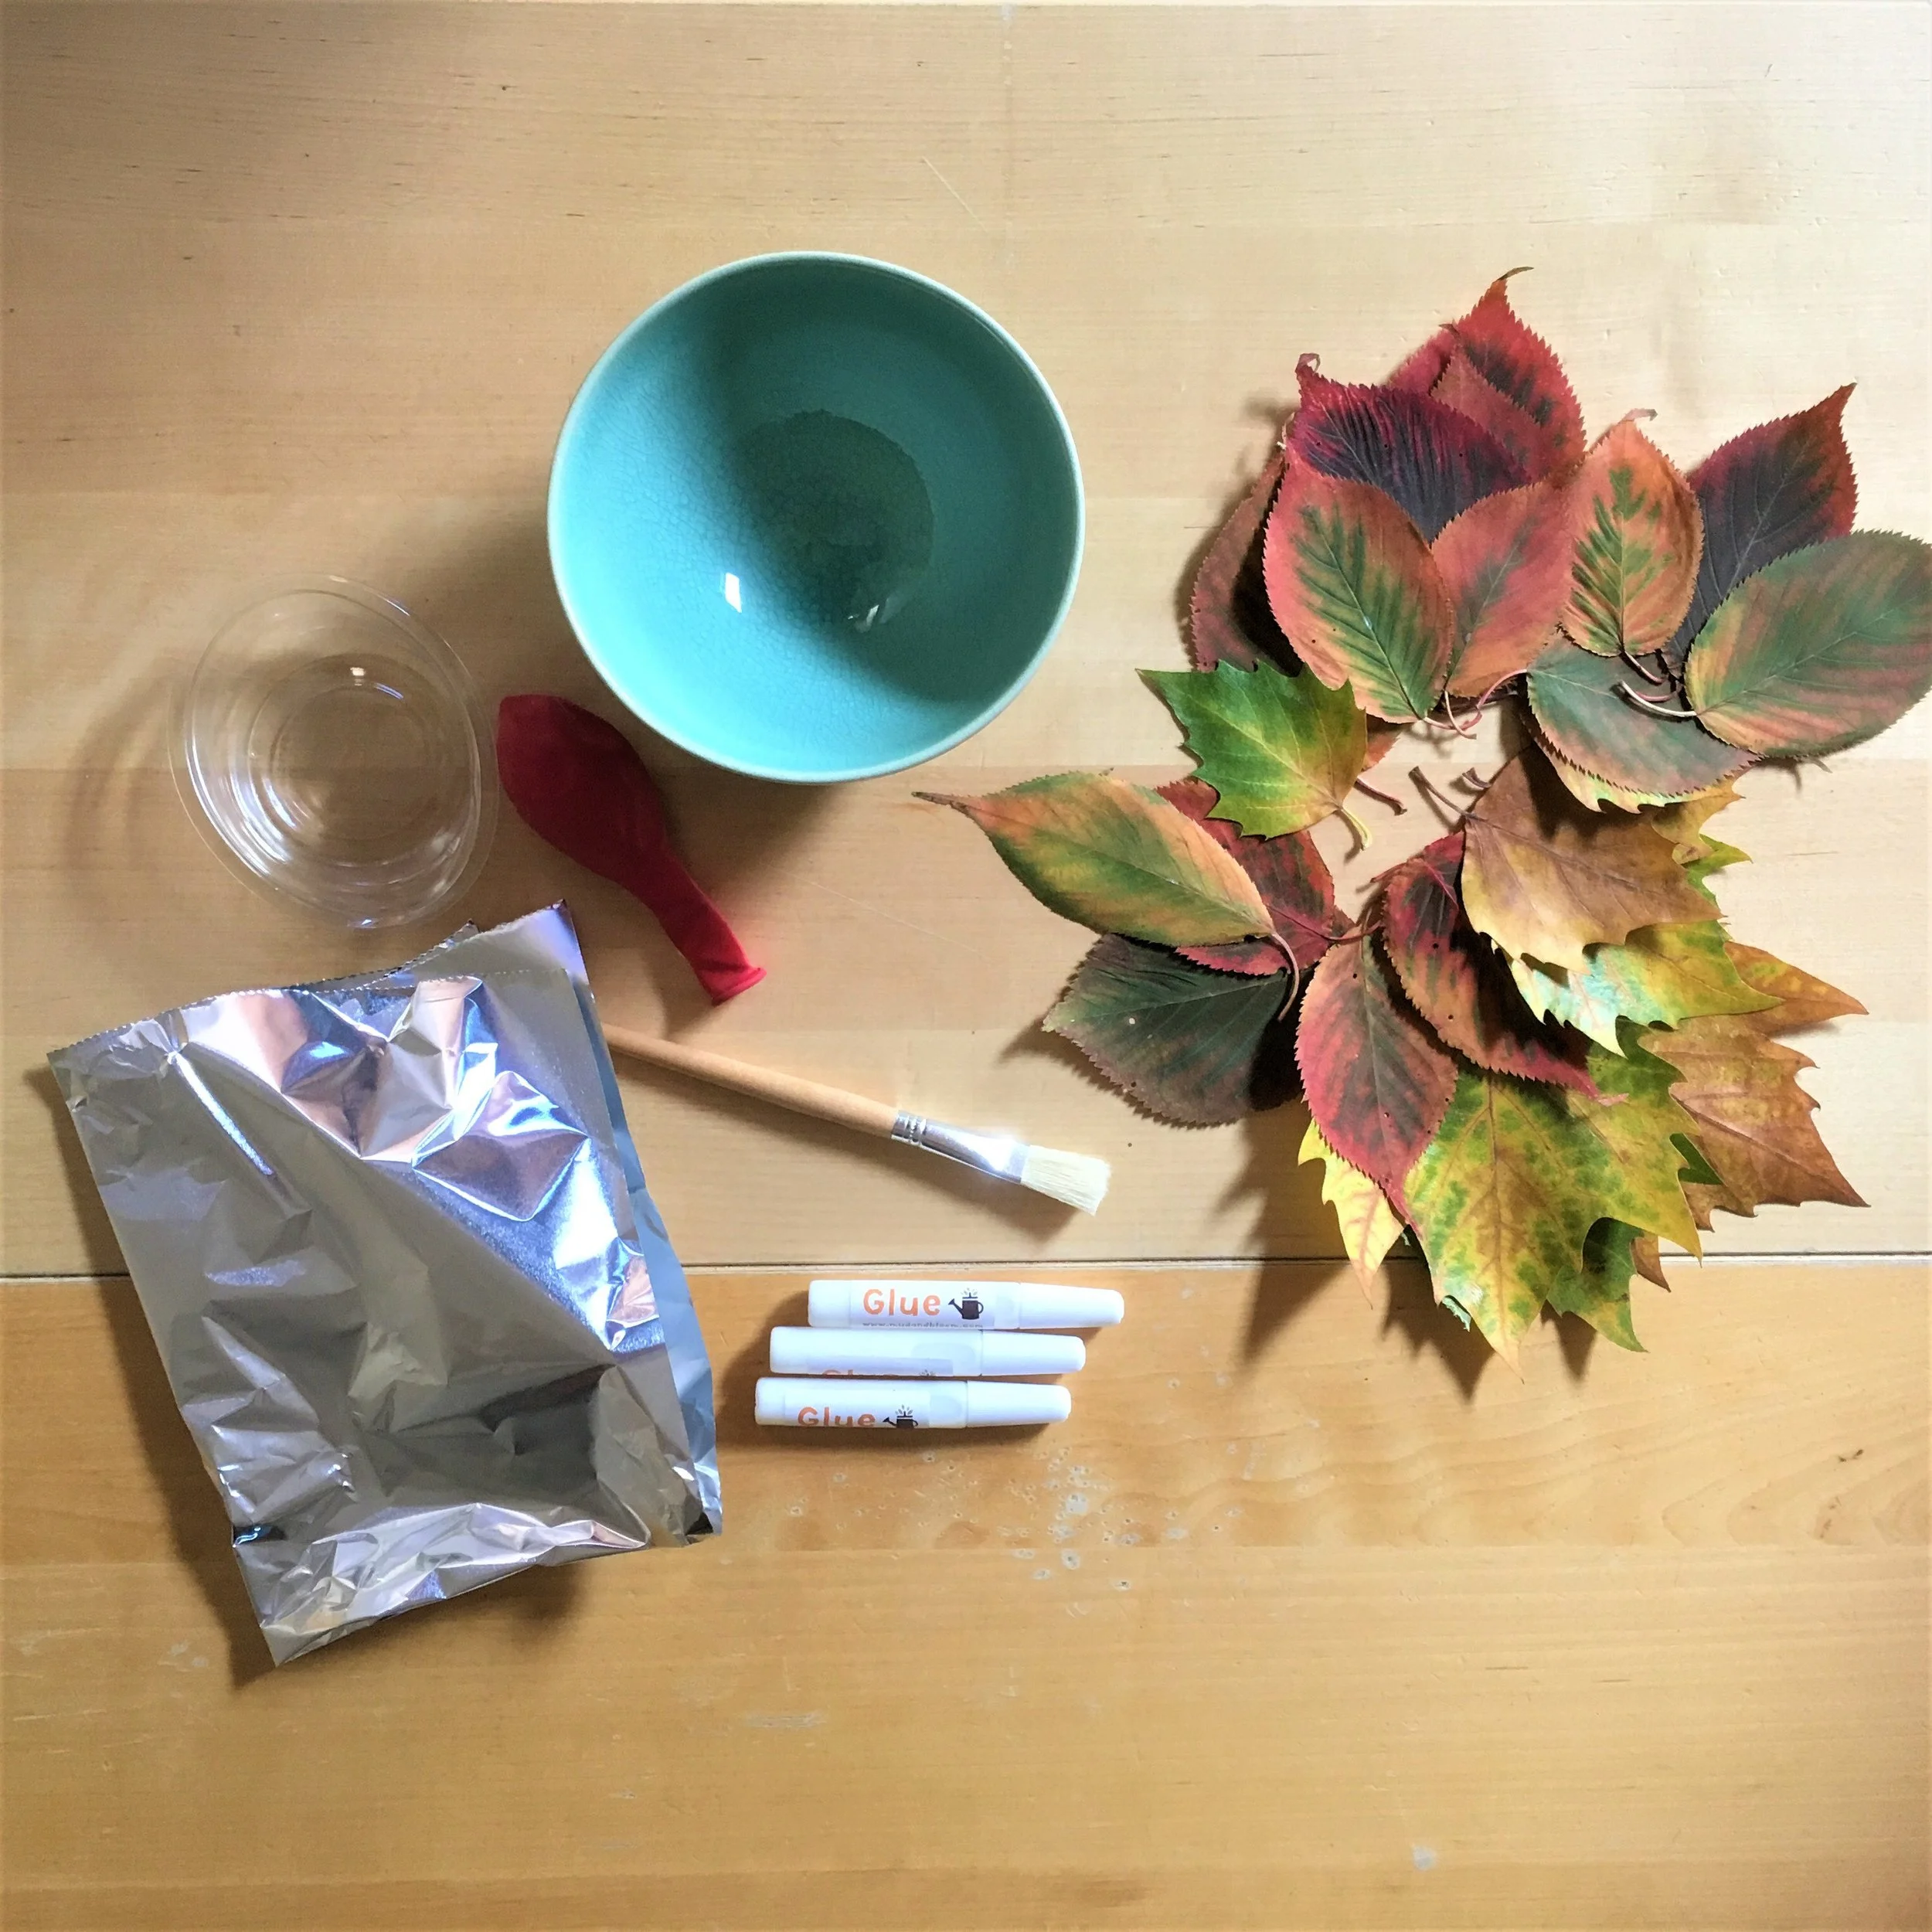
What you will need:
A selection of colourful autumn leaves
Some heavy books for pressing the leaves in
A balloon (we used a biodegradable balloon)
30 ml PVA glue
An old paint brush
Tinfoil (or cling film)
What you need
What you need to do:
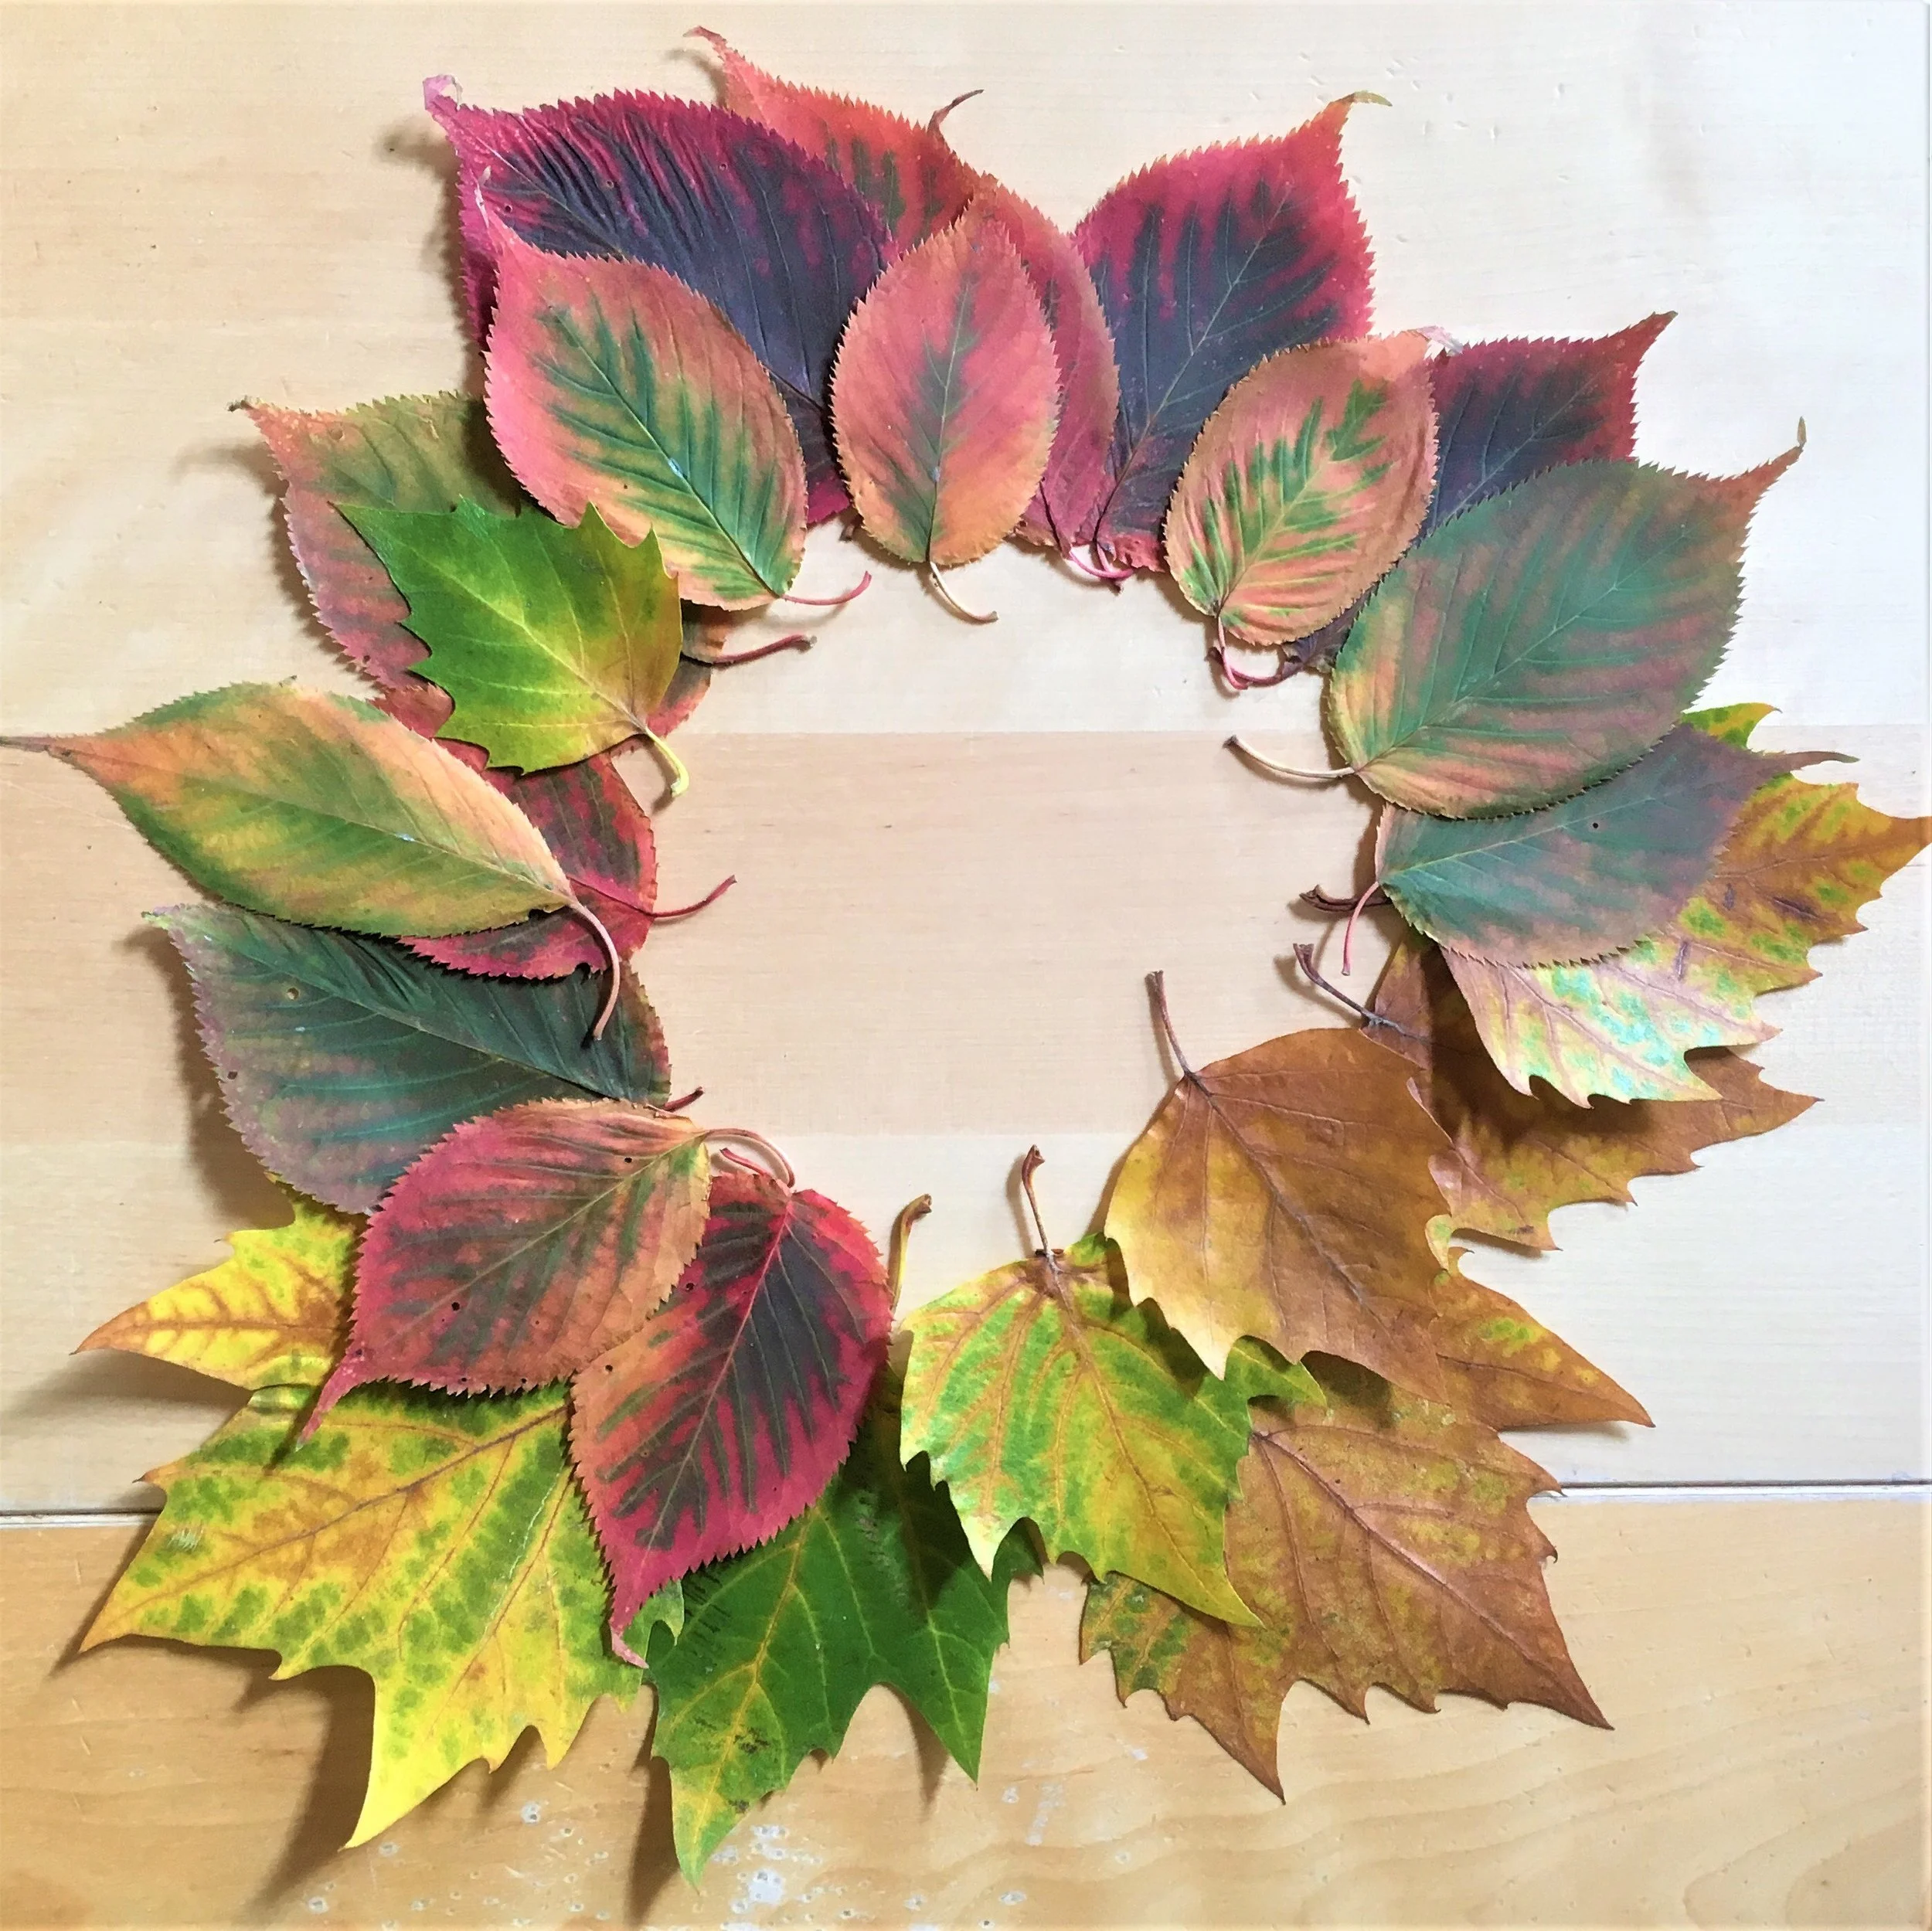
1. Go for a walk and collect a range of autumn leaves, maple or sycamore leaves work well for this.
2. Remove the lumpy stalk from the leaves, then flatten them between sheets of paper and under some heavy books for a day or so.
Pressing your leaves: use sheets of paper between the leaves and your book if you’re worried about staining your book
Pressed leaves
3. Blow up your balloon so it’s the same size as the bowl you’re using.
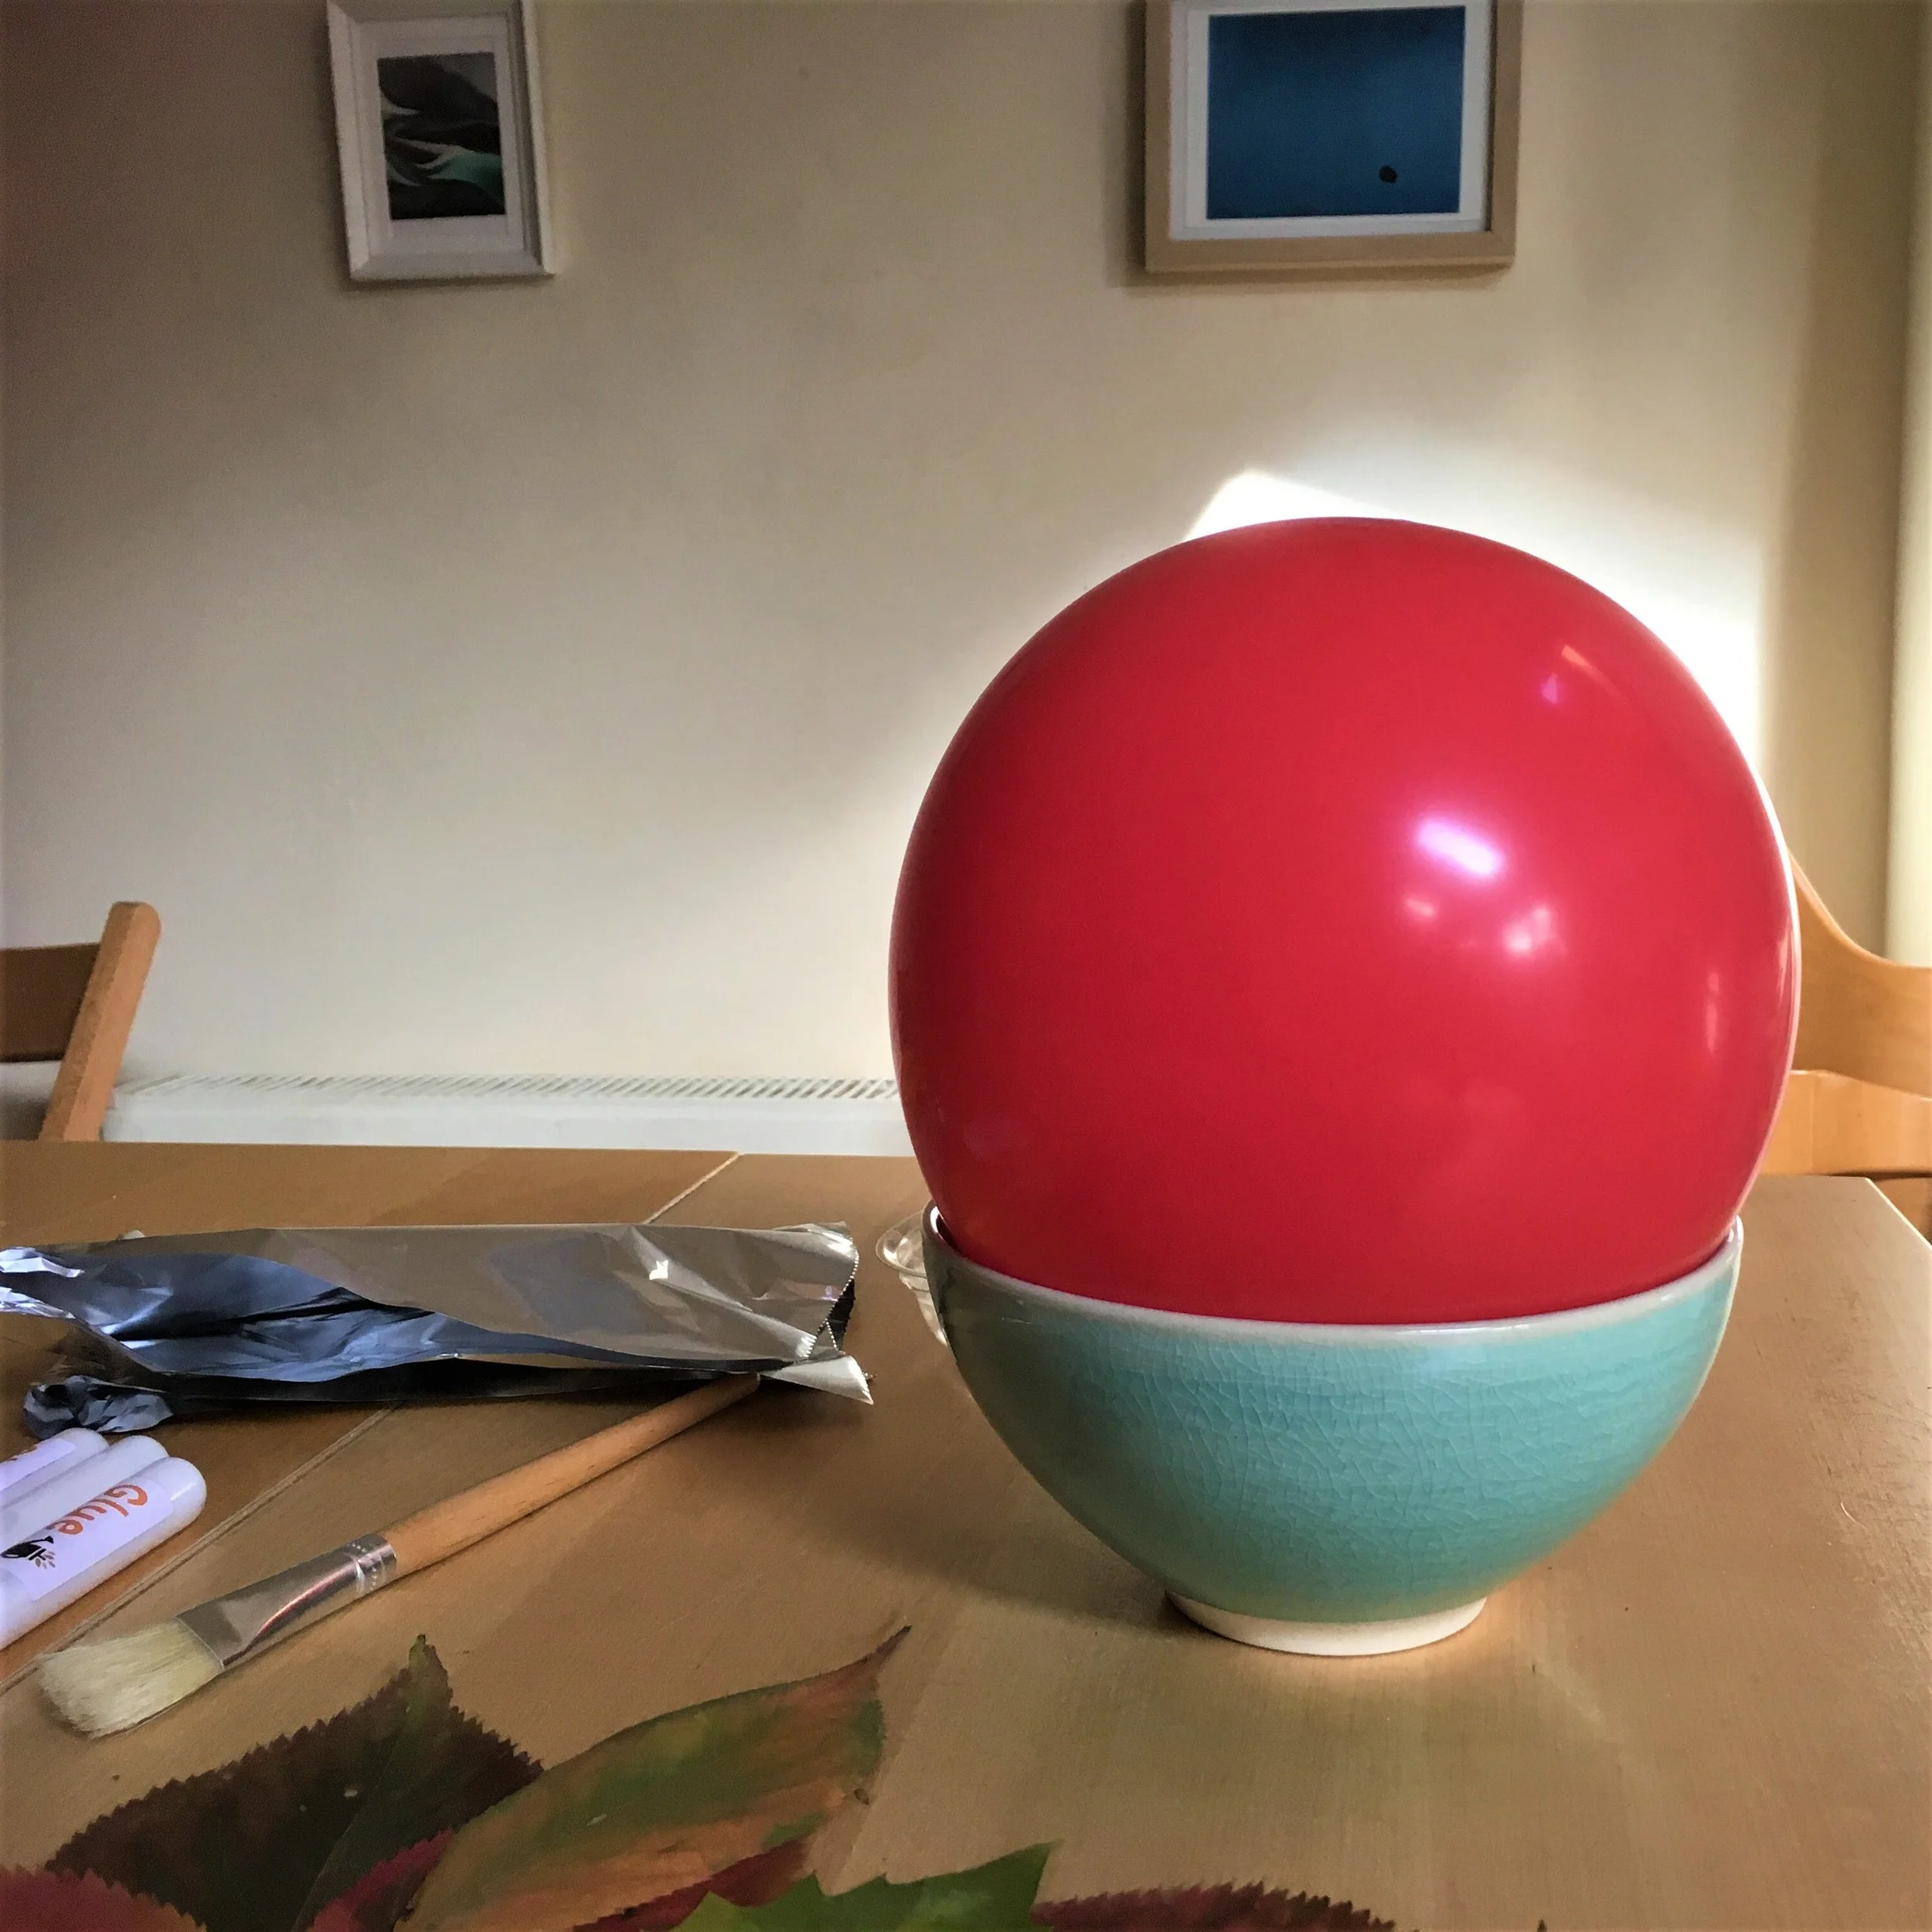
Fit the balloon snugly into your bowl
4. Pour half of your glue into a container from your recycling bin (something you don’t want to get ruined) and mix it with a very small amount of water (around one tablespoon).
5. Place the balloon in the bowl, so it fits securely, then use your brush to paint on a layer of the watered-down glue onto the part of the balloon that’s sticking out of the bowl.
6. Gently, press a layer of flattened leaves over the glue, making sure they overlap a little at the edges. Don’t overlap the leaves too much, though, or they won’t get enough glue on them and will peel off.
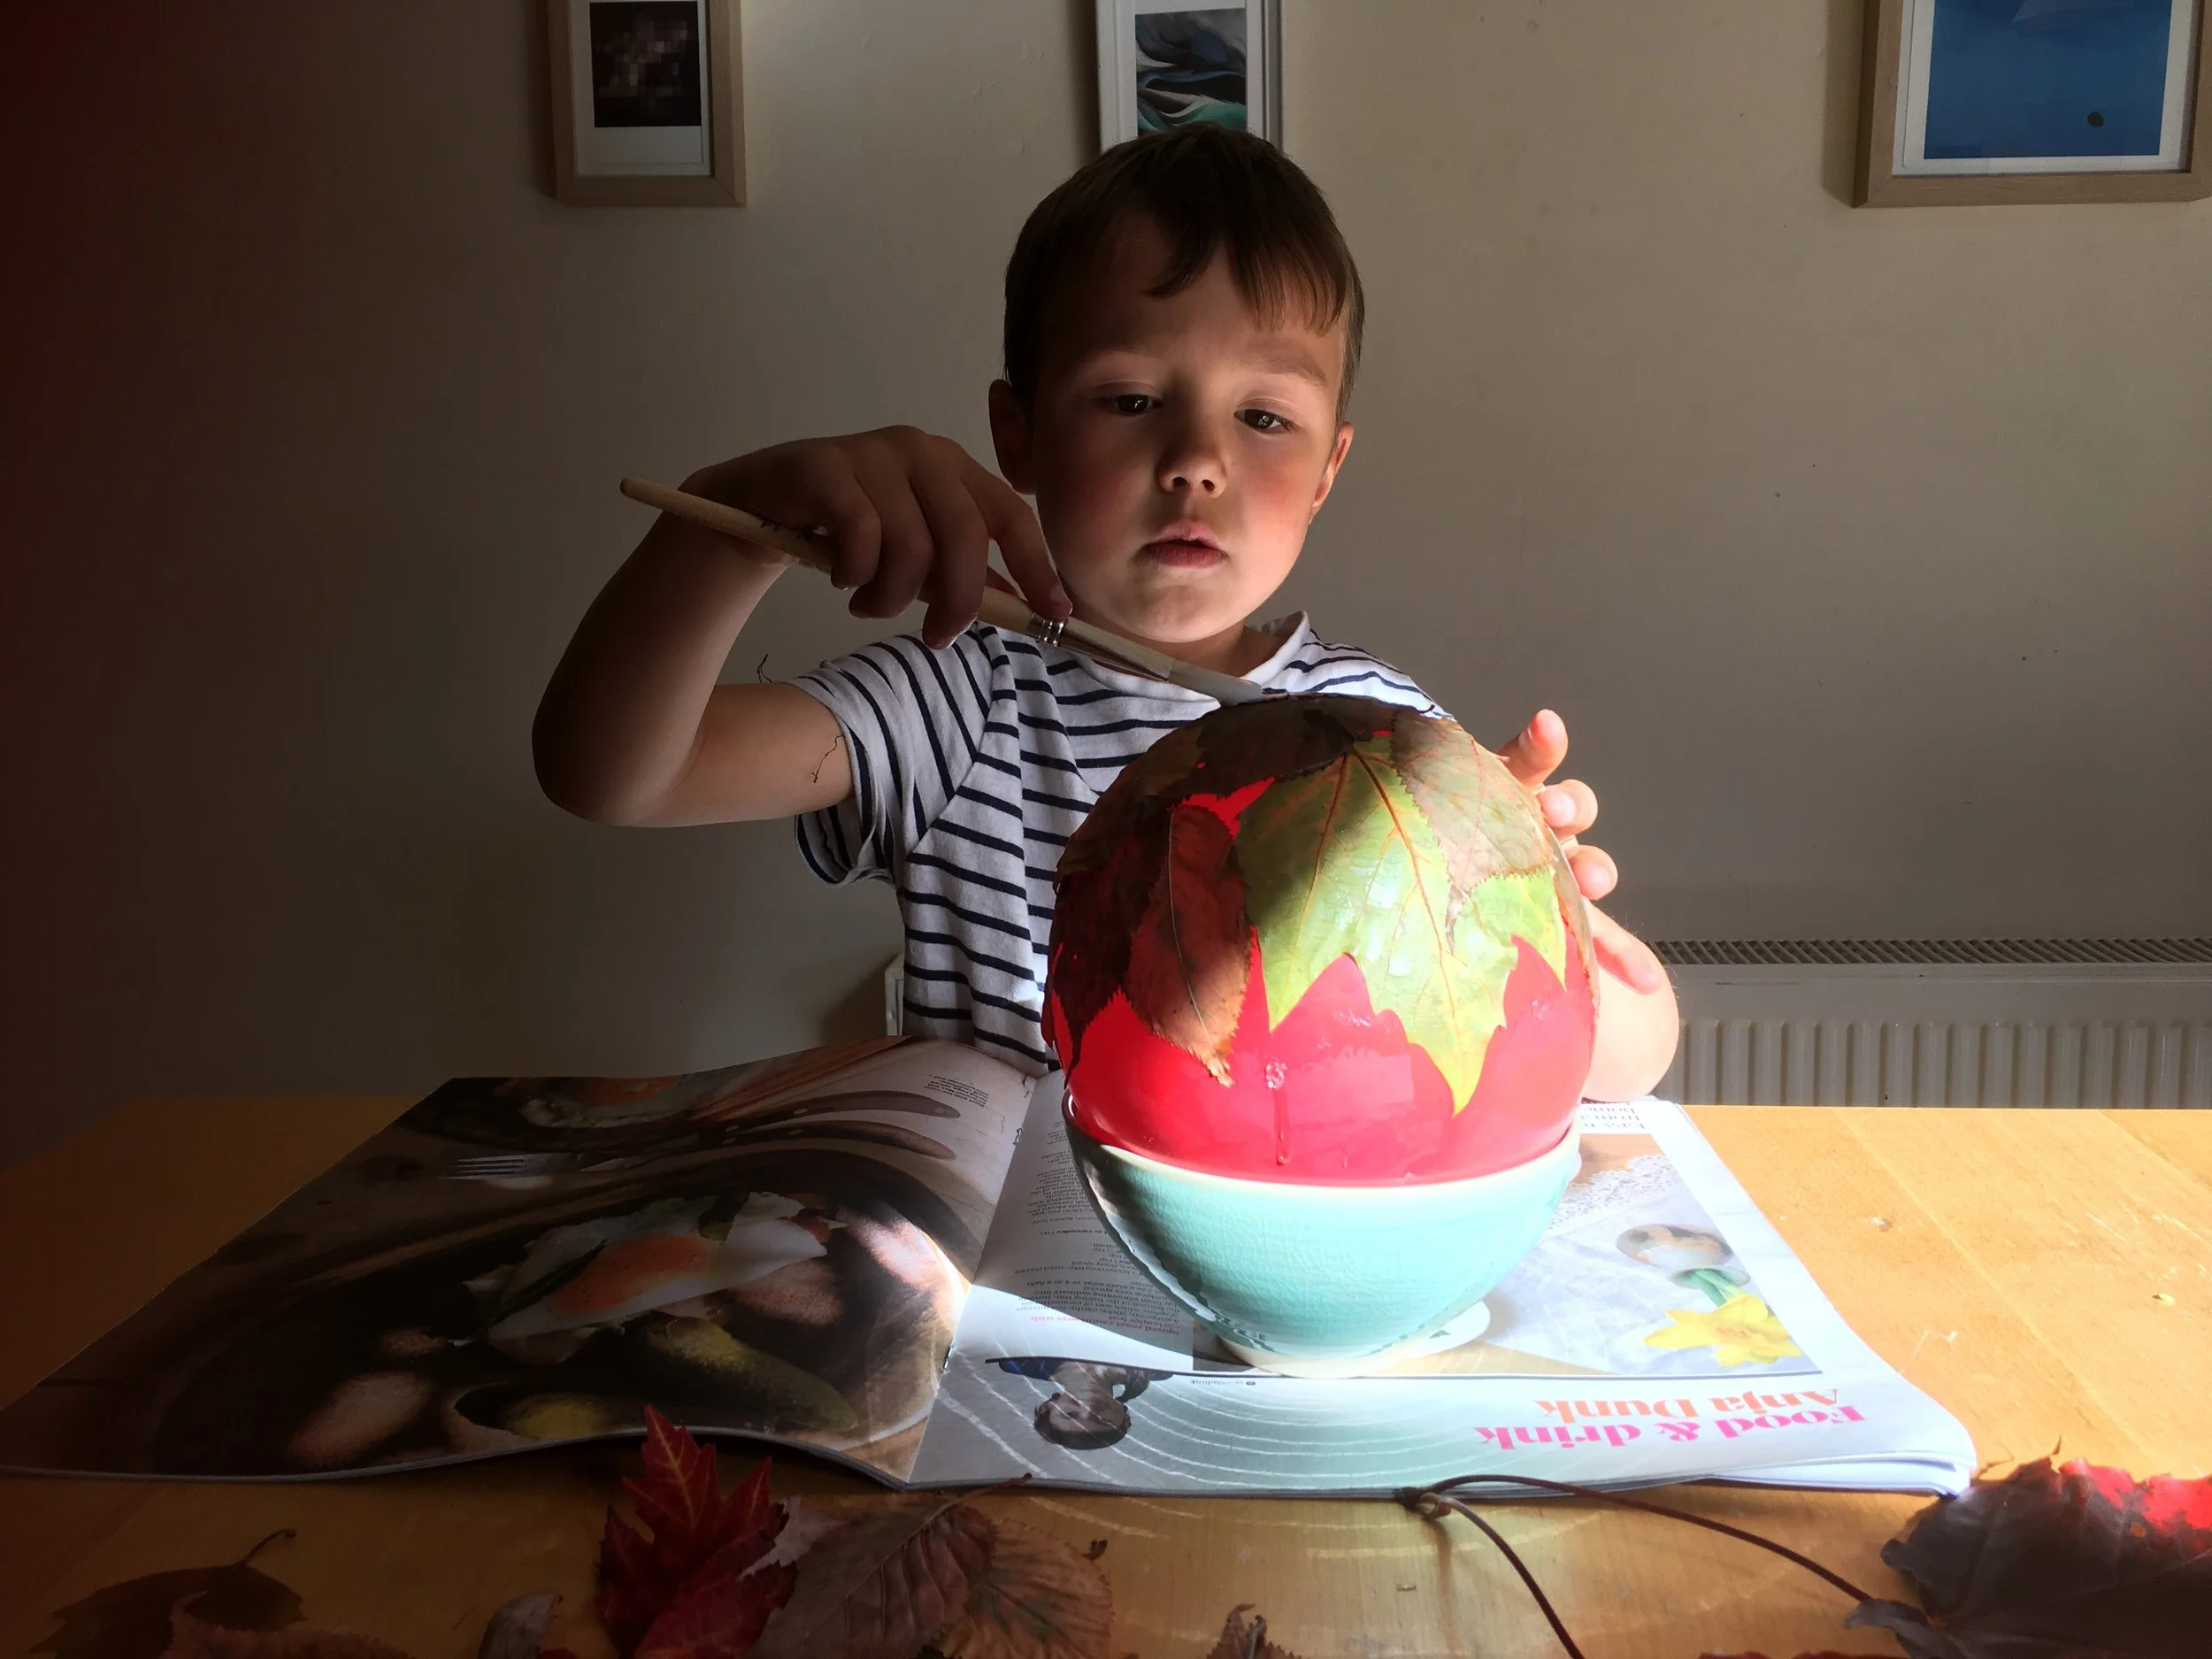
Painting a layer of glue over the leaves
7. Cover the leaves with another layer of the watered-down glue. Then cover them with a layer of tinfoil (or clingfilm), to help keep the leaves in place. You could also turn your balloon over in the bowl if it fits, to help the leaves set in place.
8. Now you need to be patient and leave your bowl to dry overnight, if you have a boiler room or airing cupboard, you could place it there, to help it dry quicker.
9. Once the first layer is dry (it may need more than one night), add another layer of watered-down glue and leaves (using your remaining glue). Just like before, you need to wrap the leaf bowl up again to dry, otherwise the leaves are likely to fall off.

Ready to glue on the second layer of leaves
10. When your second layer of leaves is completely dry, it’s time to remove the outer tinfoil or clingfilm. You then need to pop your balloon, which you can do by pricking it with a pin or needle. Don’t be alarmed if your bowl suddenly changes shape, the normal shape will come back.
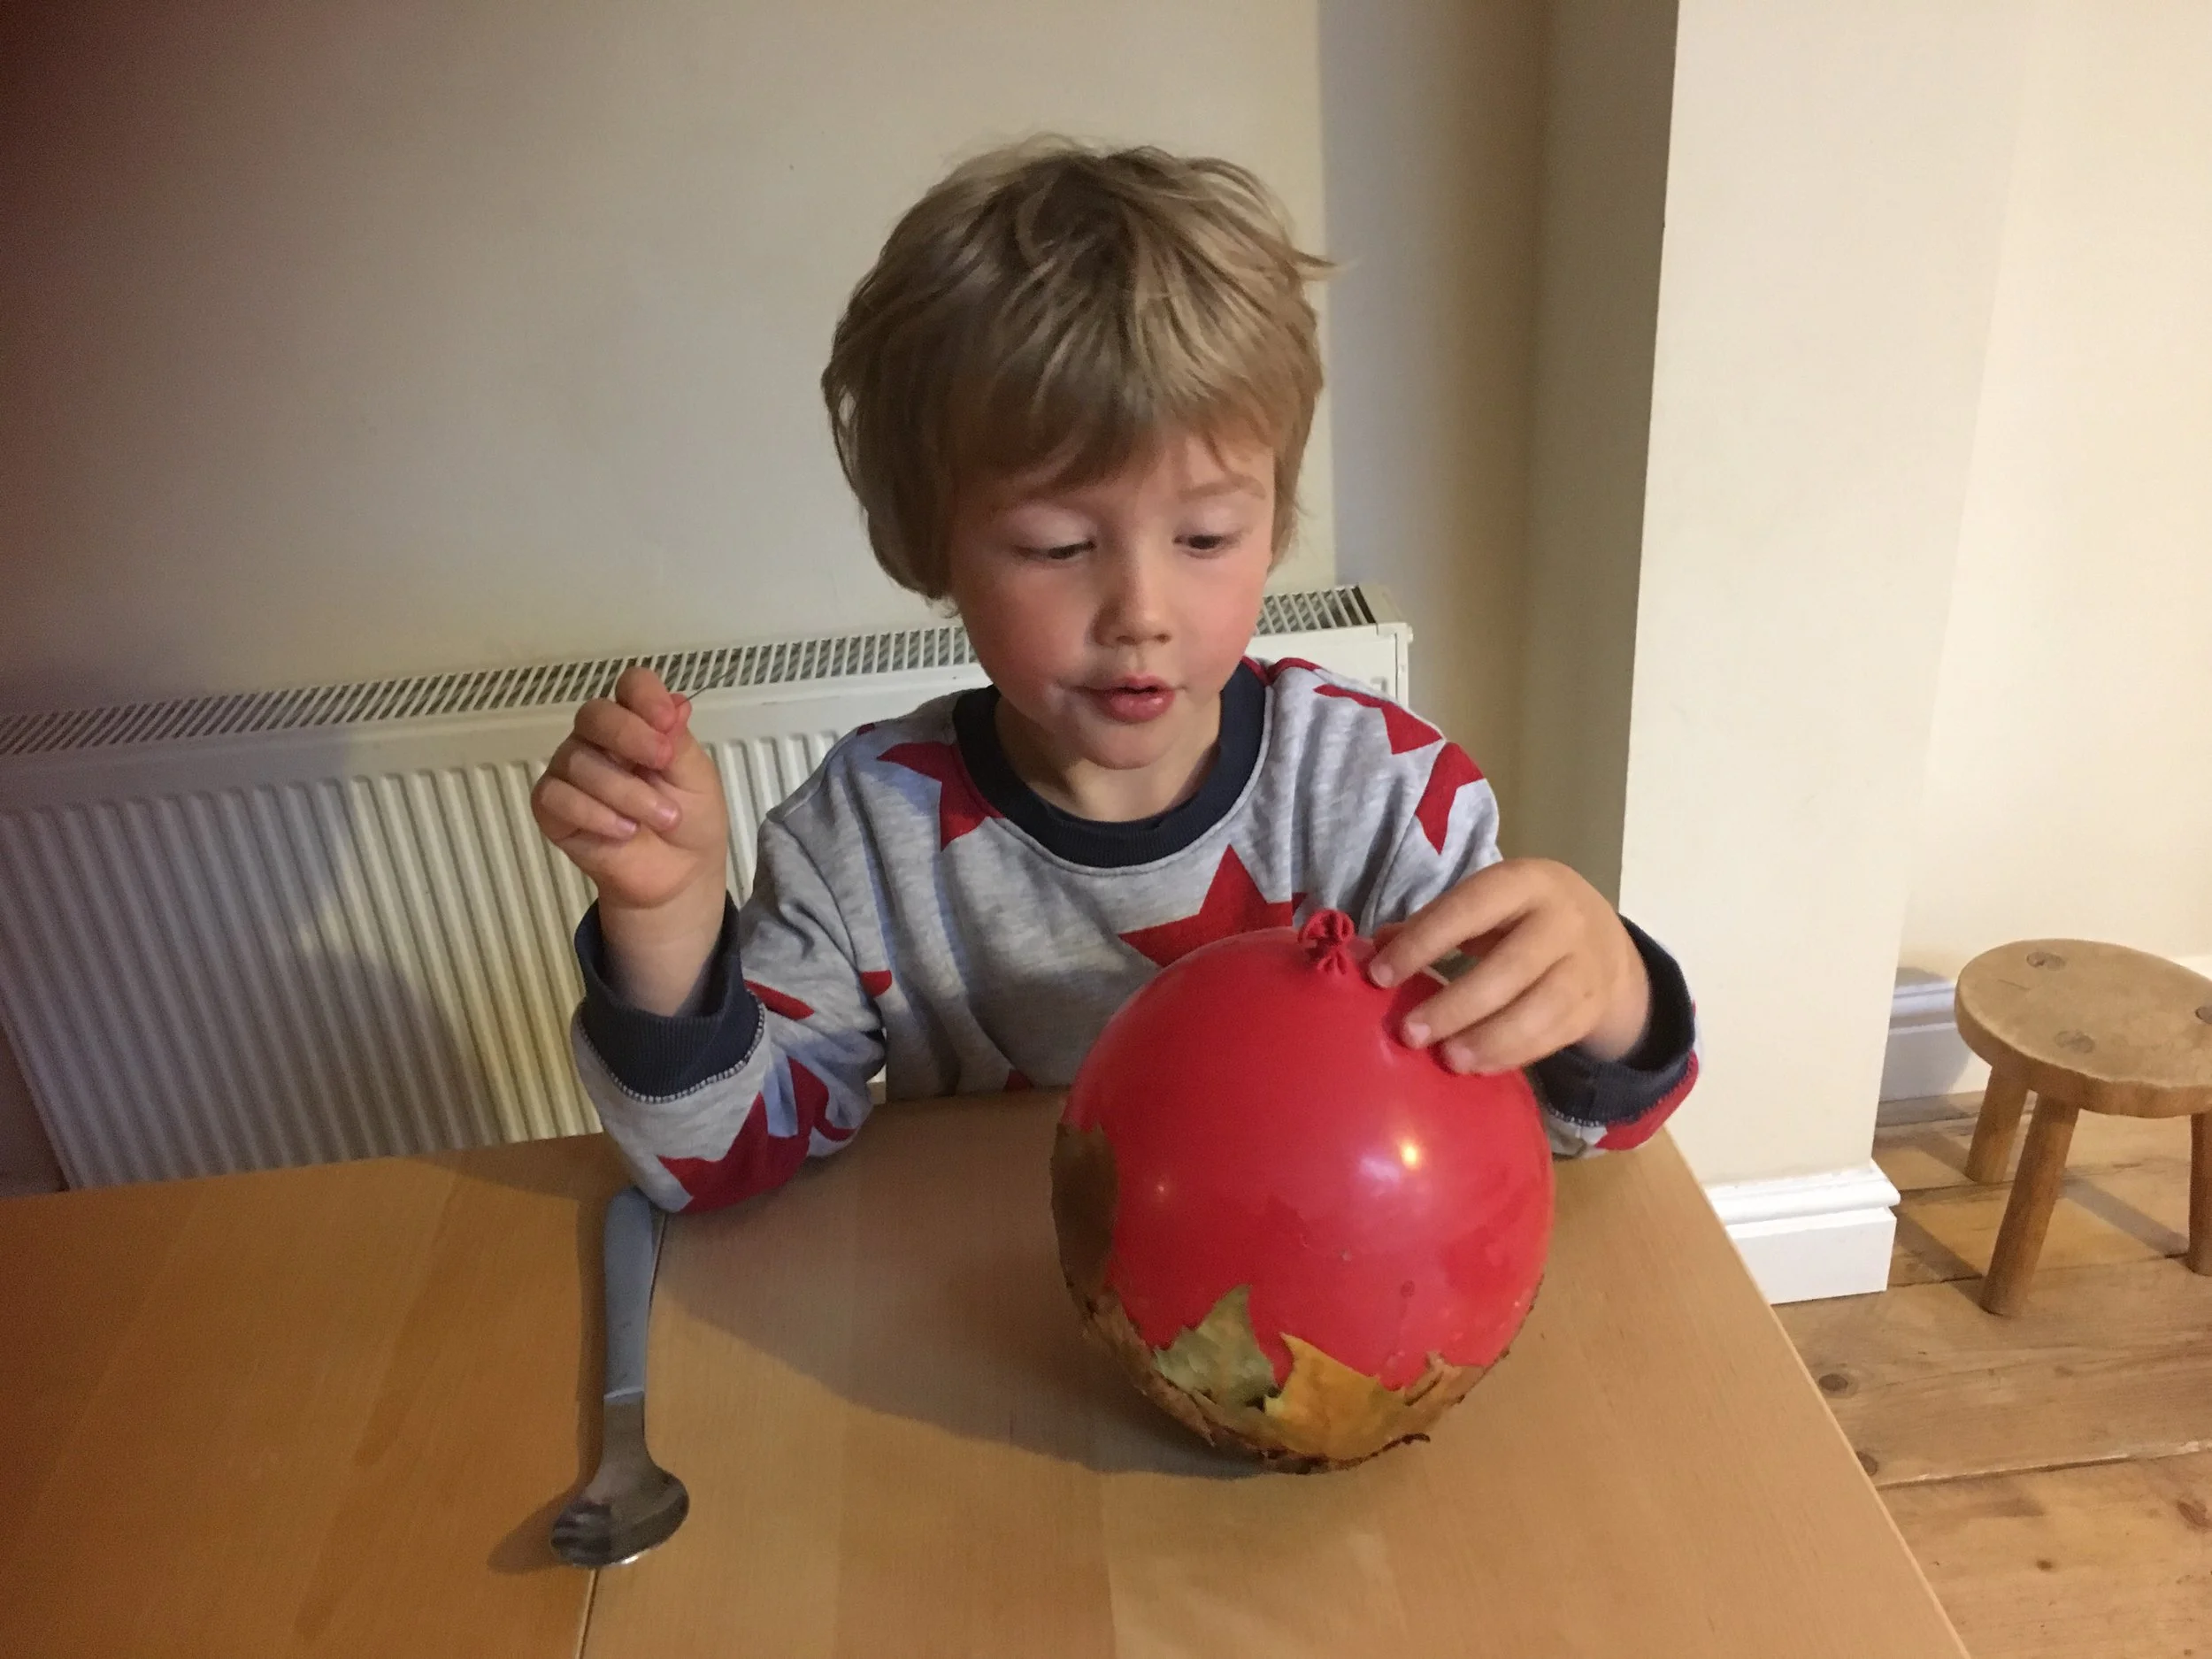
Popping the balloon
11. Very gently peel out the deflated balloon and reshape your bowl.
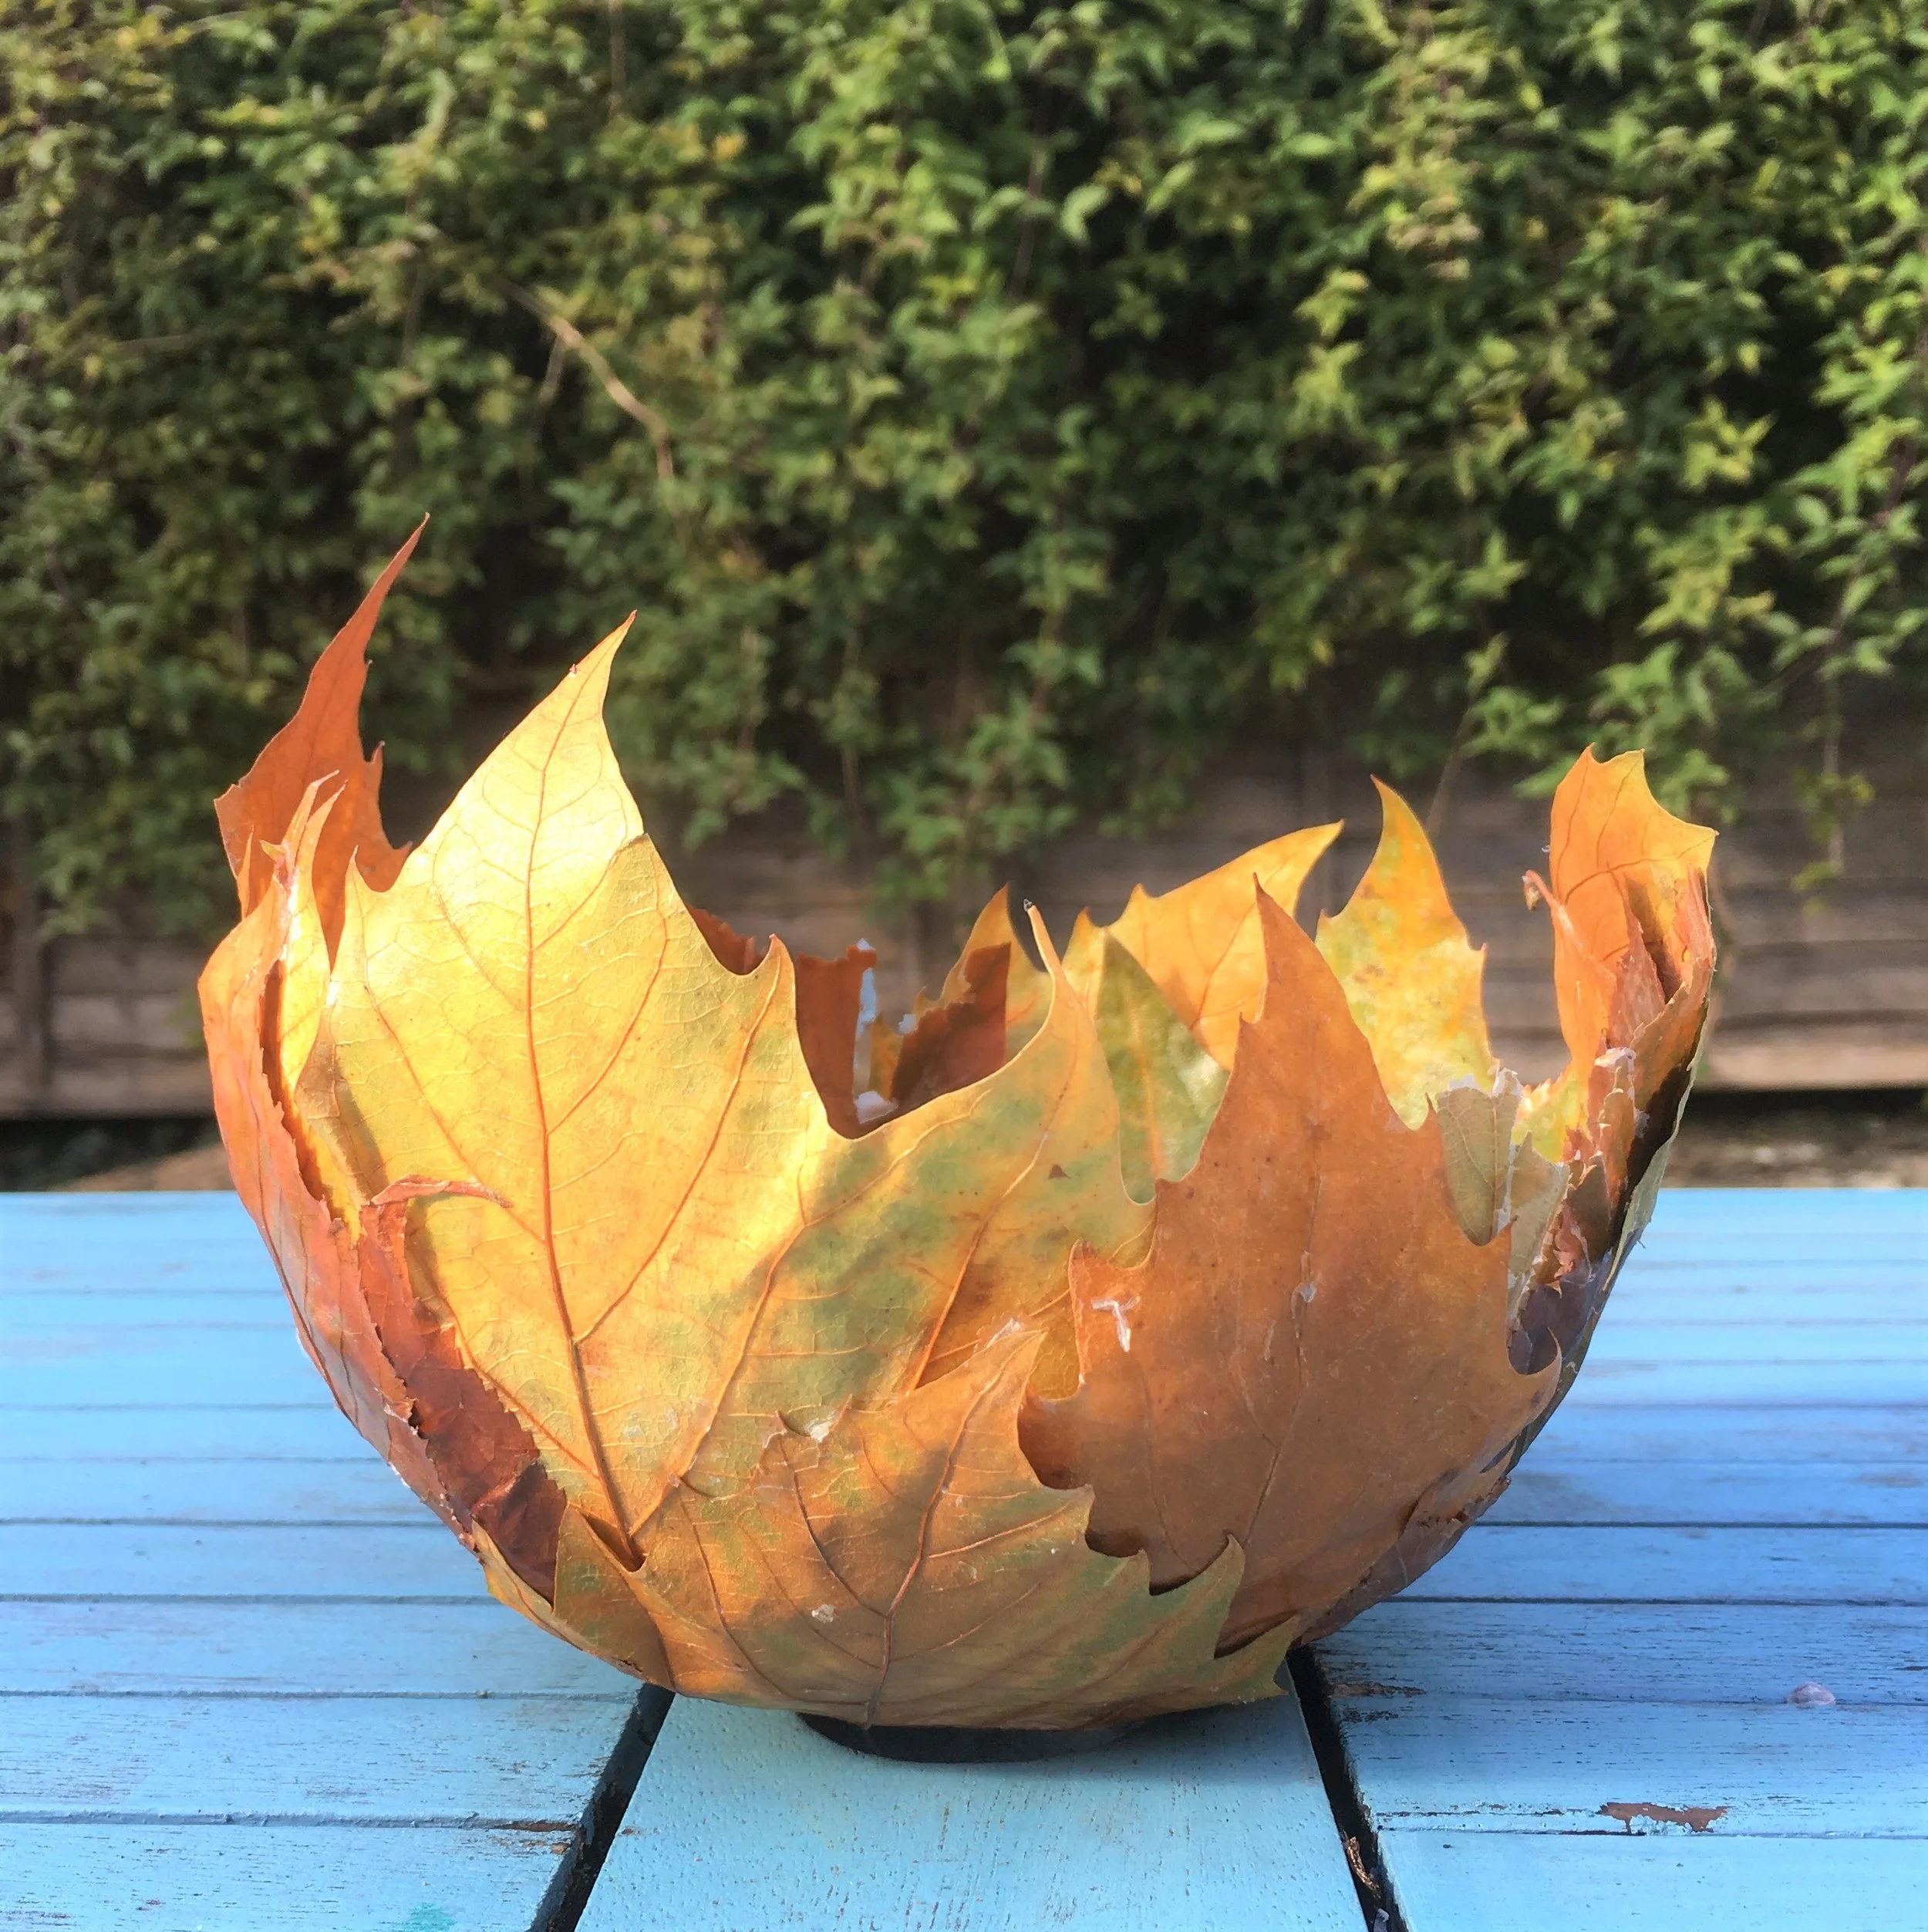
12. Your finished bowl will be fragile; it is for looking at rather than for keeping heavy things in but you could try putting some very light nature finds in it like pine-cones. Put it on a windowsill where it can catch the light or in the centre of your table for everyone to see!
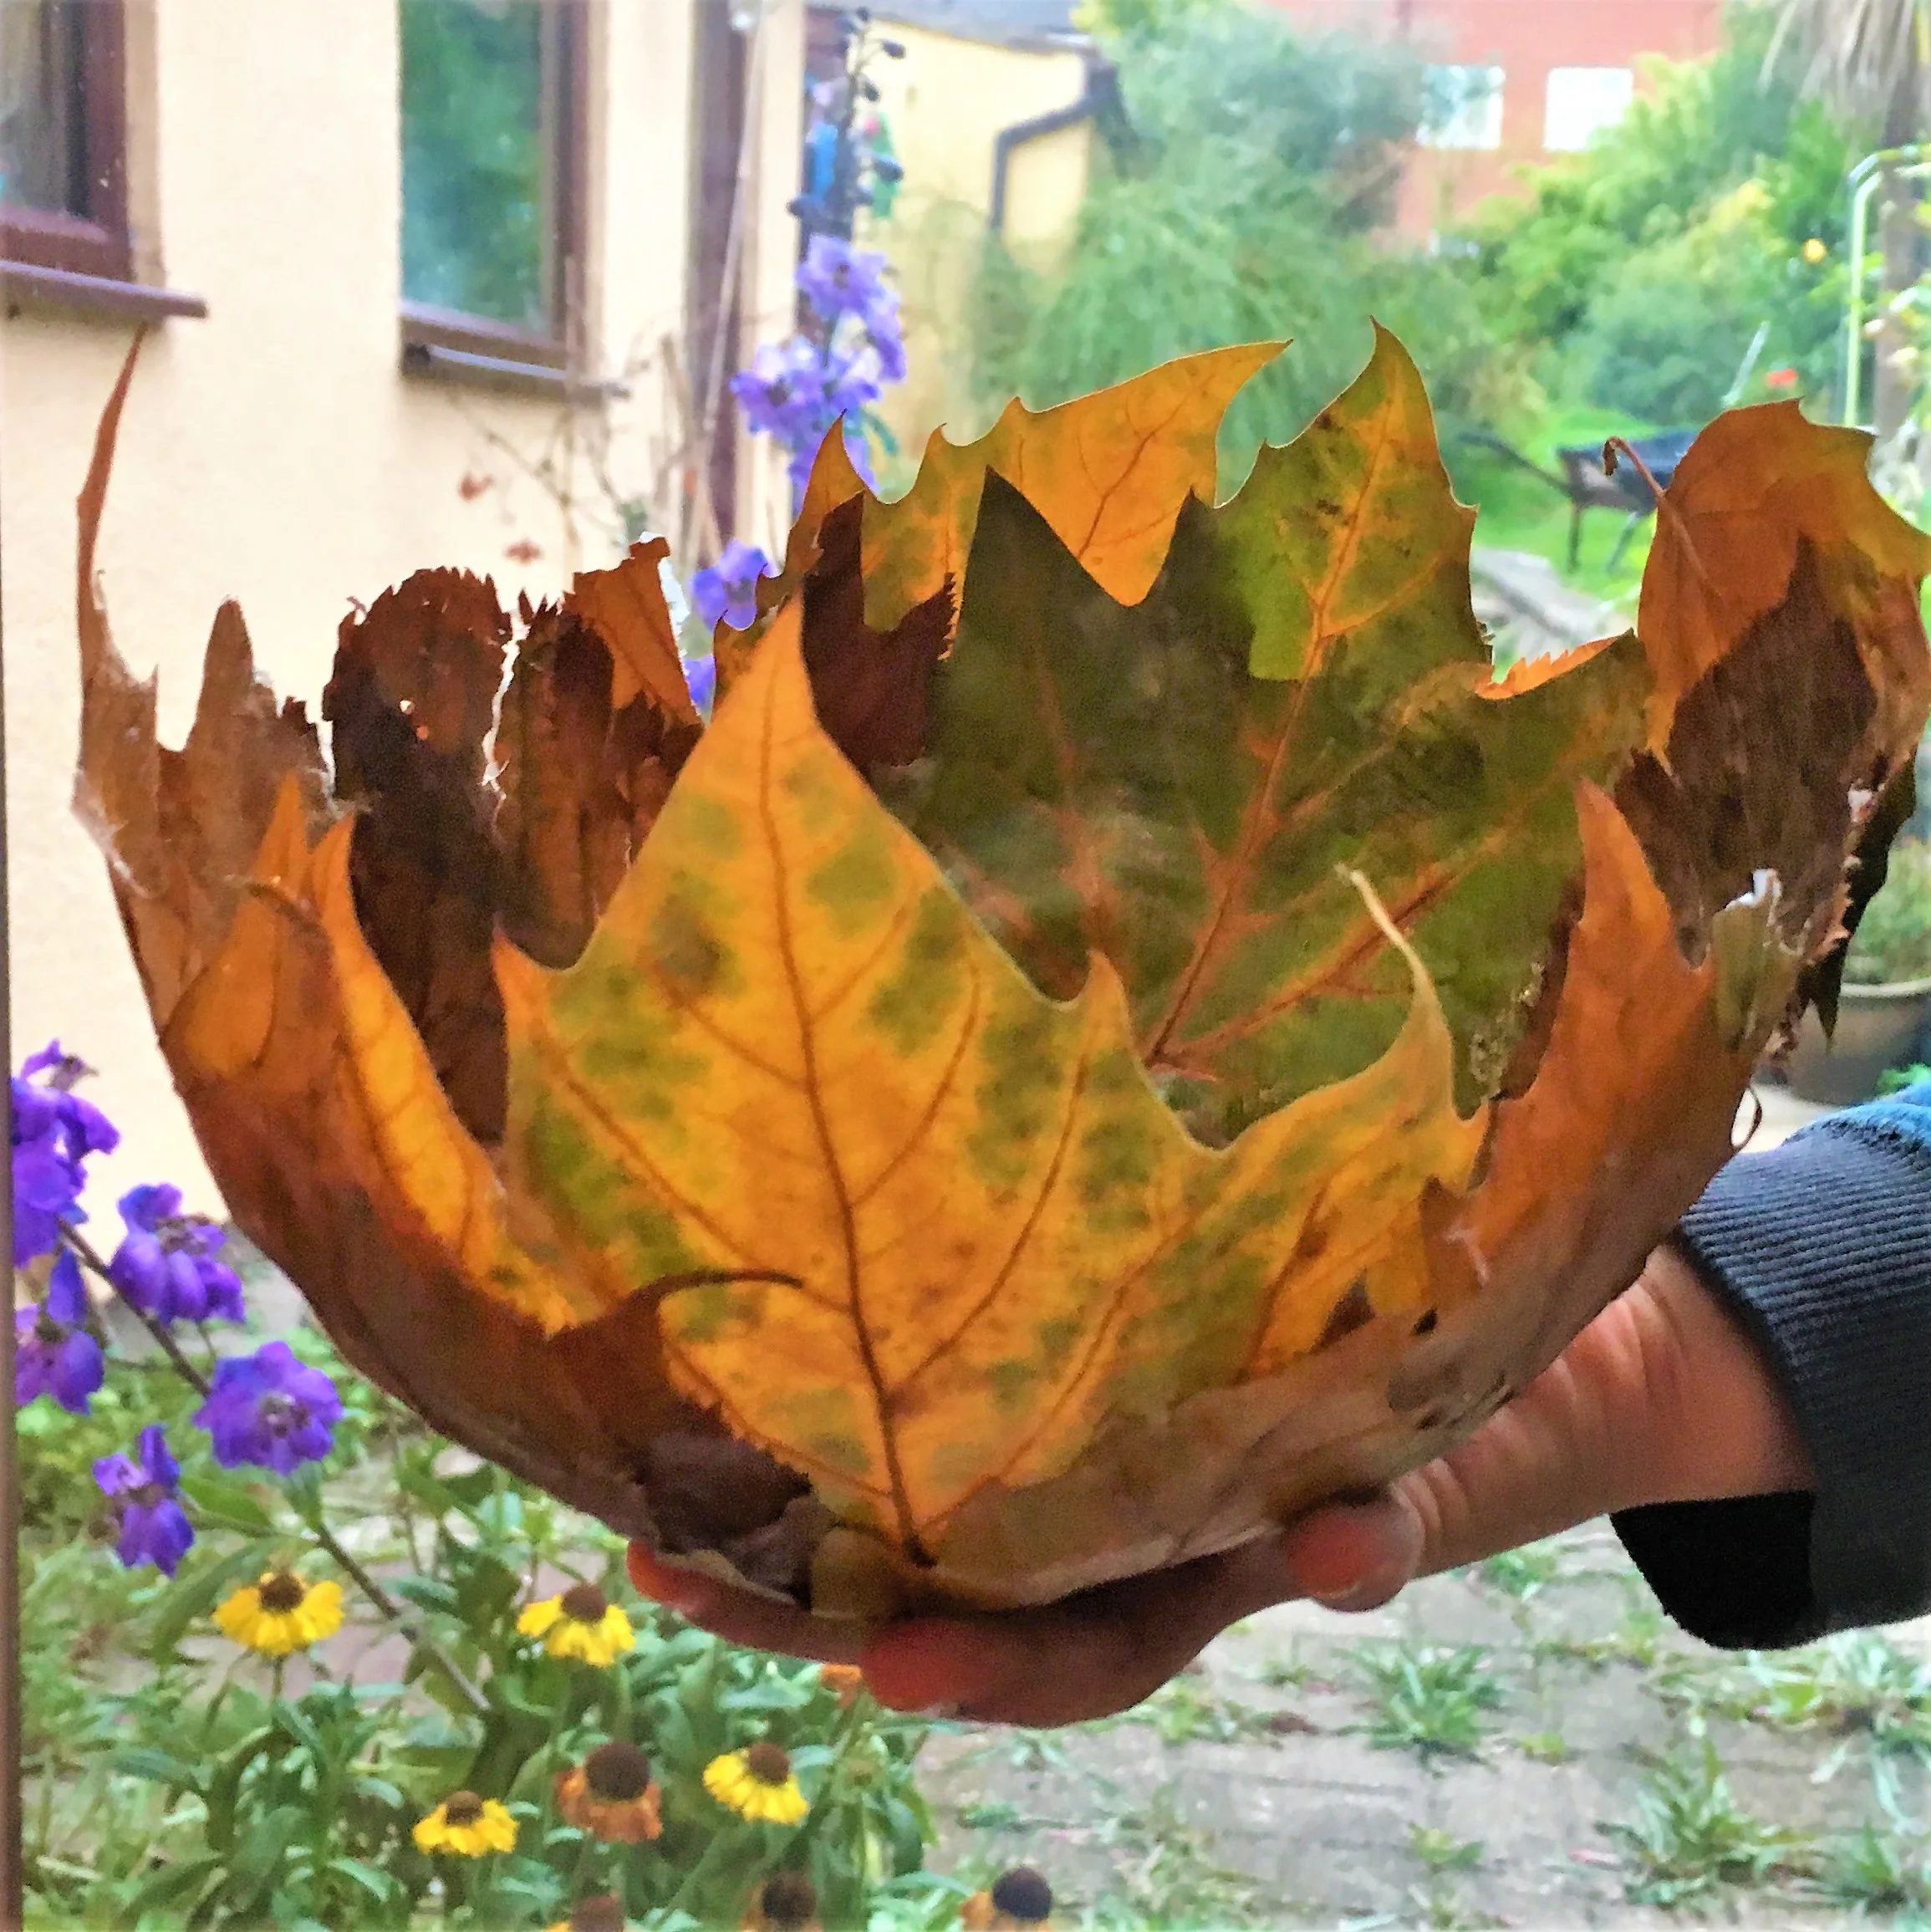
Finished leaf bowl