Make your own alder cone ink and dip pen

A variety of plant parts can be used to produce inks and dyes – everything from roots and nuts to flowers and berries and even food waste. It’s always fun to see what colour inks plants will produce as it’s not always what you expect! Alder cones produce a lovely warm caramel colour which is great to use as ink.
What you will need:
Alder cones
A saucepan
A muslin or coffee filter
A small jar
Gum arabic or cloves (optional)
A brush
White paper
If you want to make a dip pen, you will need a thin stick and a pencil sharpener
What you need to do:
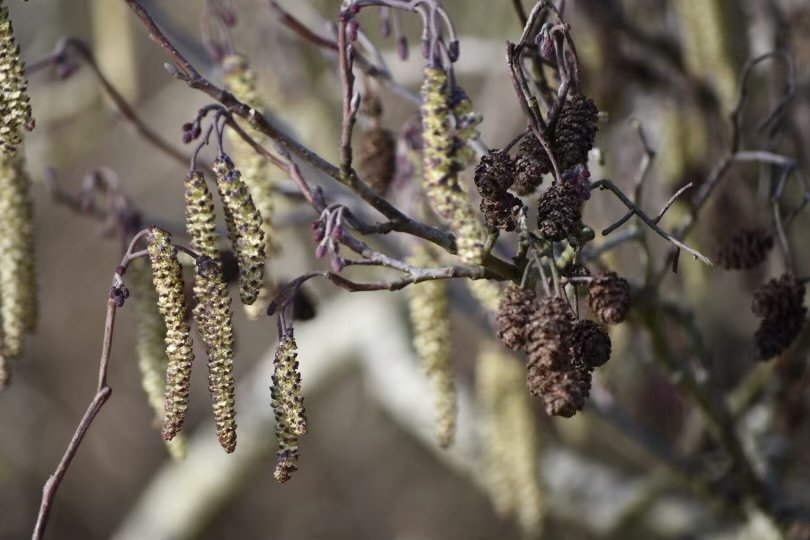
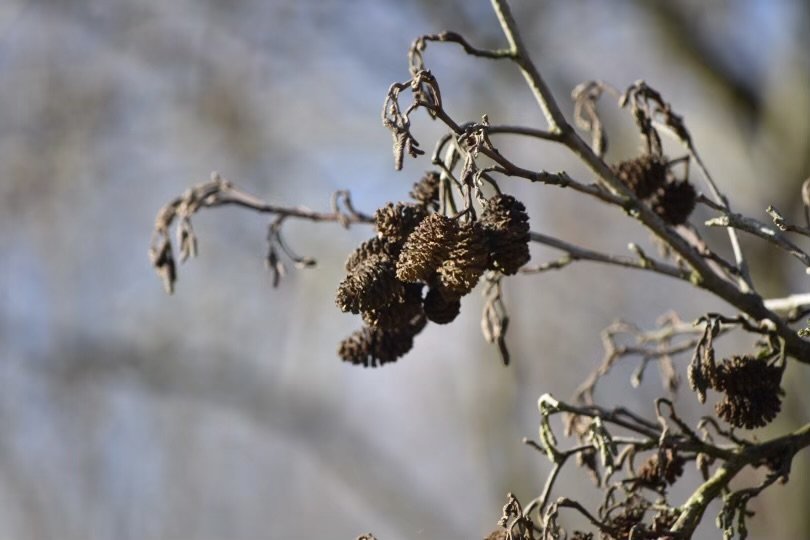
First you’ll need to find some alder cones. You’ll often find alder trees growing on moist ground near rivers and streams or in wet woodland, and they can be identified by their flowers. Common alder has both male and female flowers on the same tree which appear before the leaves in early spring. The male flowers are in the form of hanging catkins, measuring up to 6cm, which turn yellow. Female catkins are green and oval-shaped, and grow in clusters. Once pollinated, the female catkins gradually become woody and appear as tiny cones from autumn, opening to release their seeds. The female catkins stay on the tree through the winter and the following summer so can be found all year round.

Place your alder cones in a saucepan and cover with water. Put the pan on a low heat and gently simmer for an hour.
Check the colour of the ink by dipping a strip of white paper in the pan and continue heating if you would like a more concentrated colour. When you are happy with the depth and shade of the ink, remove the pan from the heat and let the ink cool.

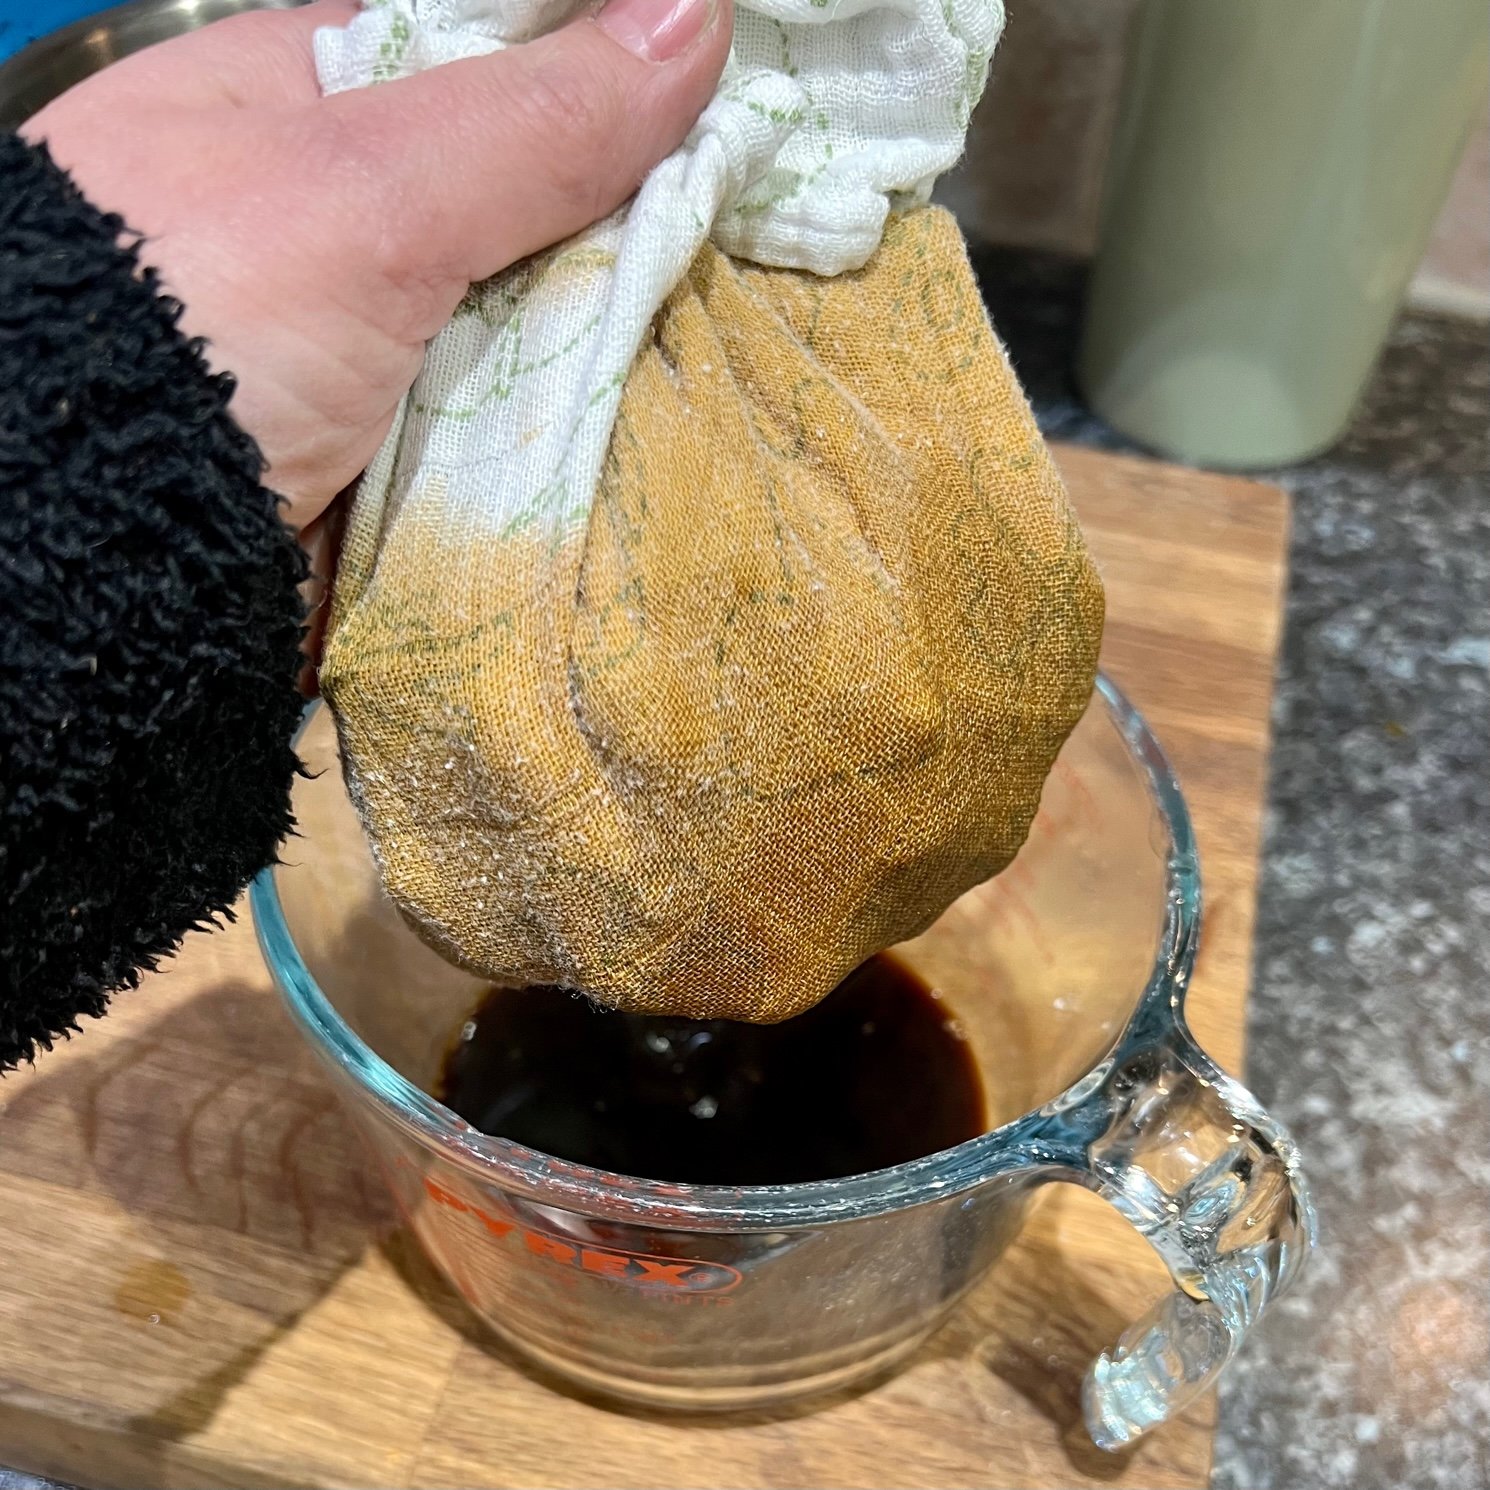
Strain the liquid through a clean muslin or a coffee filter and then pour into a small jar.


If you have some gum arabic (liquid), you can add a teaspoon to your mix. Typically, gum arabic is used as an emulsifier and as a binder, helping the ink bind with the paper as well as helping preserve the colour. I compared some ink with gum arabic added to some without and found that the ink adhered to the paper really well either way so I think it can be made perfectly well without. You can also add a couple of cloves to your ink which will act as a preservative.
Now your ink is ready for you to paint and draw with!

As I had made an ink from natural materials, I thought it would be nice to make a dip pen from a stick to use with the ink. I simply cut a pen-sized length of stick and used a pencil sharpener to create a nib. You can also do this with thicker sticks and a whittling knife or peeler. It would be interesting to create a set of dip pens with different sized and shaped nibs such as a pointed nib and a chisel-edge nib.
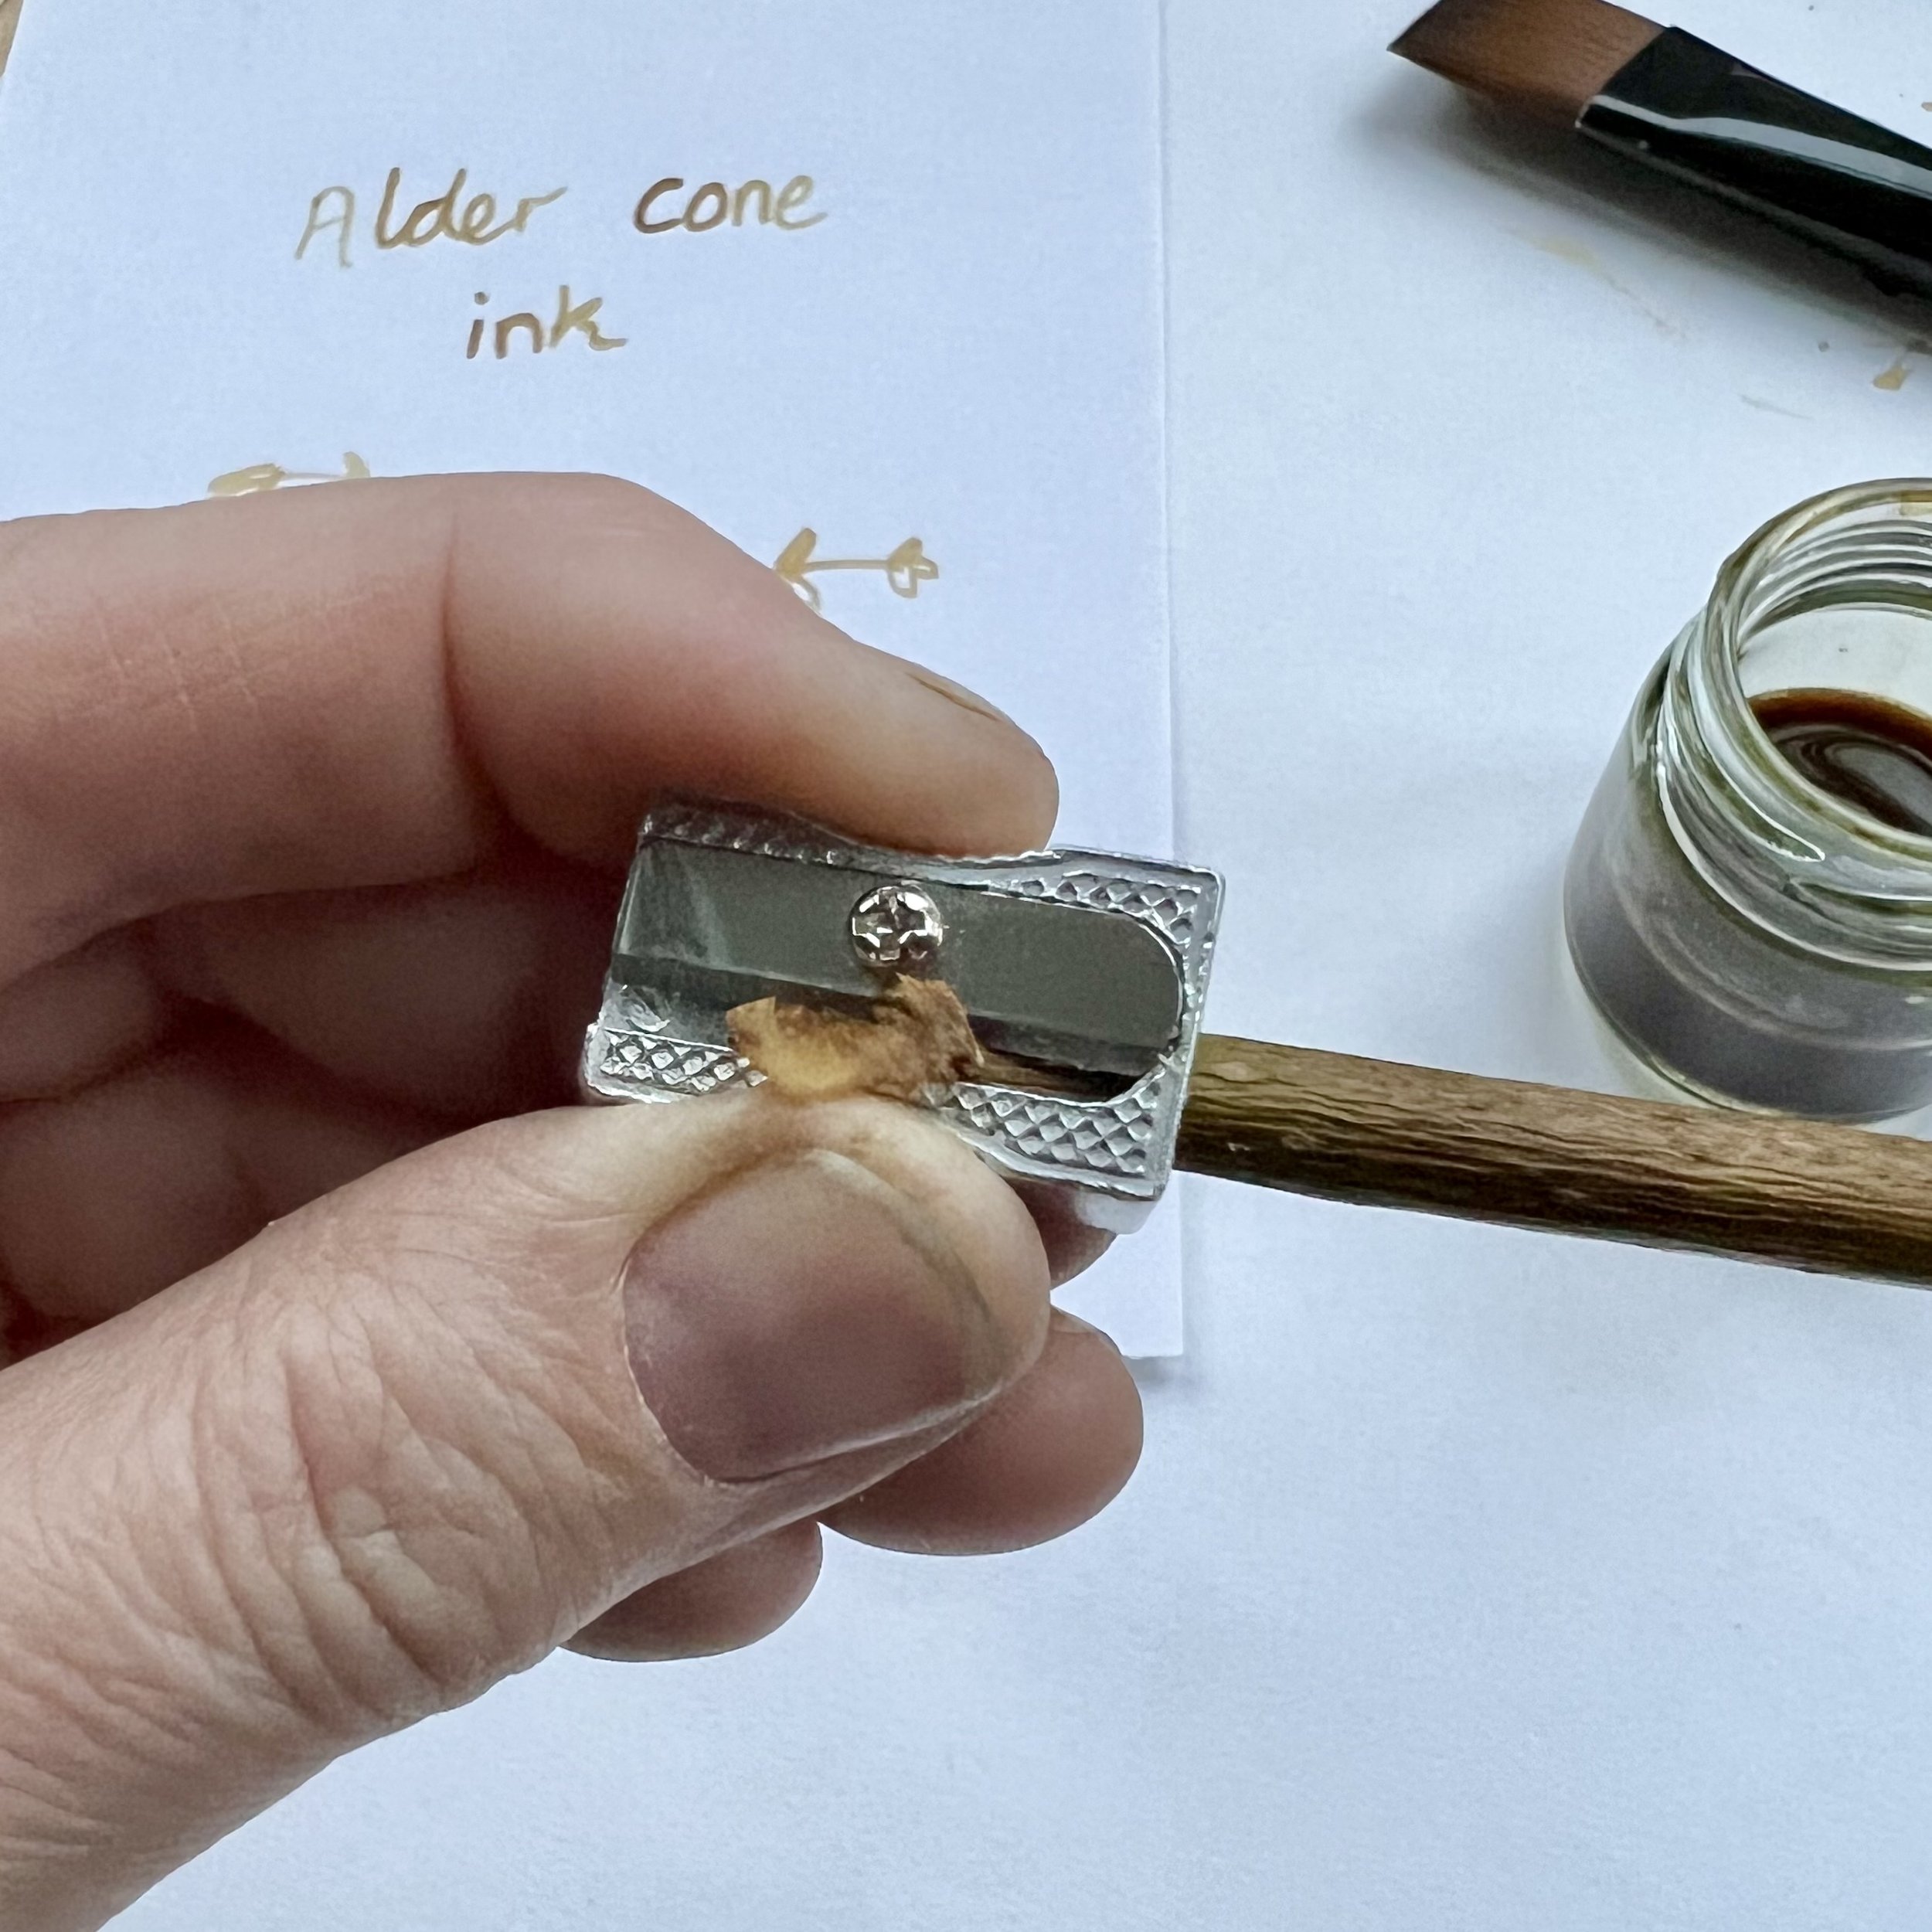
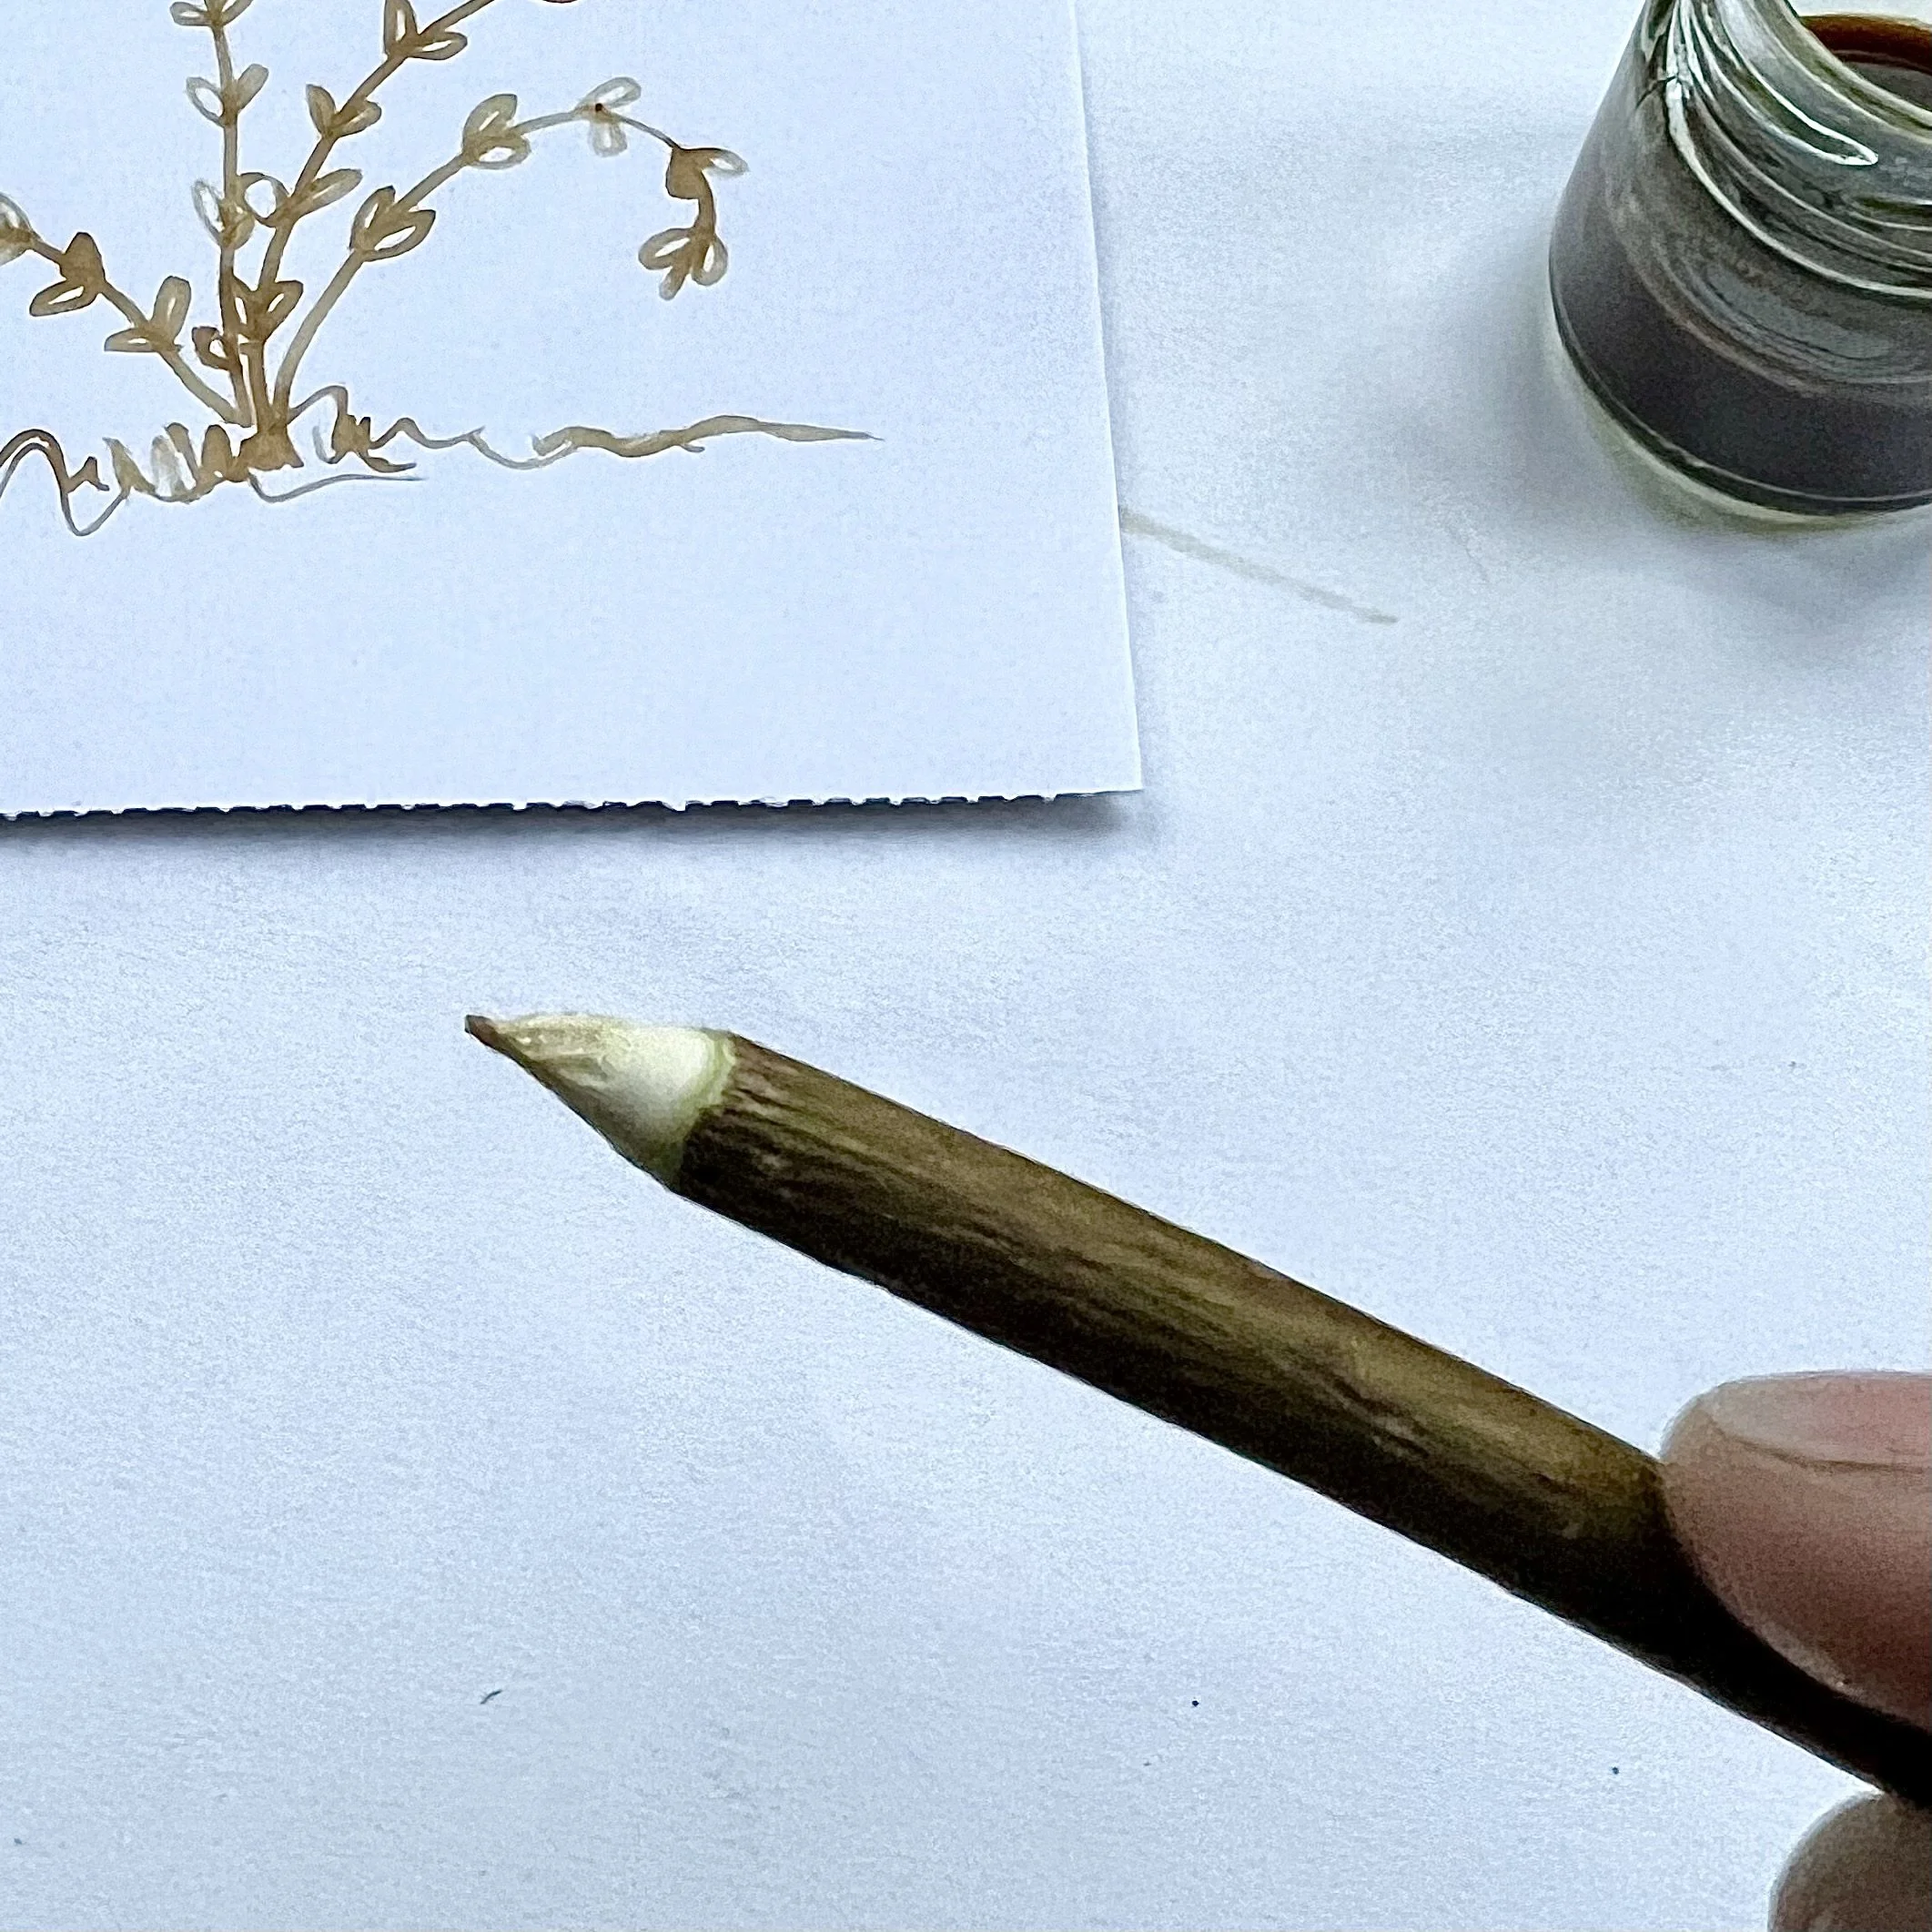
To use your dip pen, just simply dip the nib into the ink and draw. The soft inner of the stick draws up some of the ink.
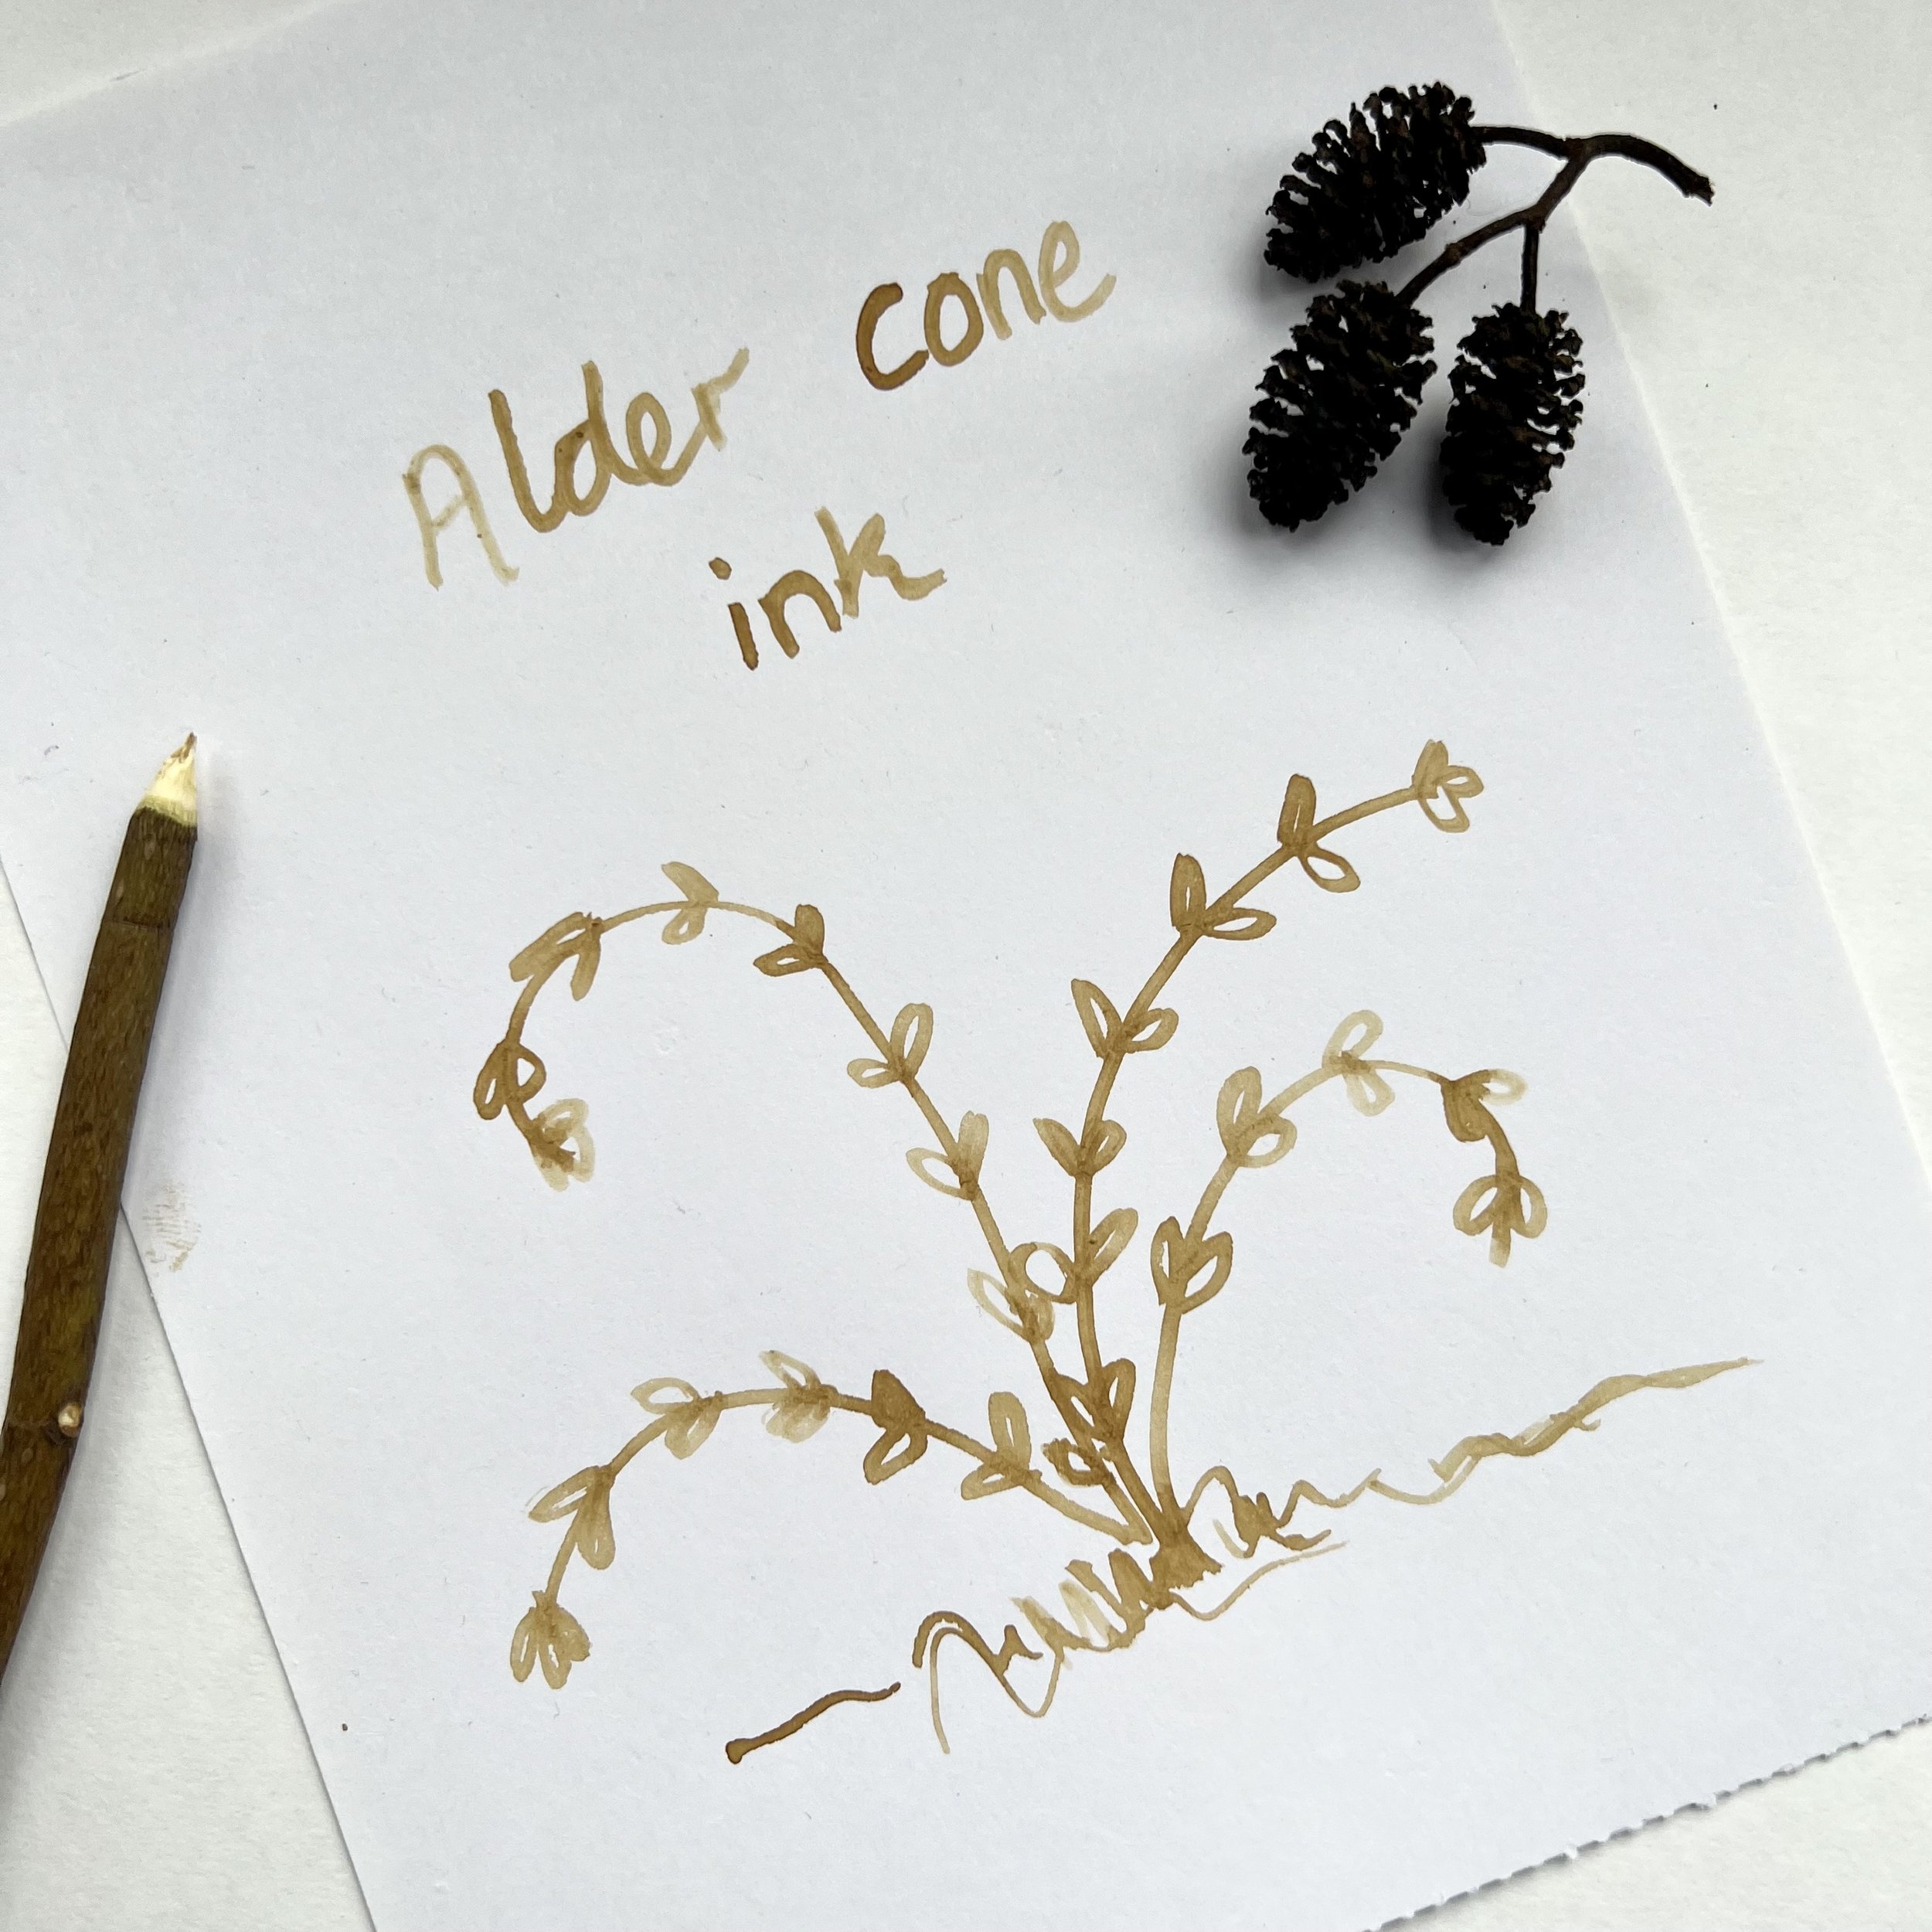
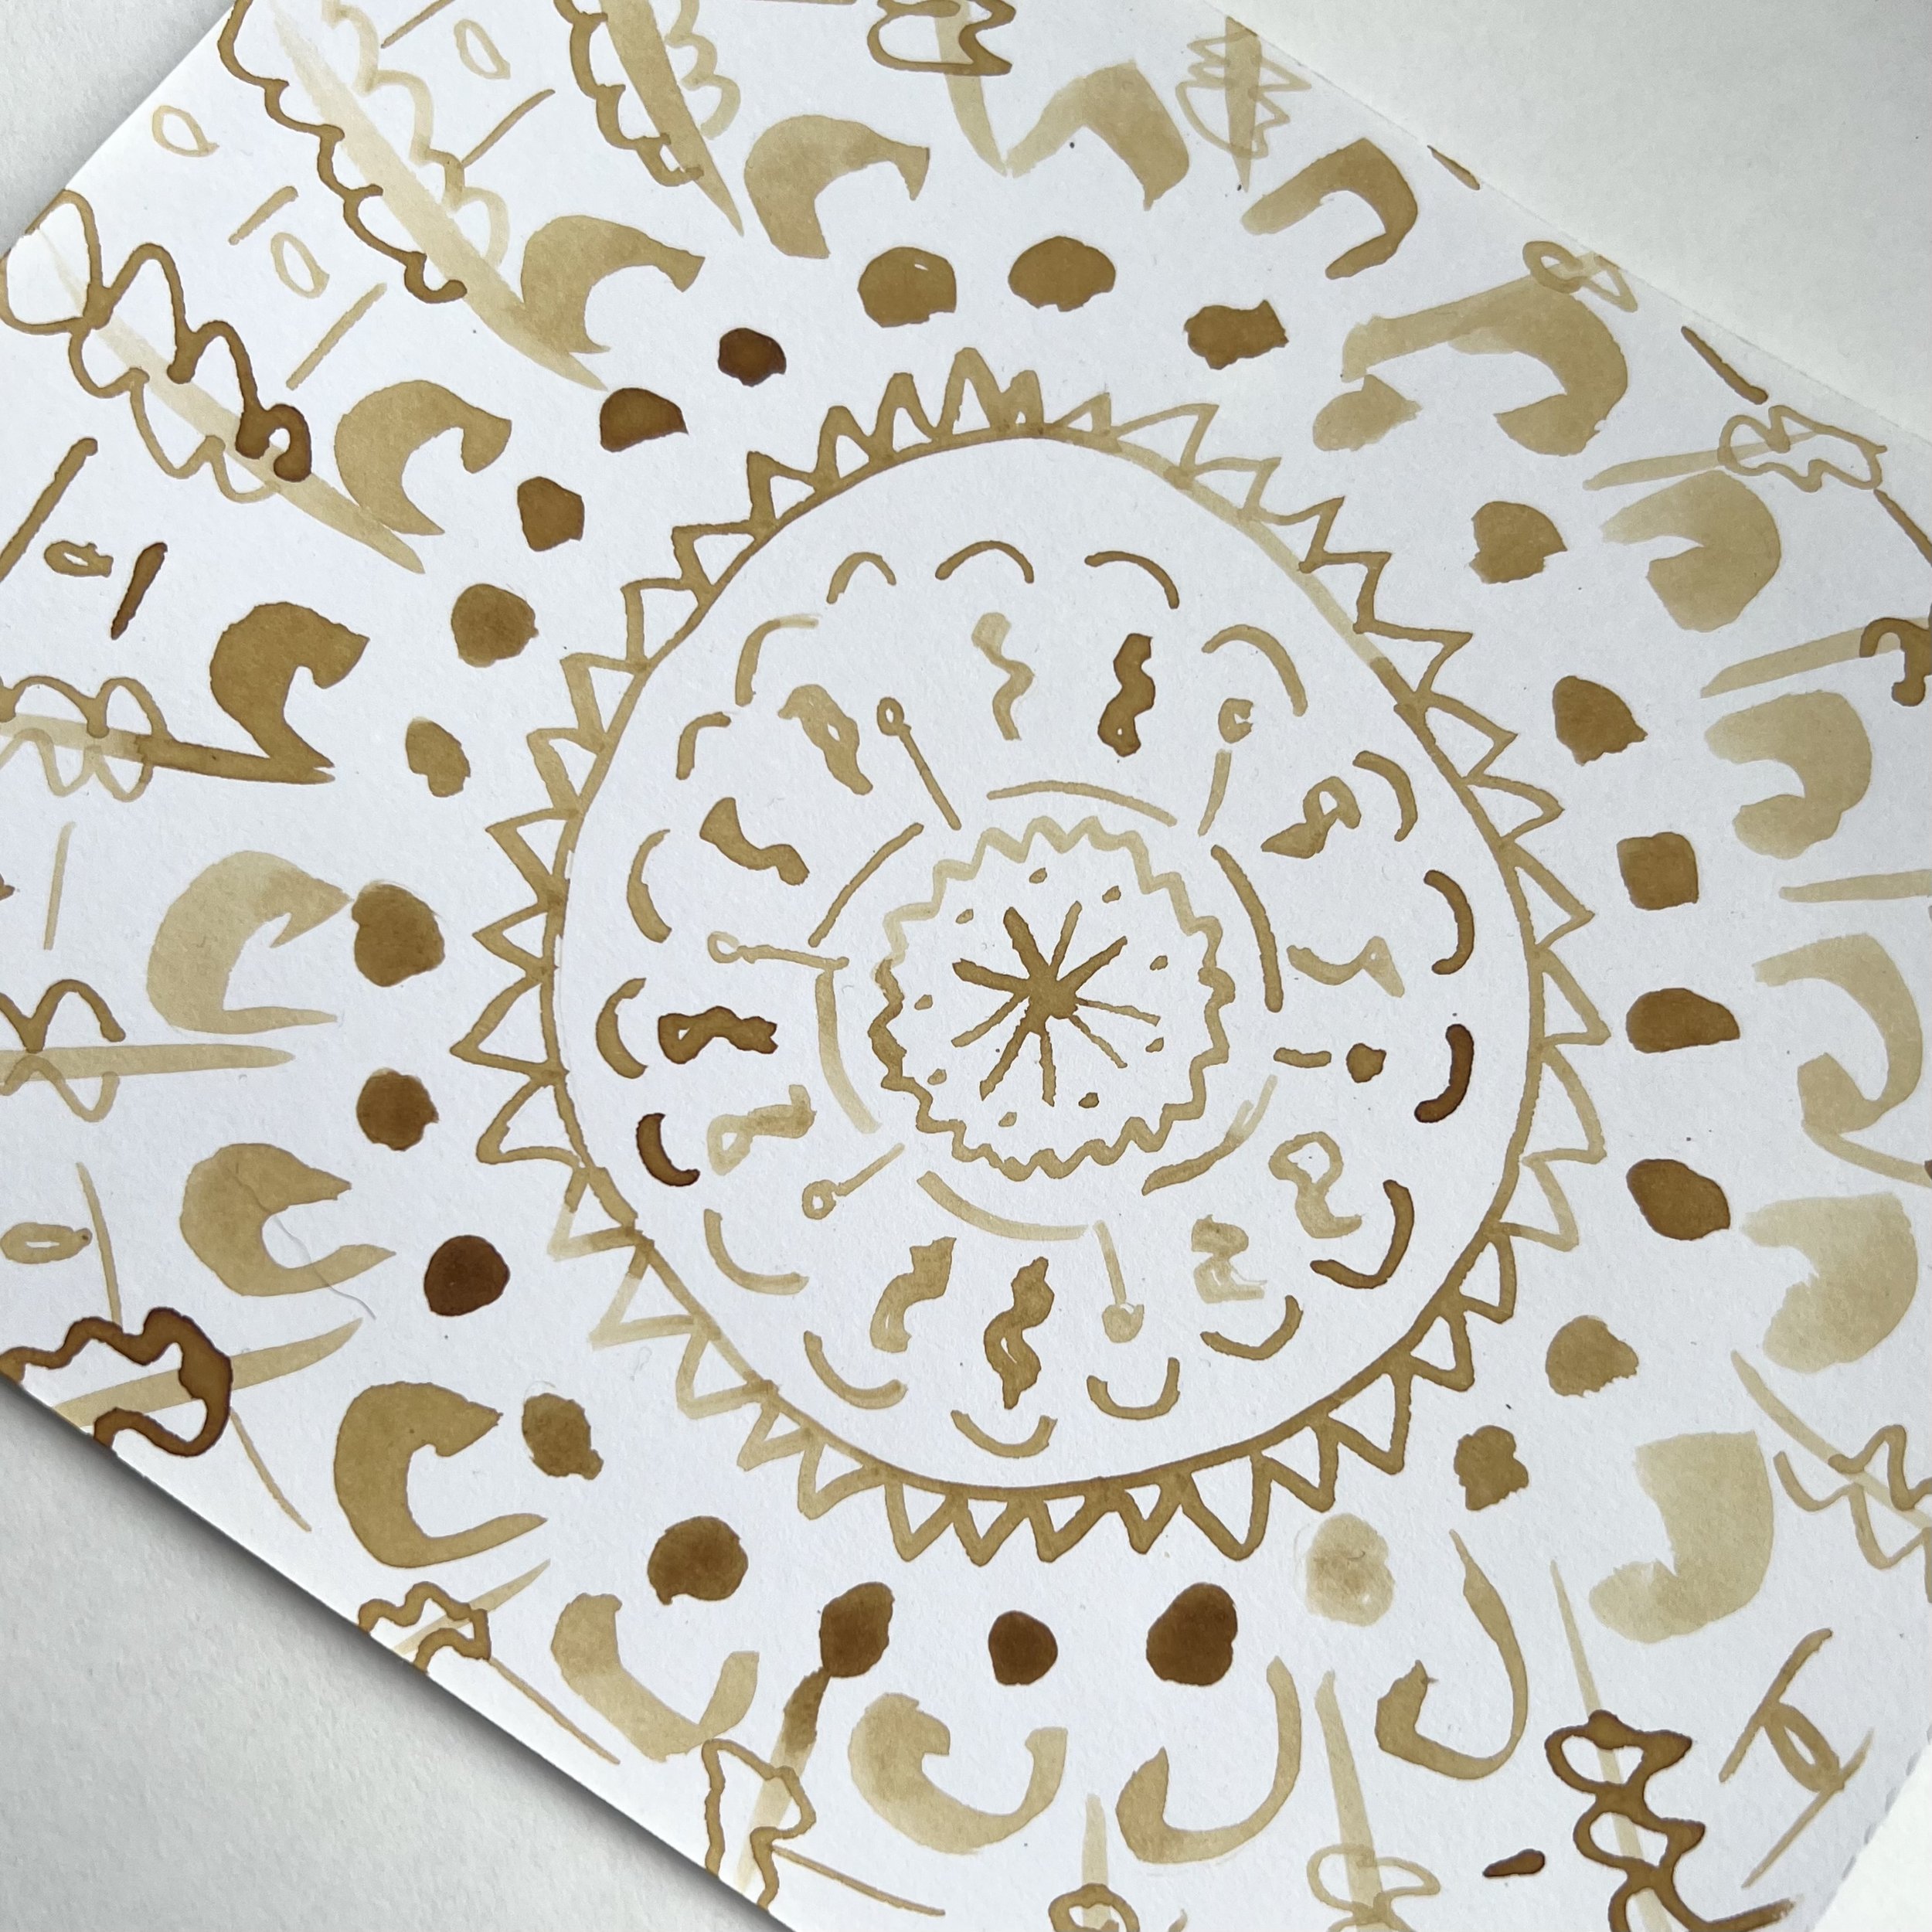
I love the warm, soft brown of the alder cone ink!
Author: Denise Hope, home educating mum of two boys