Make clay nature print Christmas decorations
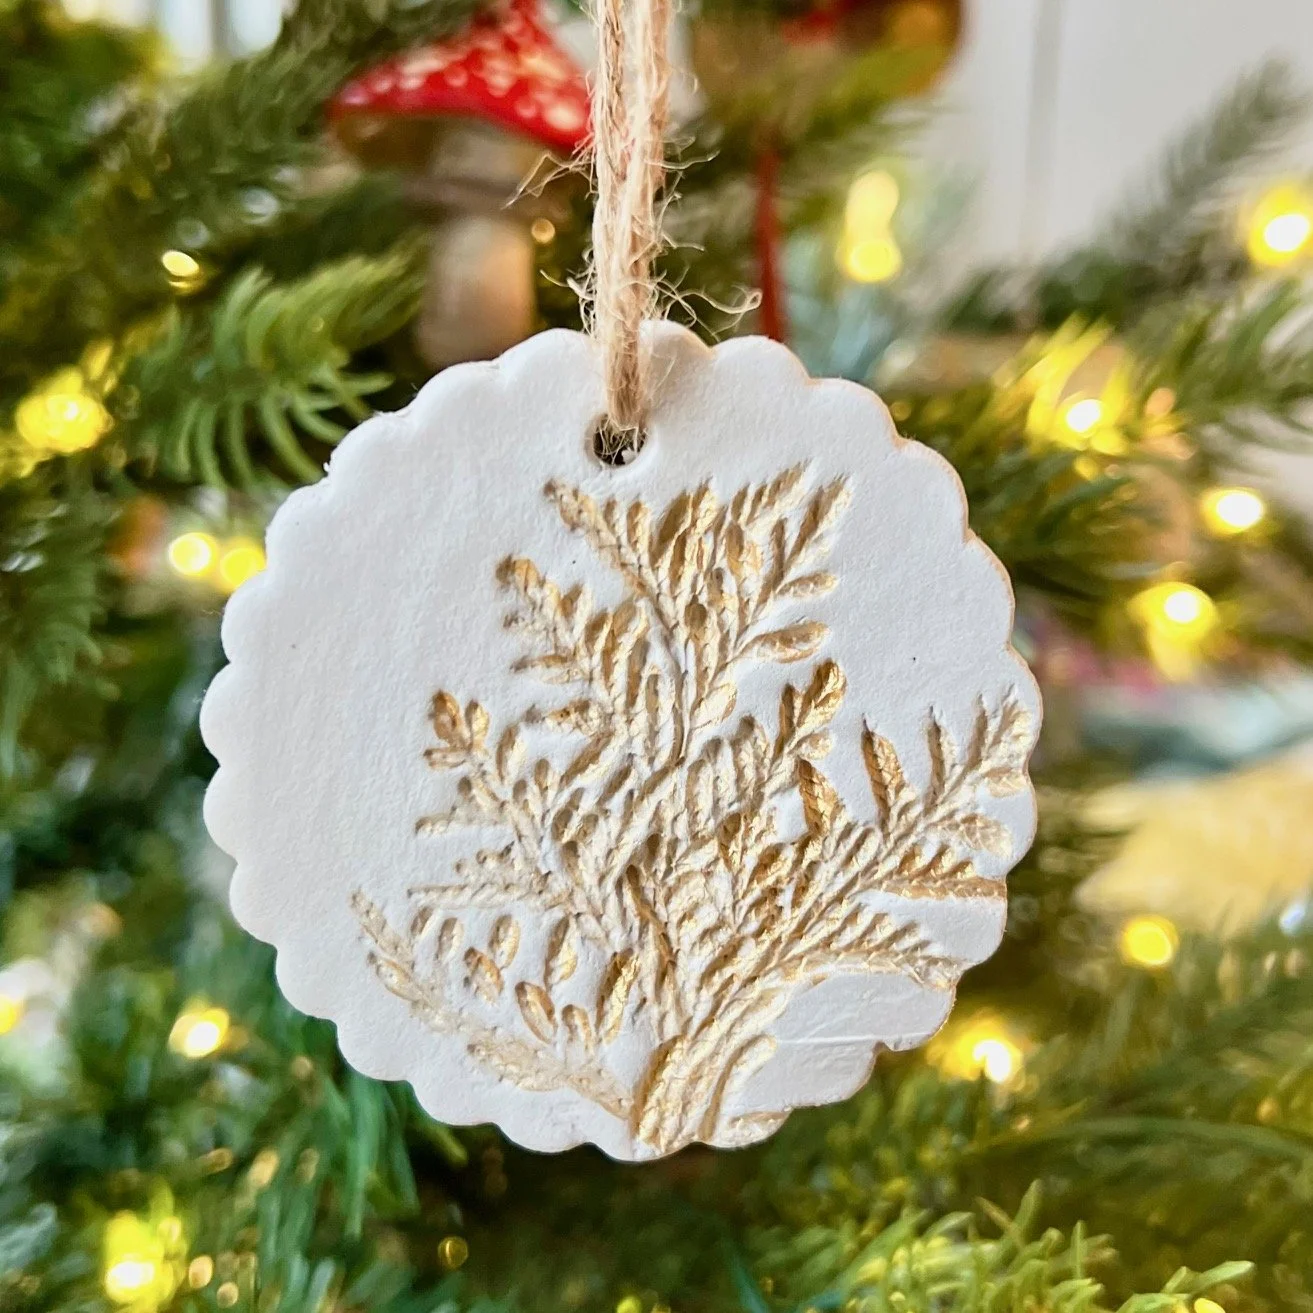
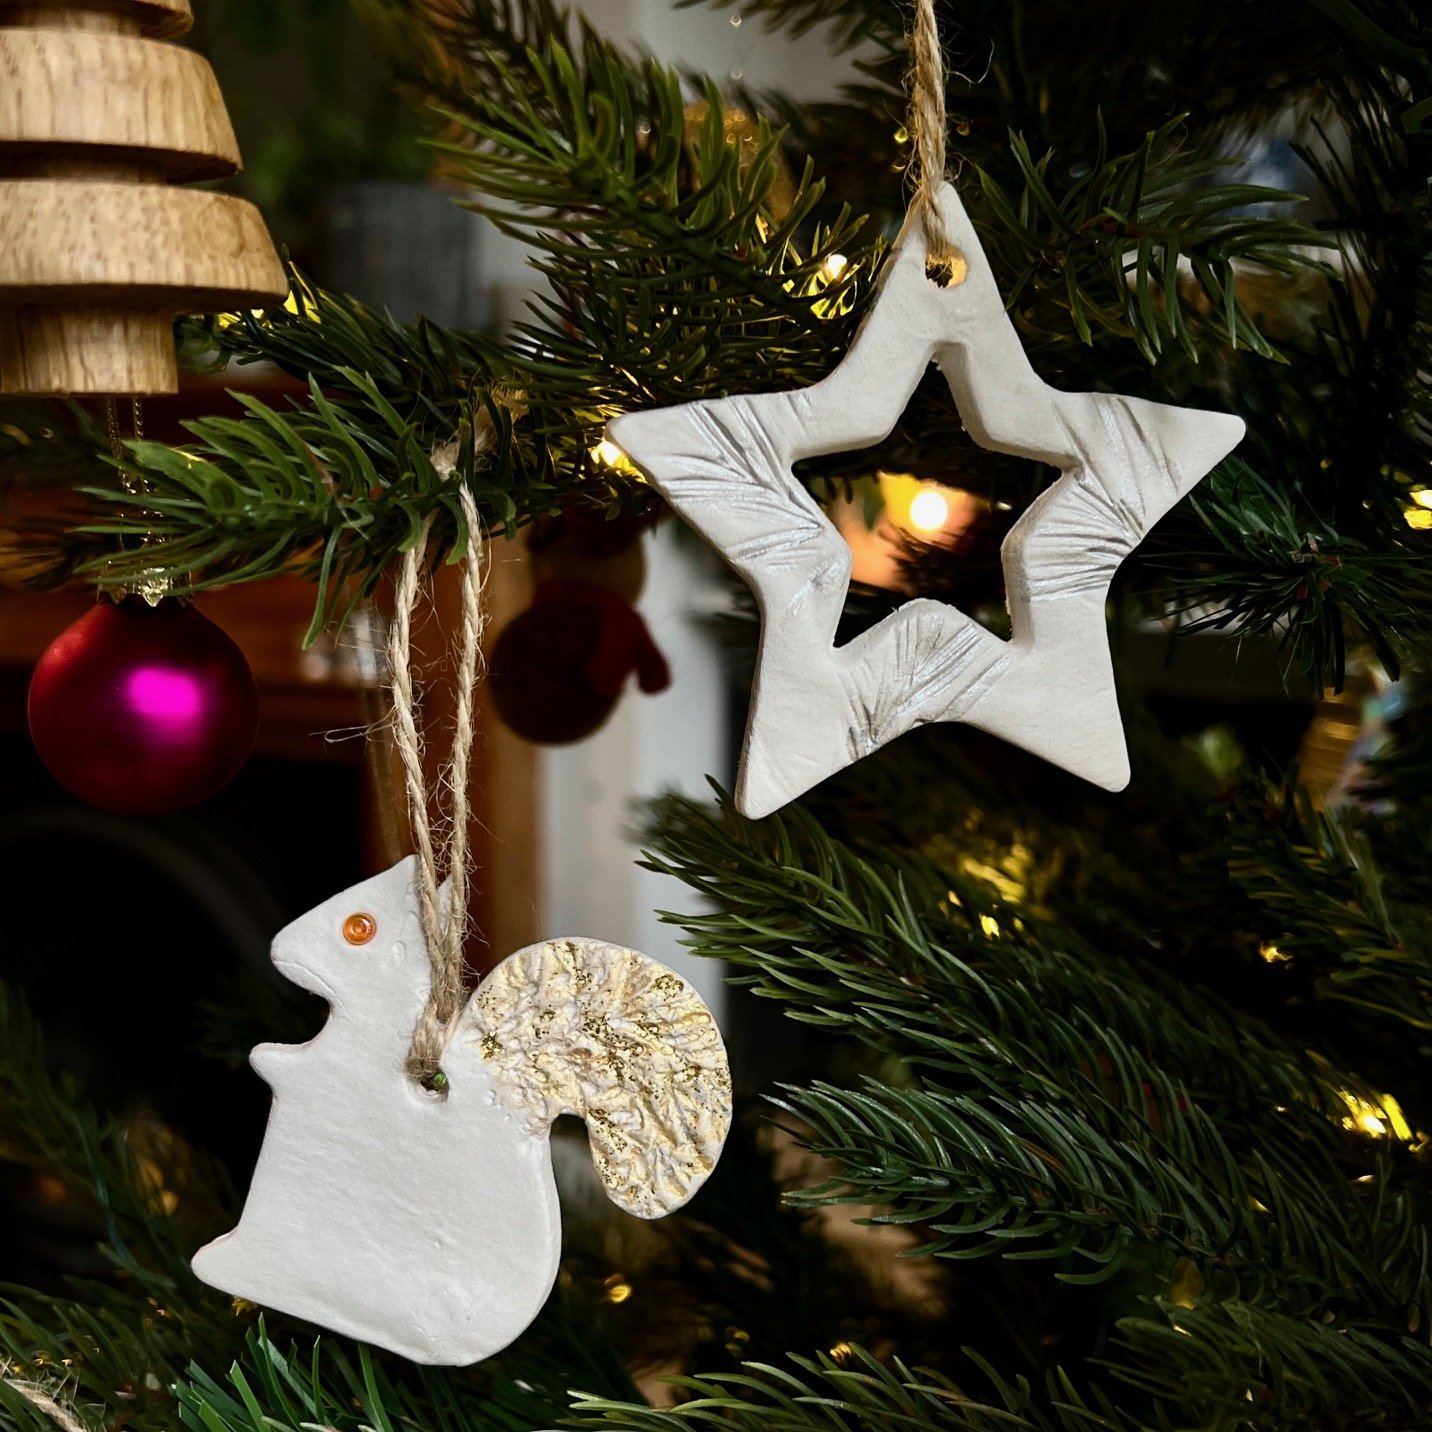
I love making new decorations for our Christmas tree each year - there’s something very special looking back at all our past creations as we put up our Christmas tree. This year, we made decorations from air dry clay which we decorated with leaf prints. They are really easy and fun for young people to make and look so lovely hanging from a tree!
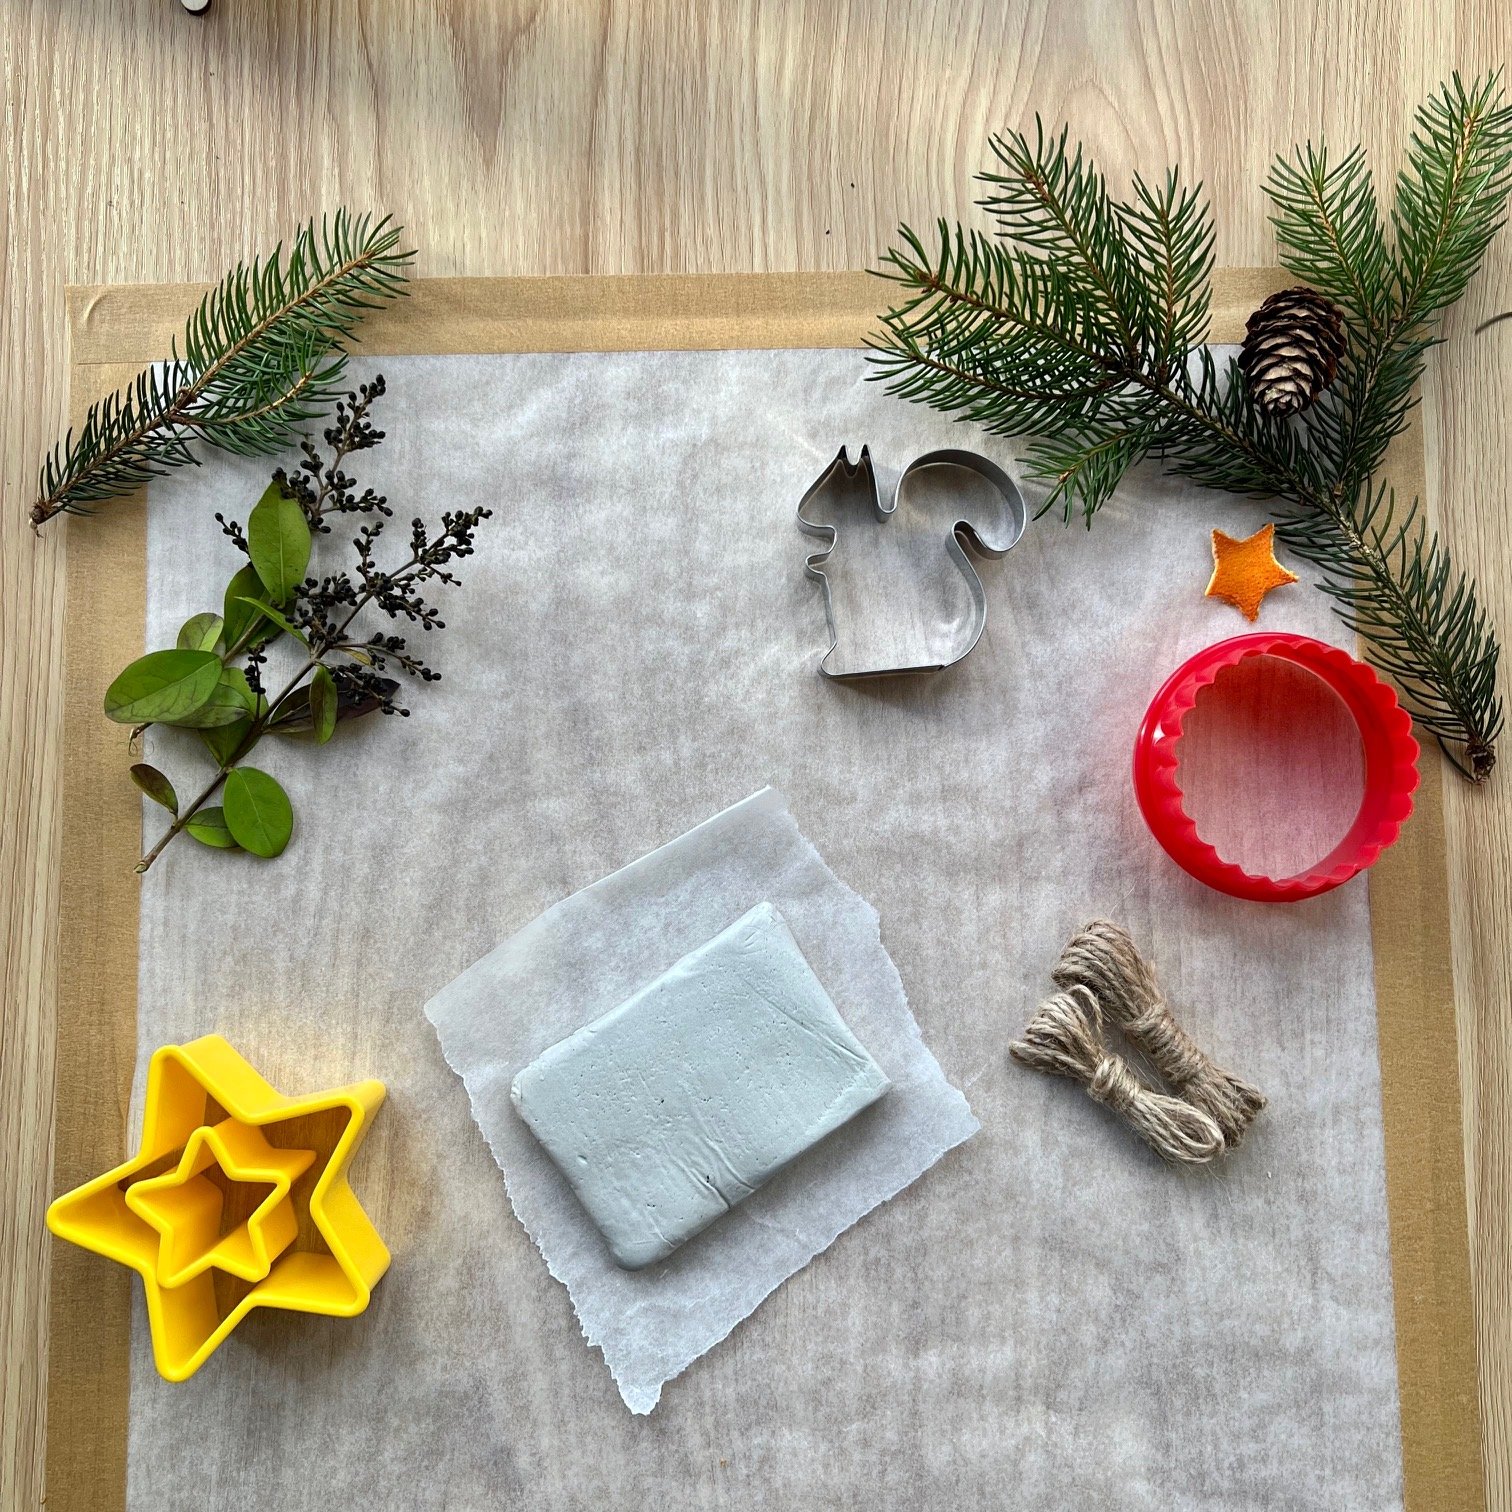
What you will need:
Air dry clay
Cookie cutters
Rolling pin (or you can use a glass bottle)
Foliage – tree needles or leaves
Twine or string
Skewer or straw (to make a hole in the decorations so you can hang them)
Baking or wax paper
Gold and silver paint
Paintbrush
What you need to do:
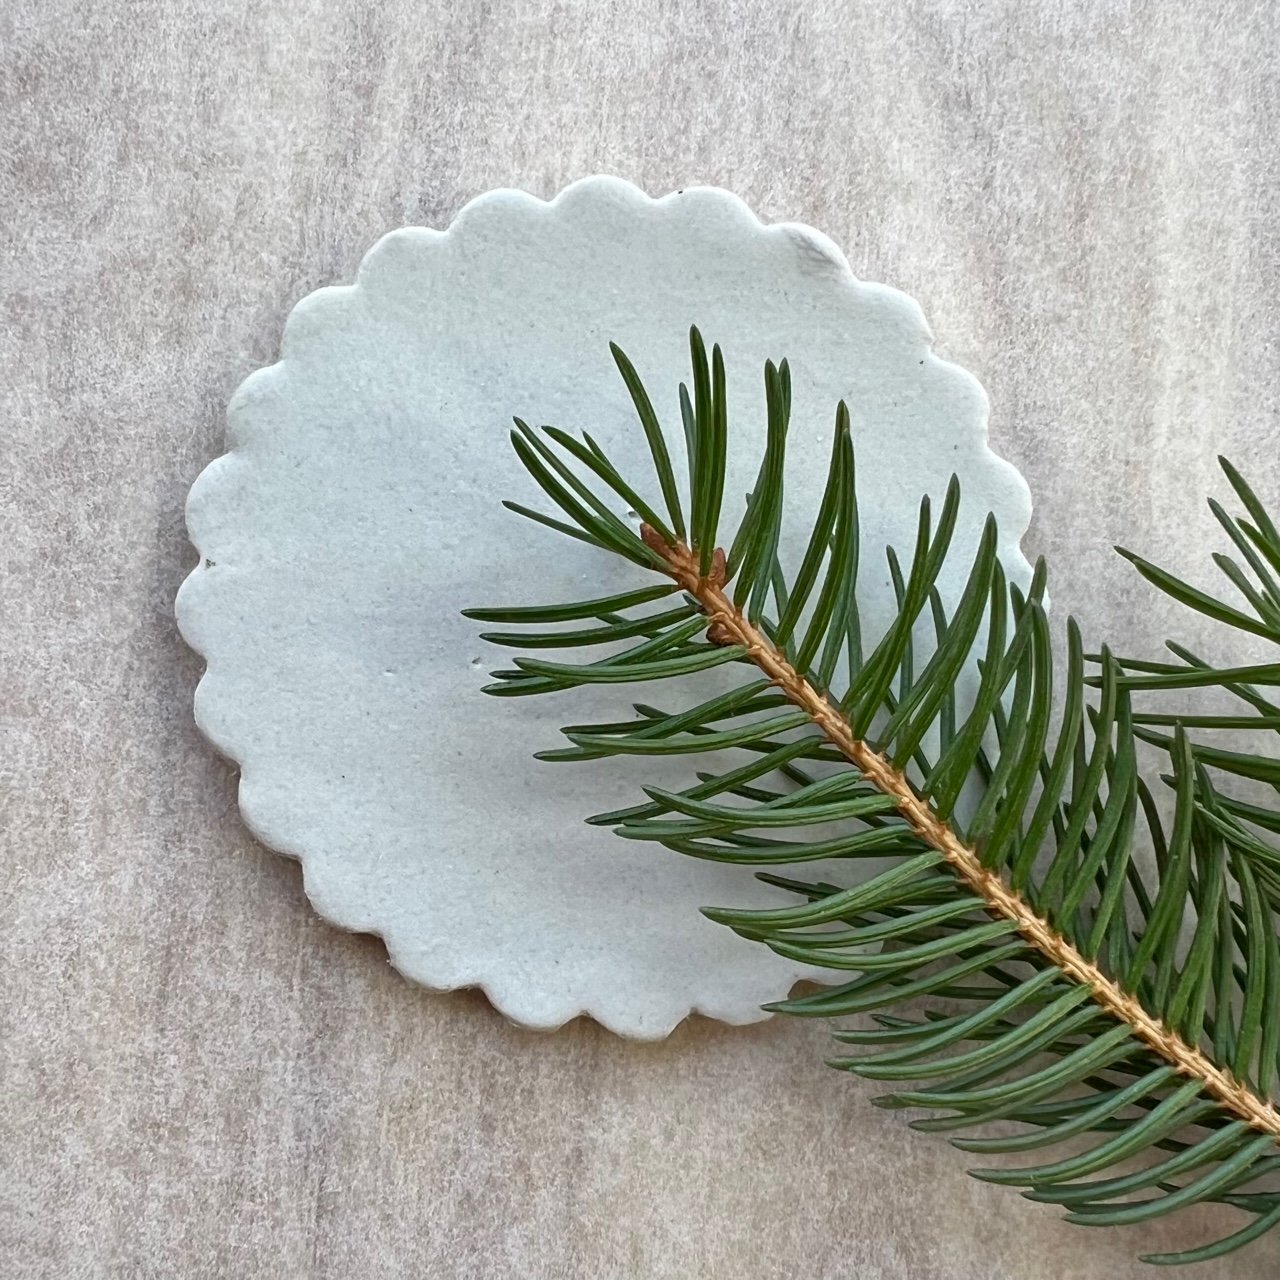
Go for a walk or a wander in your garden and collect some foliage. You’ll want leaves with prominent veins which will help to make a clearer imprint or you can use conifer needles like we did.
Begin by breaking off a small handful of the air dry clay and kneading the clay with your hands until it is soft and pliable. Add a few drops of water to the clay with your fingertips if it begins to crack.
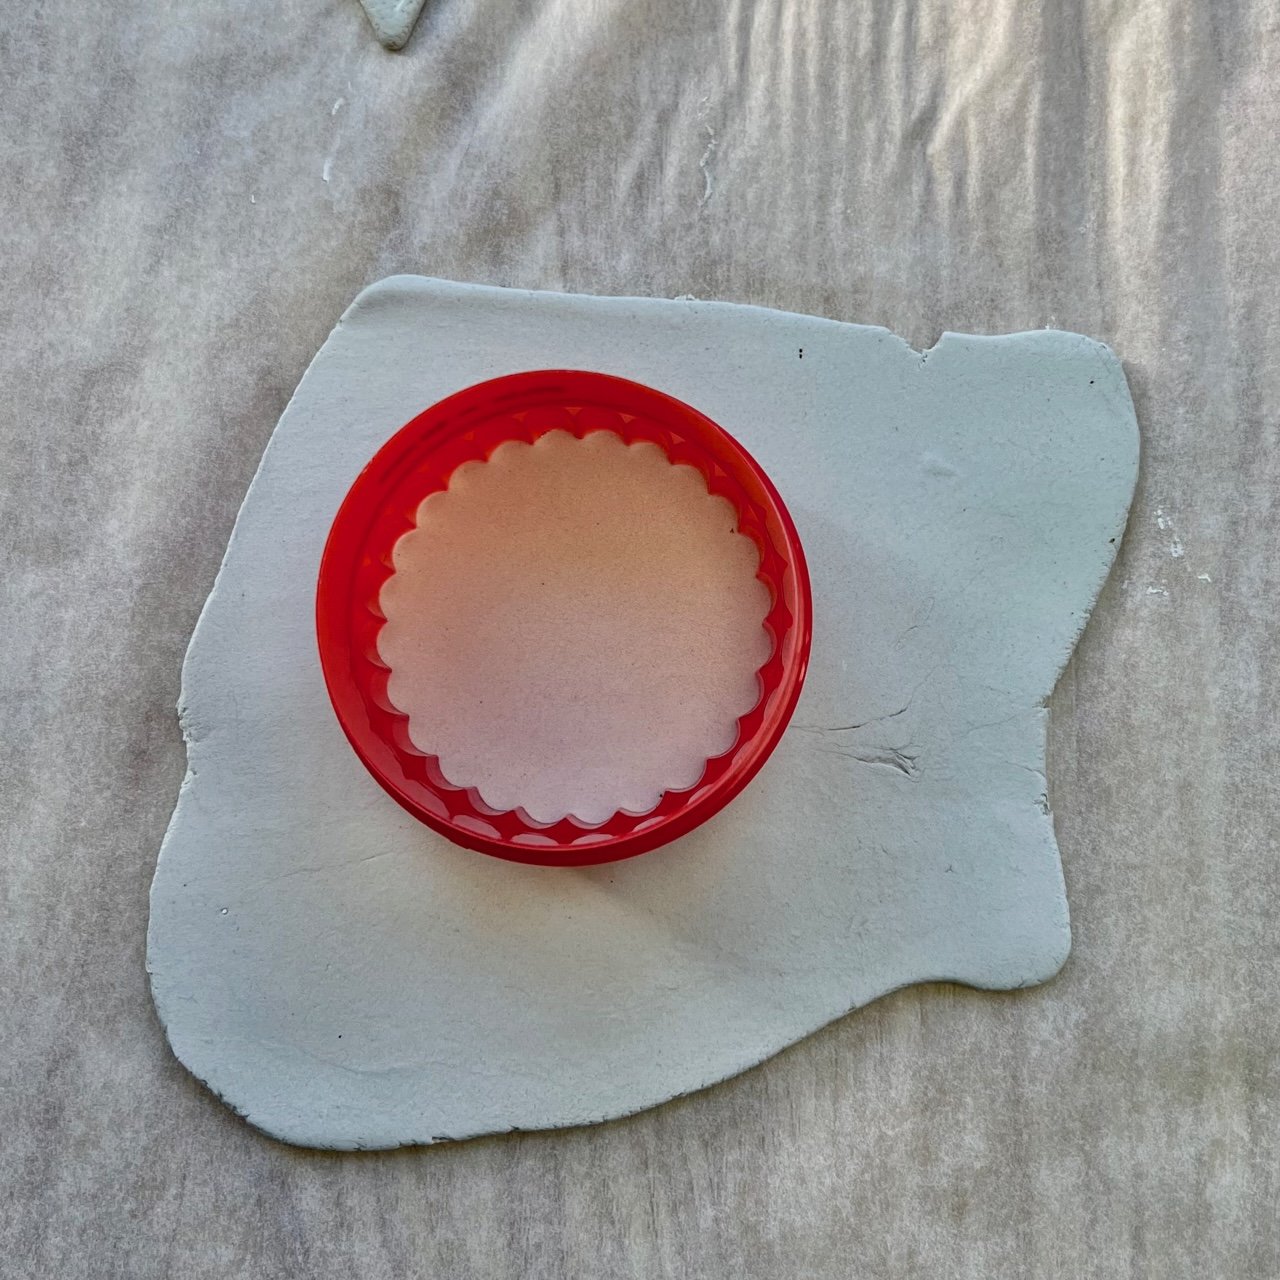
Then roll out the clay on a flat surface using a rolling pin or a glass bottle until the clay is about 5 mm thick. I taped baking paper onto a table to protect the surface and also to make it easy to lift the clay after it had been cut.
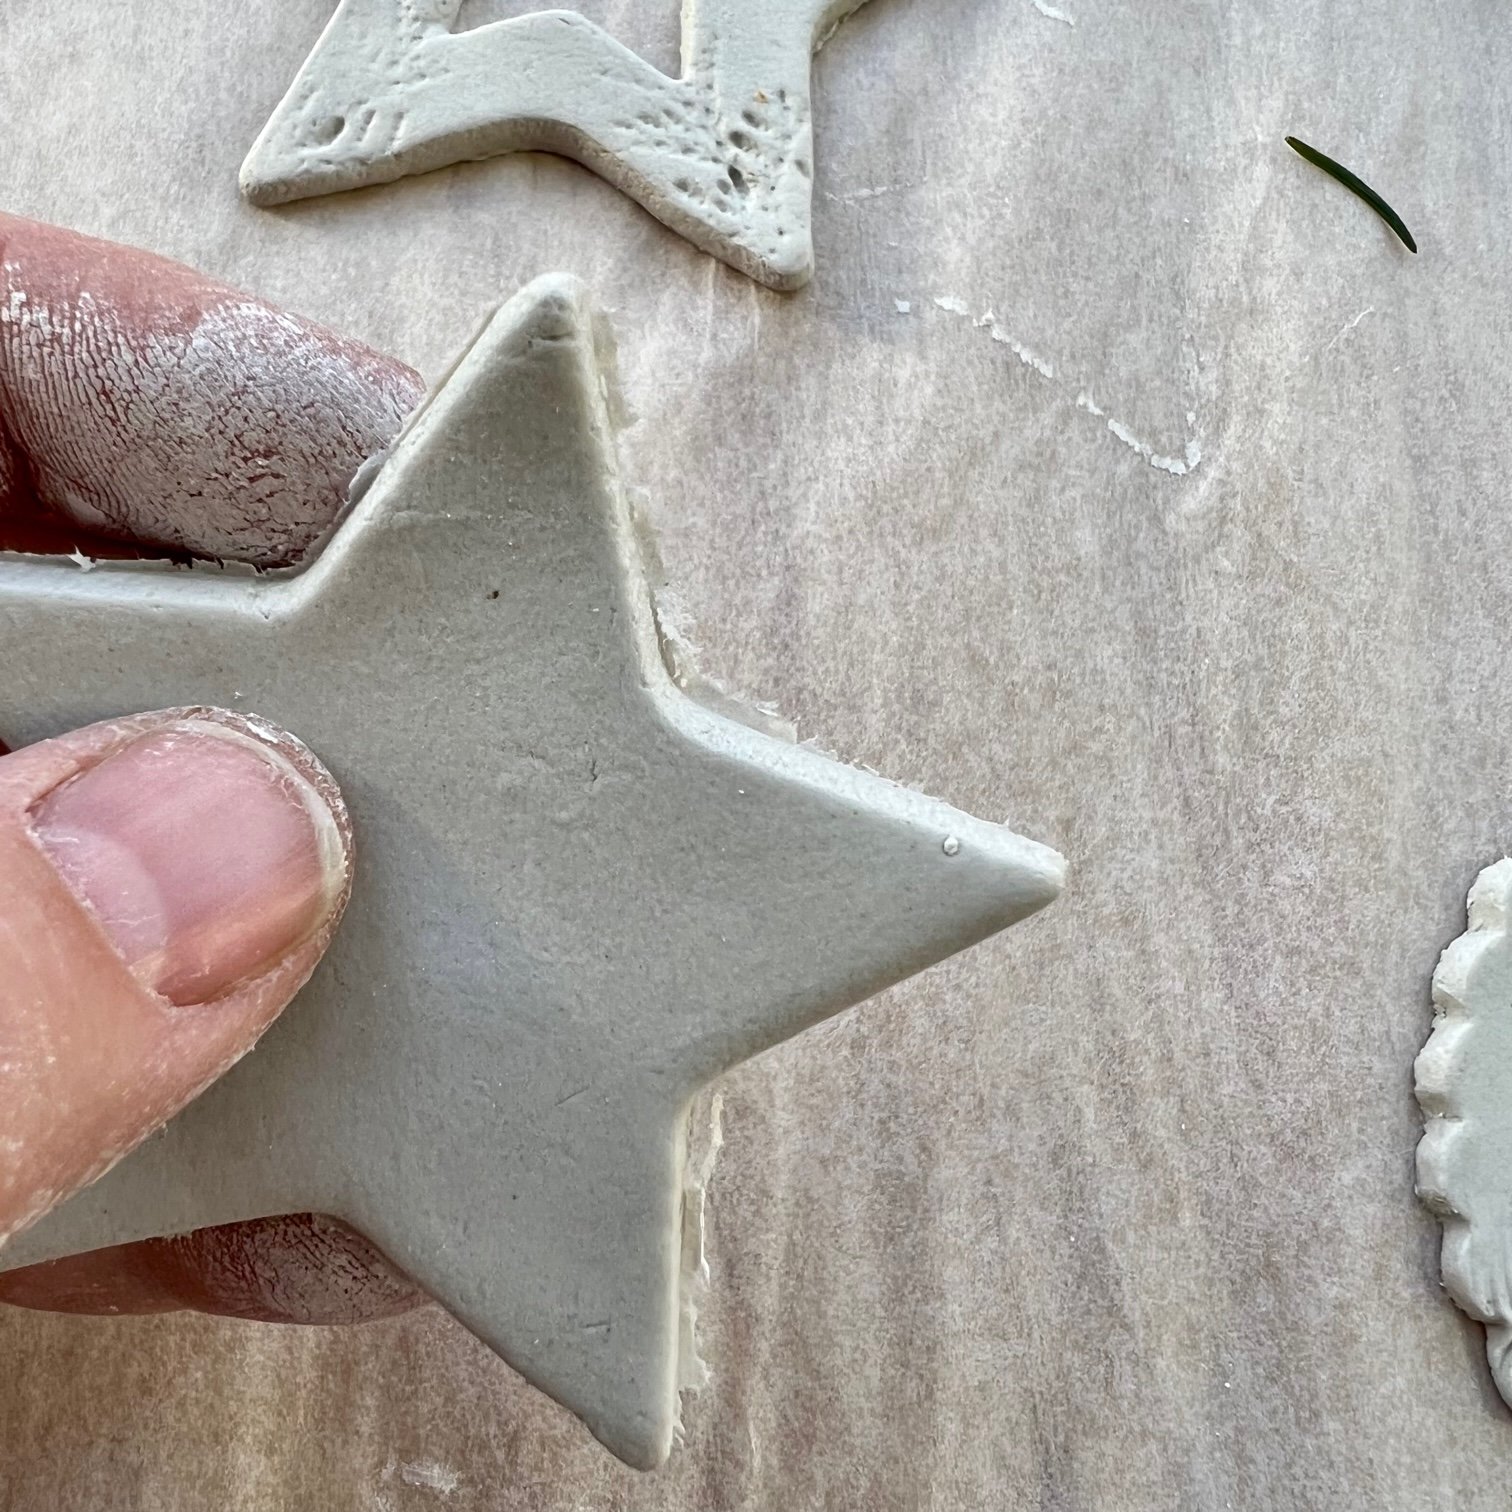
Use your cookie cutters to cut out shapes in the clay. If the edges are a little ragged after you have removed the excess clay, you can just smooth them with your finger.
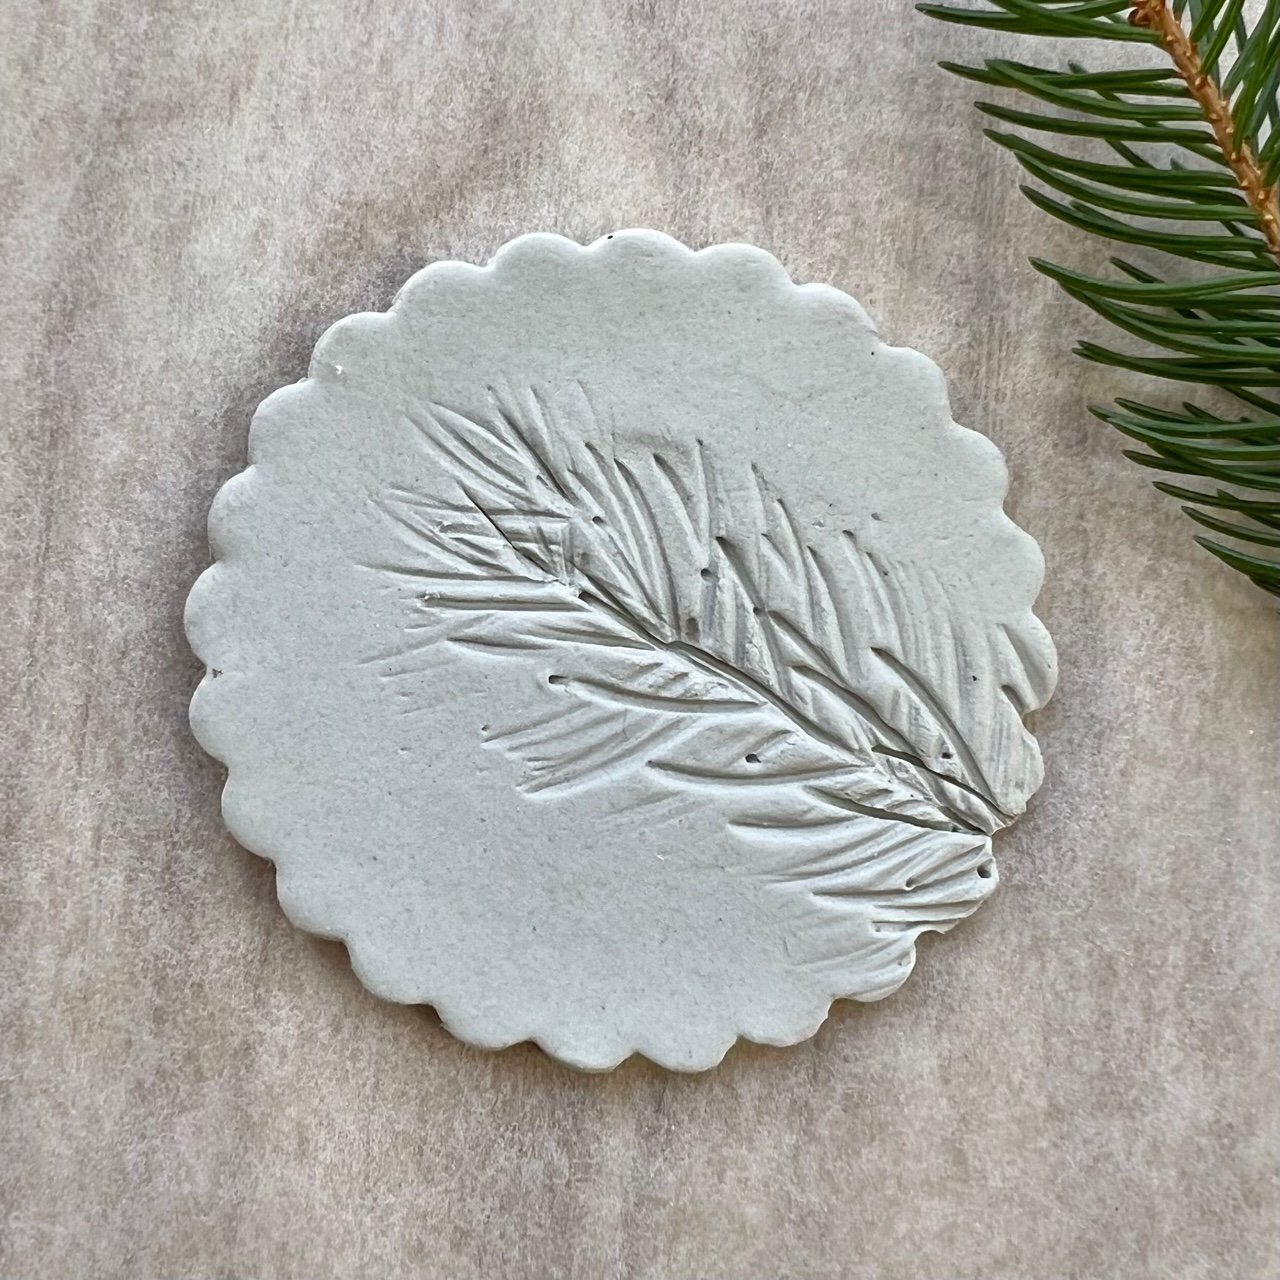
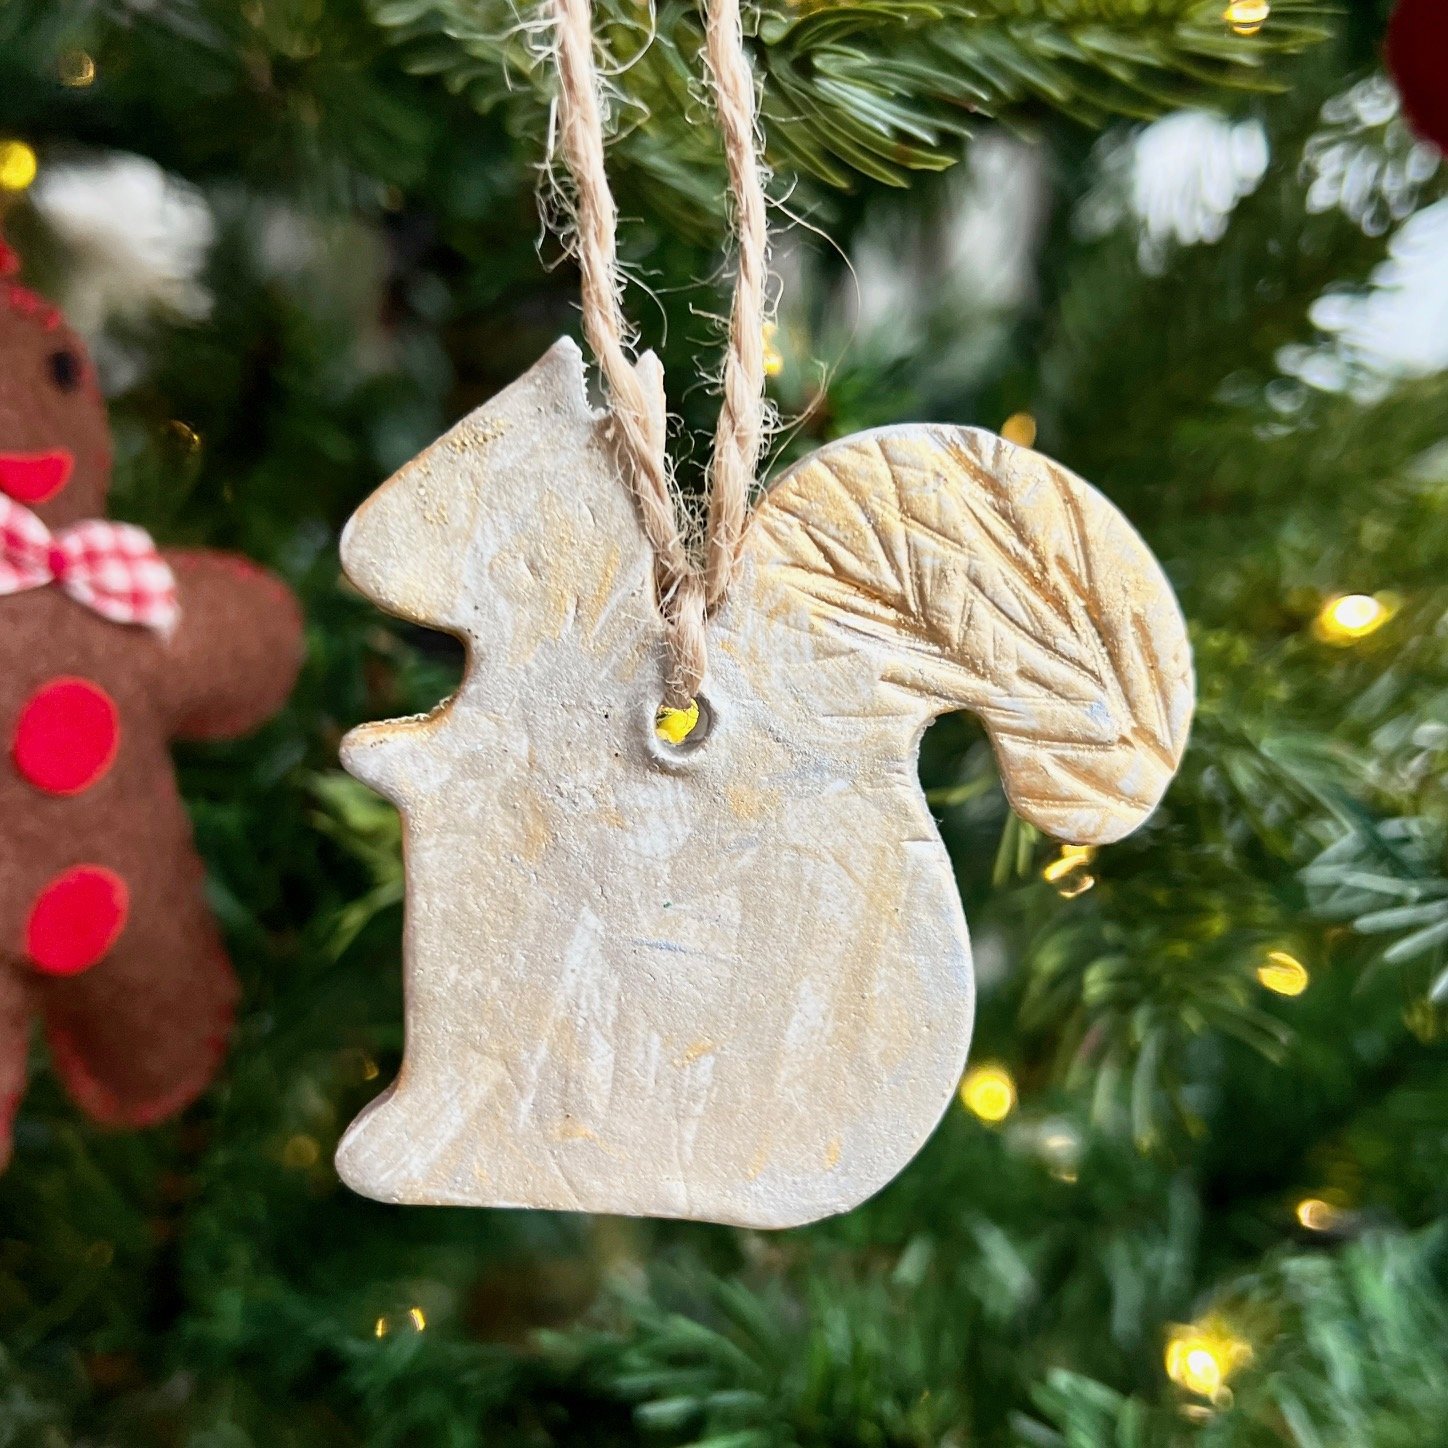
Place some foliage onto the clay and firmly press with your fingers to imprint the pattern onto the clay. You can also roll over the foliage with a rolling pin or glass bottle. Either way, you need to make sure that you don’t press too hard and distort the shape.
Carefully remove the foliage to reveal your pattern.
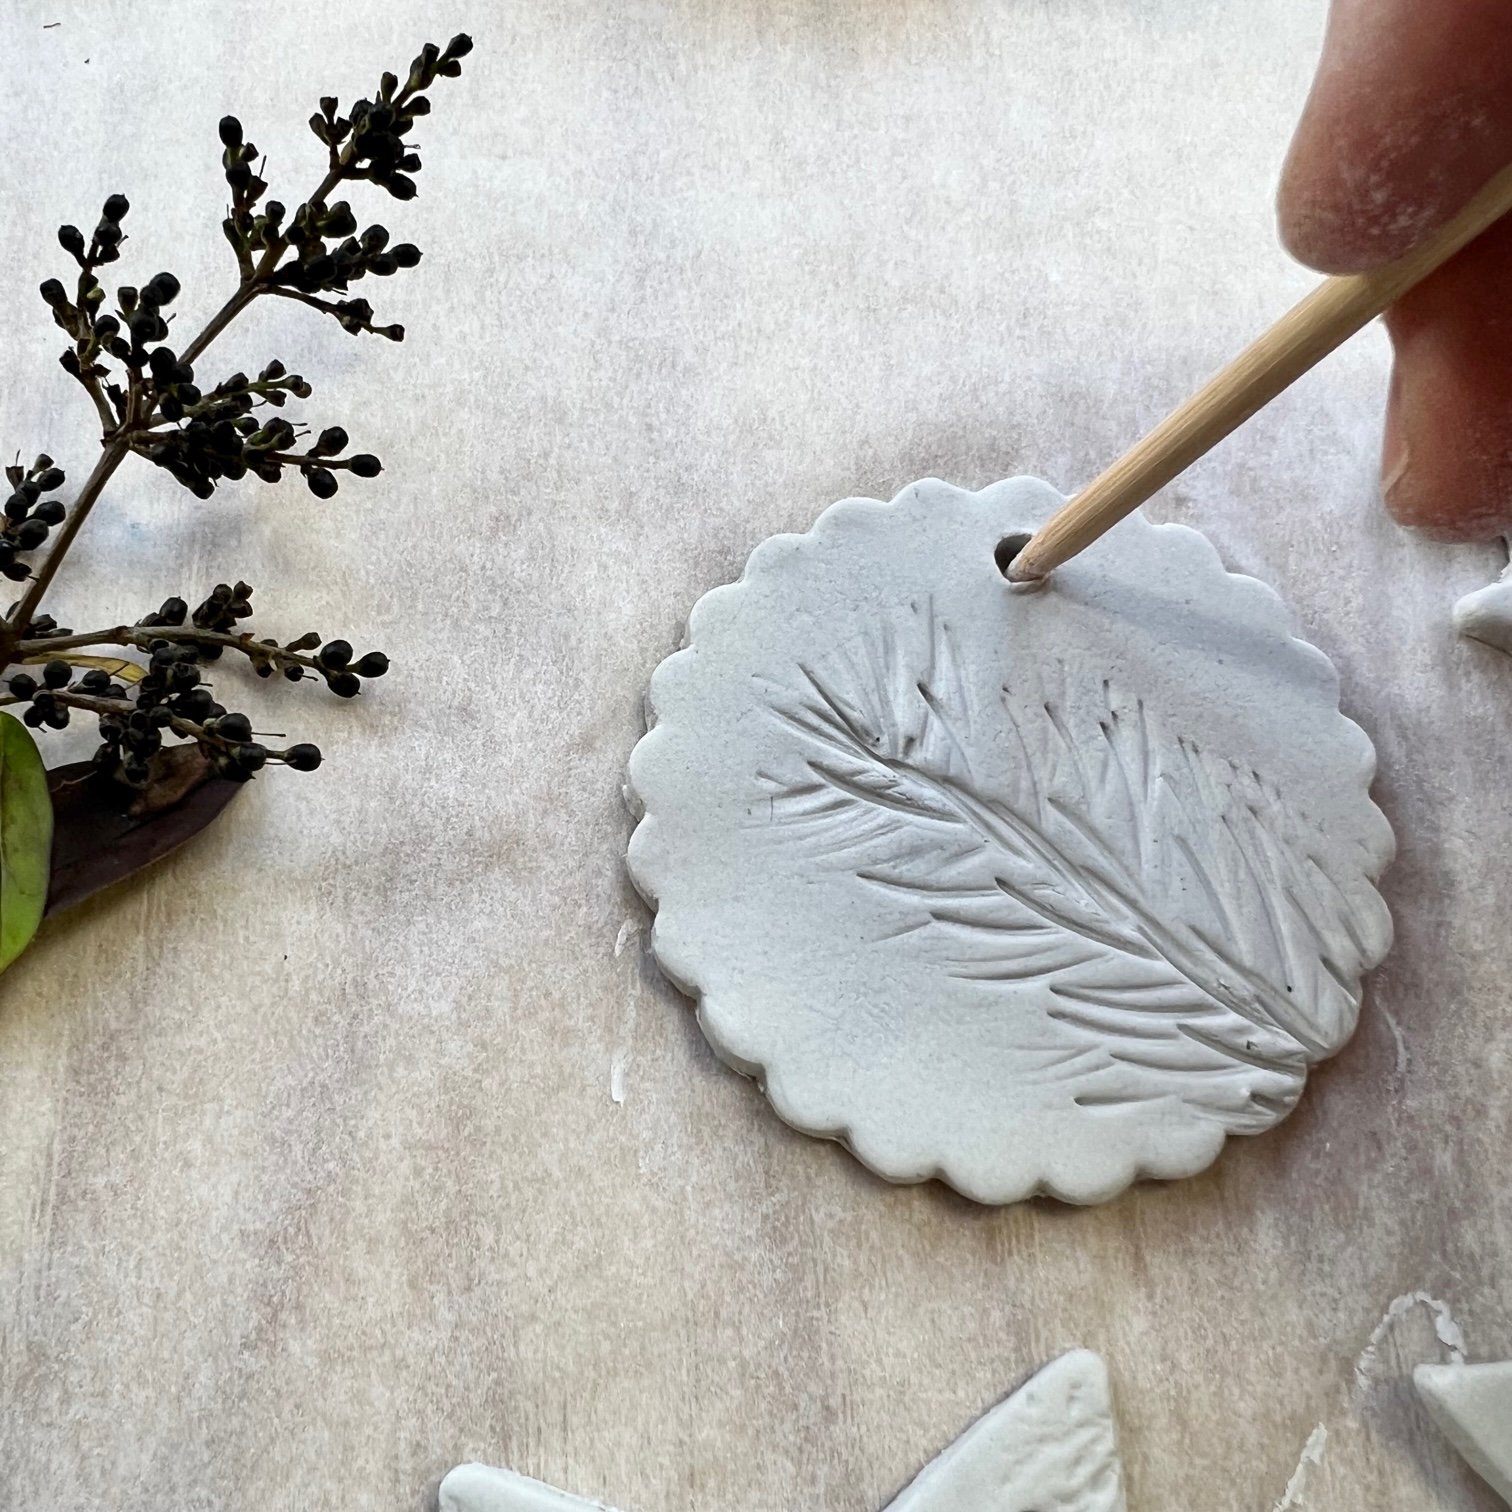
Next you need to make a hole so you that you can add string to hang it up. You can use a straw to make the hole or a skewer. If using a skewer, give it a bit of a wiggle until the hole is as big as you want it to be.
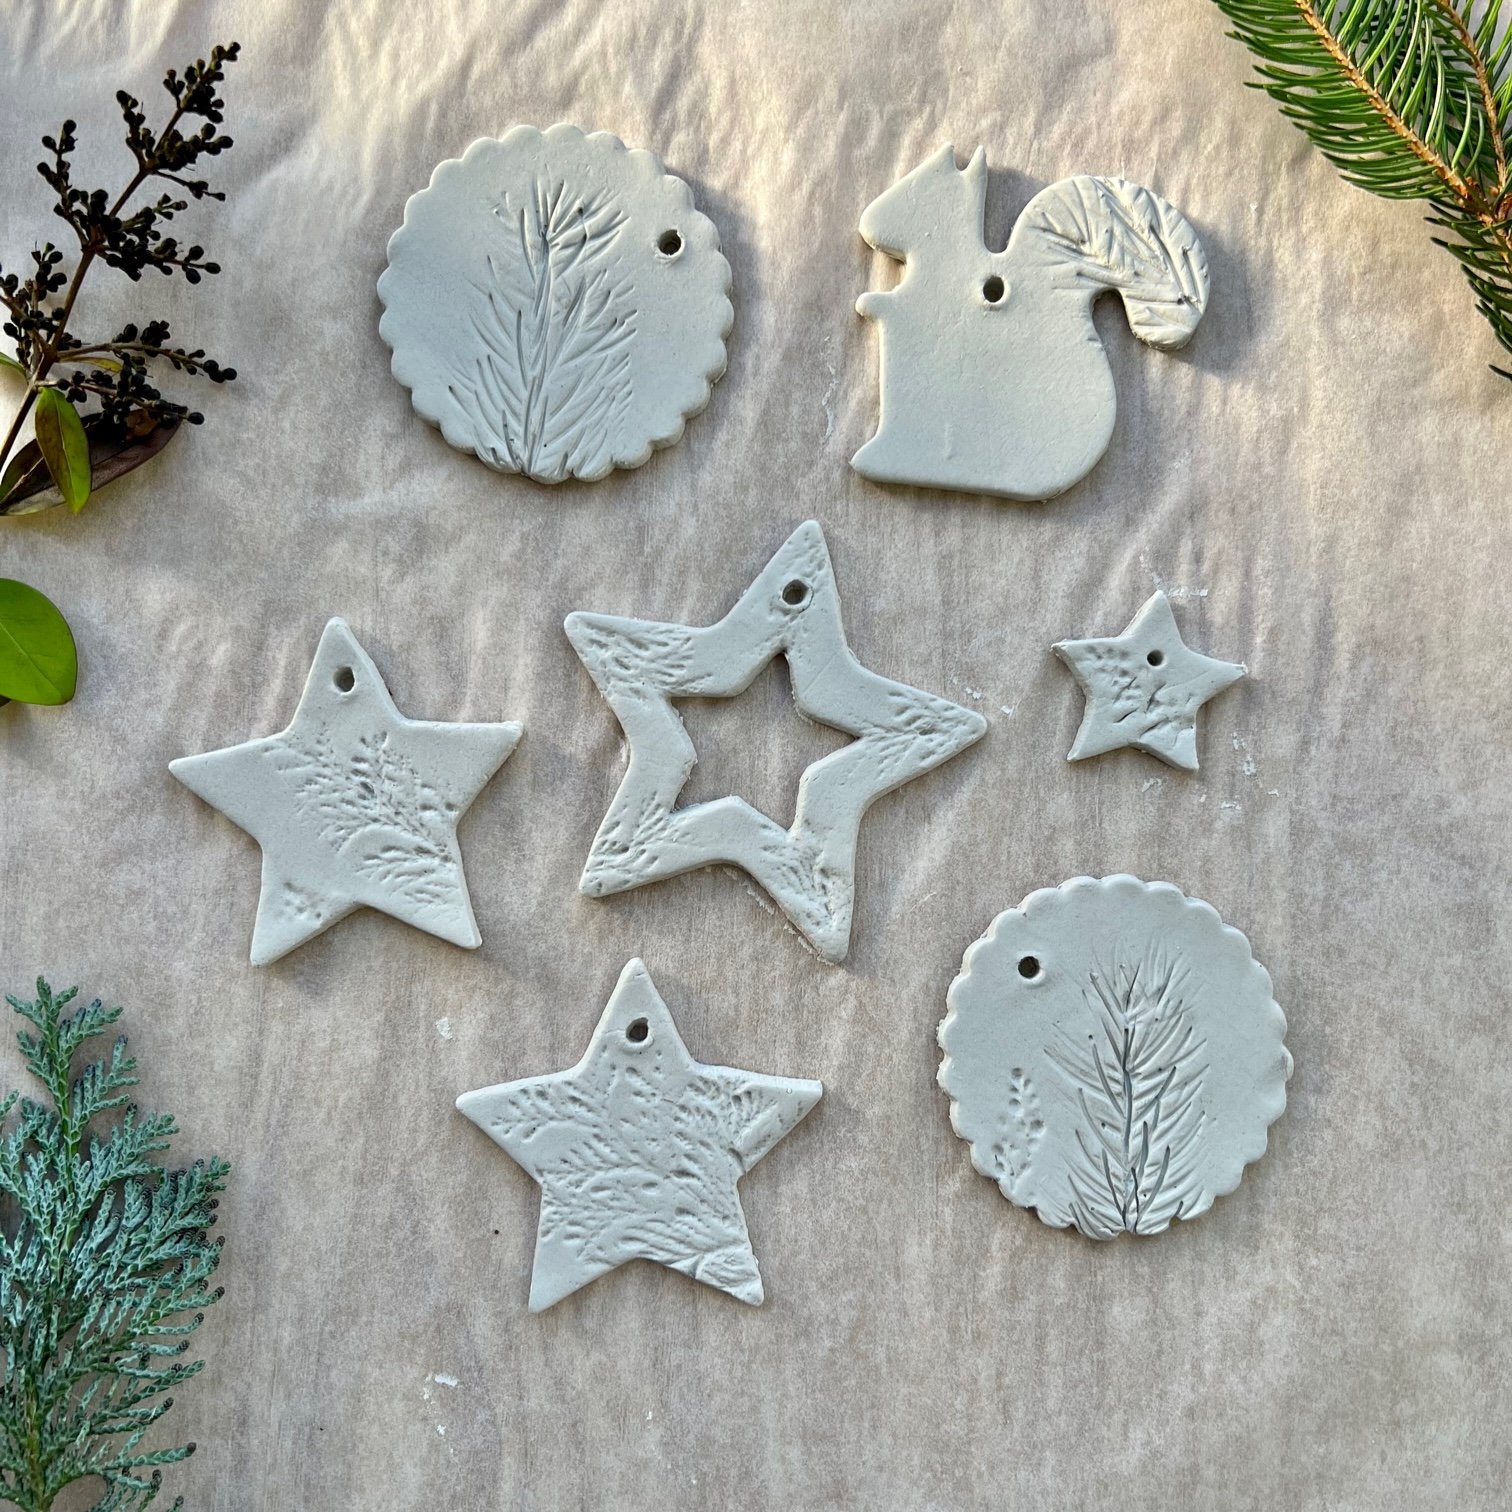
Once you have made as many decorations as you want, leave them to dry for at least 24 hours, turning them over occasionally. You’ll be able to tell when they’re completely dry as they will have turned white whereas any damp patches will still be slightly grey.
The decorations look great left as they are but you can also paint them if you prefer. I used a small paintbrush to paint the leaf imprints in gold and silver. If your younger children find that too fiddly, you can paint the whole decoration, making sure you get paint into all the grooves, and then use a piece of cloth or paper towel to wipe away the paint and then they’ll be left with just the paint in the grooves.
Take a piece of twine or string, about 30cm long and thread it through the hole in your decoration and tie in a knot. Now you can hang it on your Christmas tree!

Author: Denise Hope, home educating mum of two boys