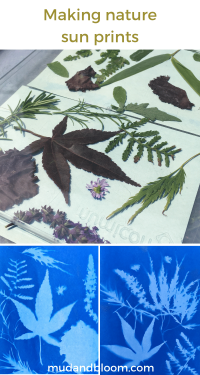
Making nature sun prints
Making sun prints is a fantastic outdoor art activity to do with children over summer. The process is fascinating and there’s lot to learn about the sun and shadows and it encourages children to be observant about shape, pattern and negative images. As an added bonus, the results are simply beautiful! My two boys, aged 9 and 6, loved this activity and once they had got the hang of it, they were keen to experiment!
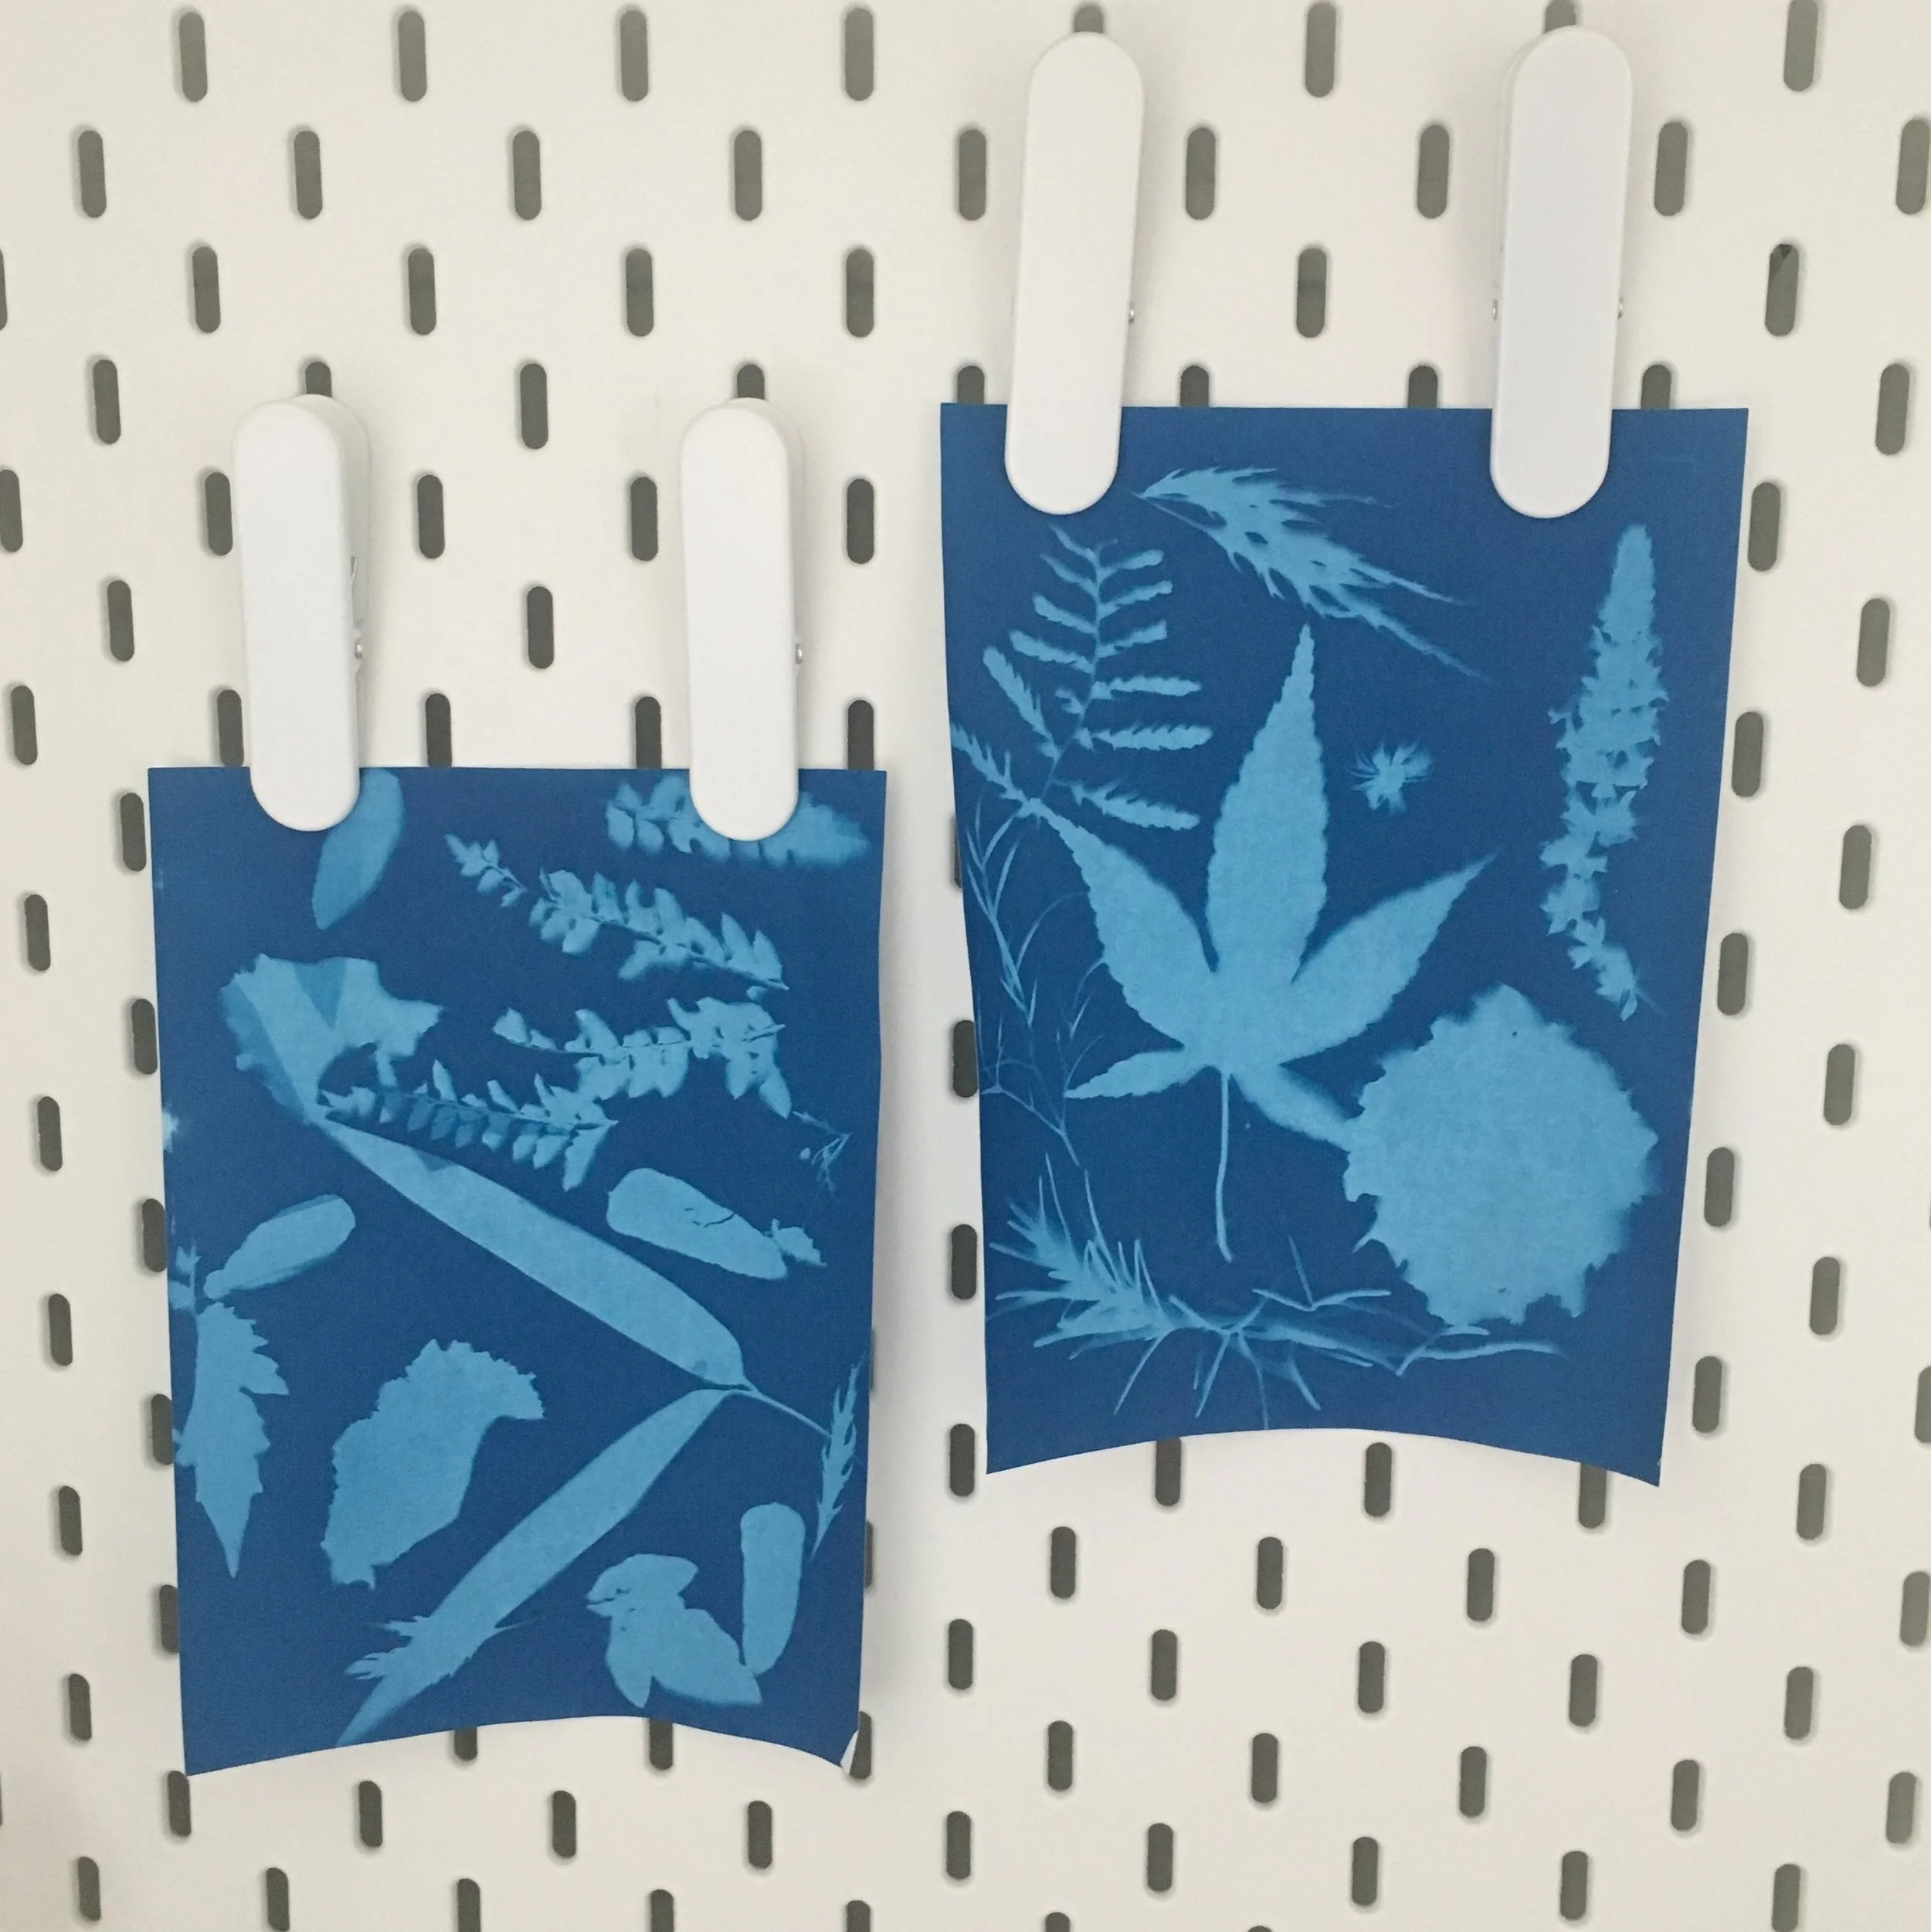
Sun prints, also called cyanotypes, have been used to make records of plants for hundreds of years. Sun print paper is coated with chemicals which react when exposed to sunlight. When you place objects such as leaves on the paper, they block the light so that the paper remains white while the areas on the paper around the leaves turn a beautiful Prussian blue. Water stops the process and fixes your images on the paper.
To do this activity, you ideally need a bright sunny day, with not too much cloud cover. (You can still make the prints with cloud but you will need to leave them in the sunlight for much longer.)
What you will need:
Sun print paper, also called sunography paper (this was part of the July Mud & Bloom box but is easily found in craft shops or online)
A selection of flat leaves and flowers
A tray or other large flat surface
A piece of clear acrylic or glass
Lemon juice (optional)
What you need to do:
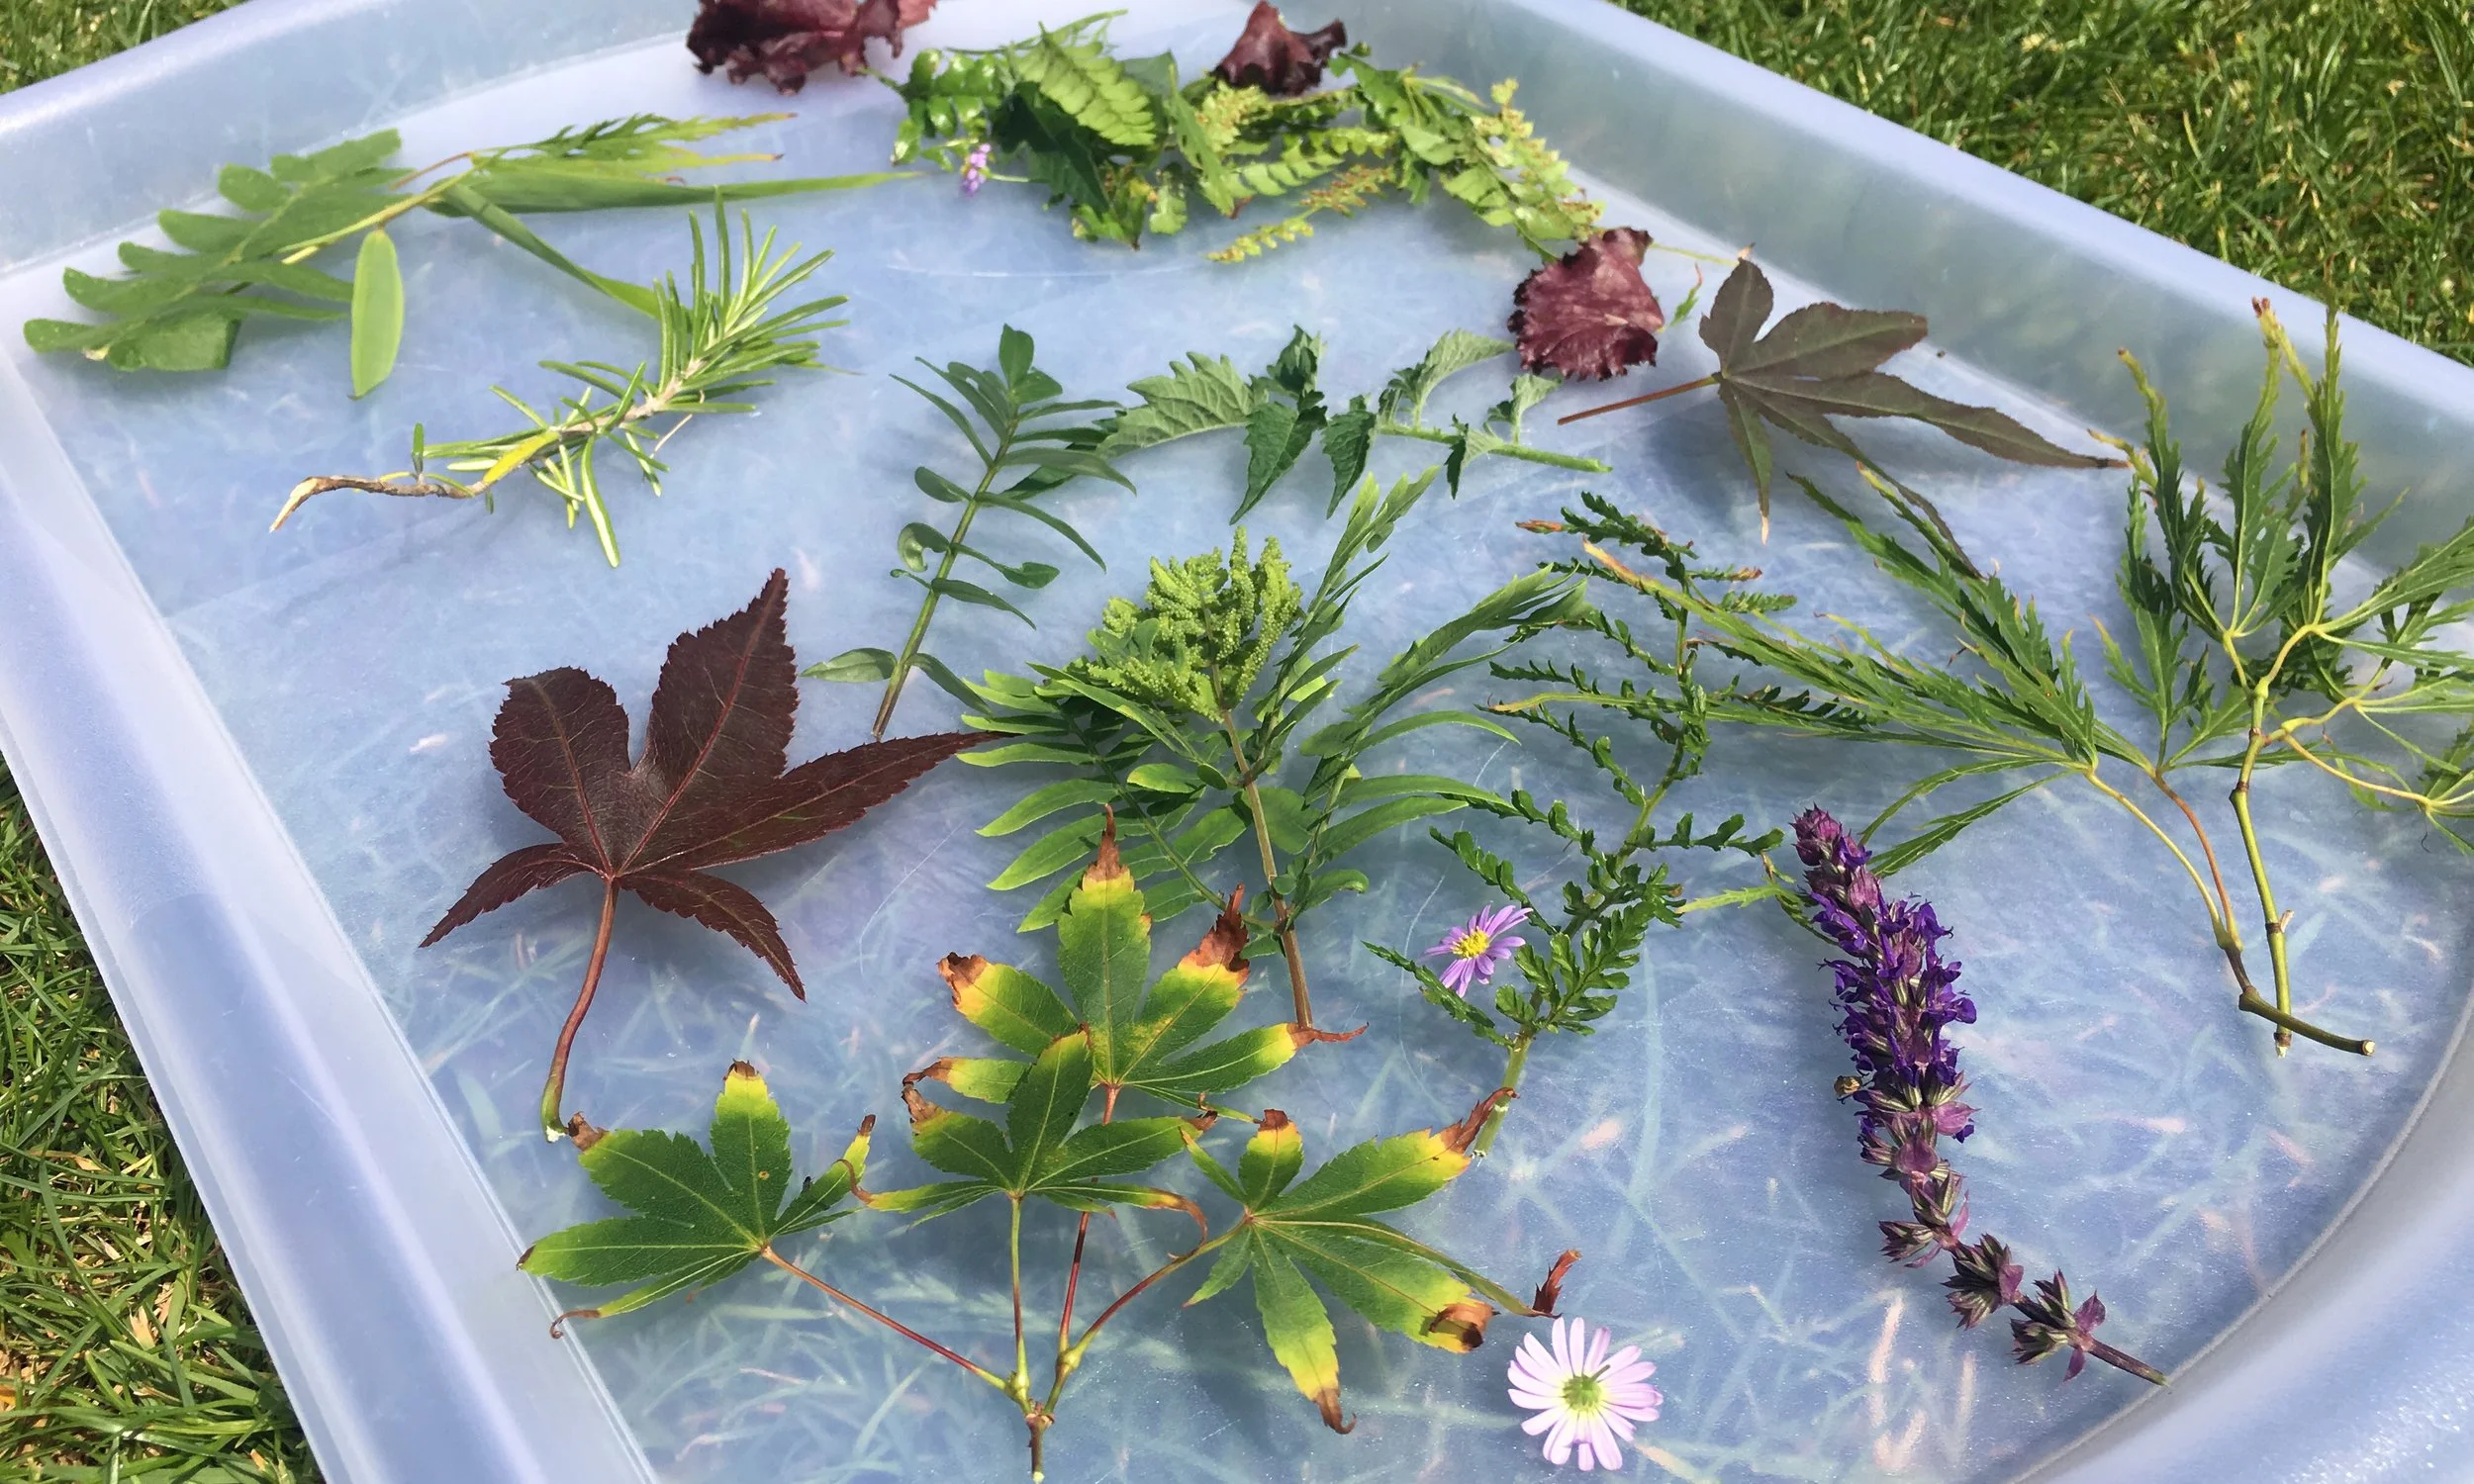
Go for a walk or wander around your garden and find a selection of flat leaves and petals. Sun prints can look very delicate and detailed so you might like to try ferns or plants with very tiny leaves. You may also find it helpful to press them in a large book briefly if you want very defined images.
Find a dark room indoors. A windowless room is best or choose a room with curtains or shutters you can close. The paper is light sensitive so the minute you take it out of its package it starts to expose. Direct sunlight will expose the paper quickly, but even ambient light in the shade, or in a room with a big window will cause slow exposure of the paper.
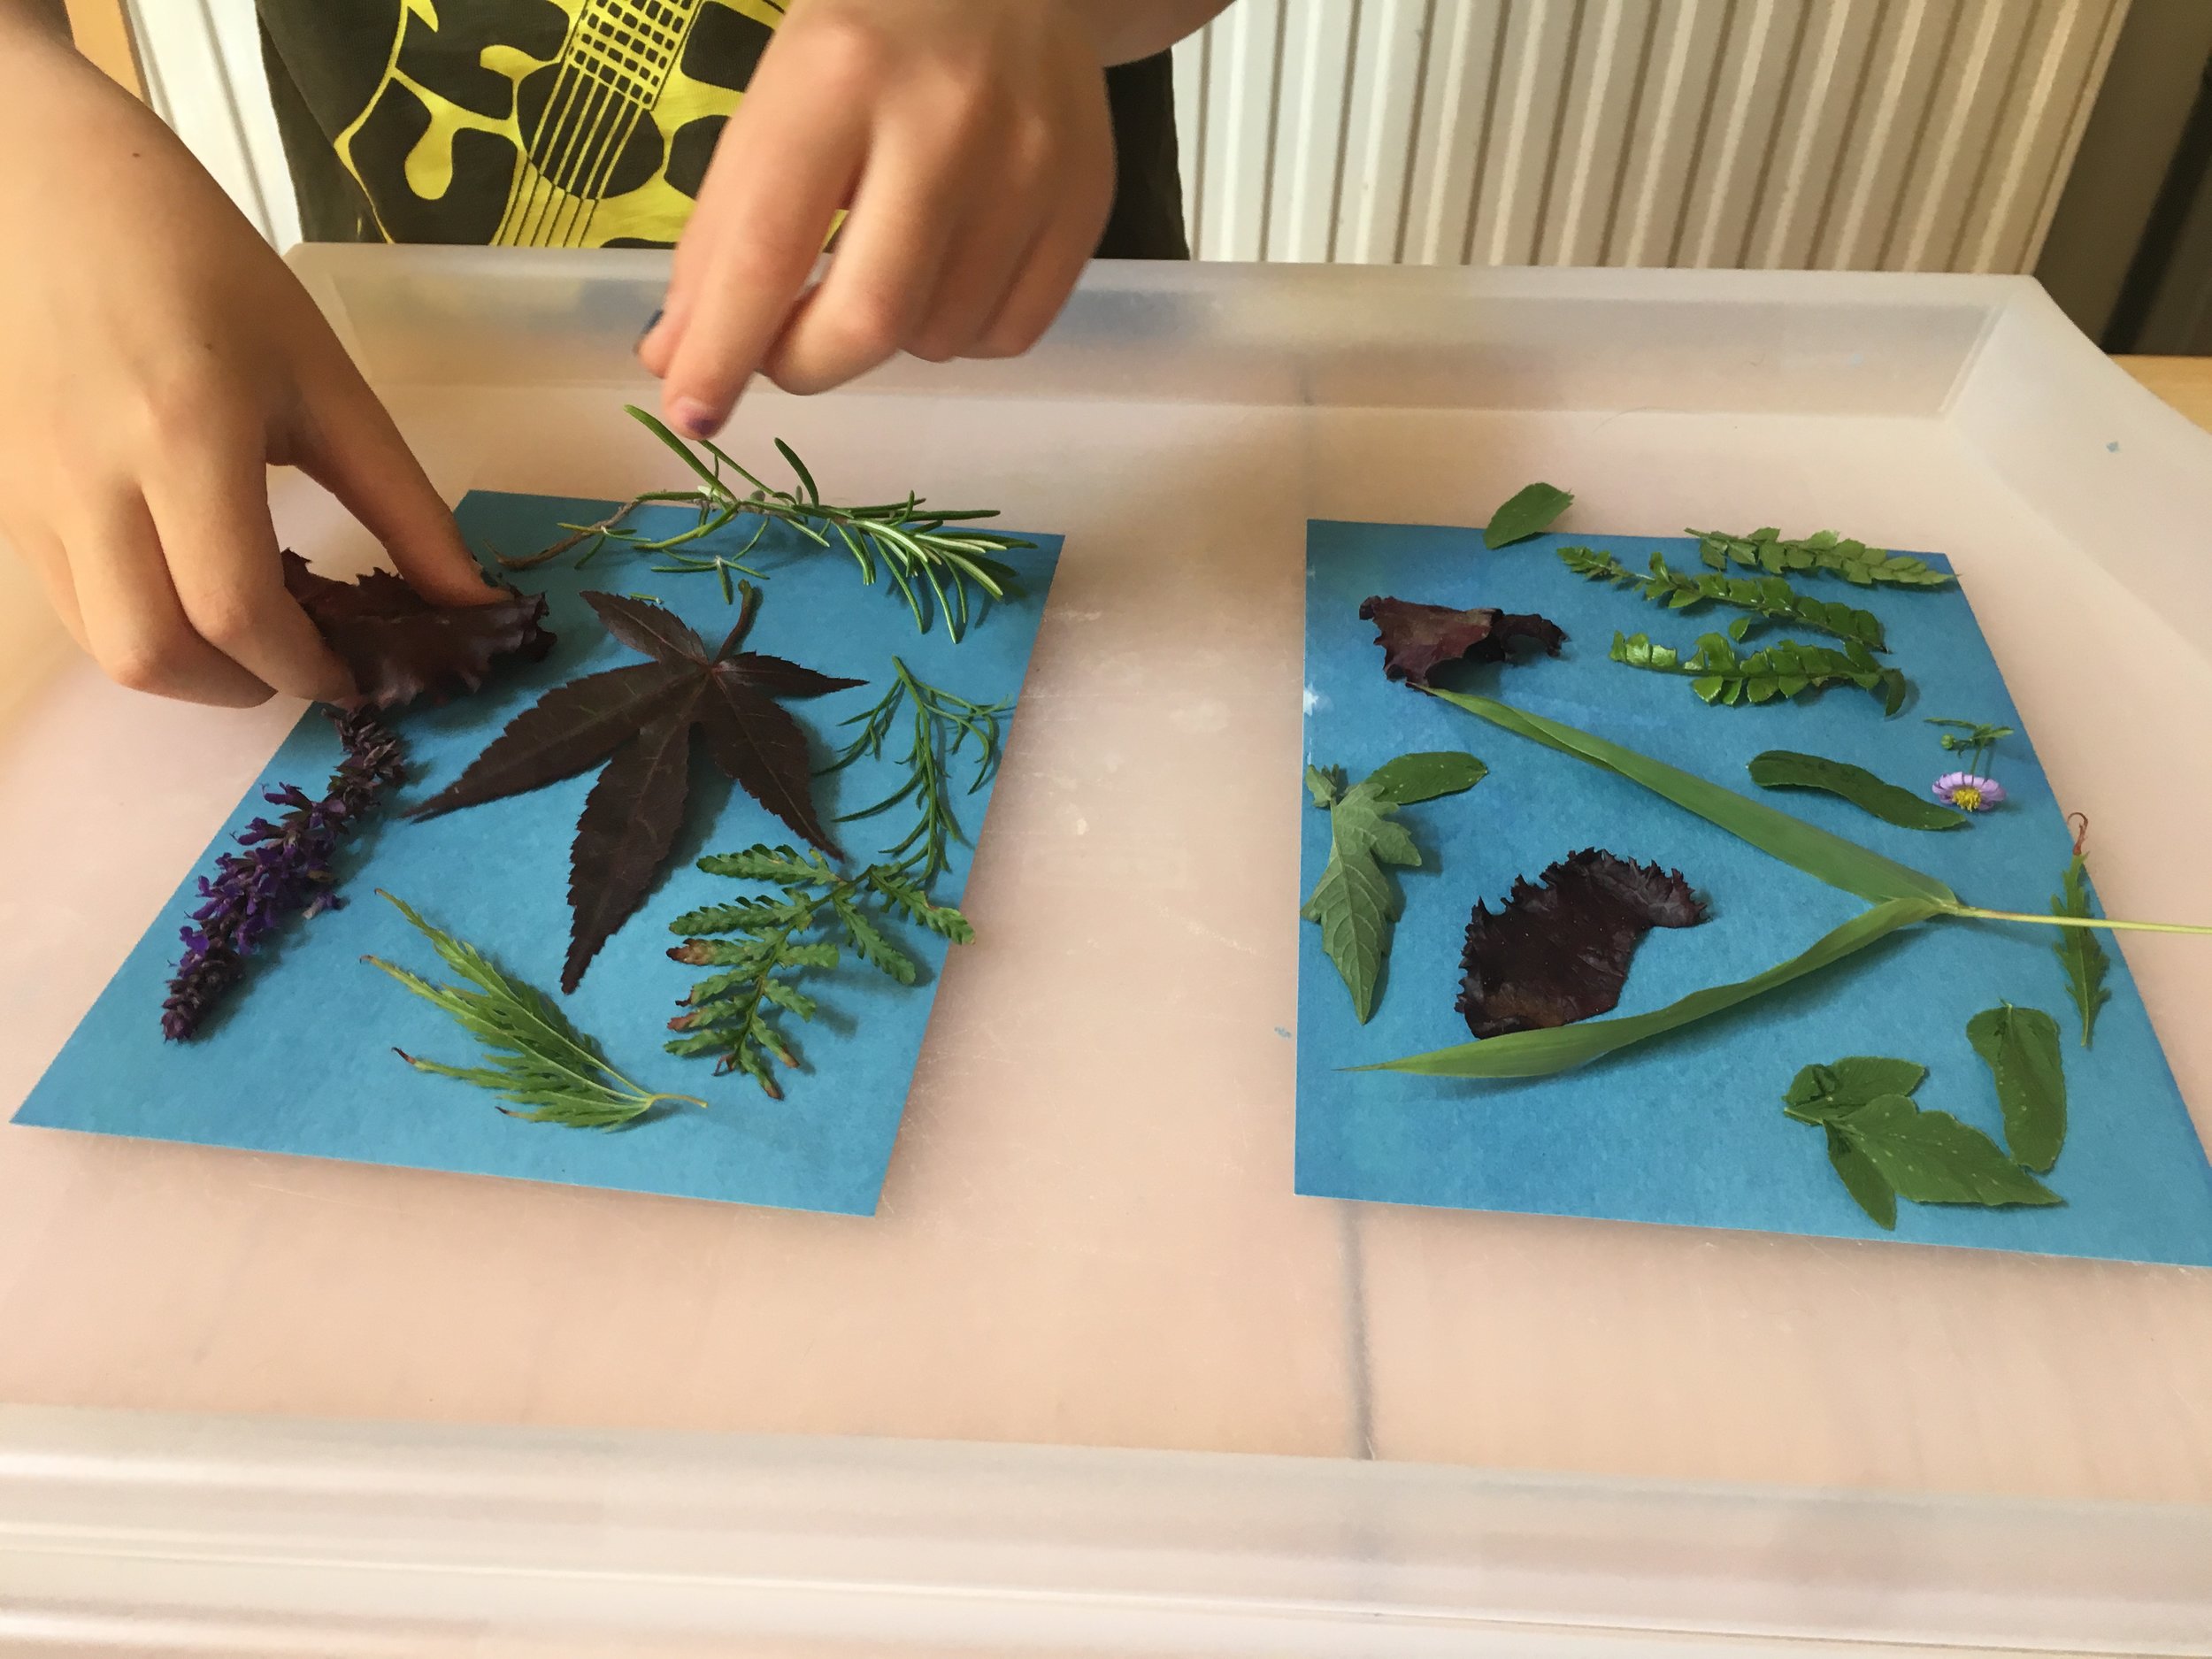
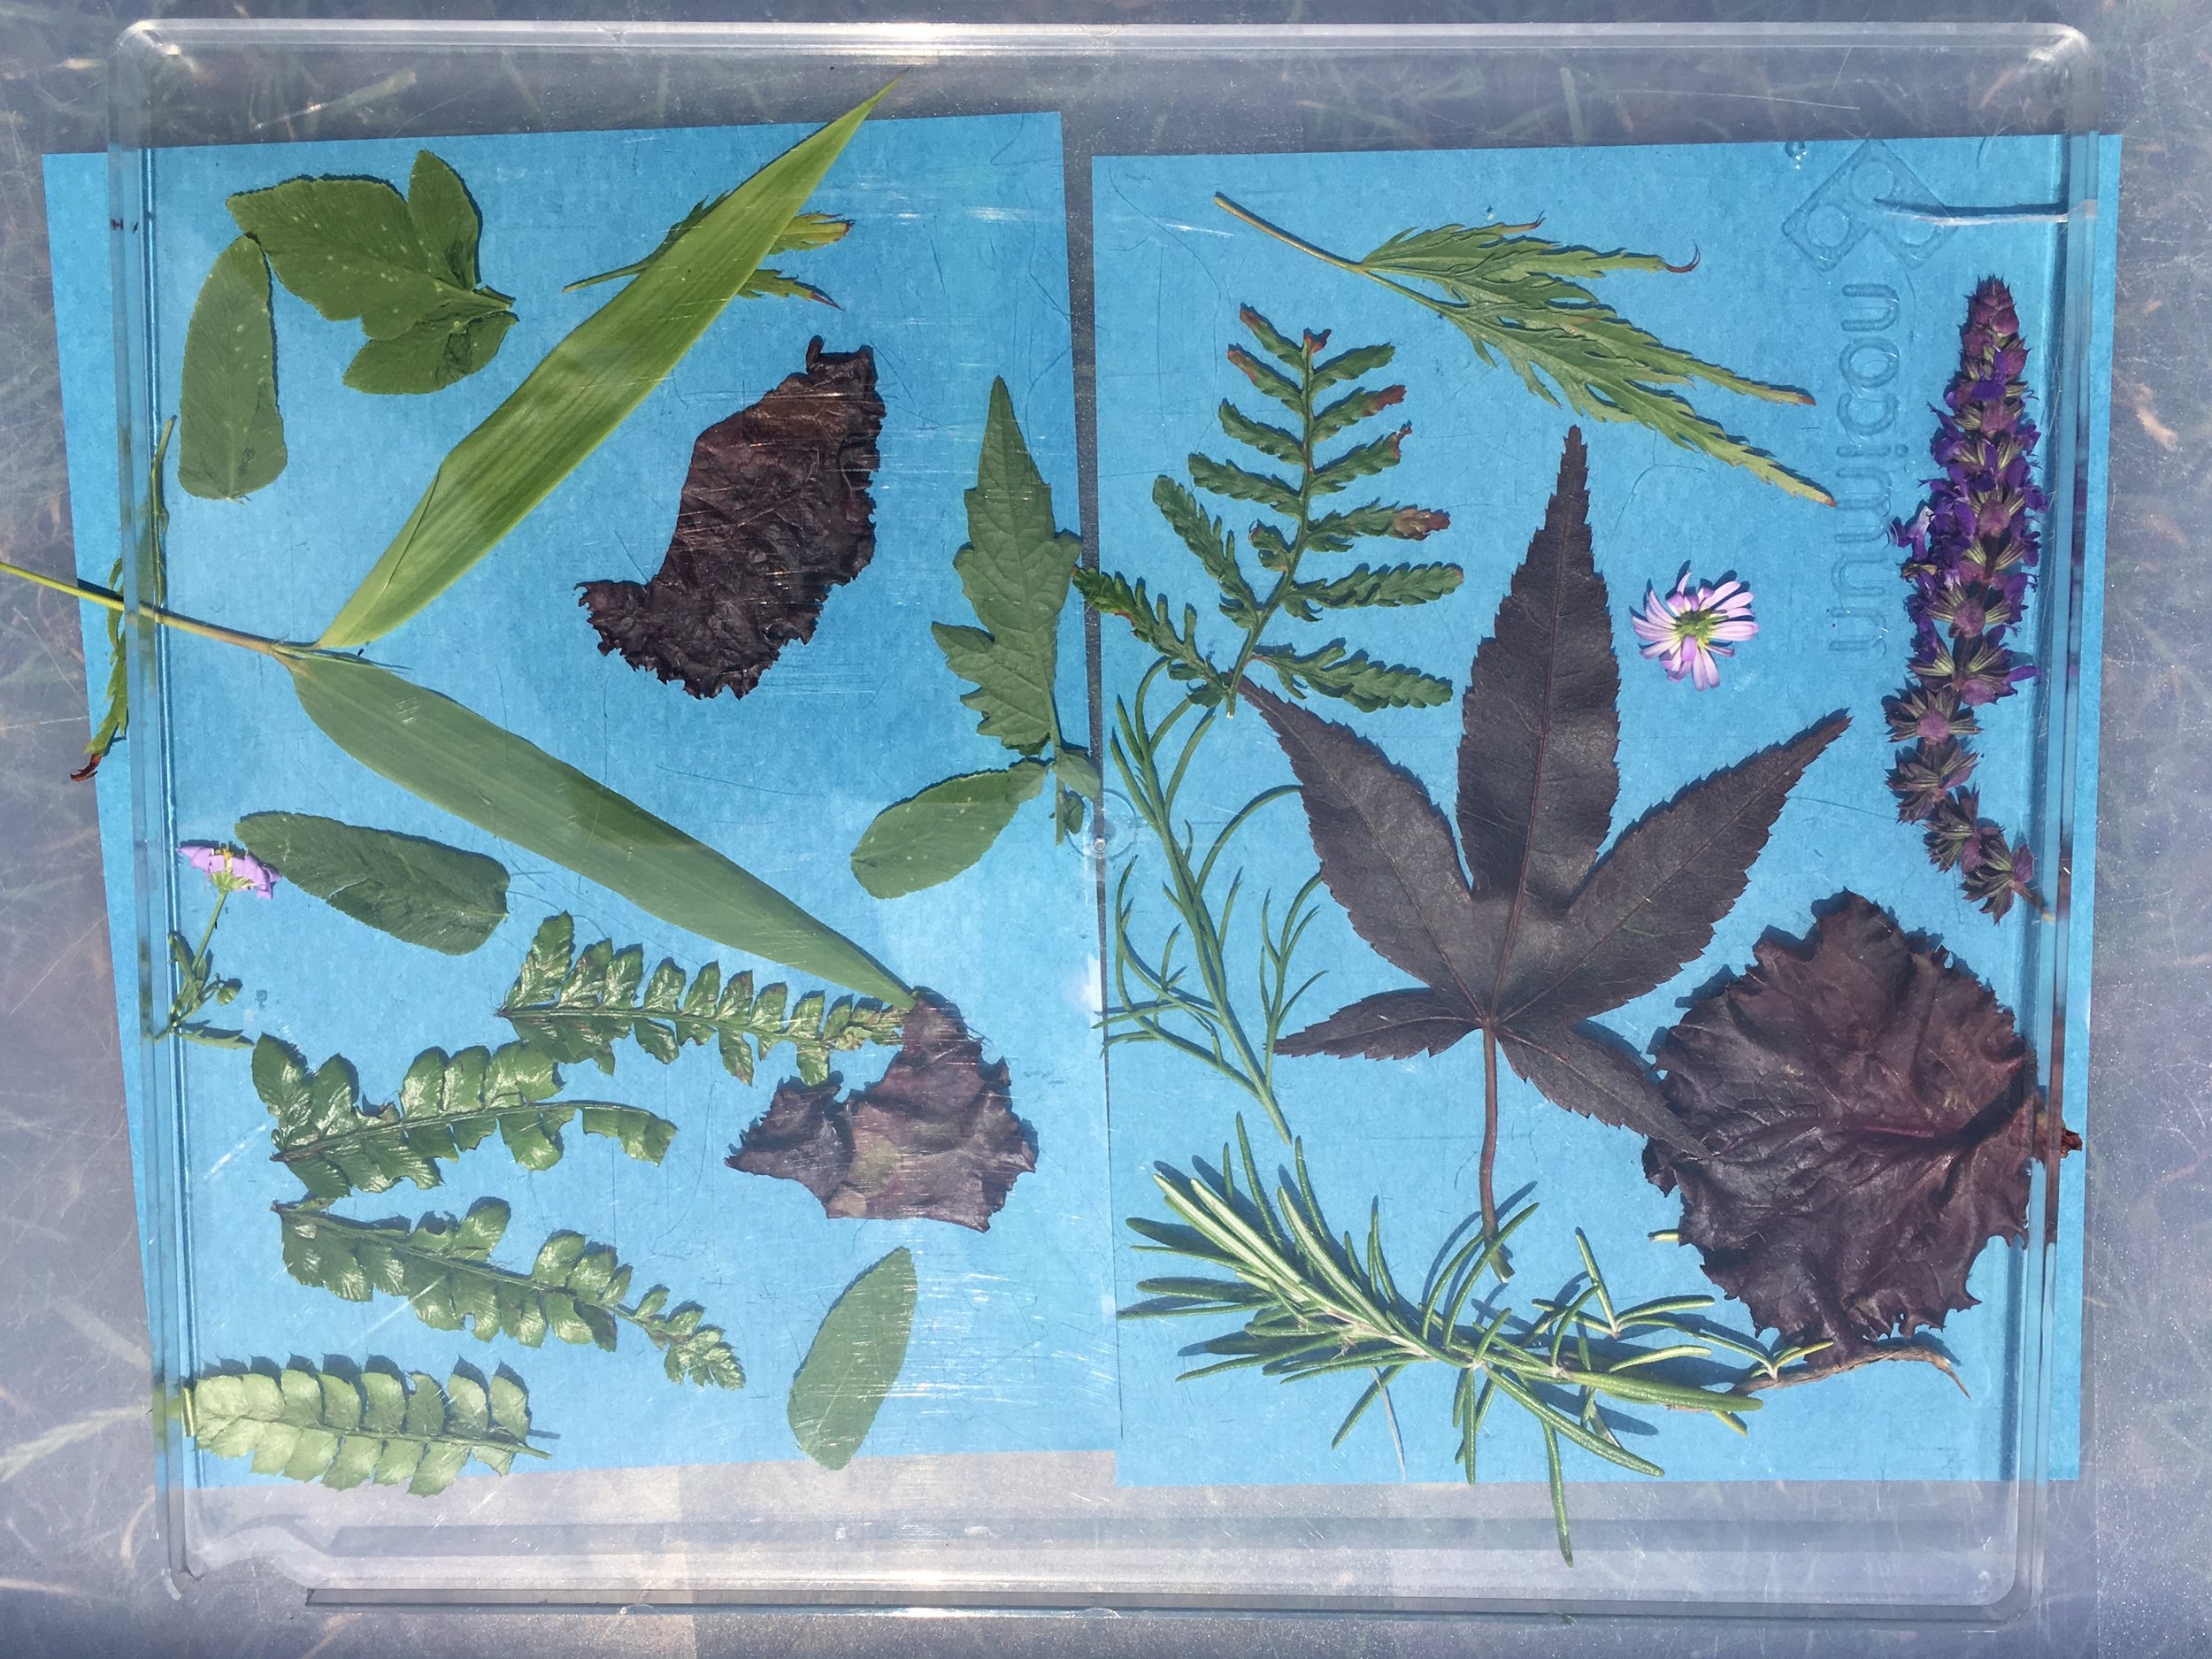
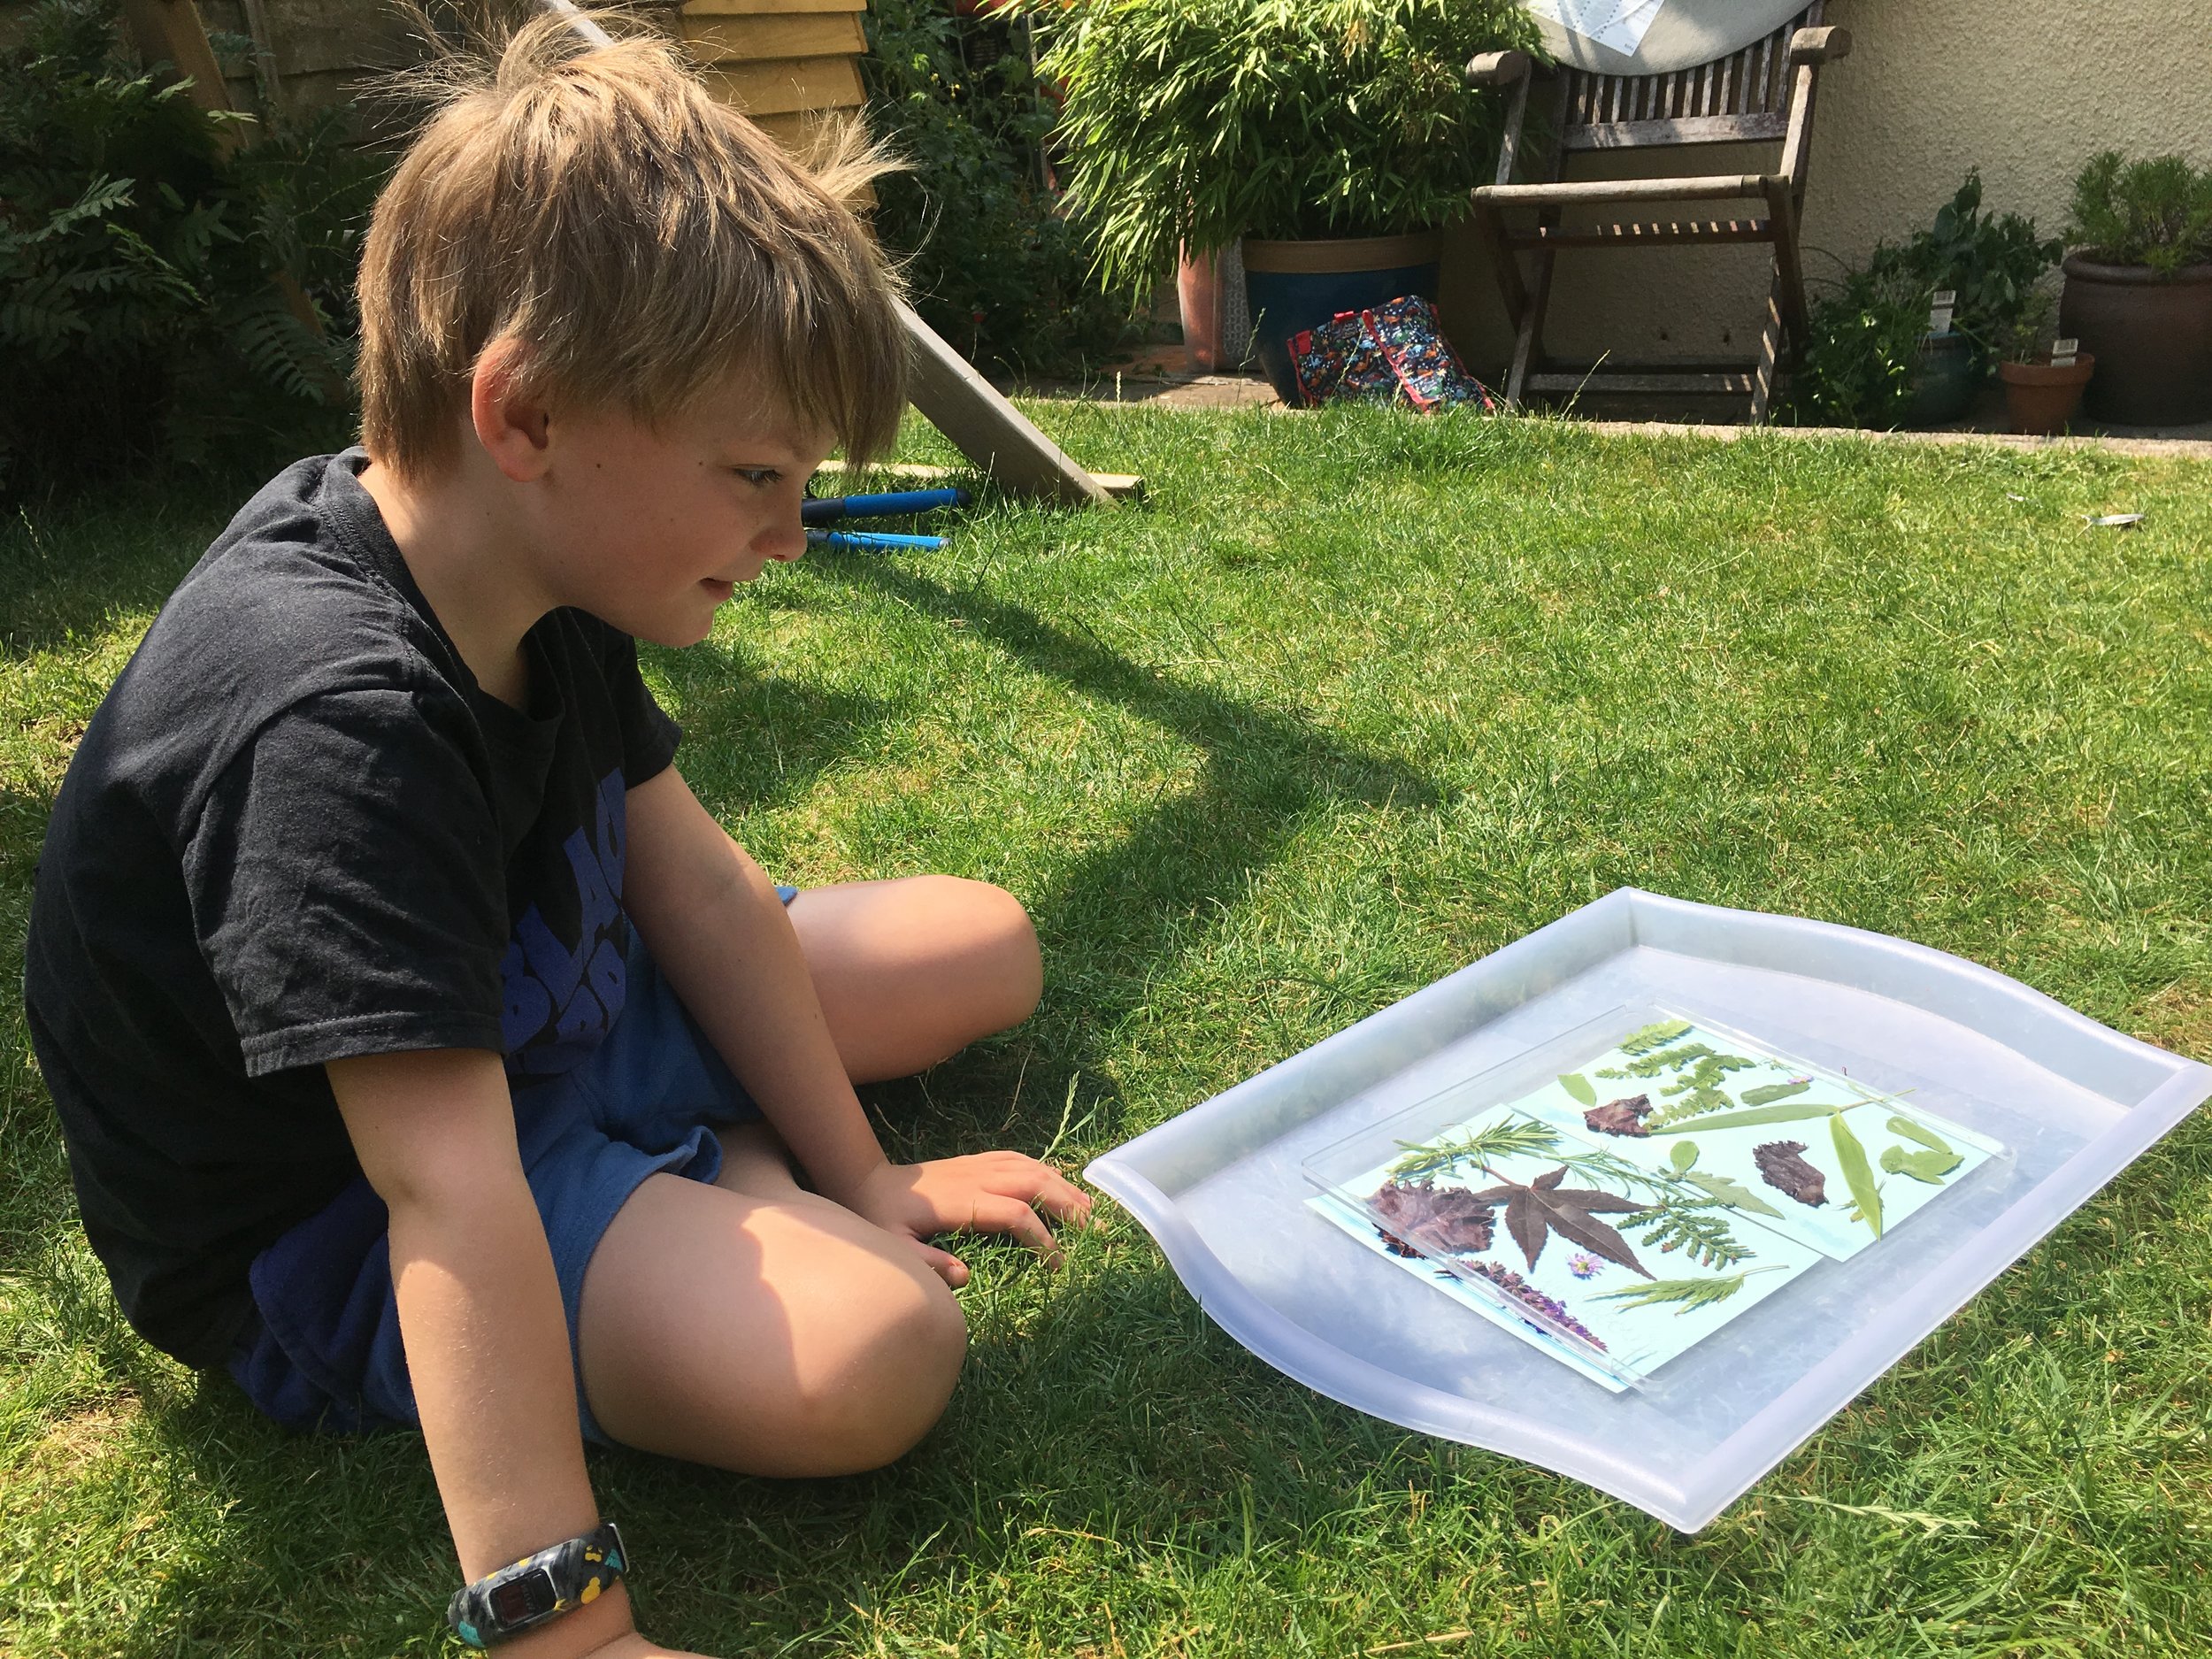
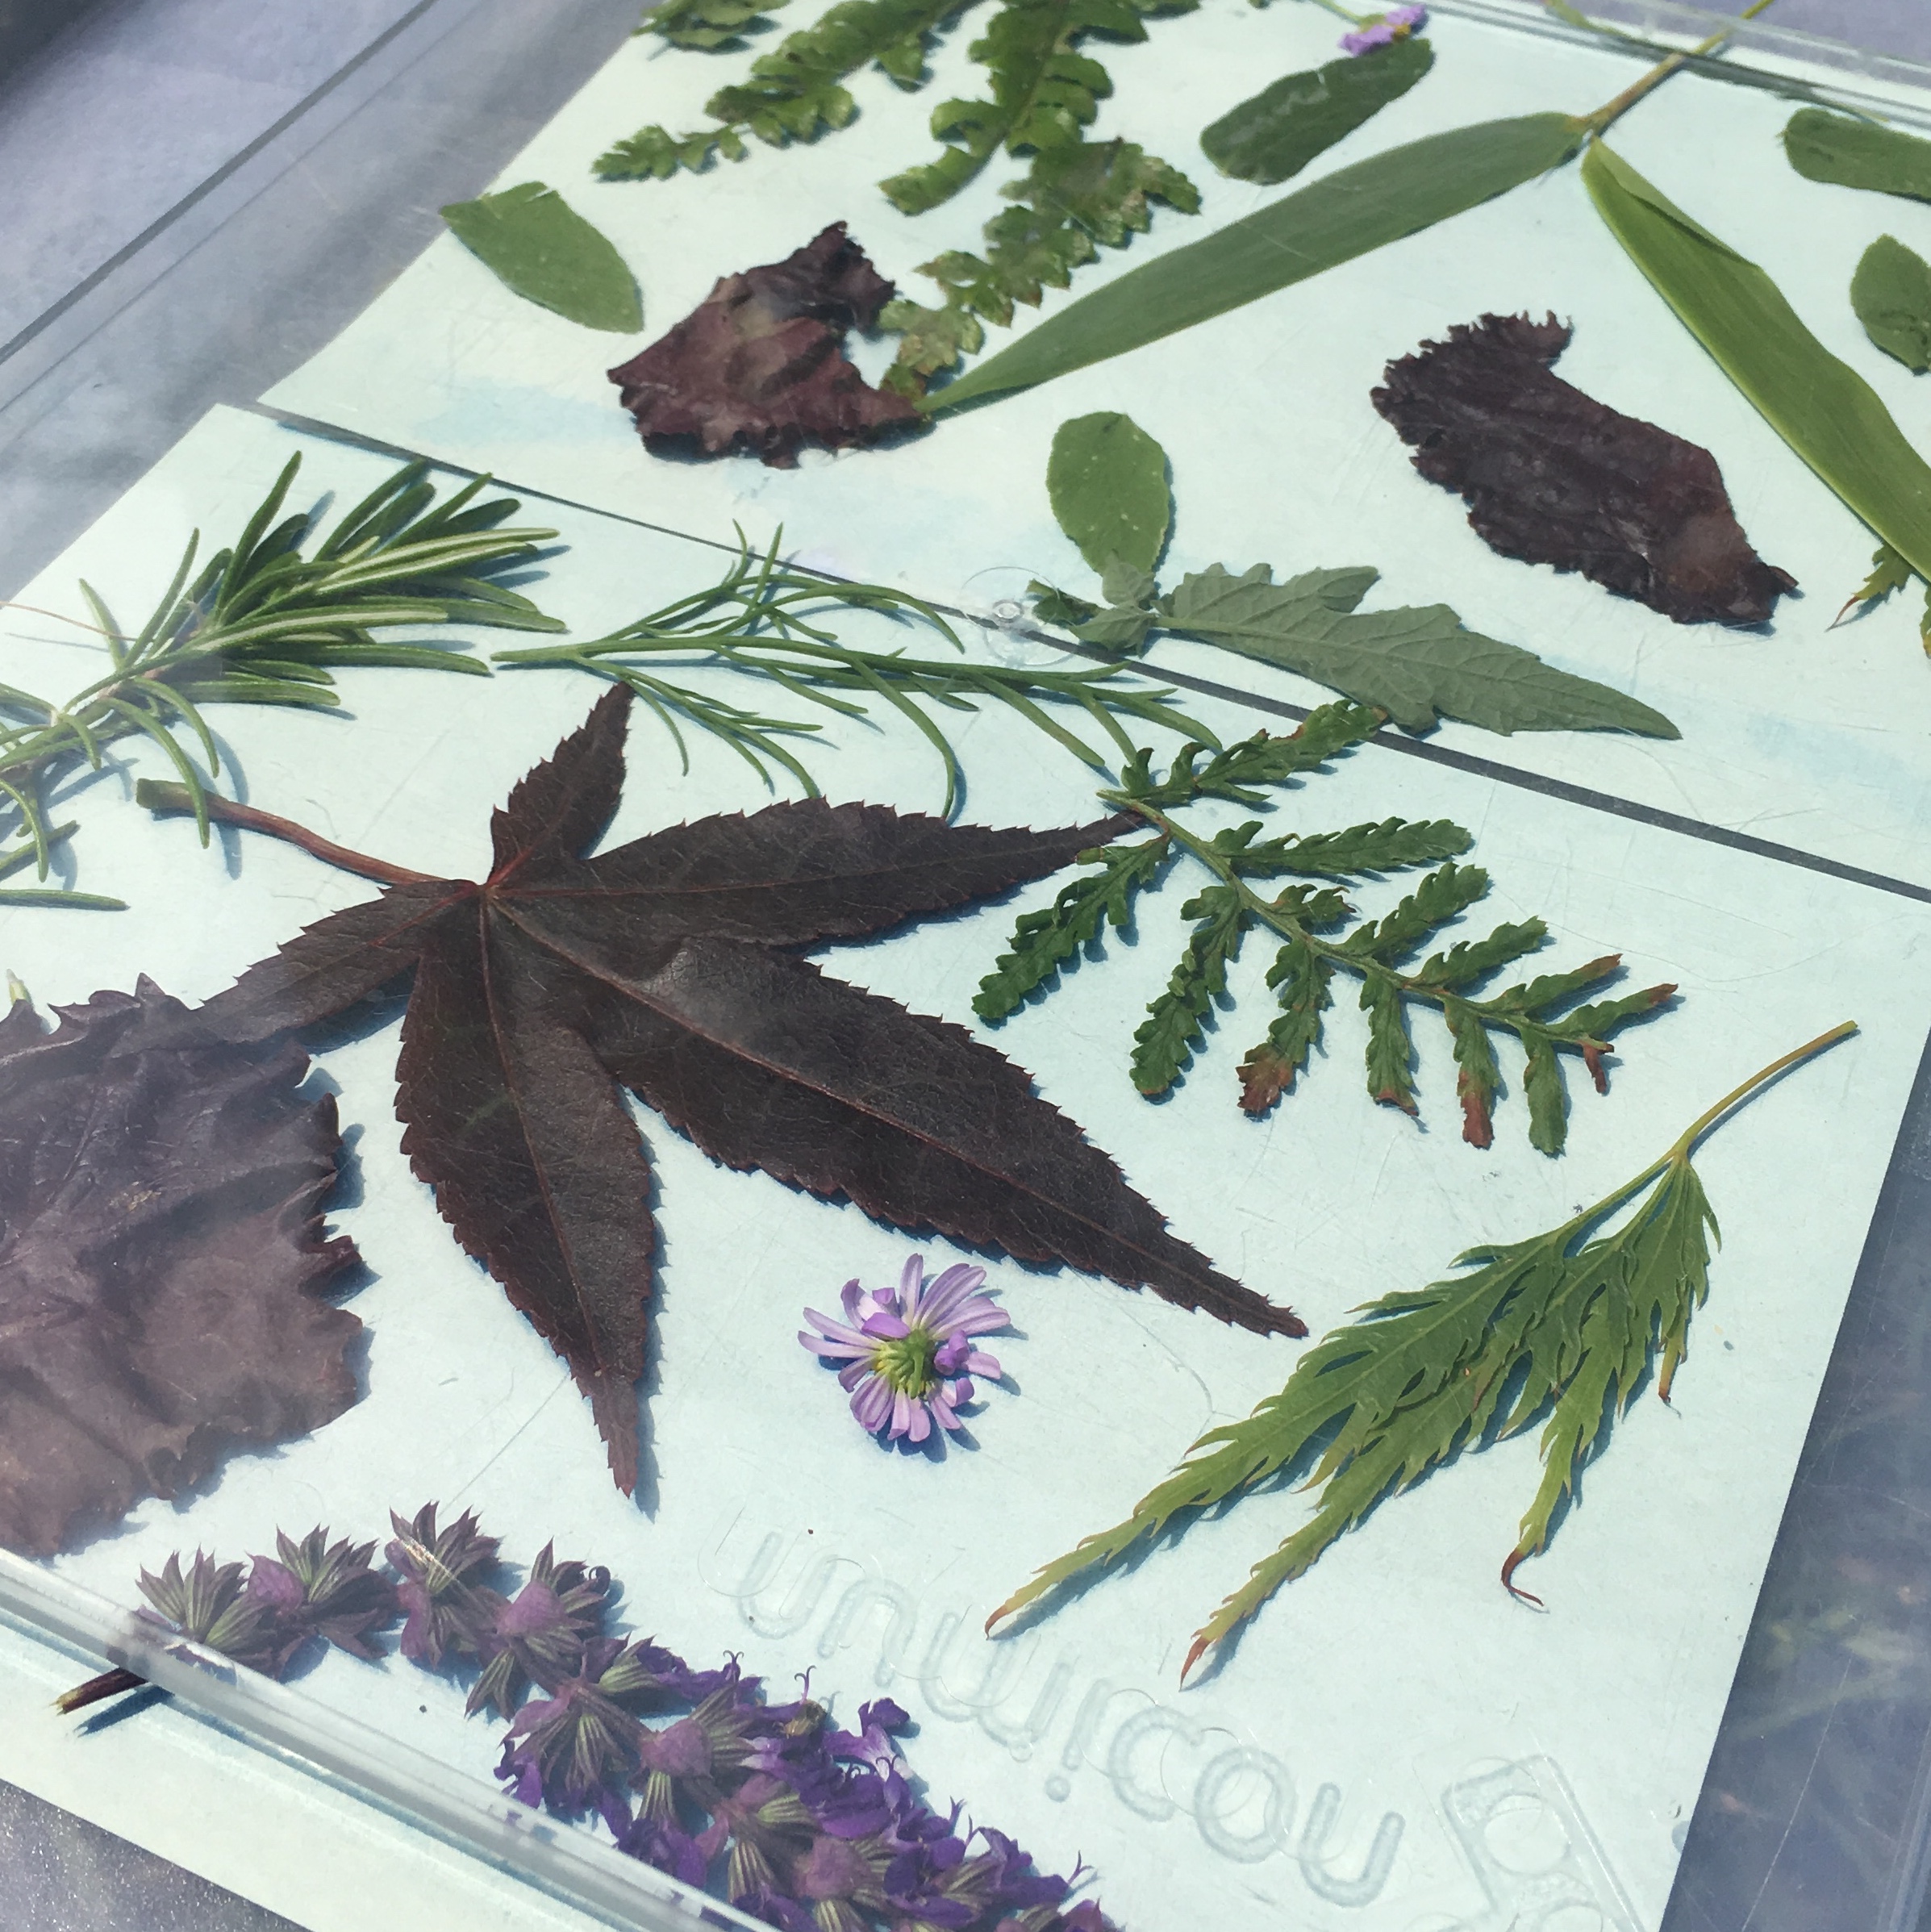
Put the paper on a tray or piece of cardboard with the bluish side facing upwards and arrange your leaves and flowers carefully on the paper. You can keep it simple, focussing on the lovely patterns or older children might like to make more complicated designs or even landscapes. When you are happy with the arrangement, take your tray outside and place it in a sheltered spot where the leaves and petals will not get blown off the paper! If you have a piece of glass or clear acrylic this can be useful to place on top of the leaves and flowers to help keep them in place.
Leave the paper in direct sunlight for between three and seven minutes, until the pale blue colour on the exposed sections has turned almost completely white. If the sky is overcast, you will need to leave it out for longer.
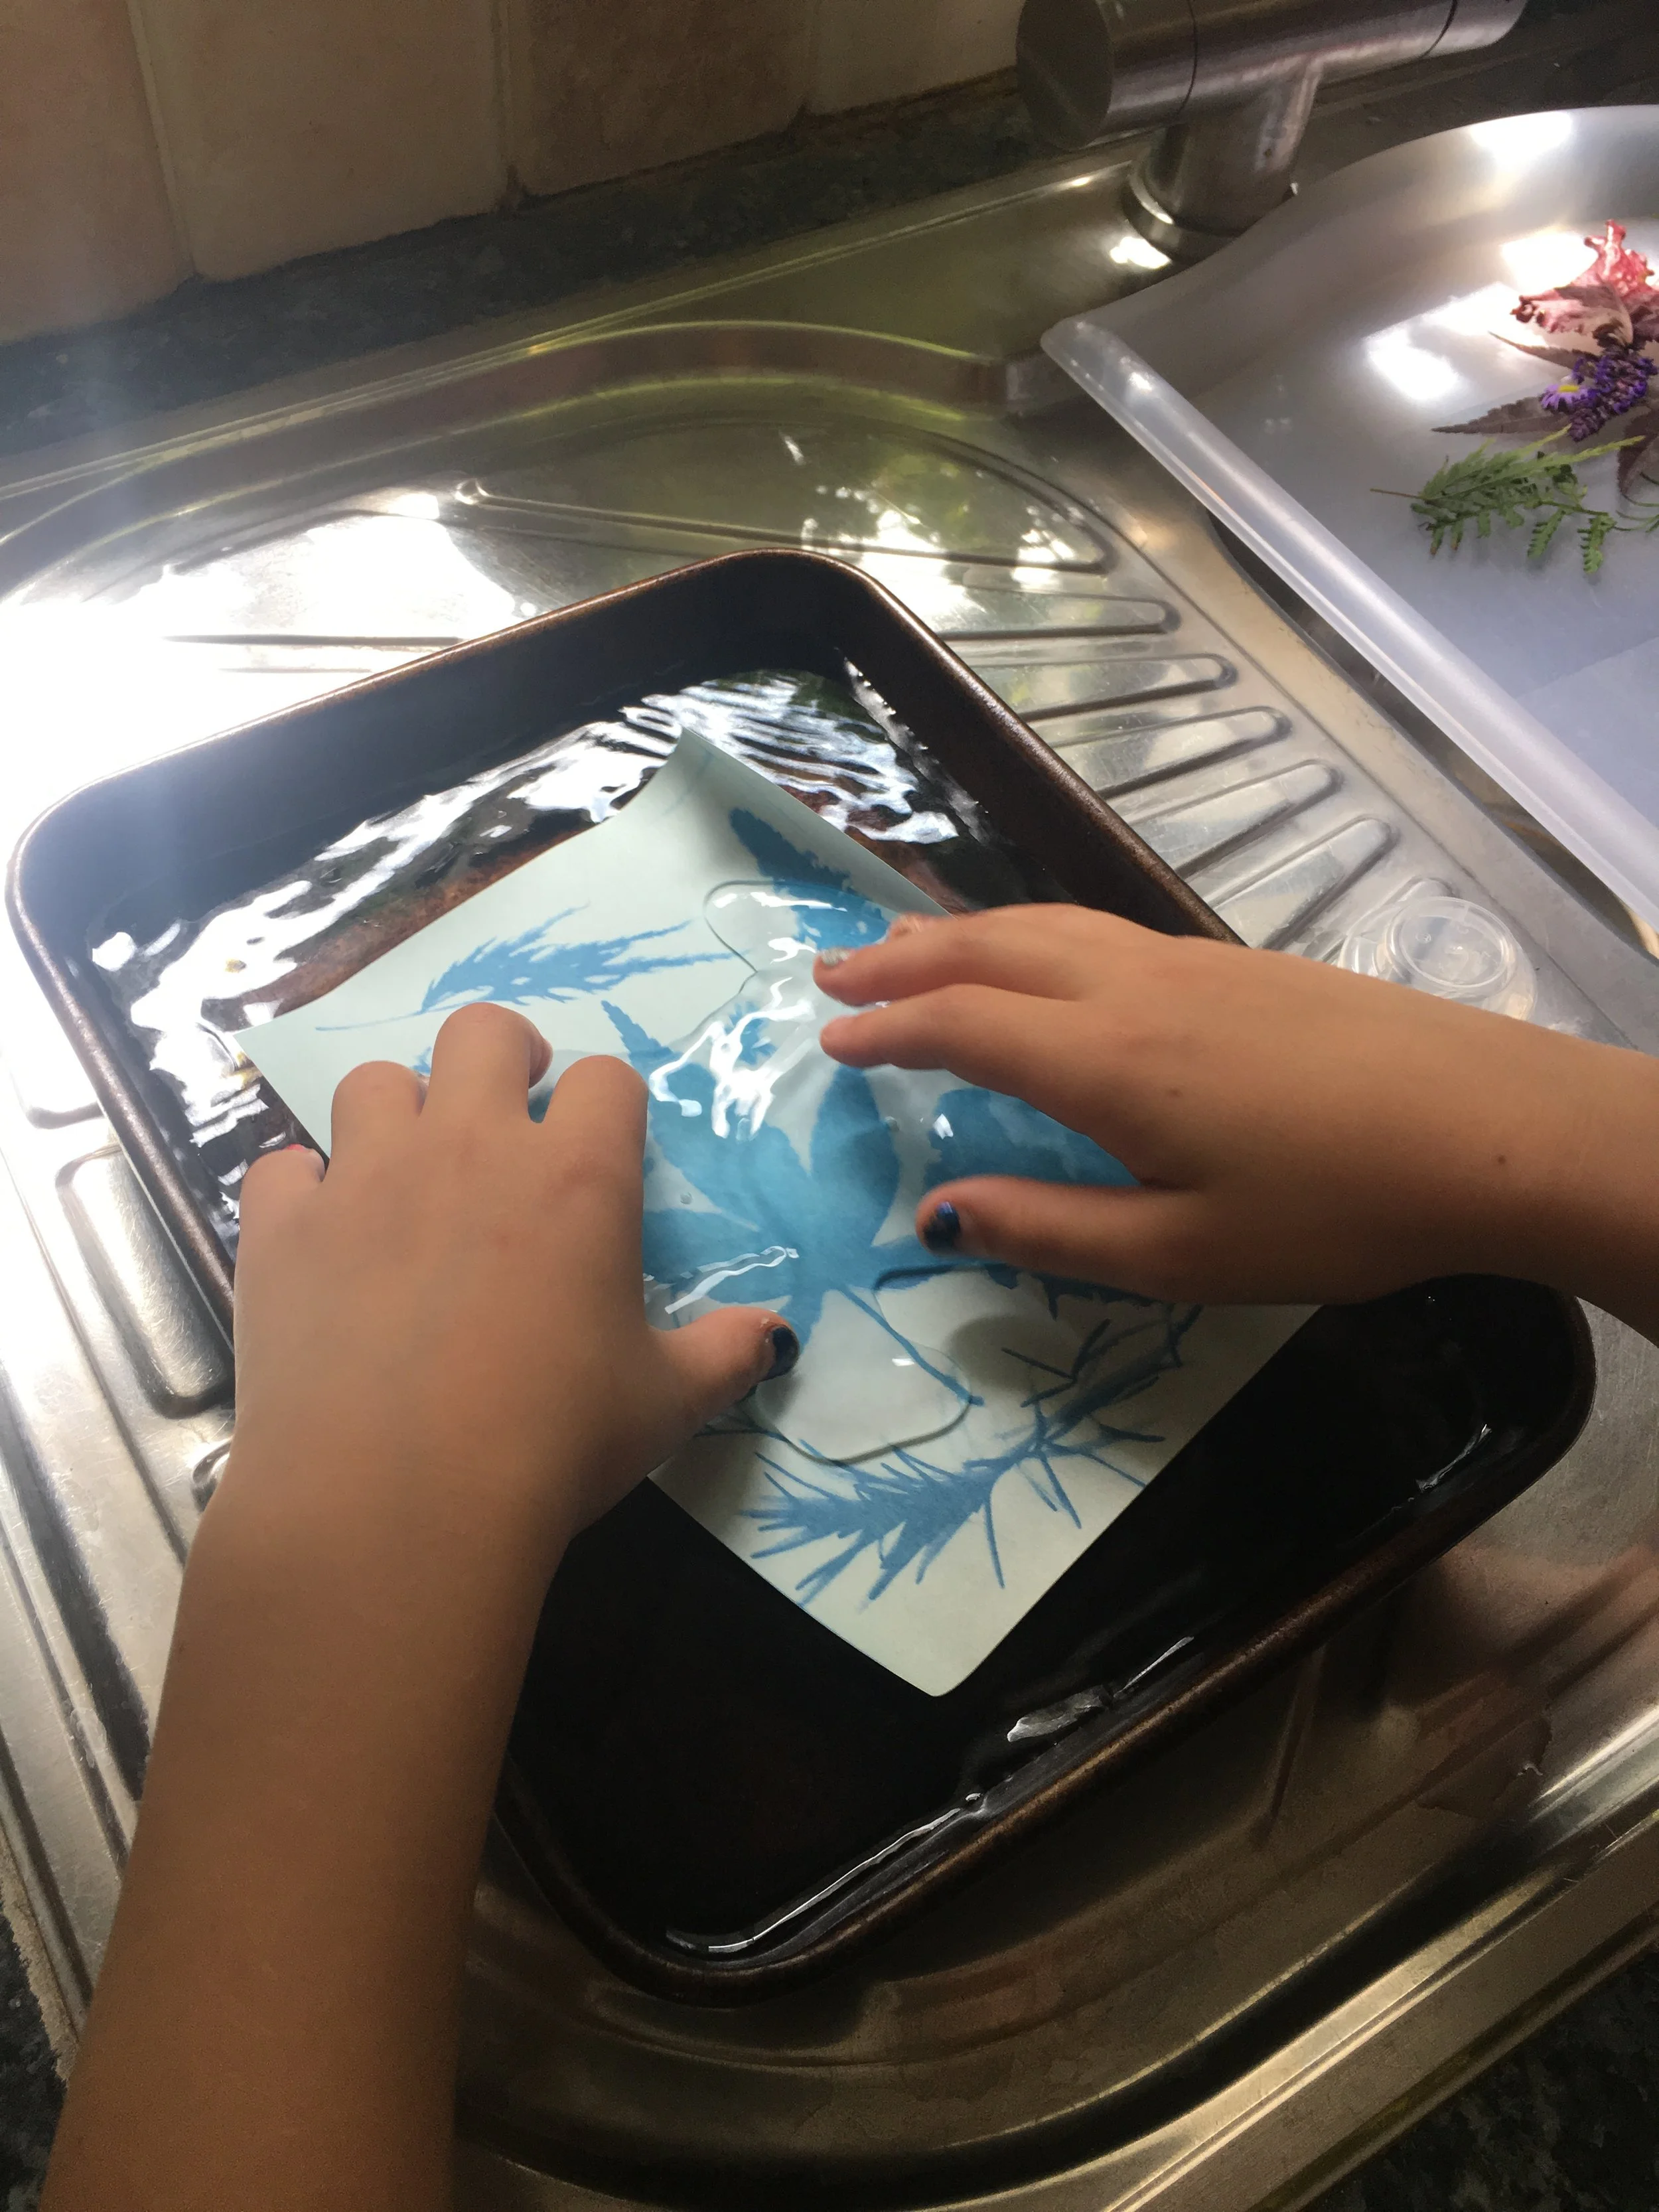
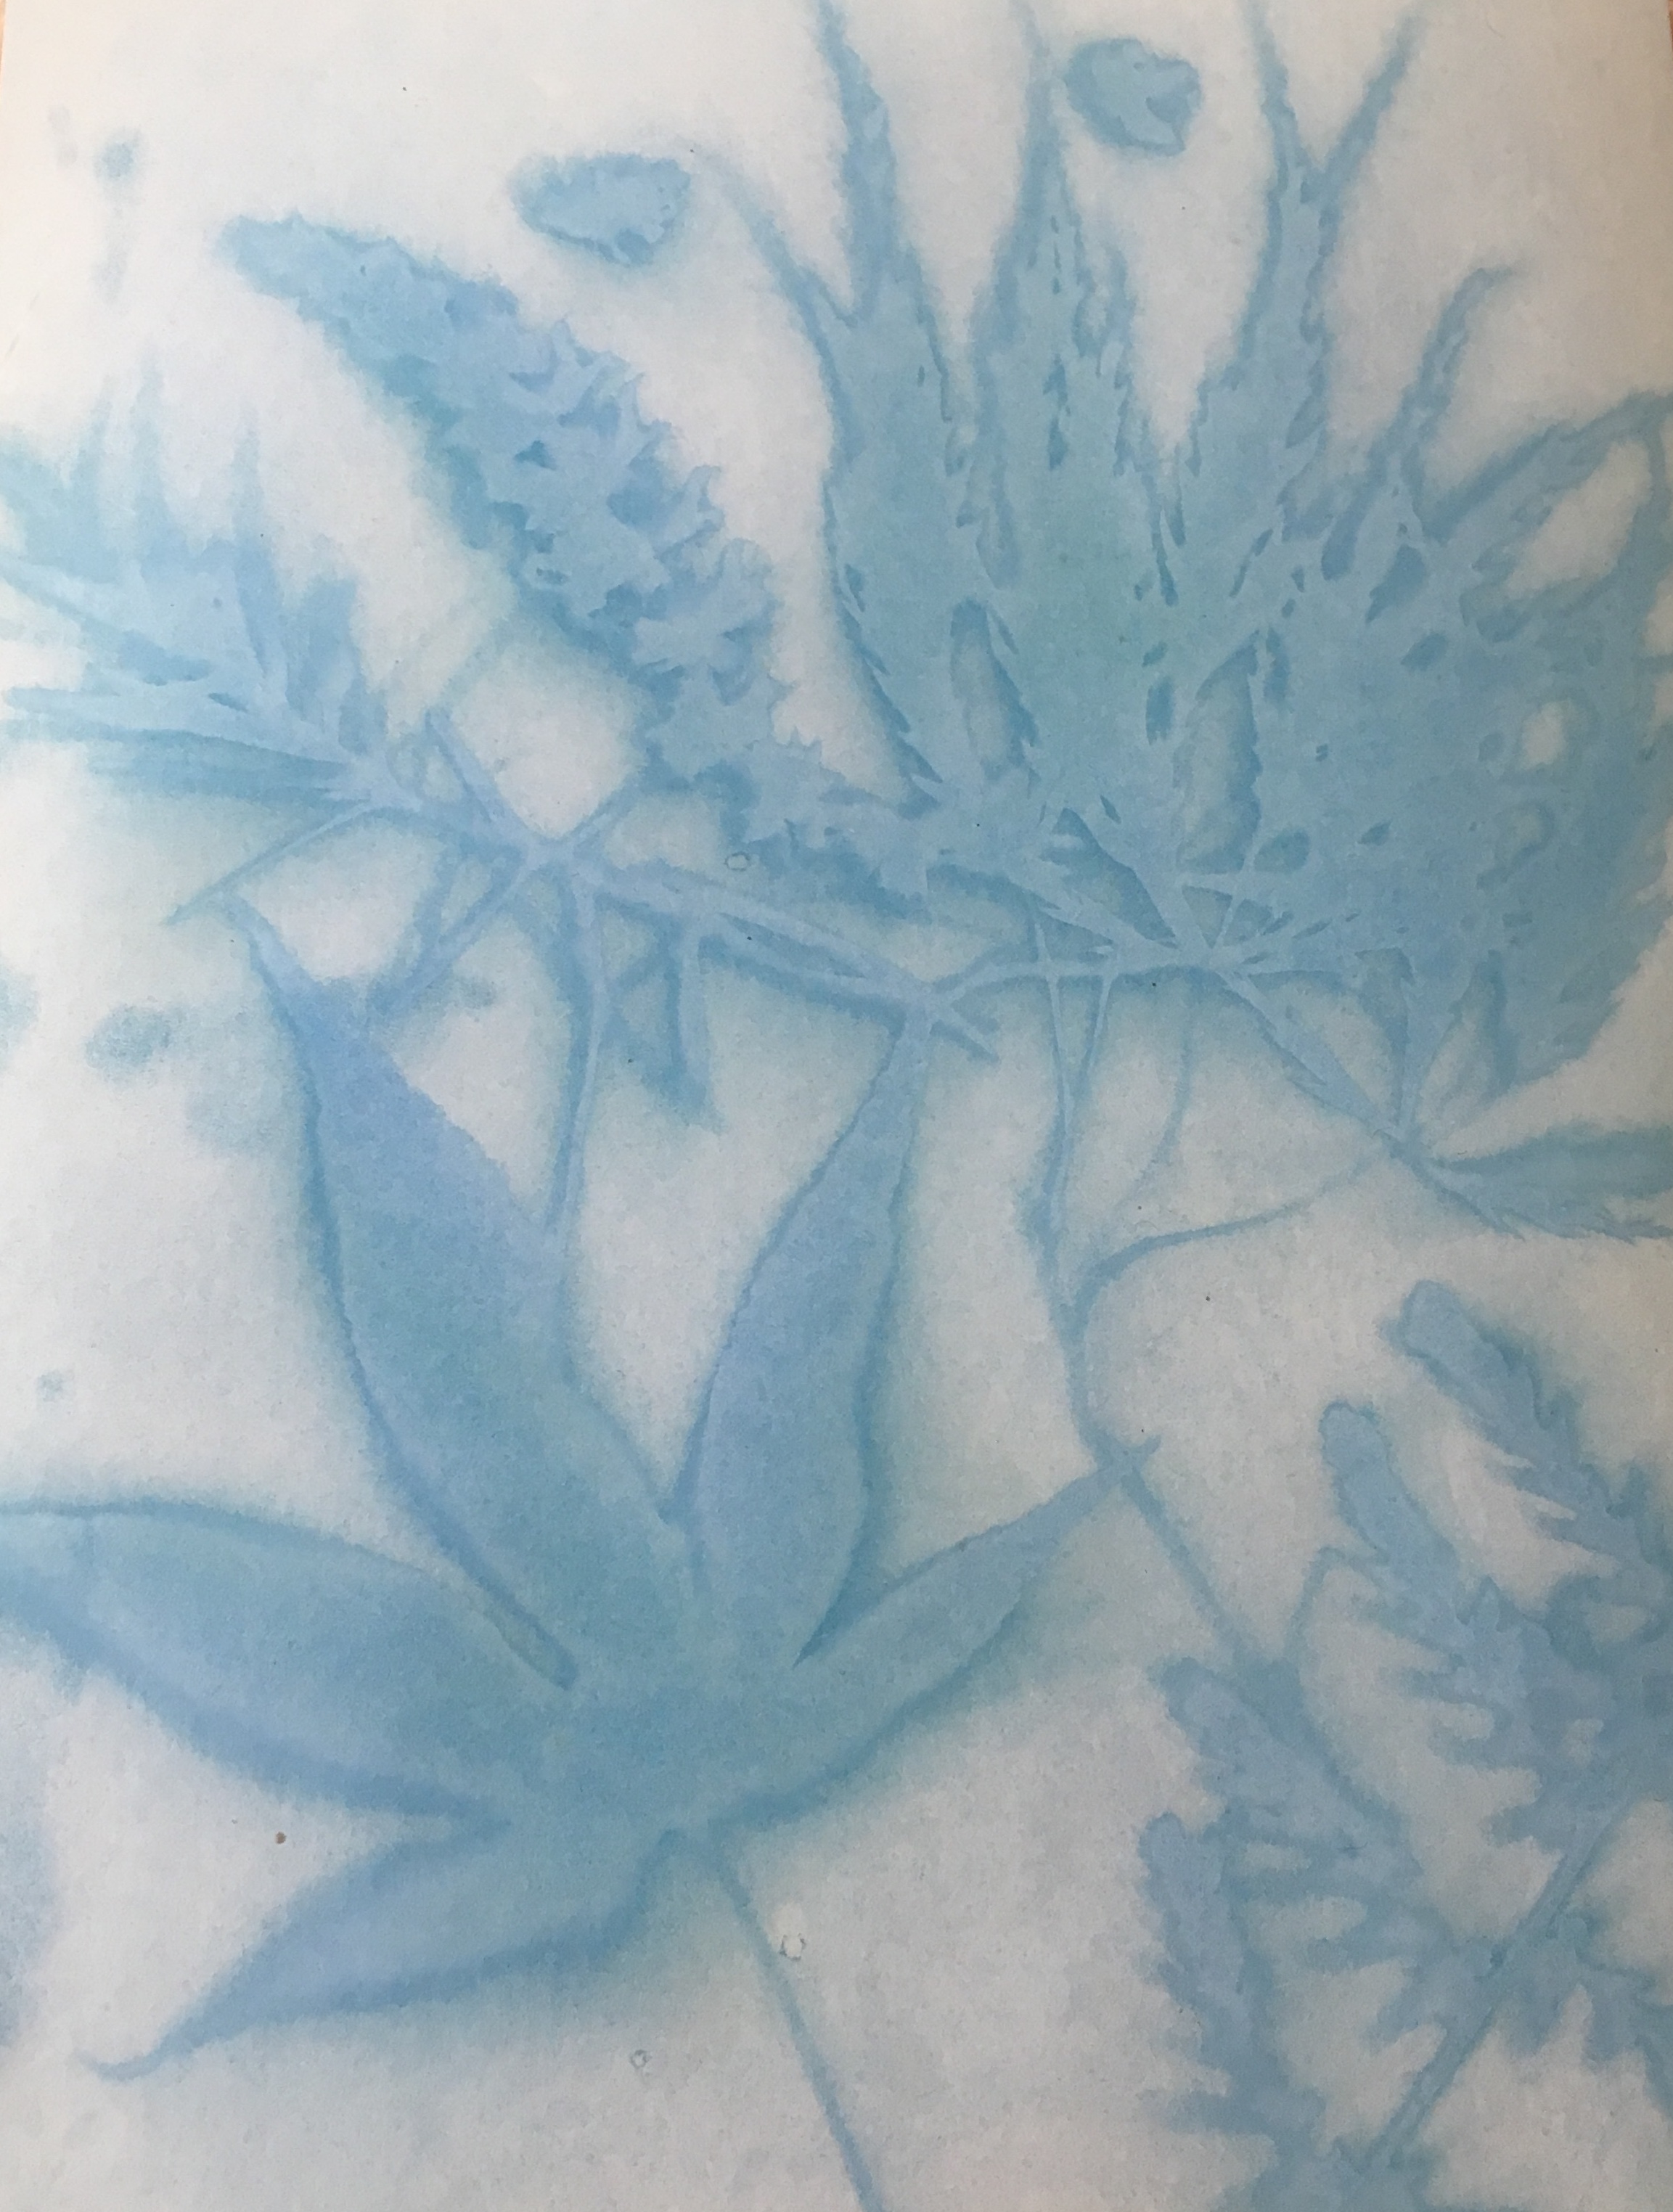

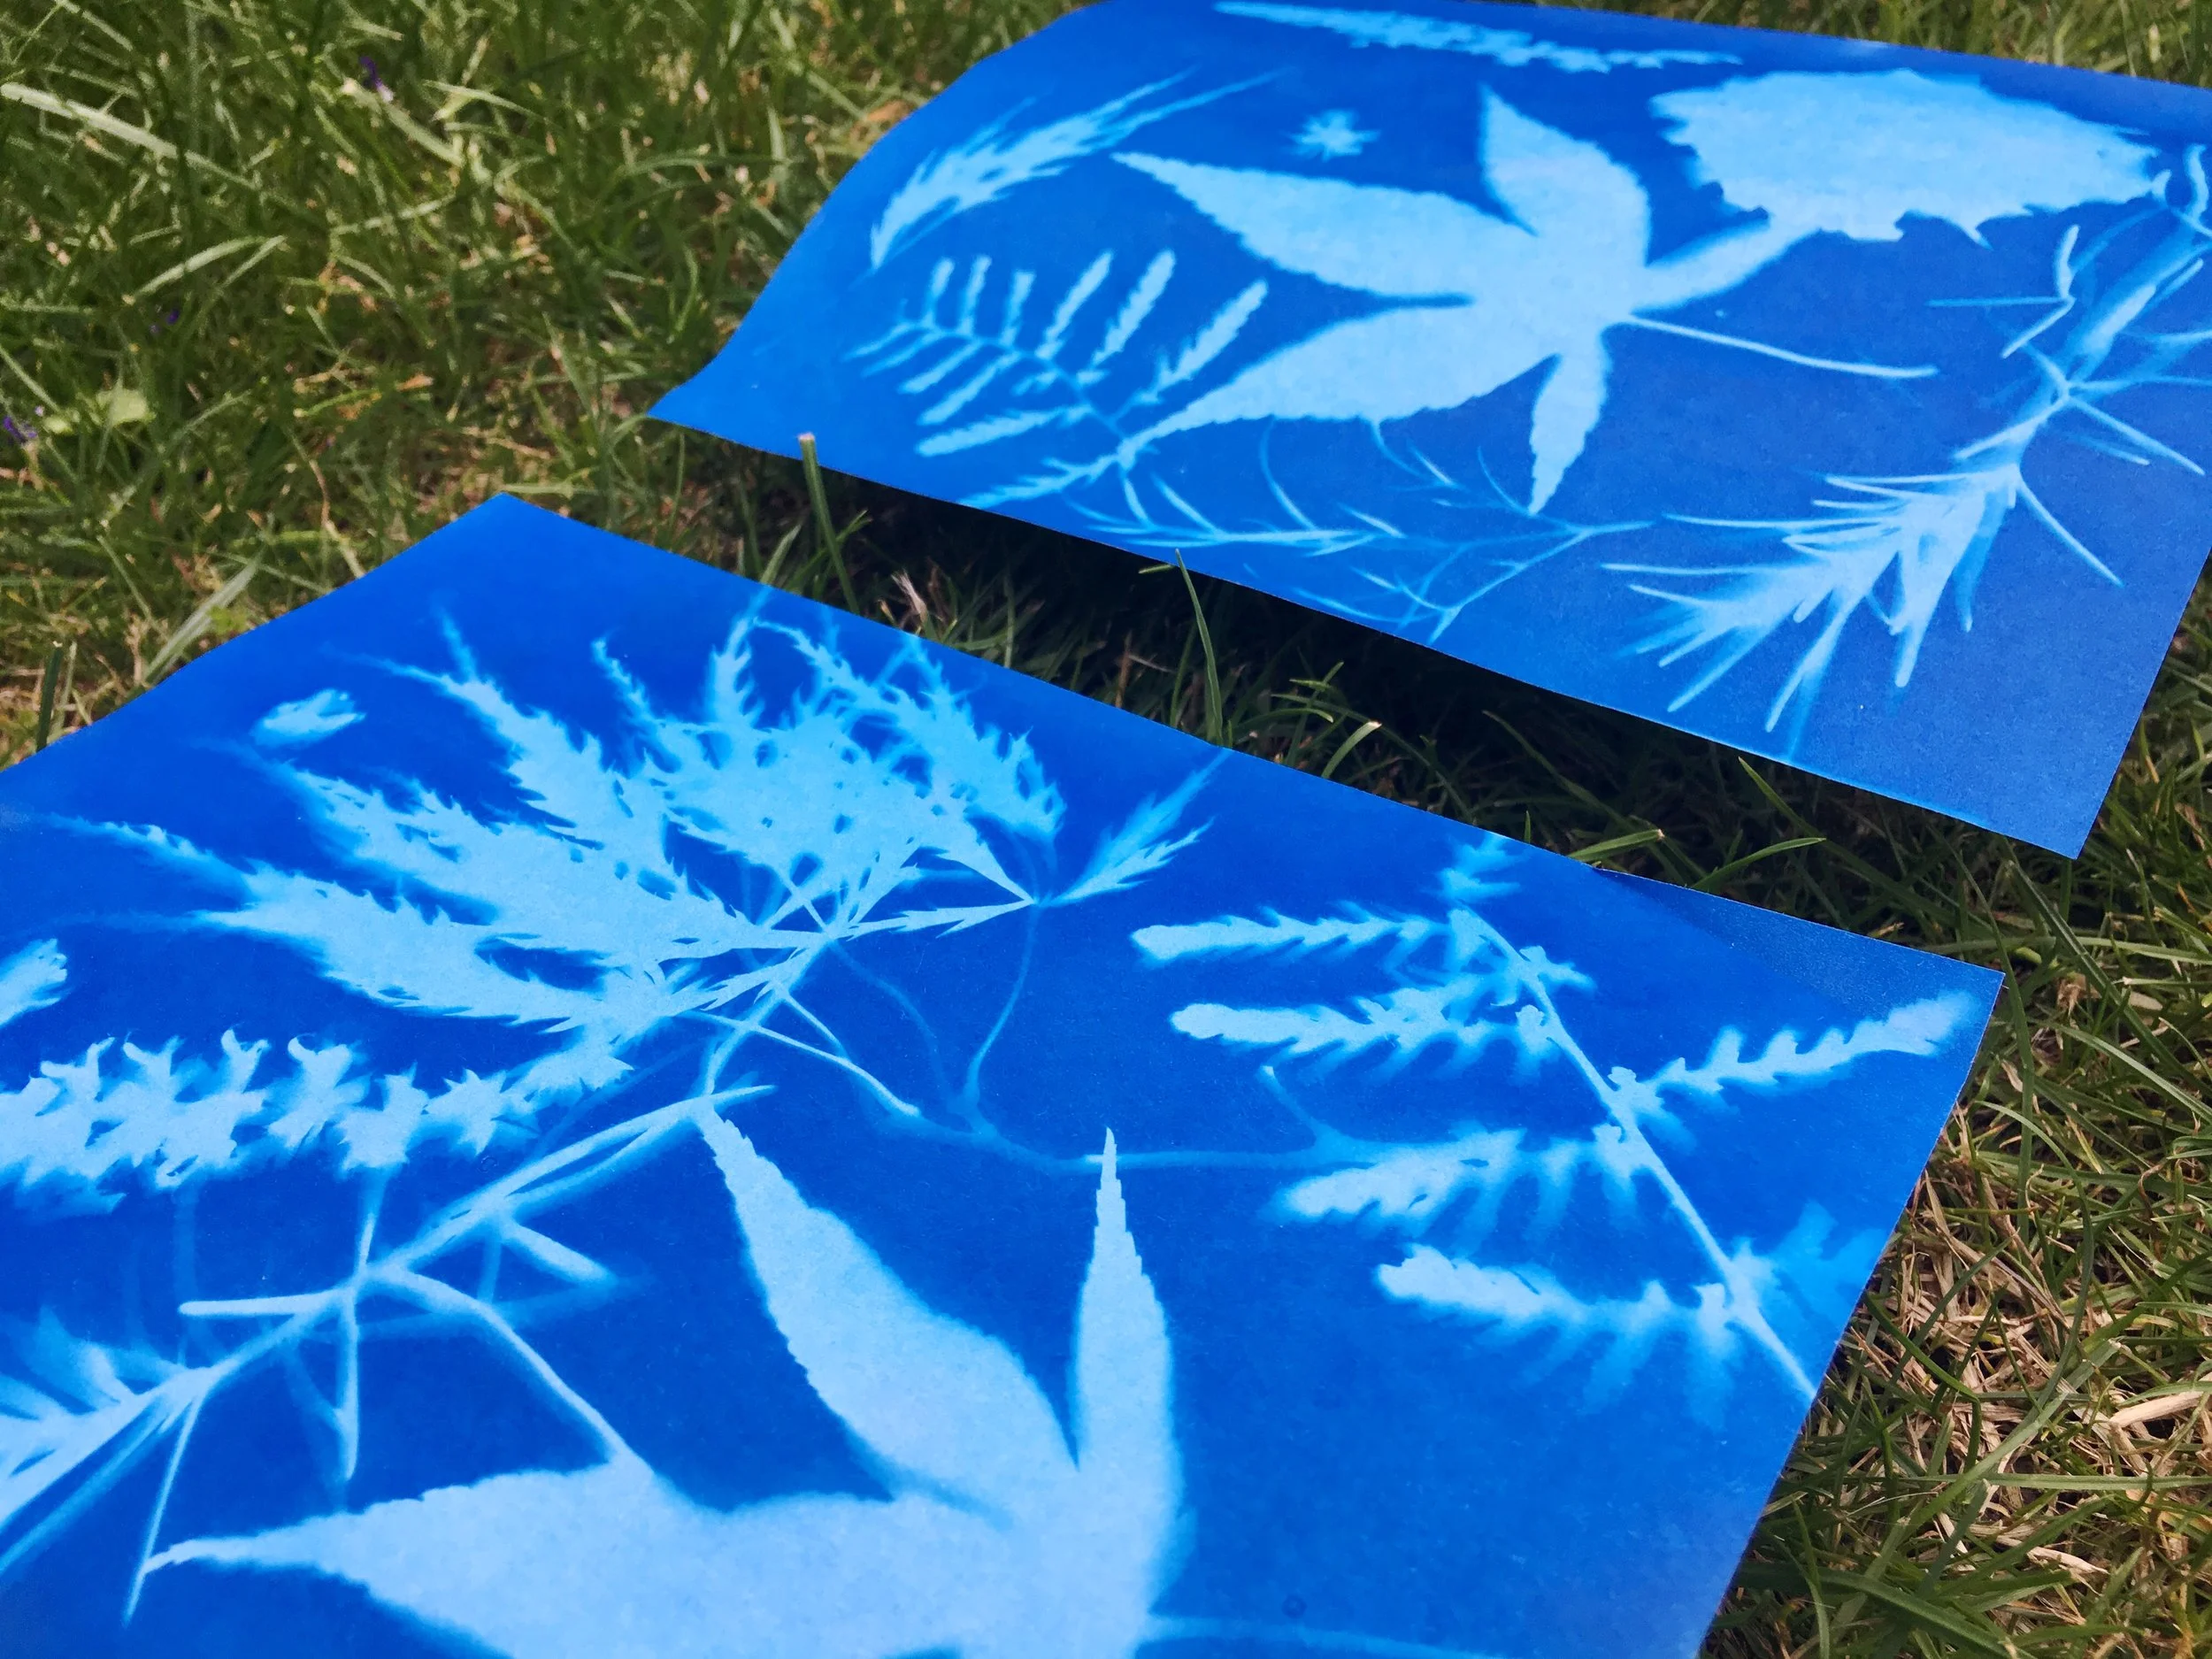
Next, place everything in the shade or in a room indoors. Remove the objects and then rinse the paper for at least two minutes in tap water. You could fill a bowl or sink with water and submerge the paper in it. The picture will first disappear and then re-emerge as a negative image, so what was blue will be white and what was white will be blue! You can also add lemon juice to the water to create a darker blue.
Take your paper out of the water and lay it on a towel or tea towel until its completely dry.
When your sun print is dry, you could put it in a frame, or use it to create a greetings card.
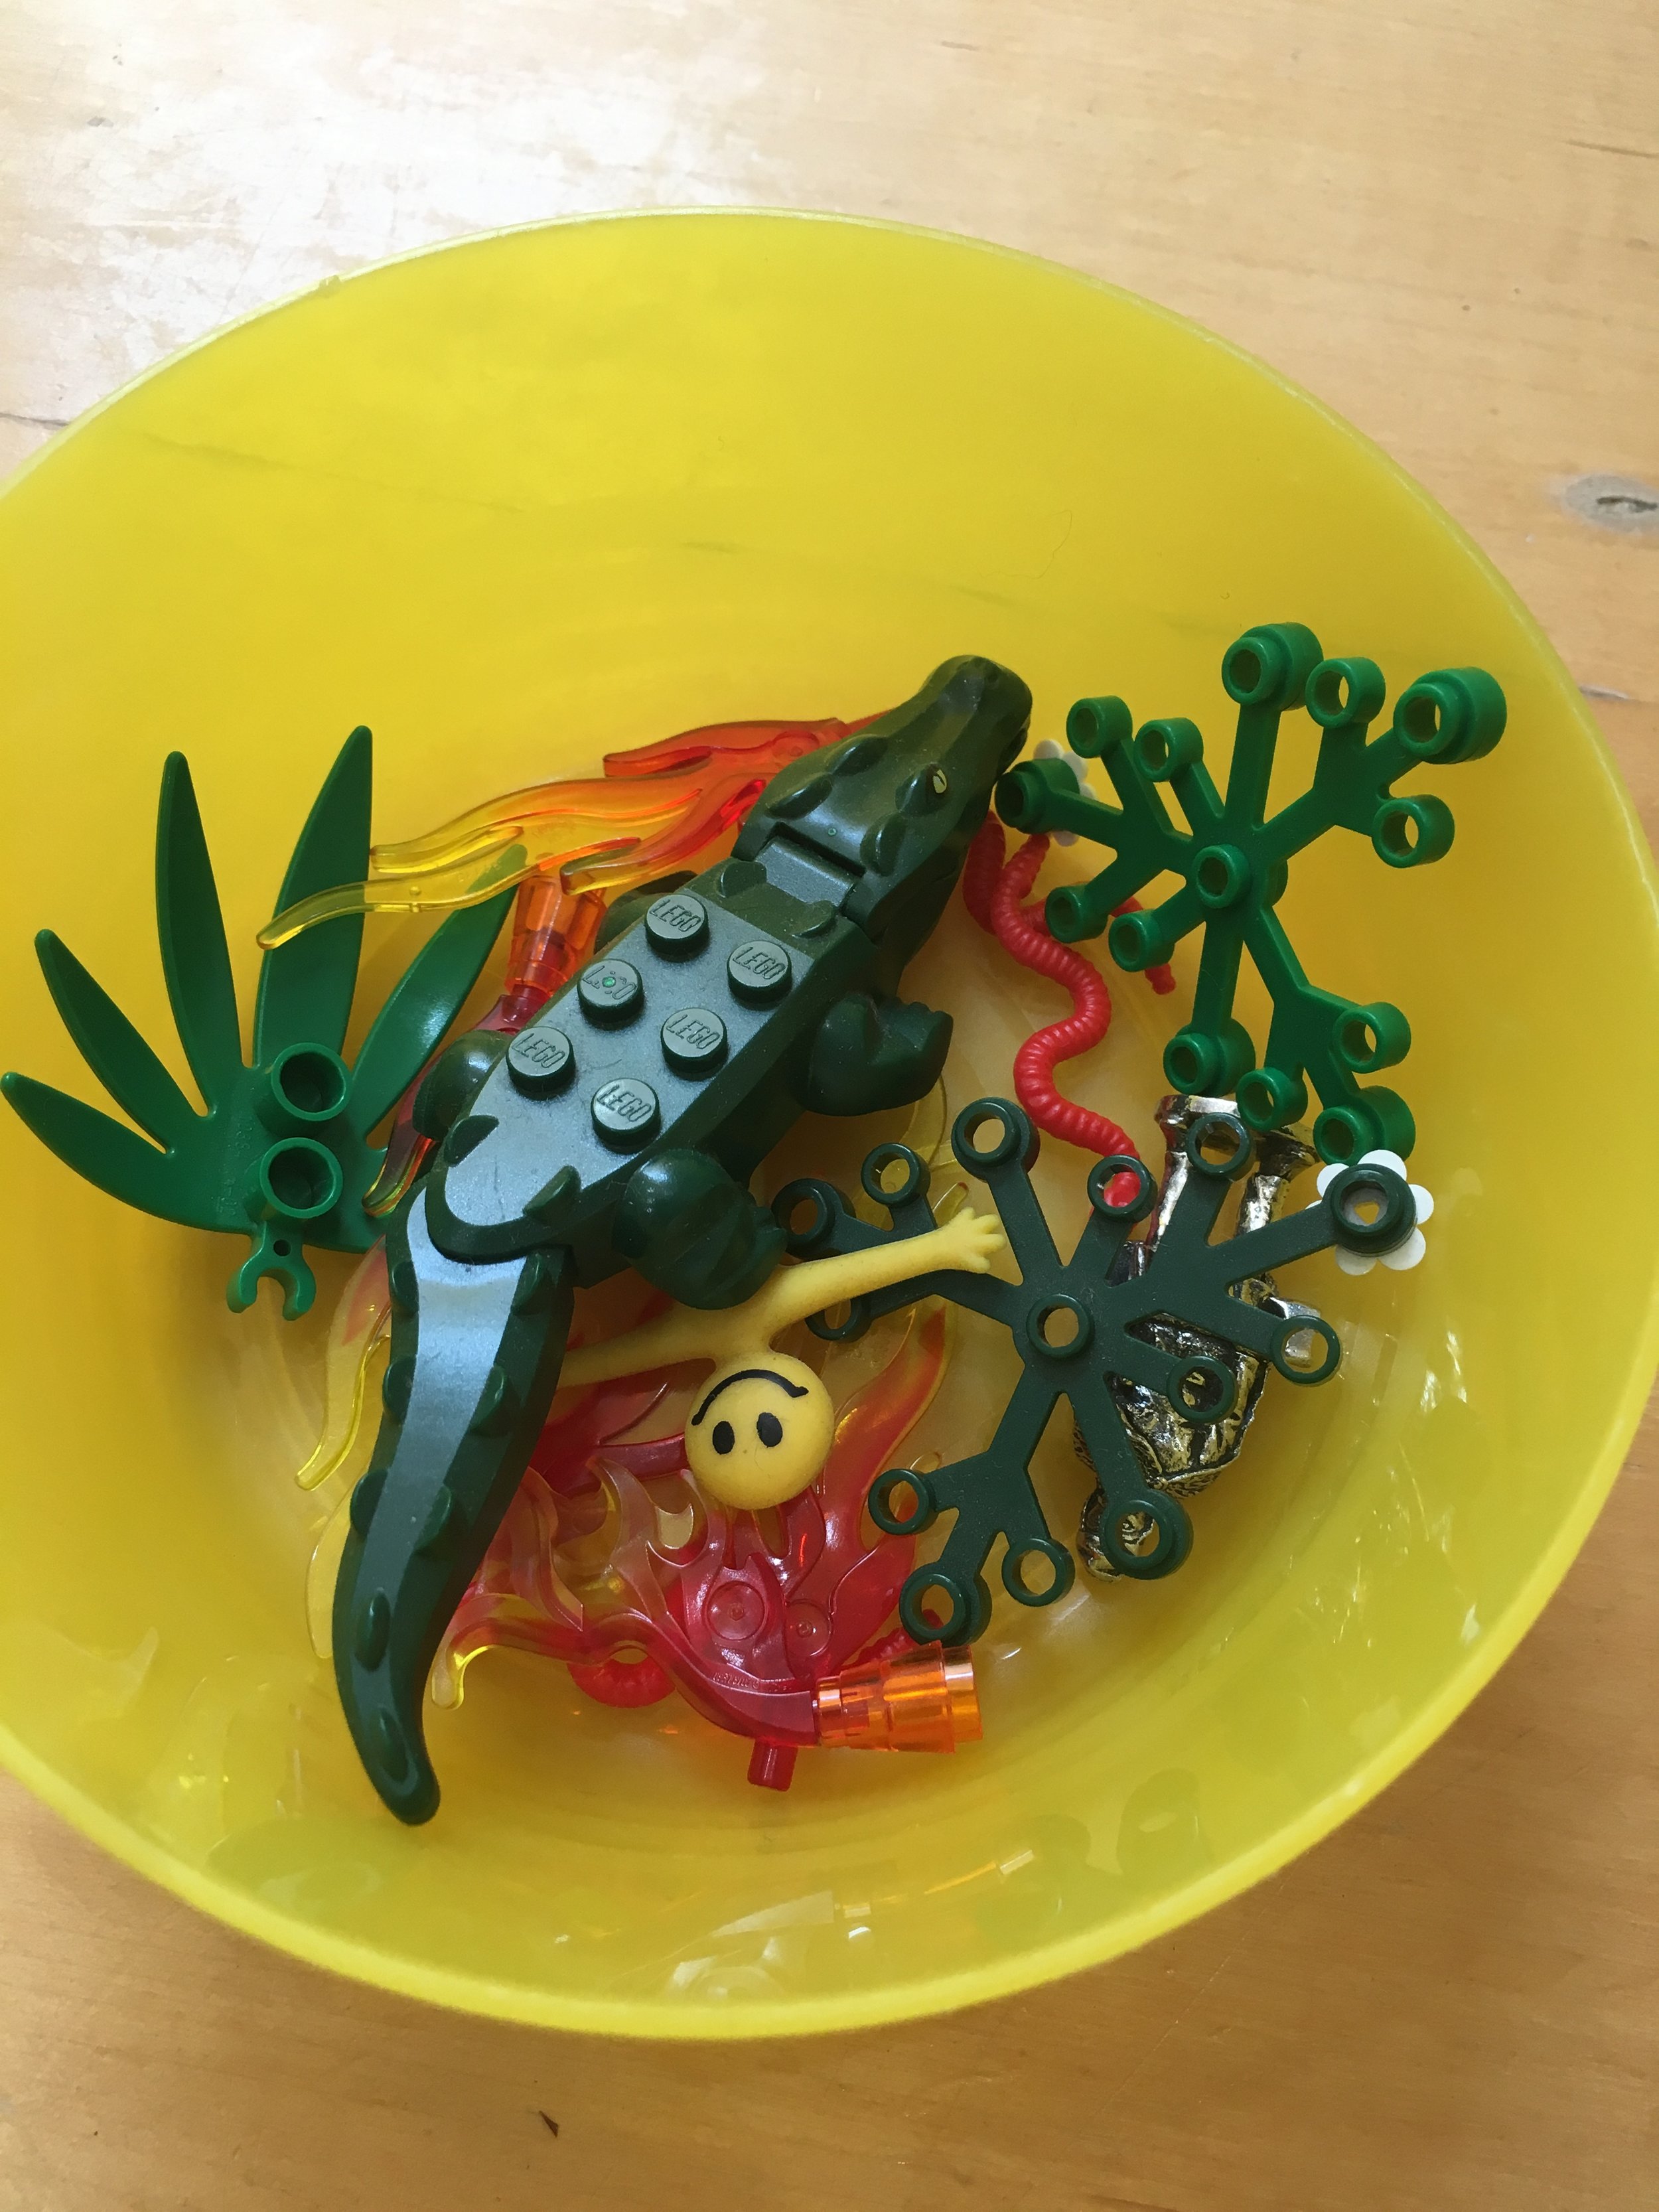
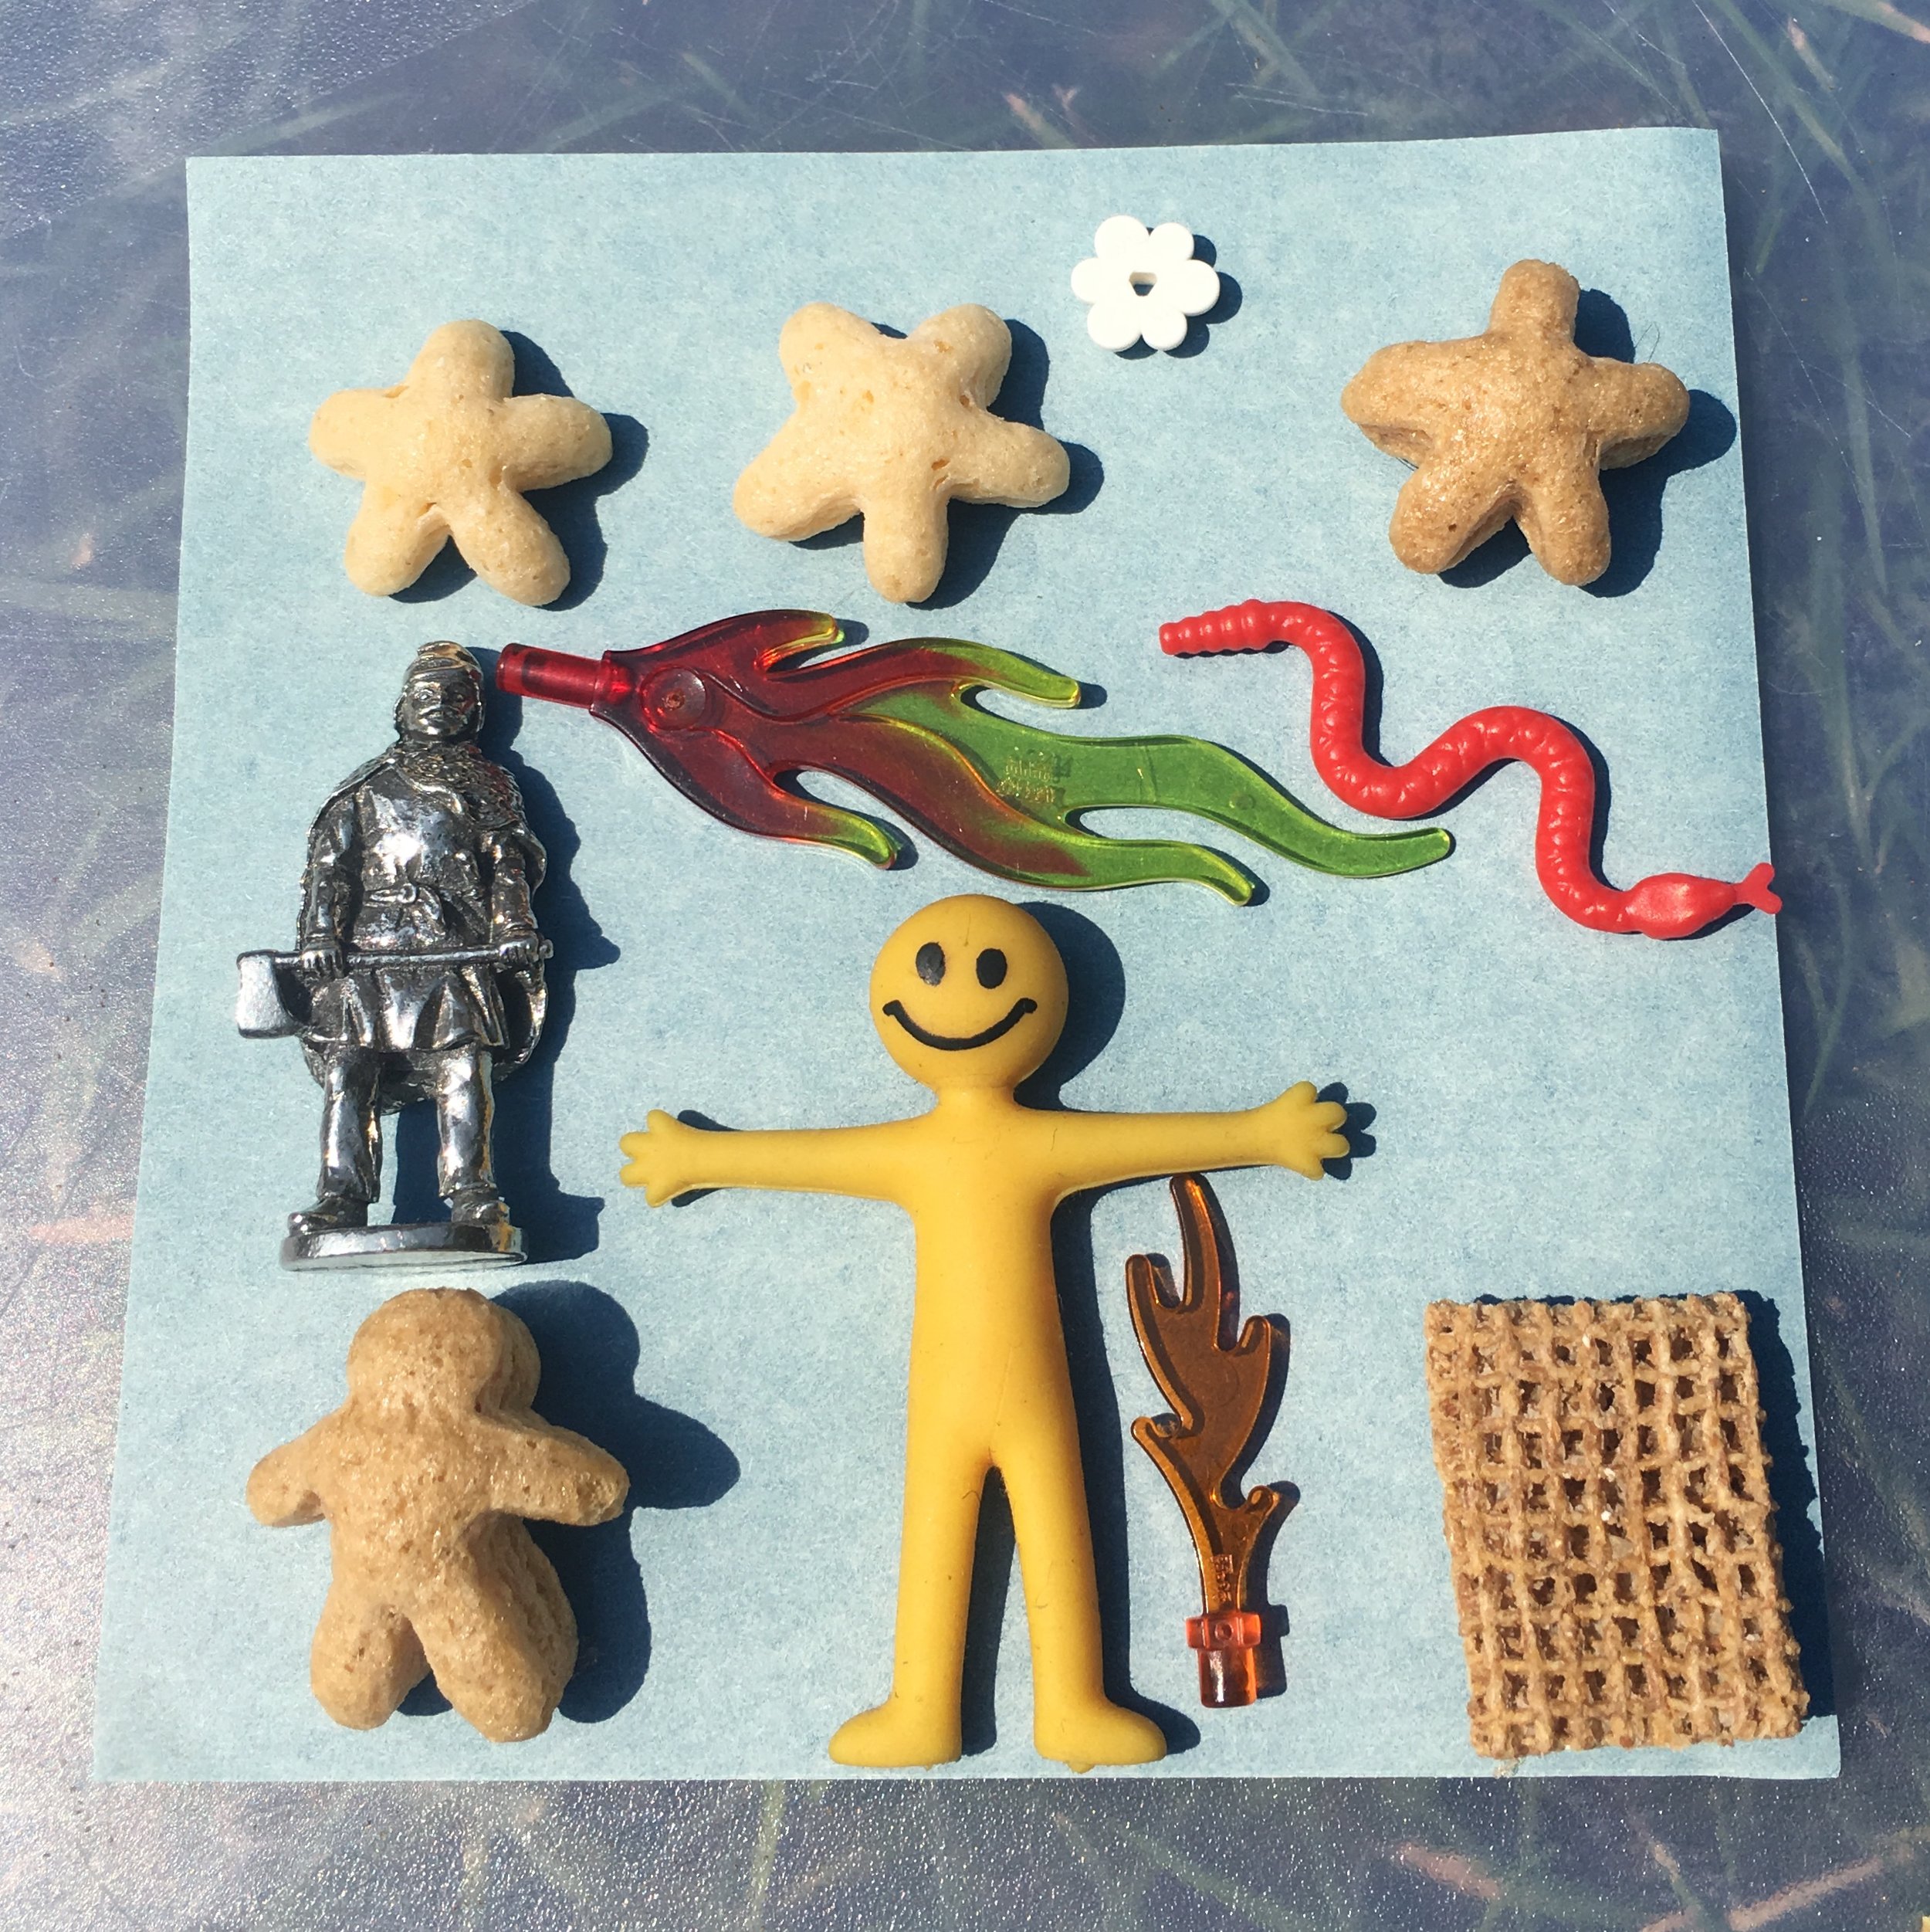
We loved the resulting prints and once we knew how the process worked, my two boys were very keen to try again with other objects! You can use all sorts of things: feathers, keys, buttons, toys, even cereal! The only thing to be aware of is that the more 3D an object is, the more likely you are to have shadows and blurred edges in your final prints, however, this itself can create some interesting designs!

Author: Denise Hope, home educating mum of two boys